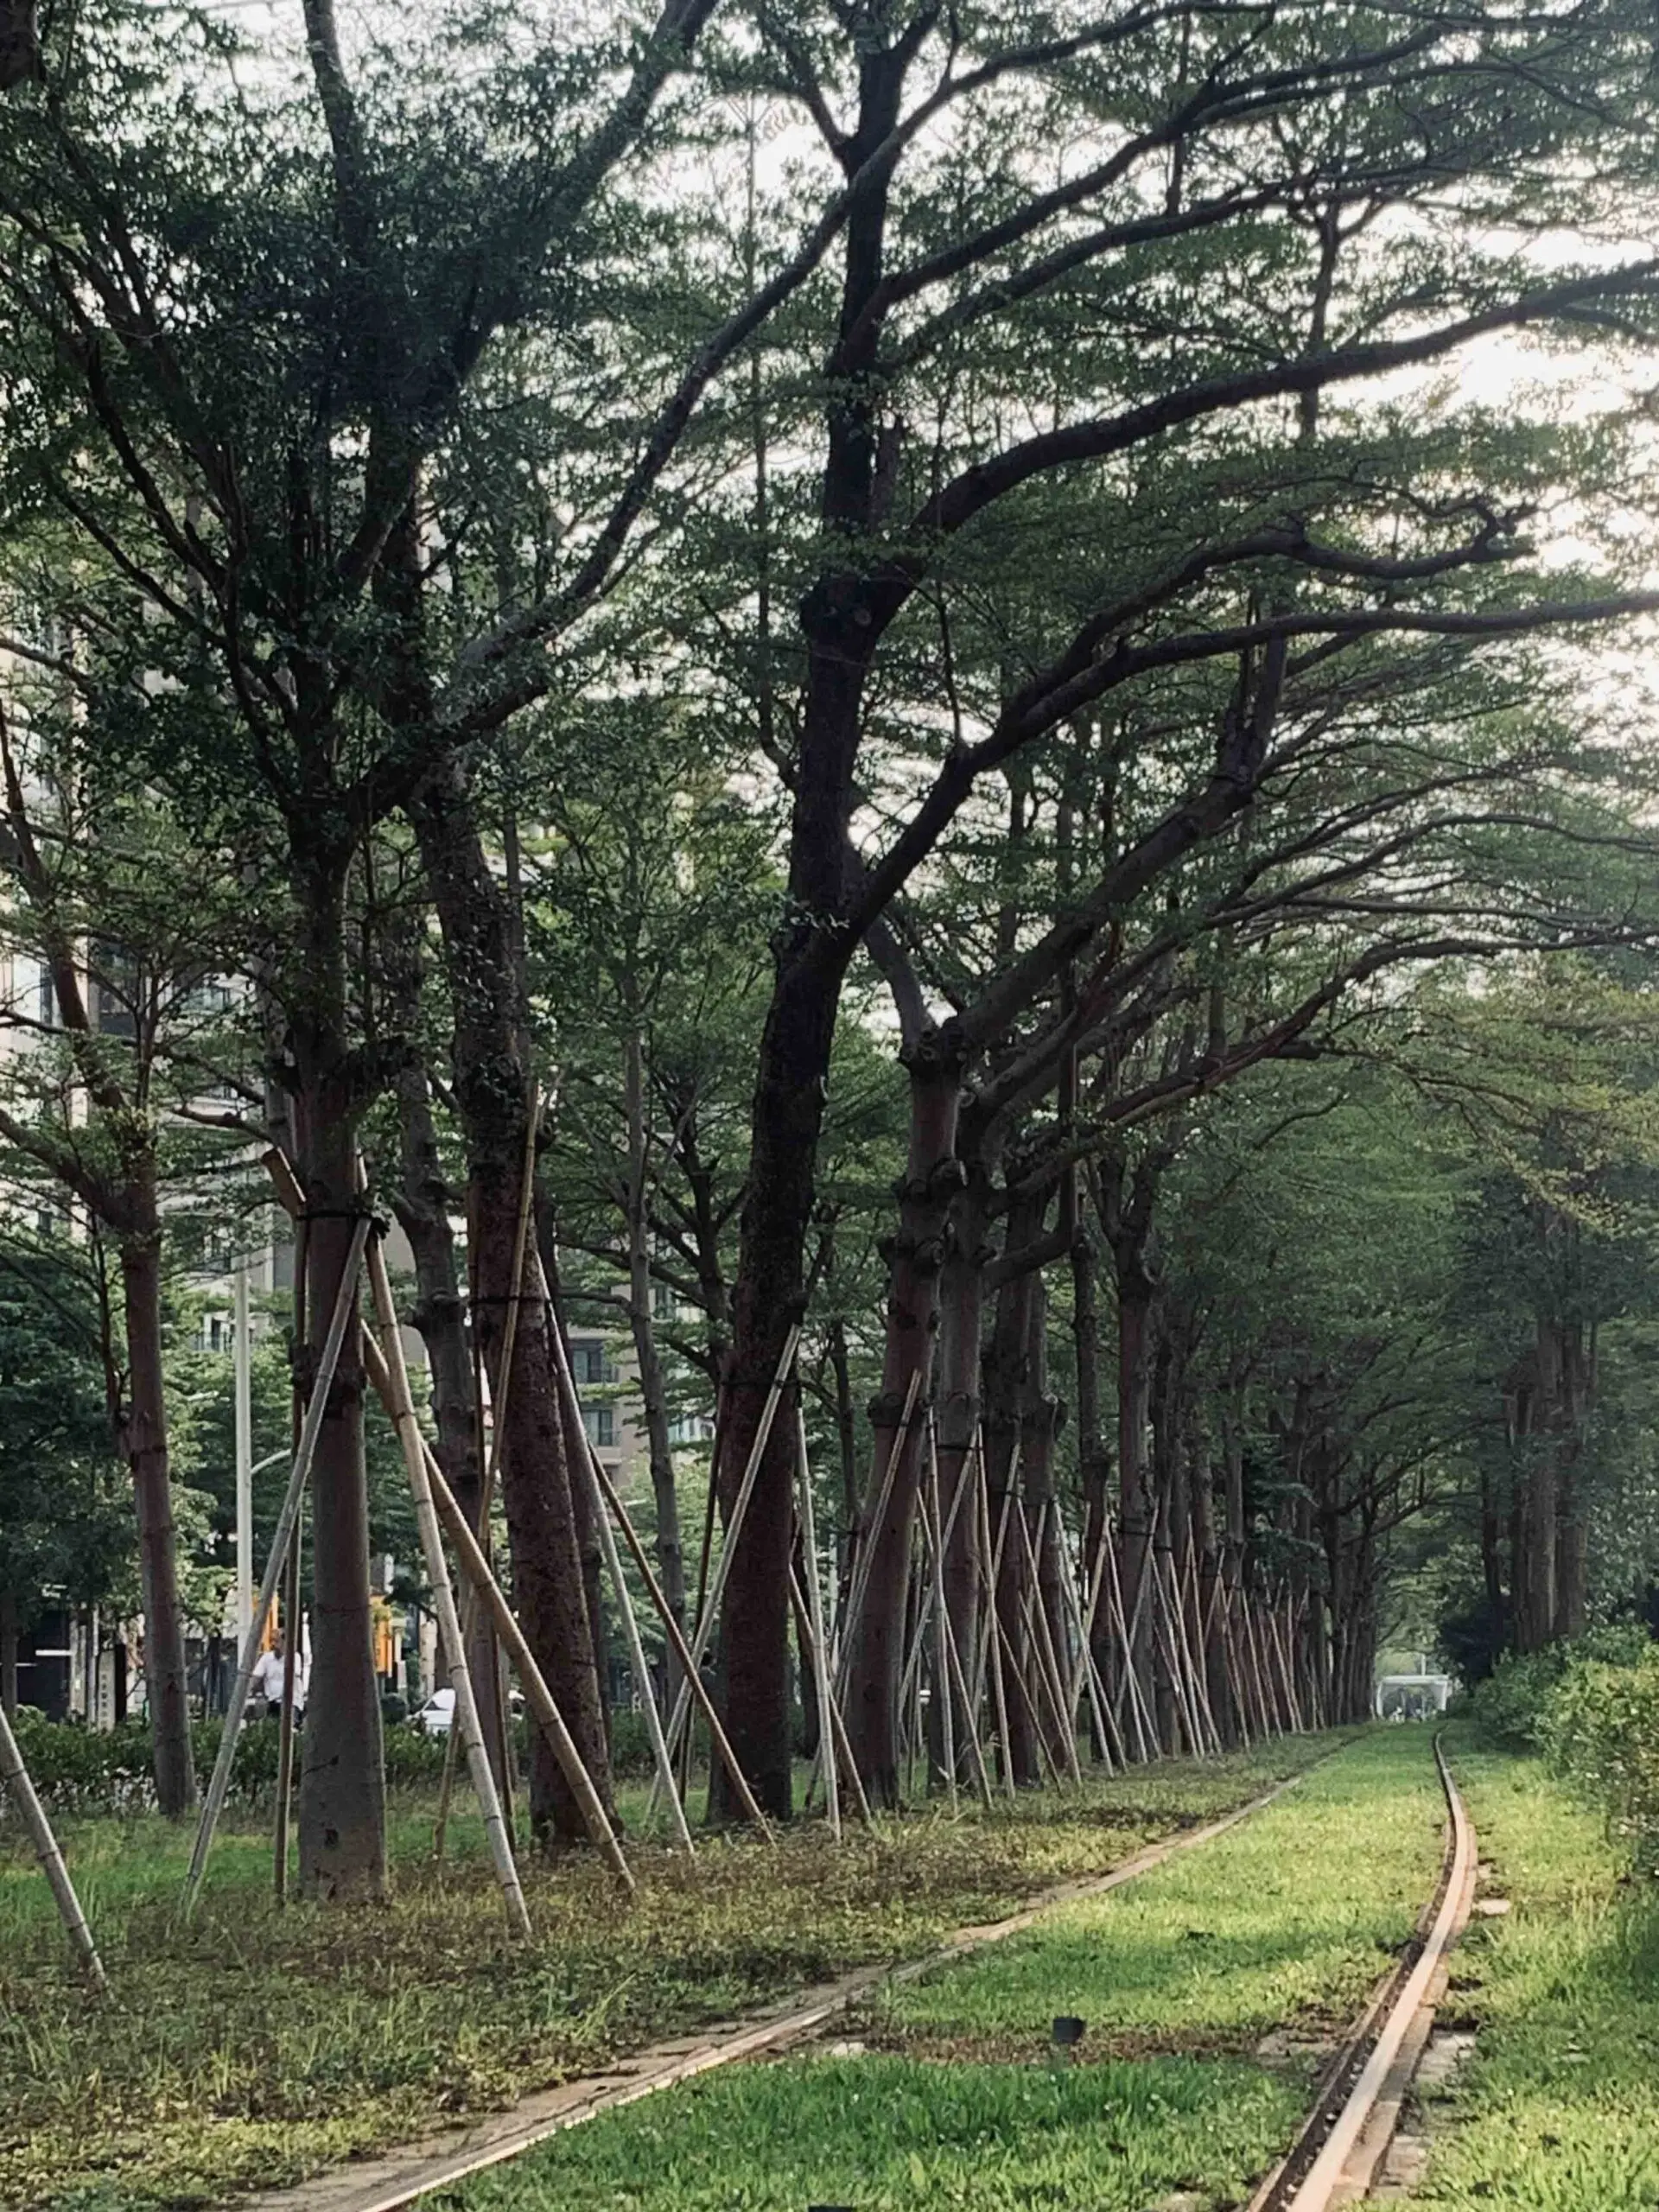
Sharing the question of how to sketch trees when drawing landscapes in class. Provide me with some understanding of the tree, leaves and how to operate, please refer to the demonstration diagram, will step-by-step analysis of each step Oh.
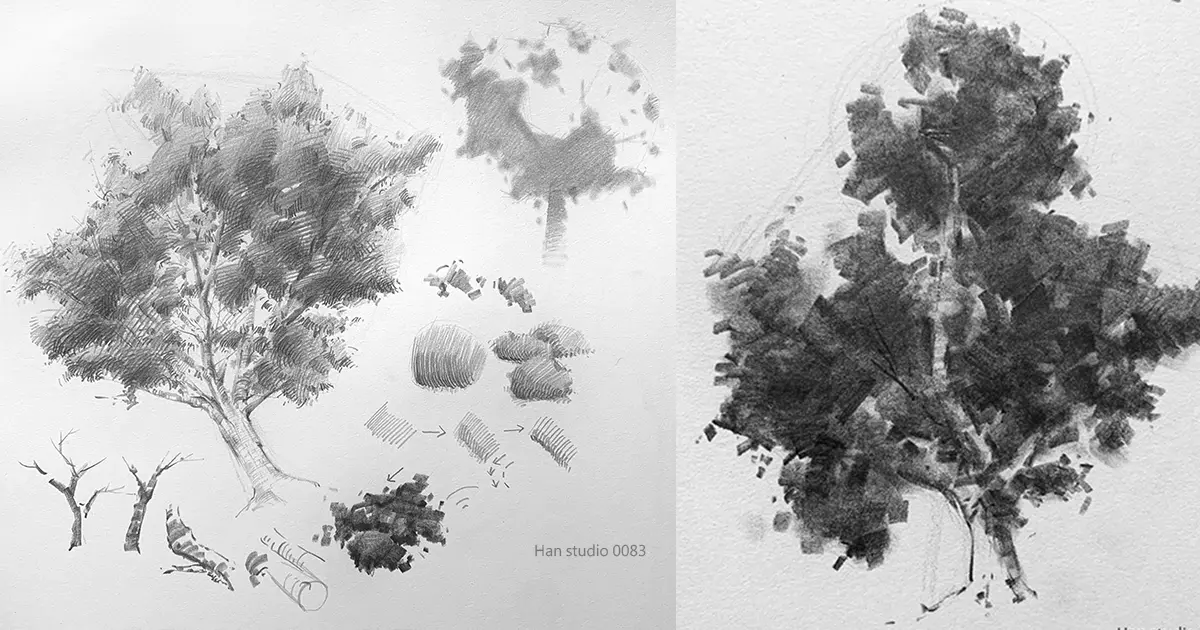
Understand the overall outline and proportion of tree sketching.
Simplify trees, using silhouette drawings of outer contours to practice shape classification (e.g., skinny tall, oval, umbrella, inverted triangle, etc.)
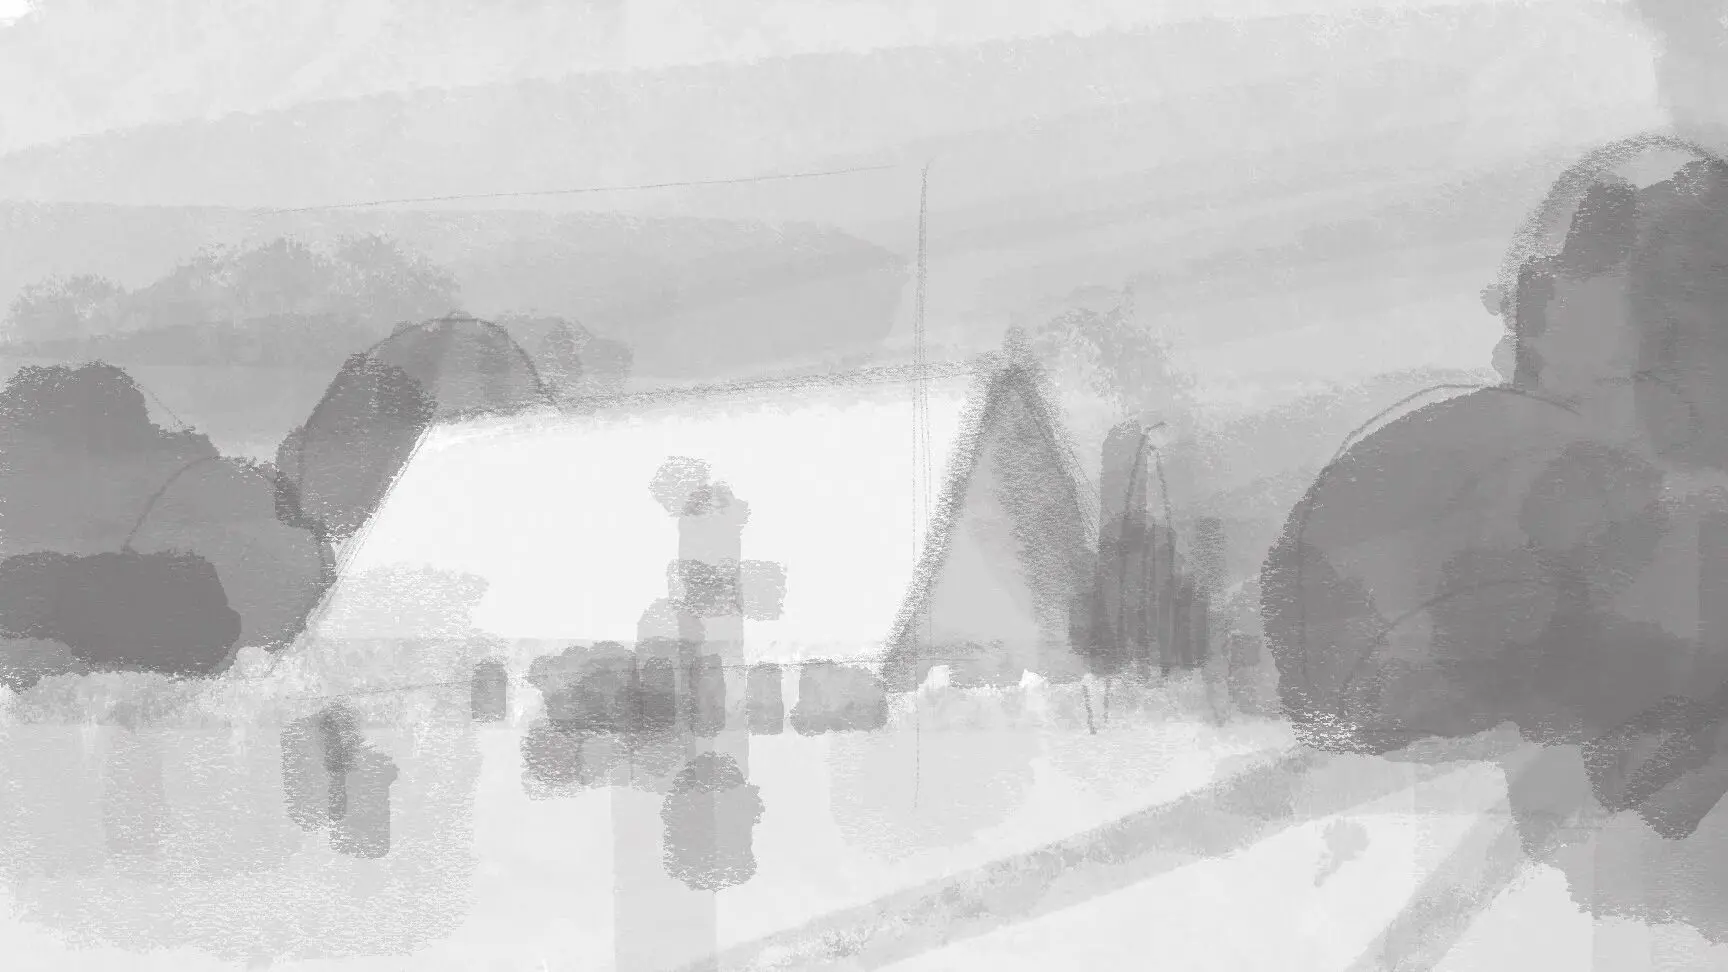
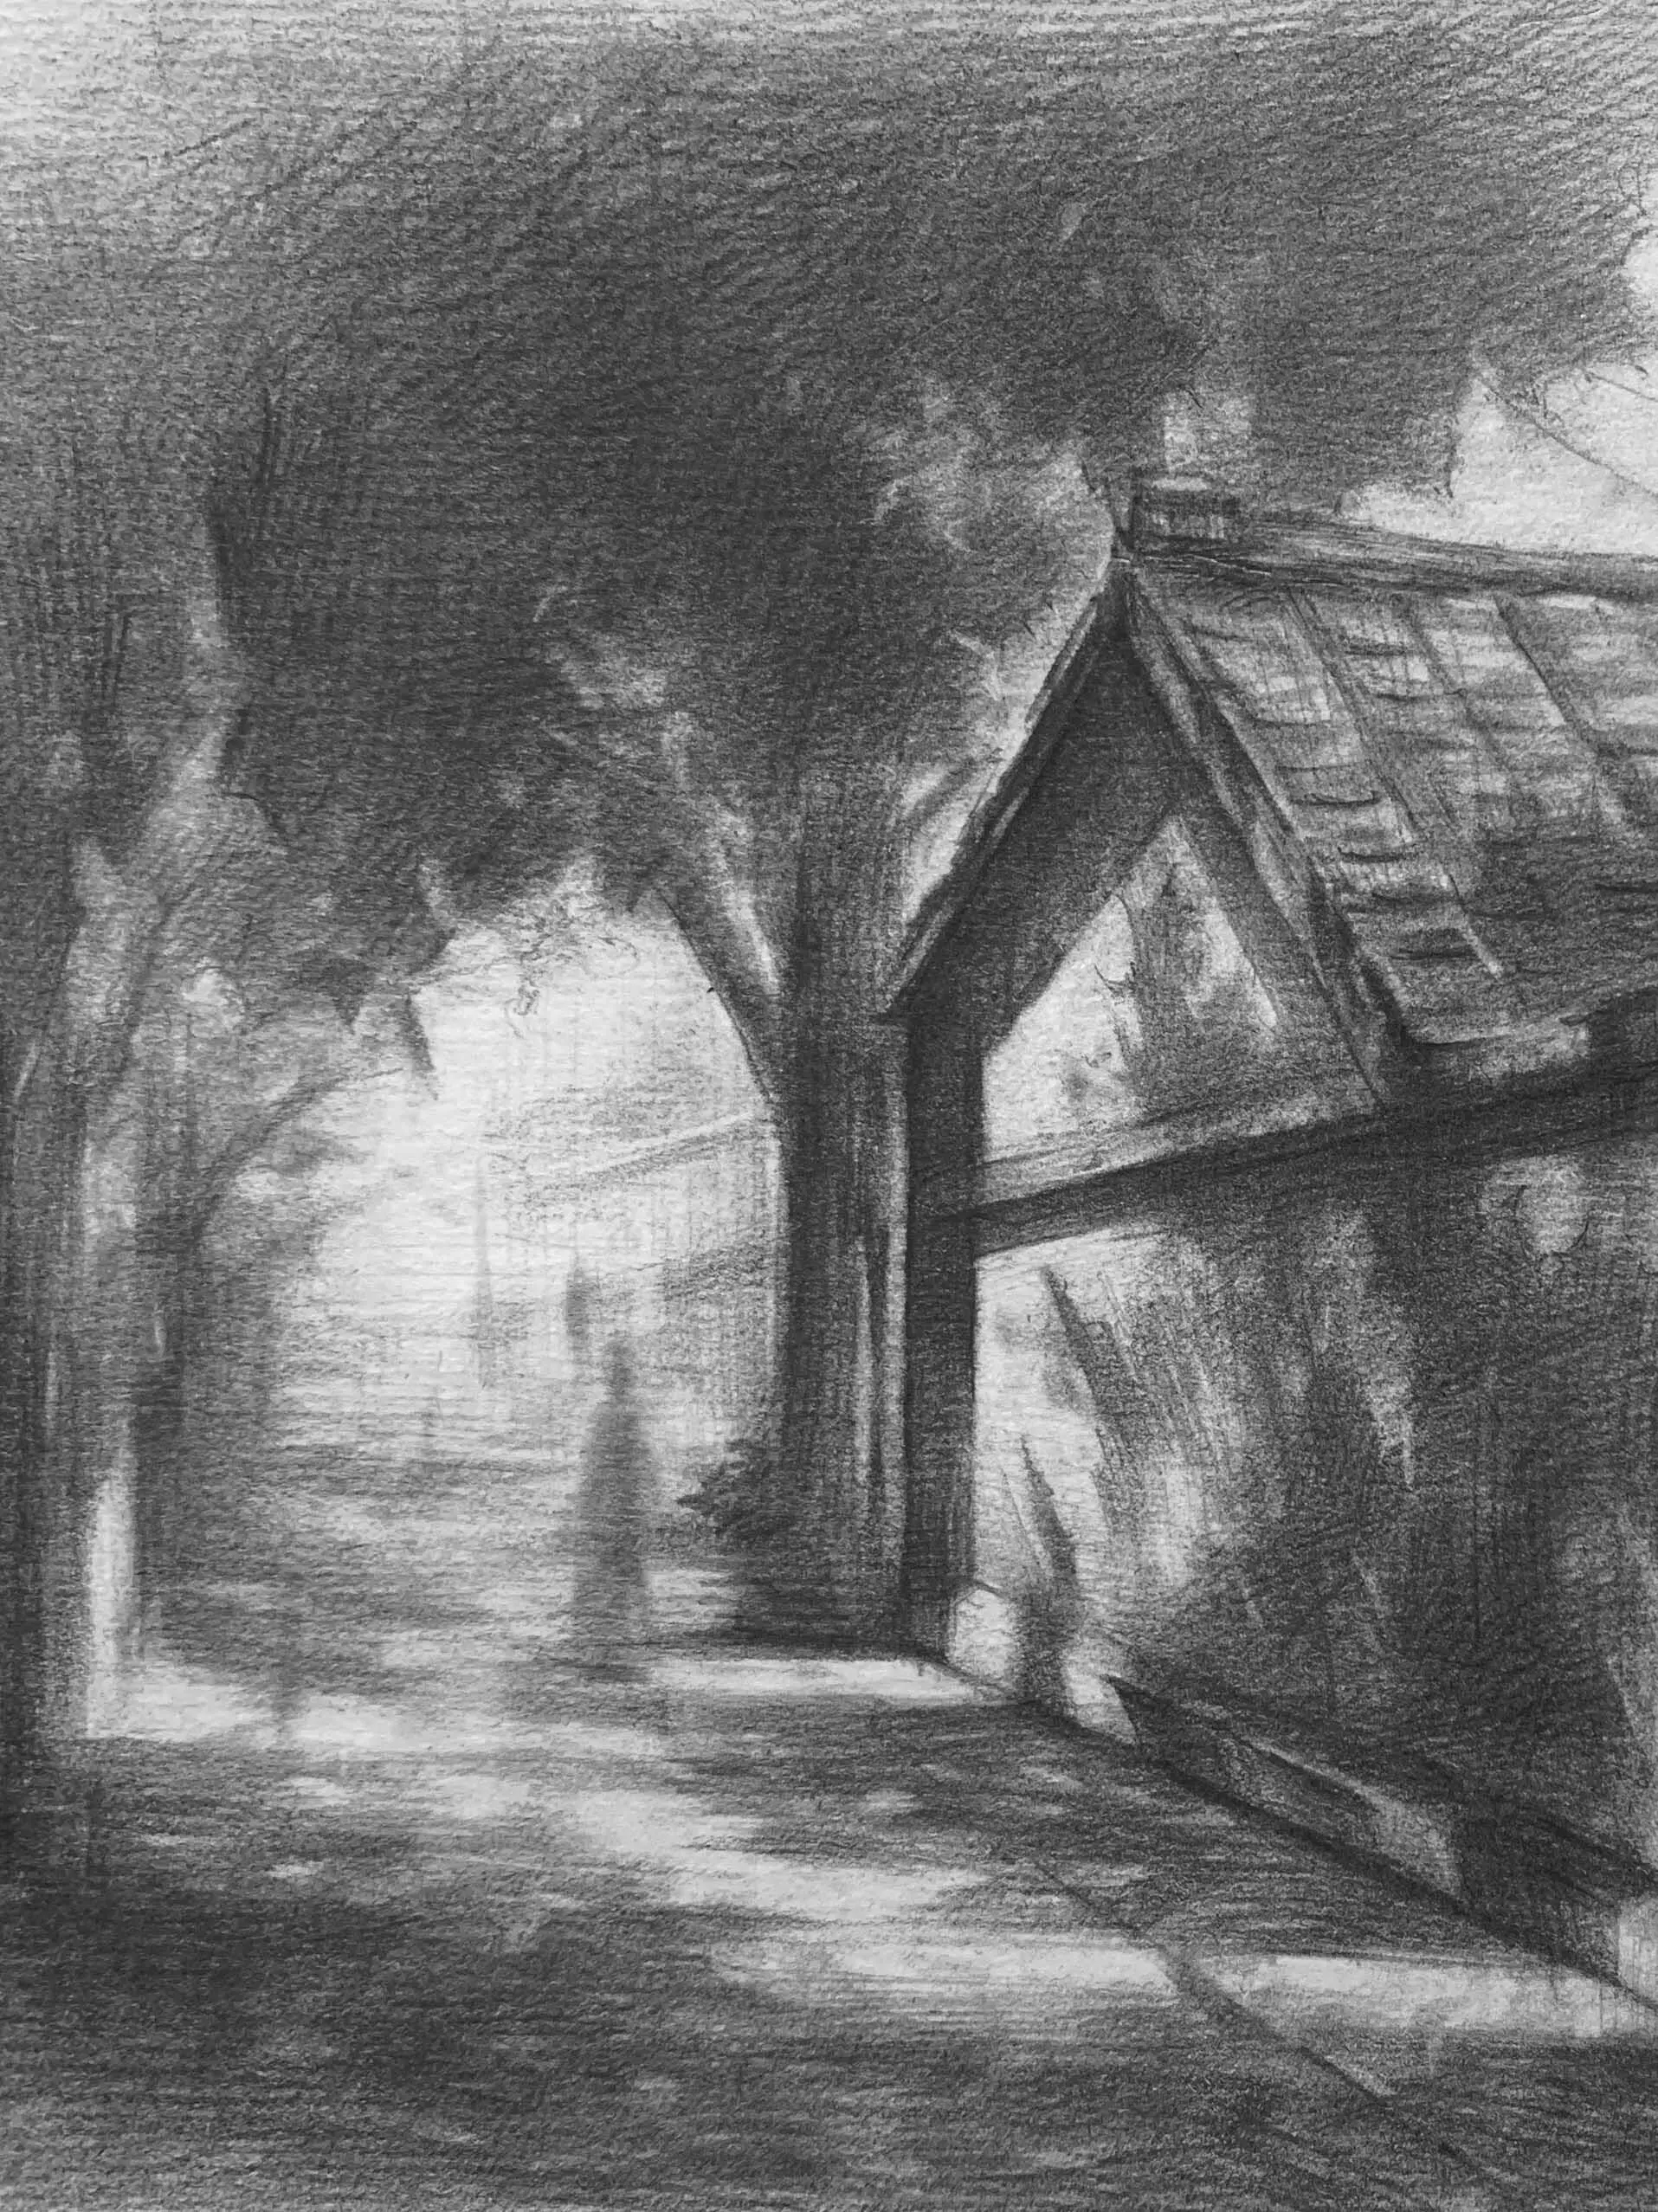
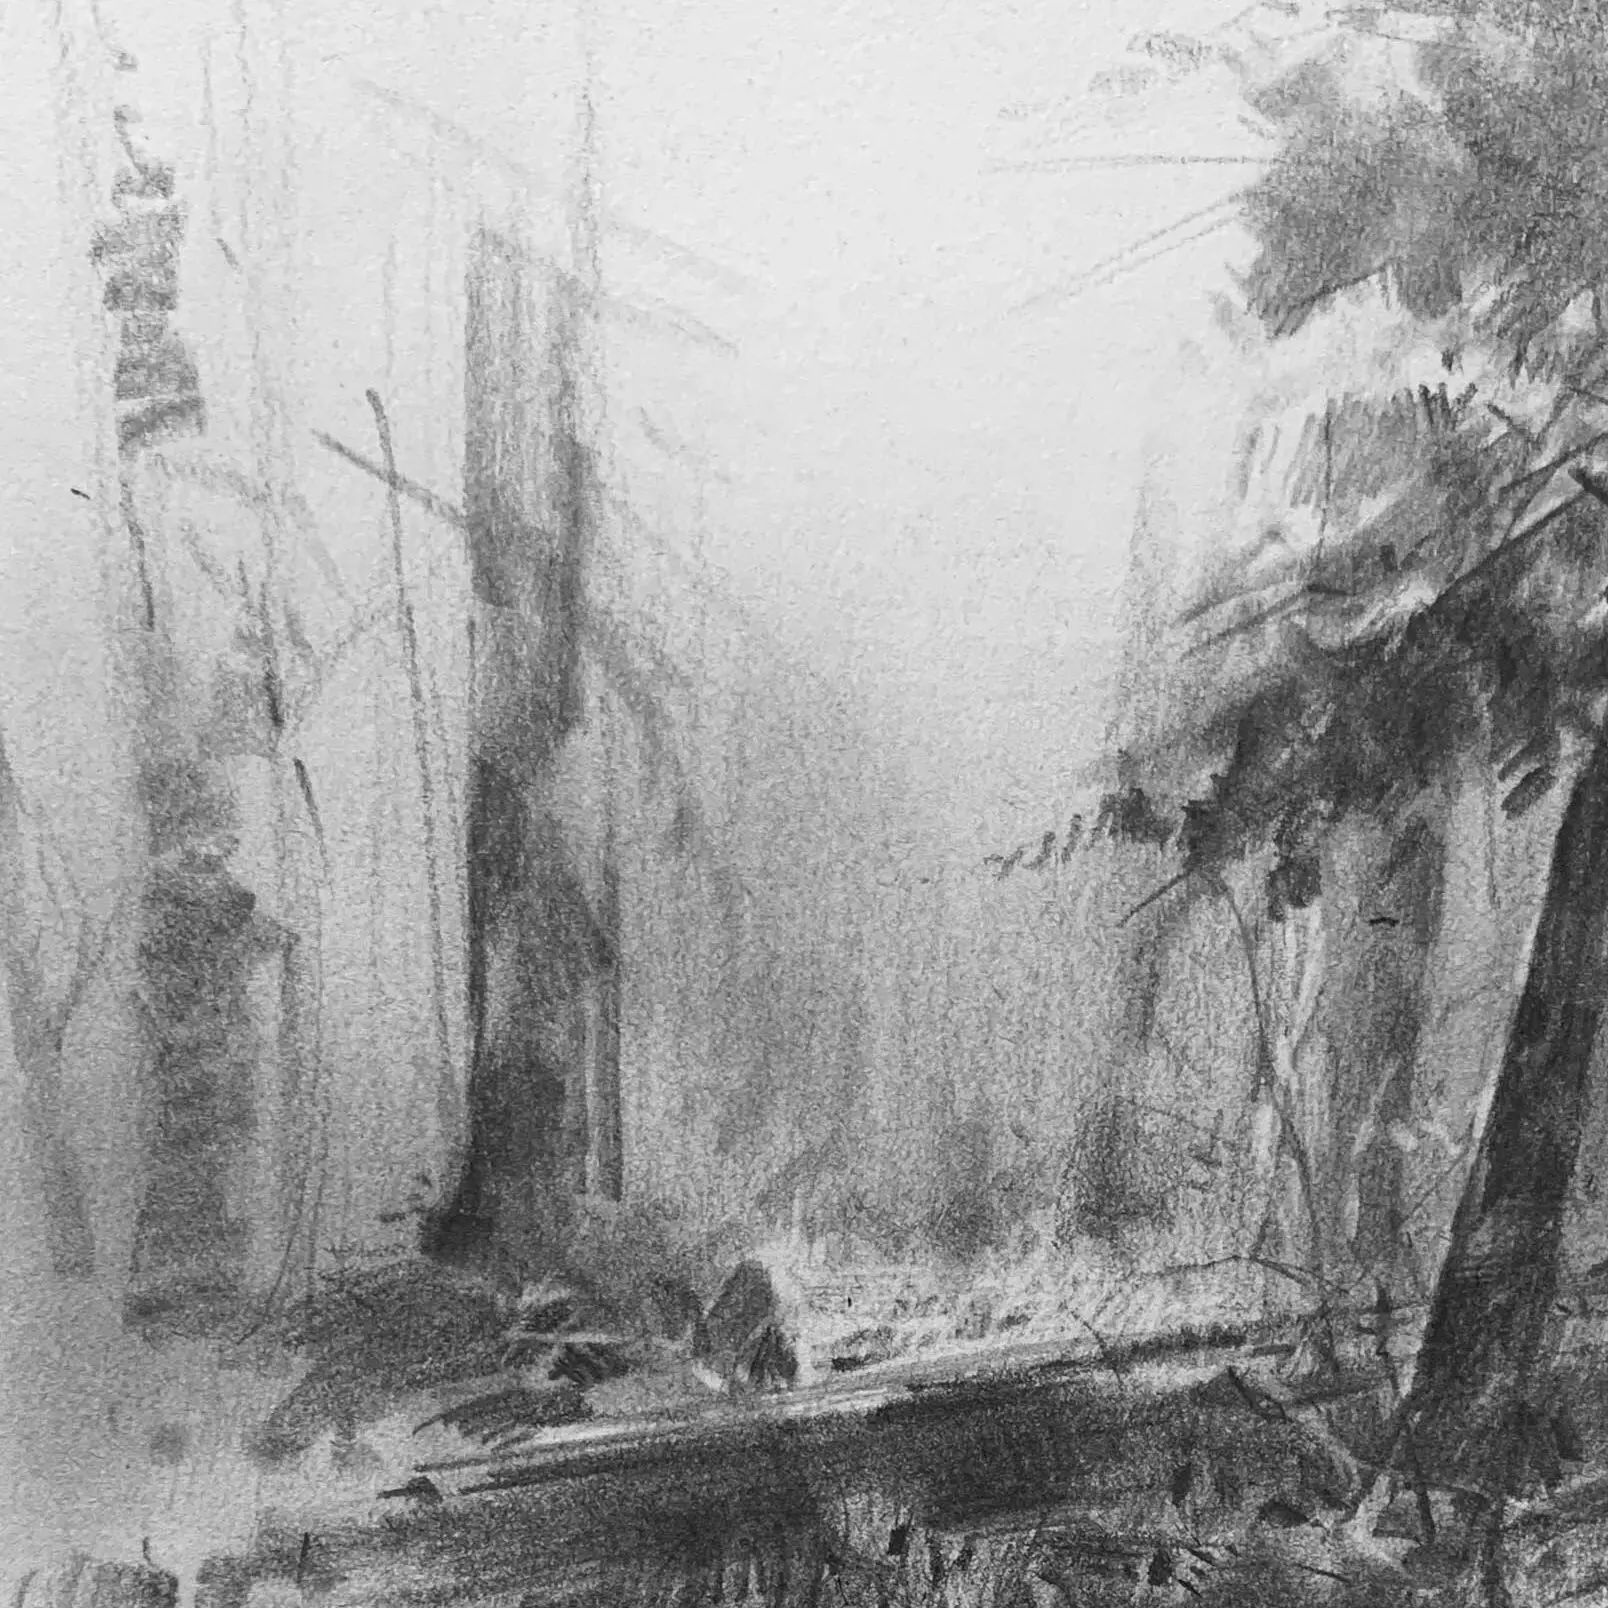
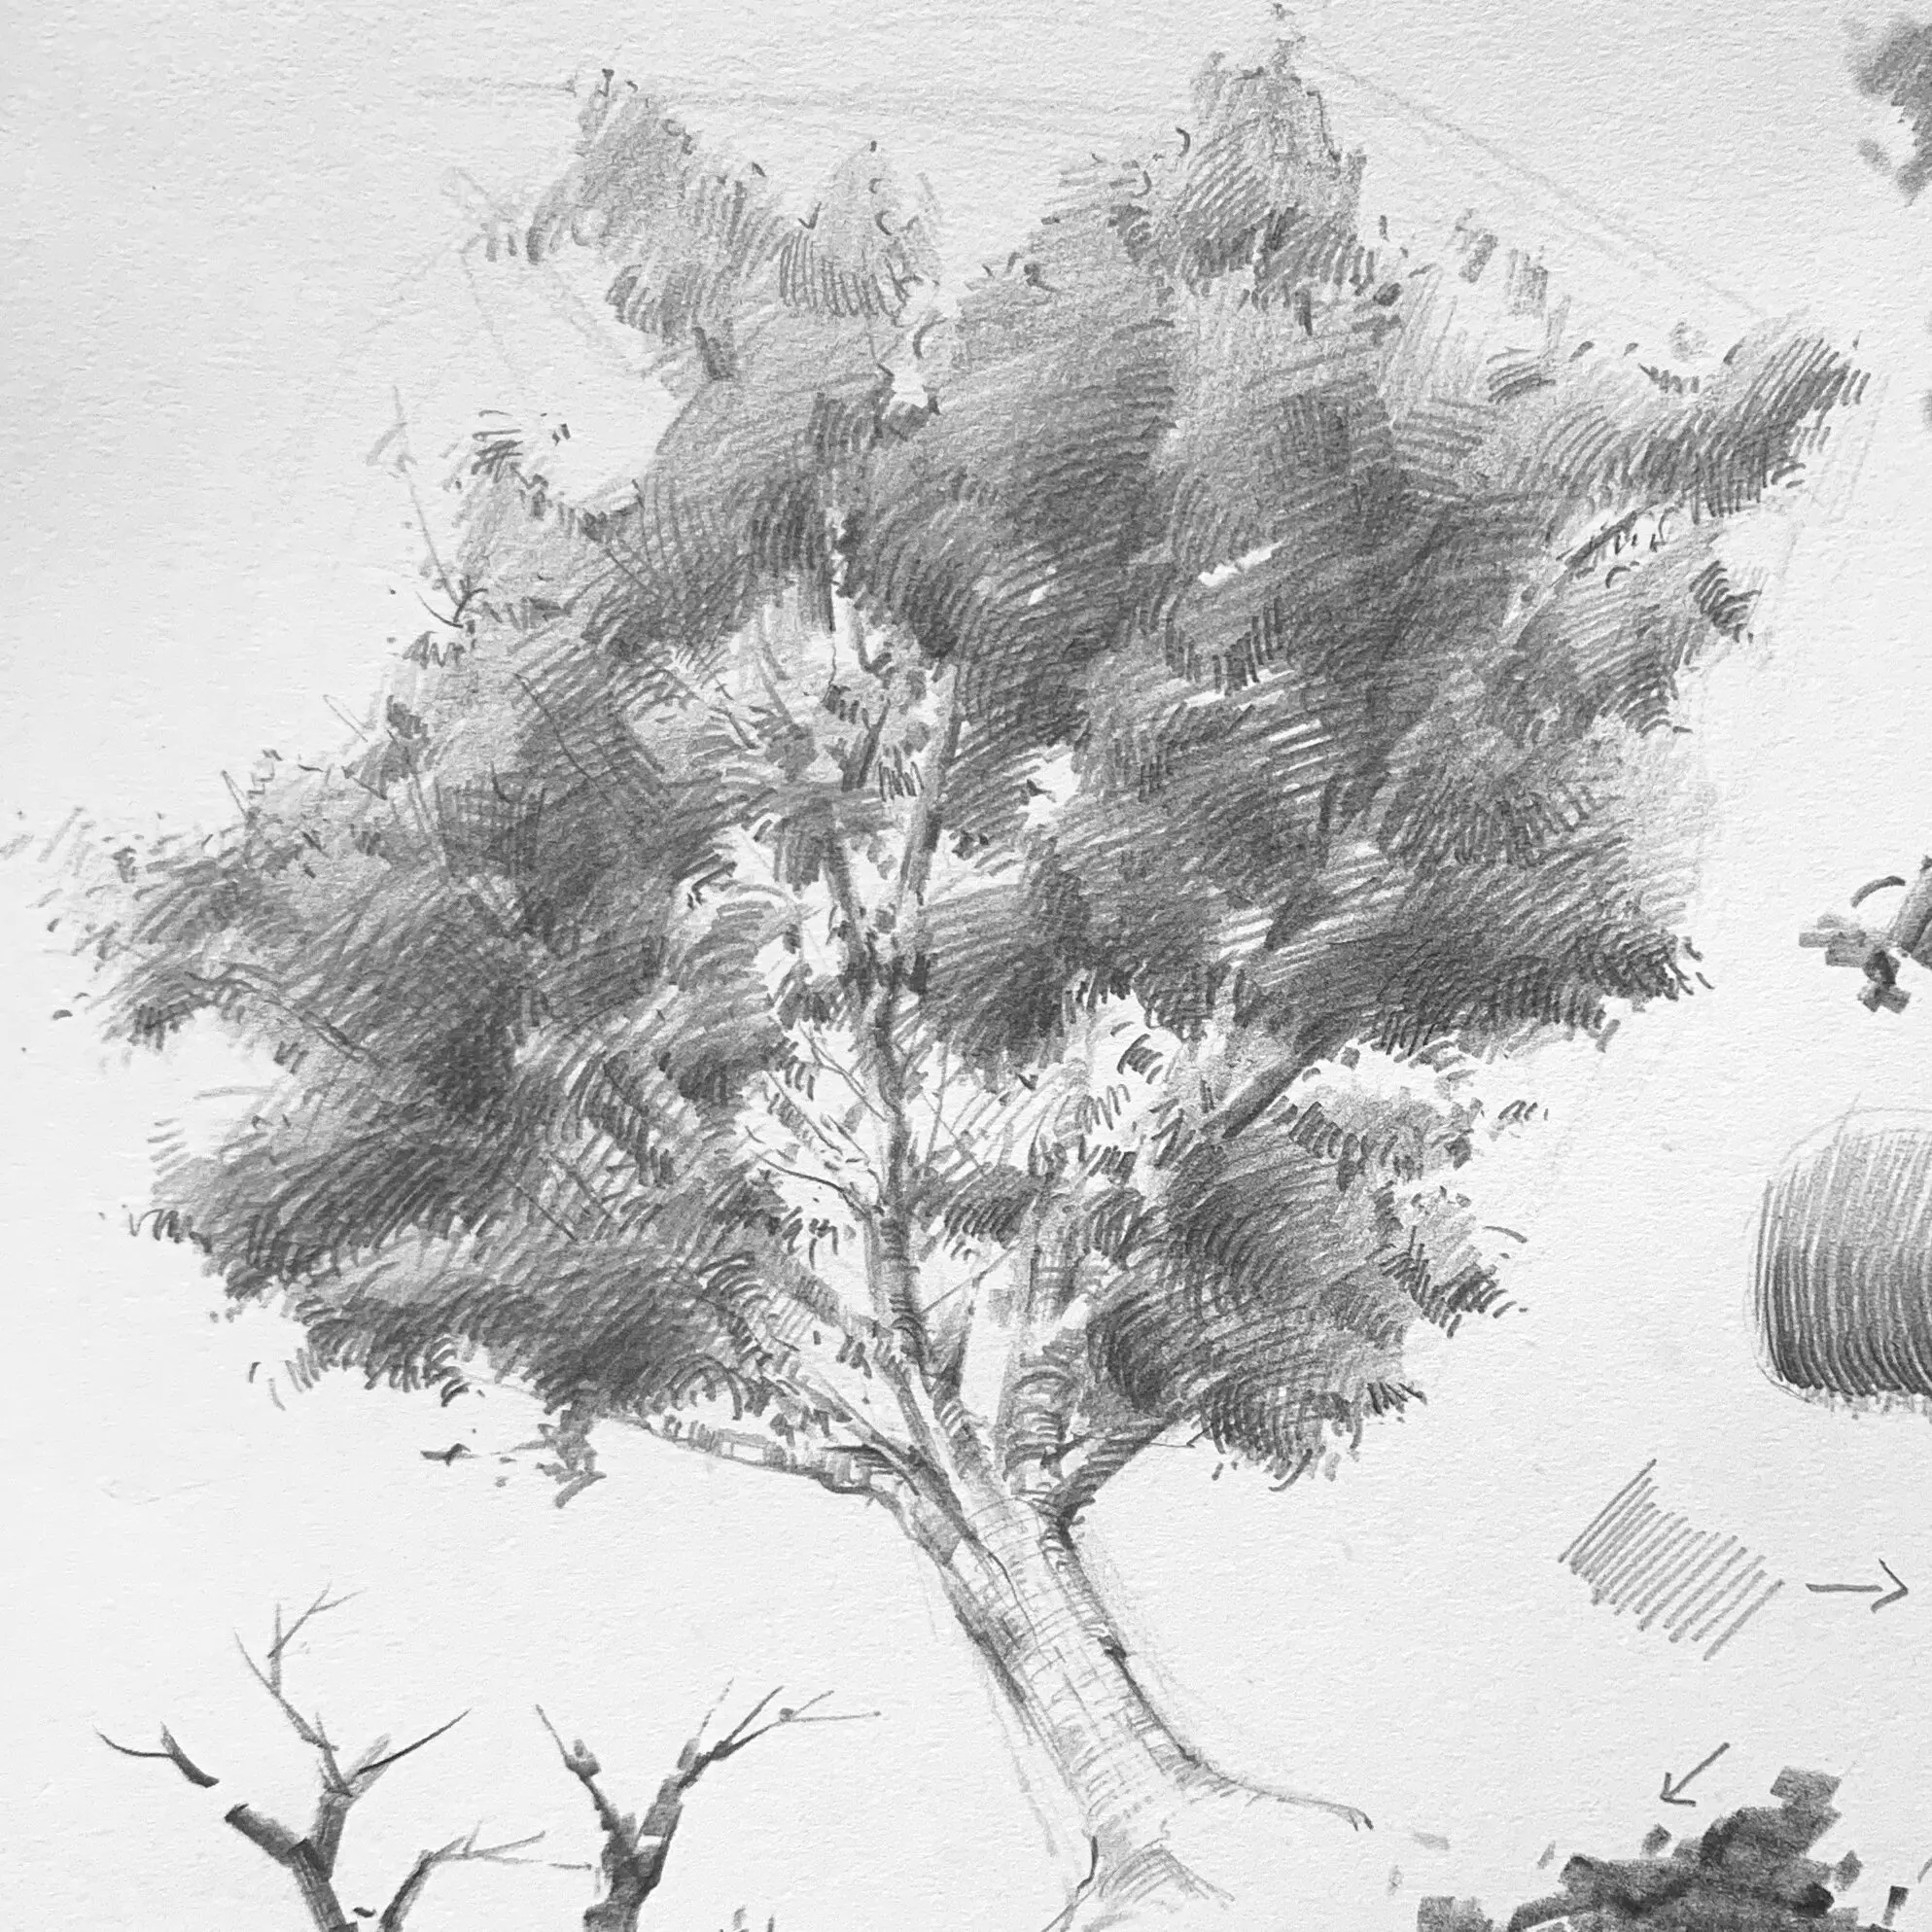
When sketching trees, it is recommended to pay attention to the overall shape of the changes, with the overly complex shapes with the whole together, the following demonstration can be observed that I will be the dark side of the tree integration into a larger block.
High-latitude fir, characterized by a triangular shape and a pointed topSquinting makes it easier to see the shape of large trees.Simplify the inner details of the leaves and design the overall shape changes.
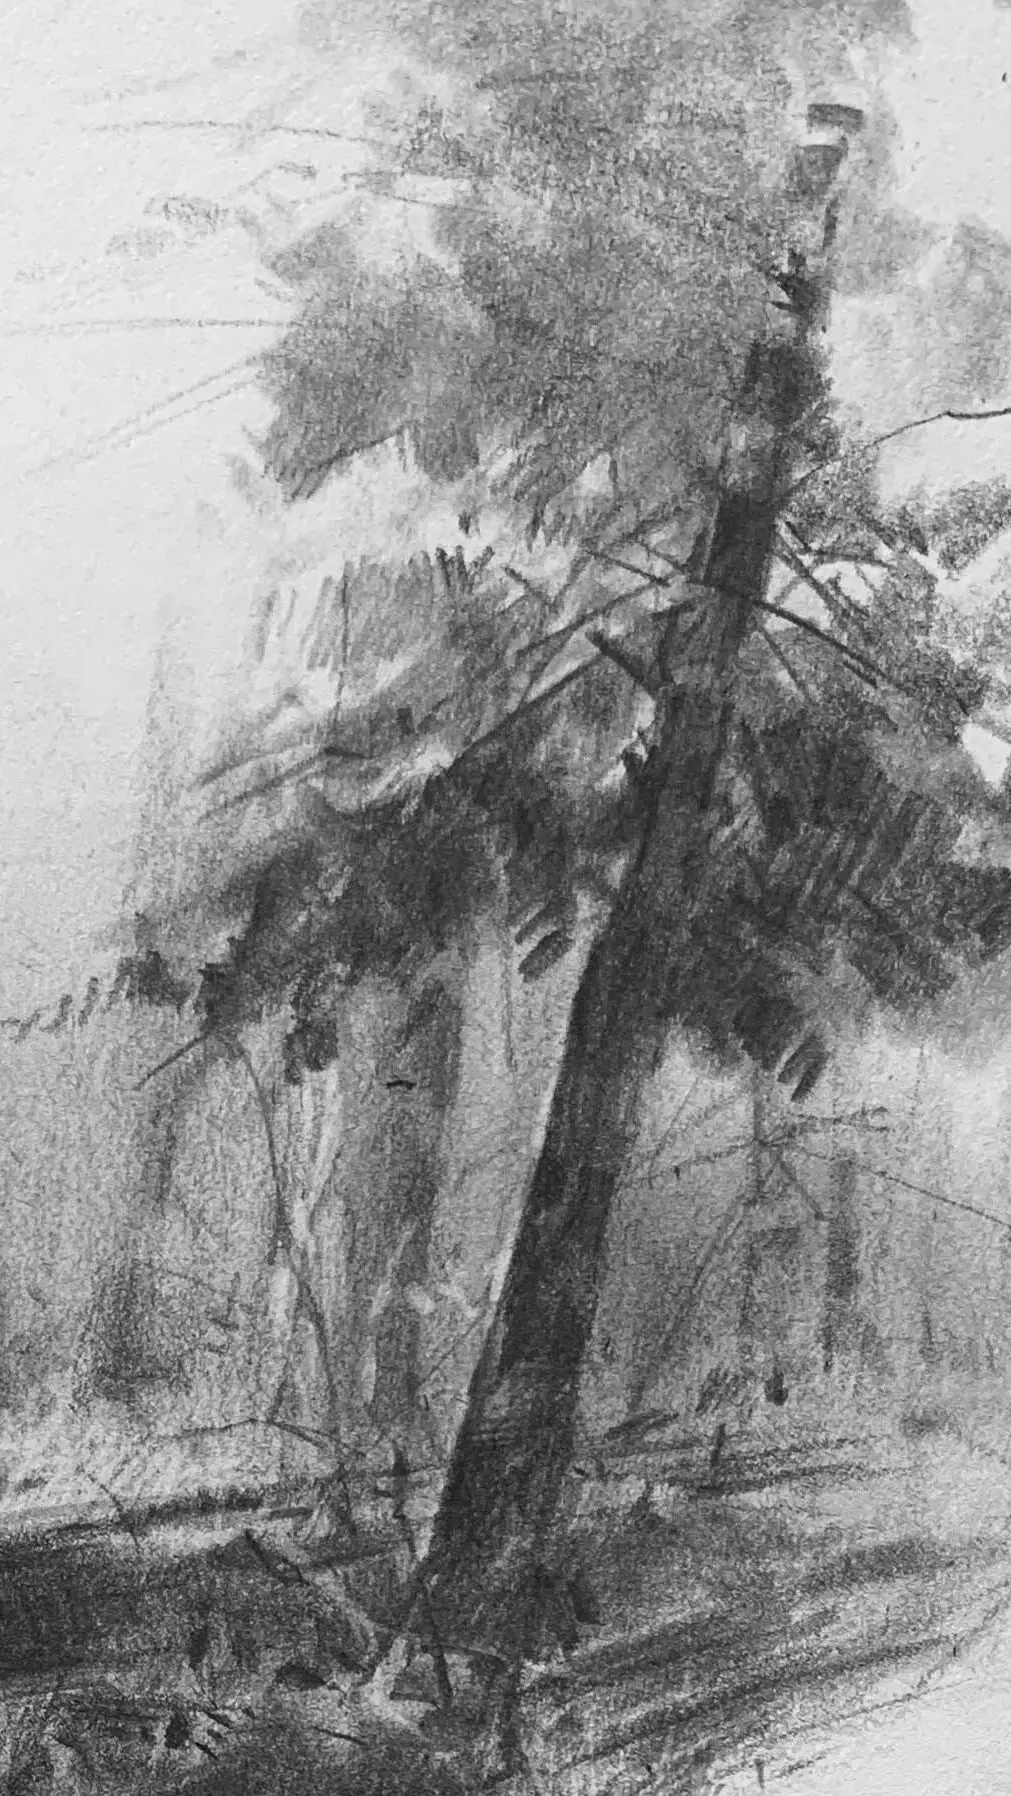
:: Infrastructure of branch trunks.
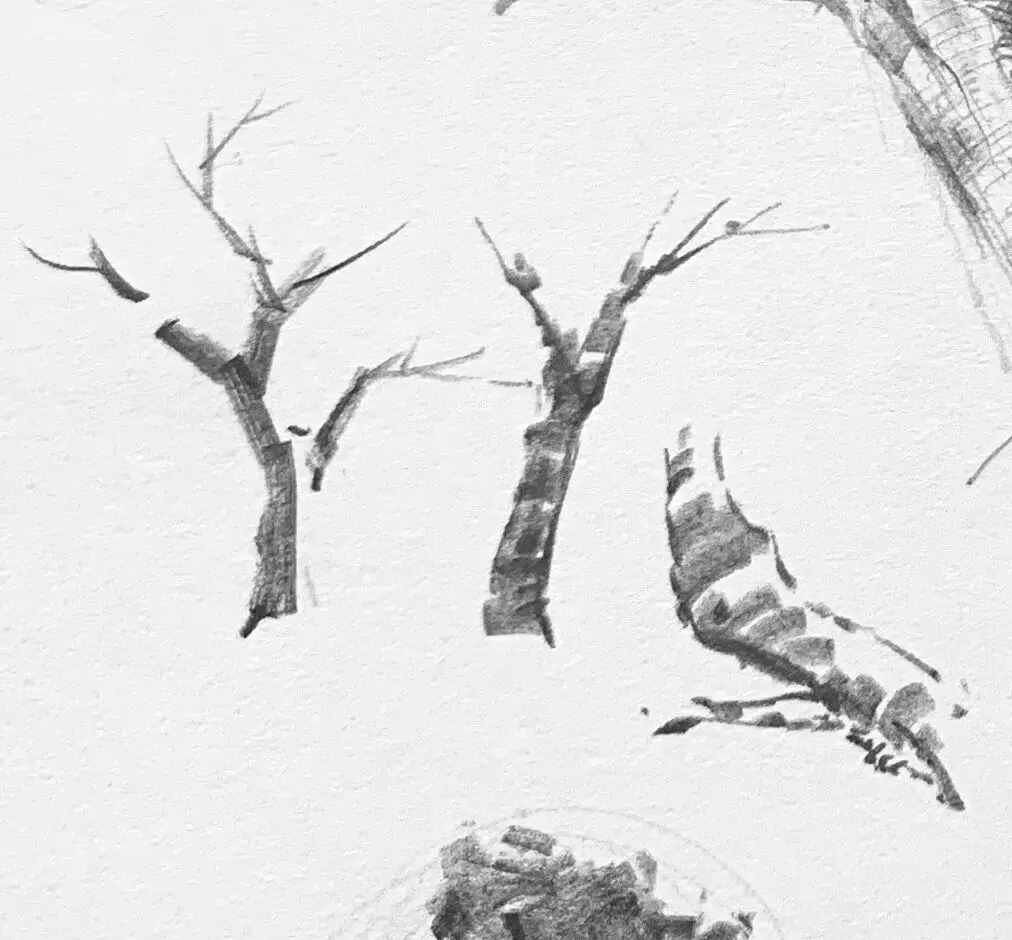
Deconstructing the "tree trunk structure": the distribution rhythm of trunk-branch-fork, which is one of the tree structures.
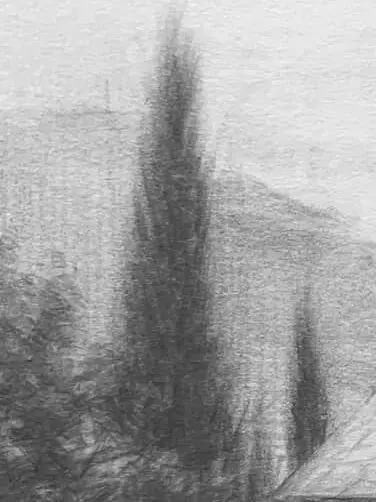
Tree trunks ≠ straight lines with natural curves and variations in thickness.
Observation of real tree trunks reveals that naturally occurring tree trunks vary in thickness and size.
It is rare to see a straight line of tree trunks without any bumps or variations.
It is recommended to draw the structural flow of "main trunk -> main branch -> secondary trunk".
The goal is to have more control over the thickness. If you are familiar with drawing tree branches, it's okay to start from the end.
Adding paragraph variations can enrich the tree trunkThe main trunk is thicker, and slowly the branches become thinner towards the end. These lines help us to grasp the basic shape of the tree.
The trunk is usuallyCylindrical deformationpossessElliptical section
Coarse → fine, straight → curved, main stem → branches, with directionality and coarse and fine variations
The nodes (branches) will have a natural twist and "Y-shaped" bifurcation structure.
Let's have a look at the industrial and commercial services.
If you want to learn to draw, but don't know how to start, or are interested in understanding what drawing is all about.
drawVolume Bending on the Shadow SideEnhancement of the cylindrical feel
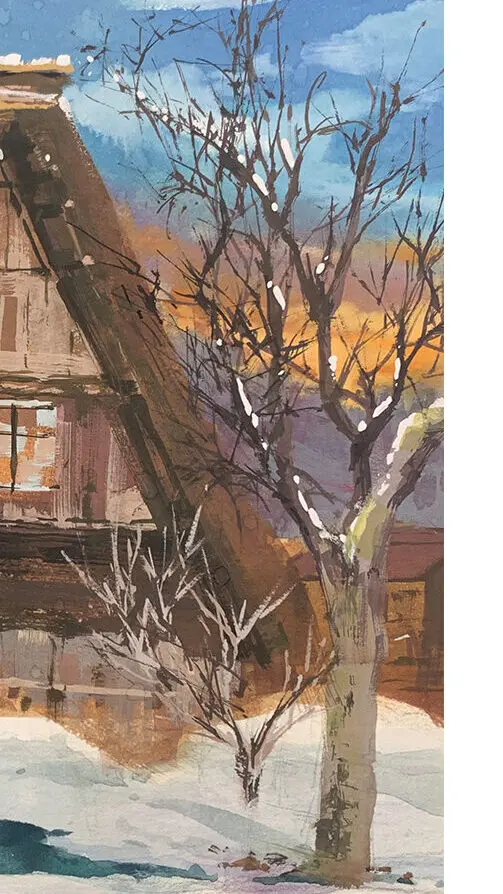
Practice drawing the flowing lines of a tree branch and learn to change from thick to thin.
Use lines to practice thick and thin strokes to vary the direction of "simulated fibers" and bark texture.
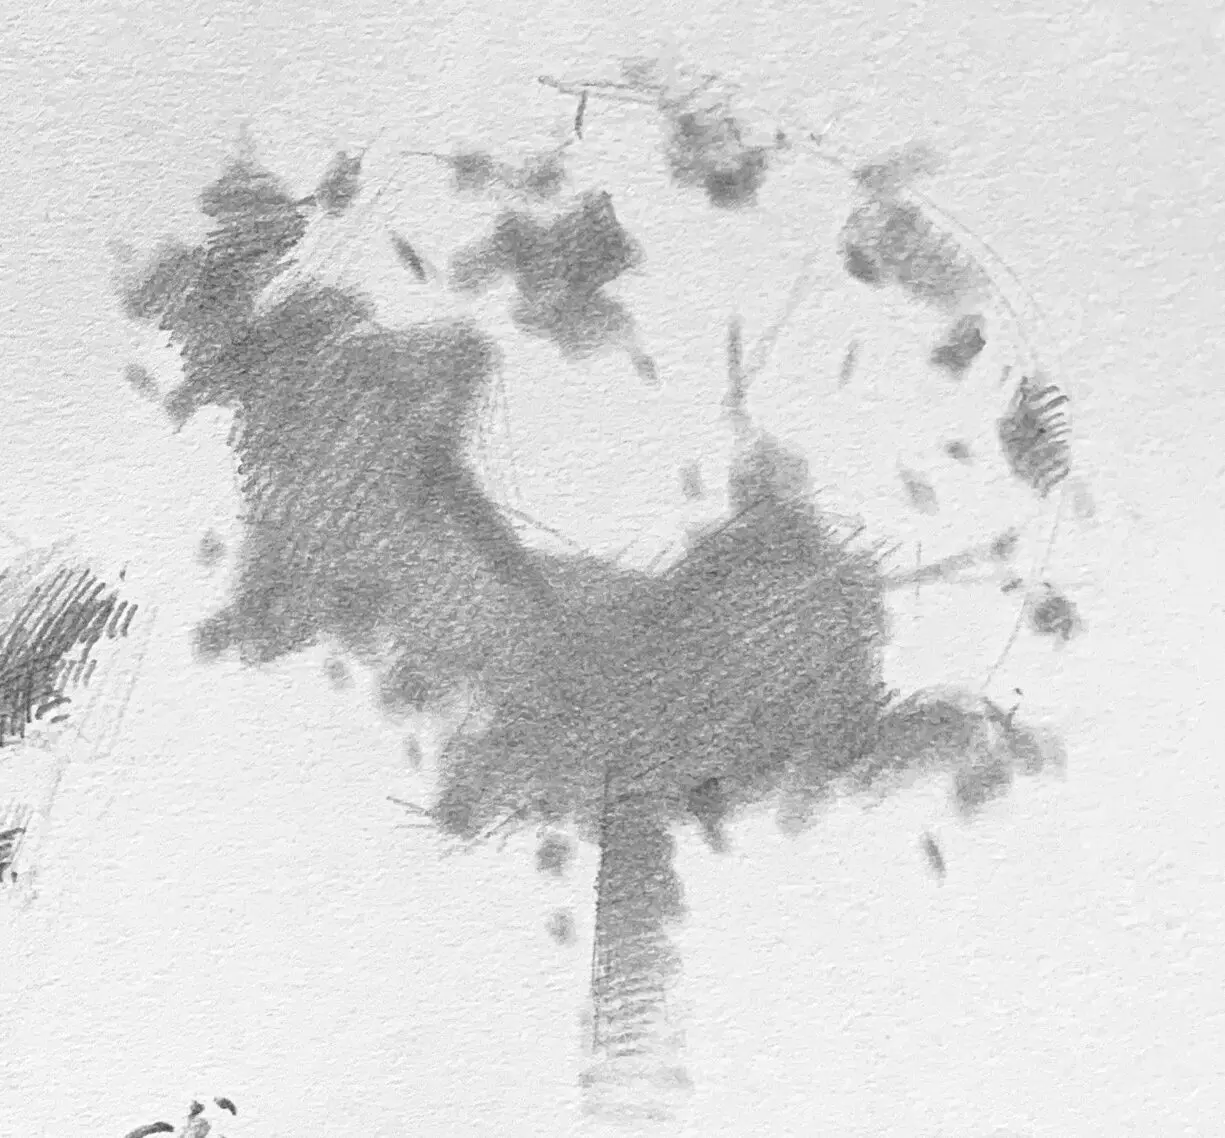
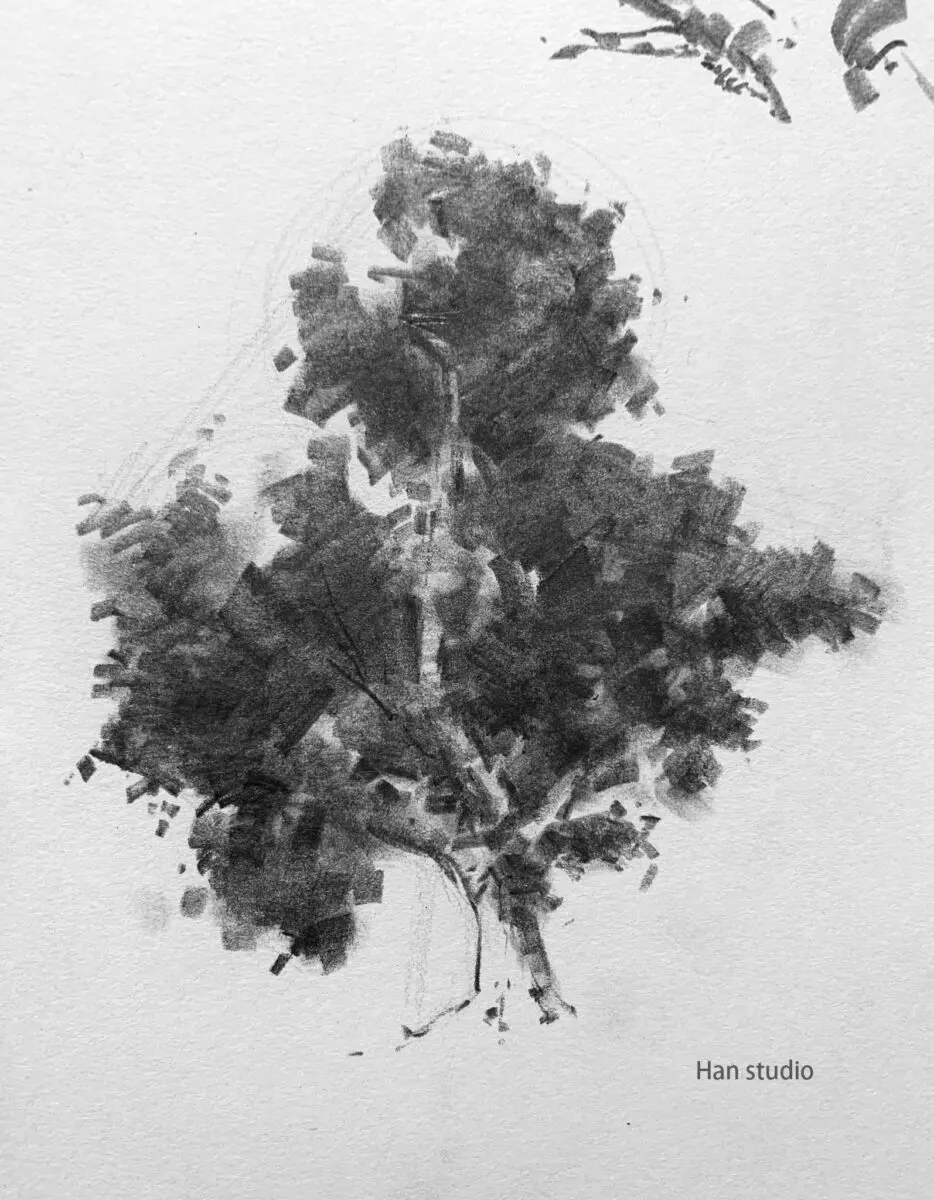
Simplification and arrangement of leaves.
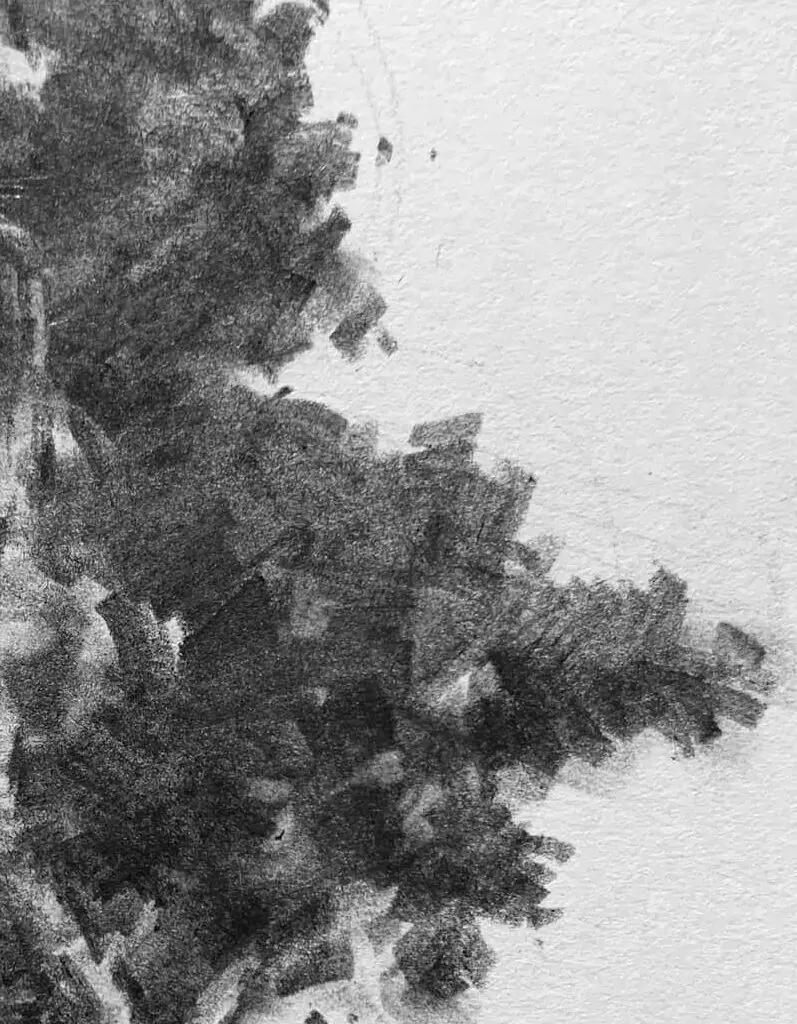
A block of foliage can be understood as a large, medium or small group, according to which the light and dark sides can be separated, and some overly complex shapes can be integrated together.
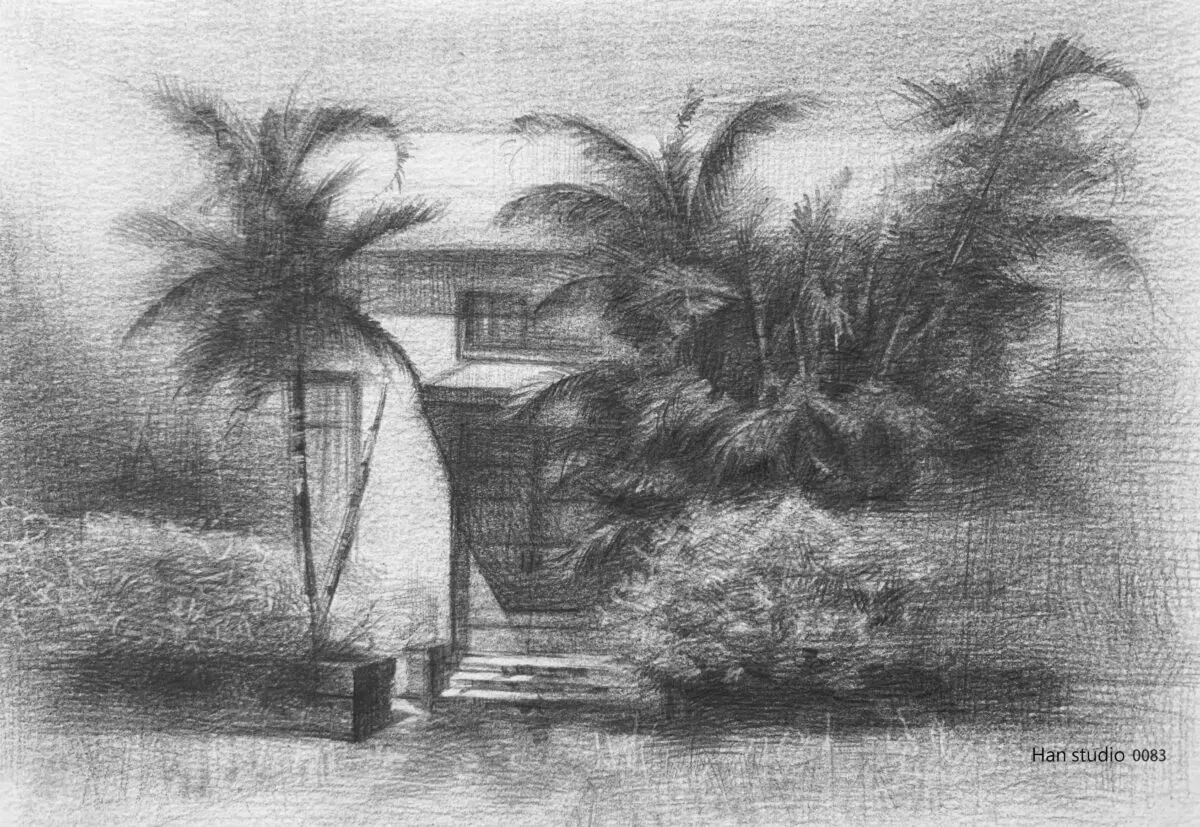
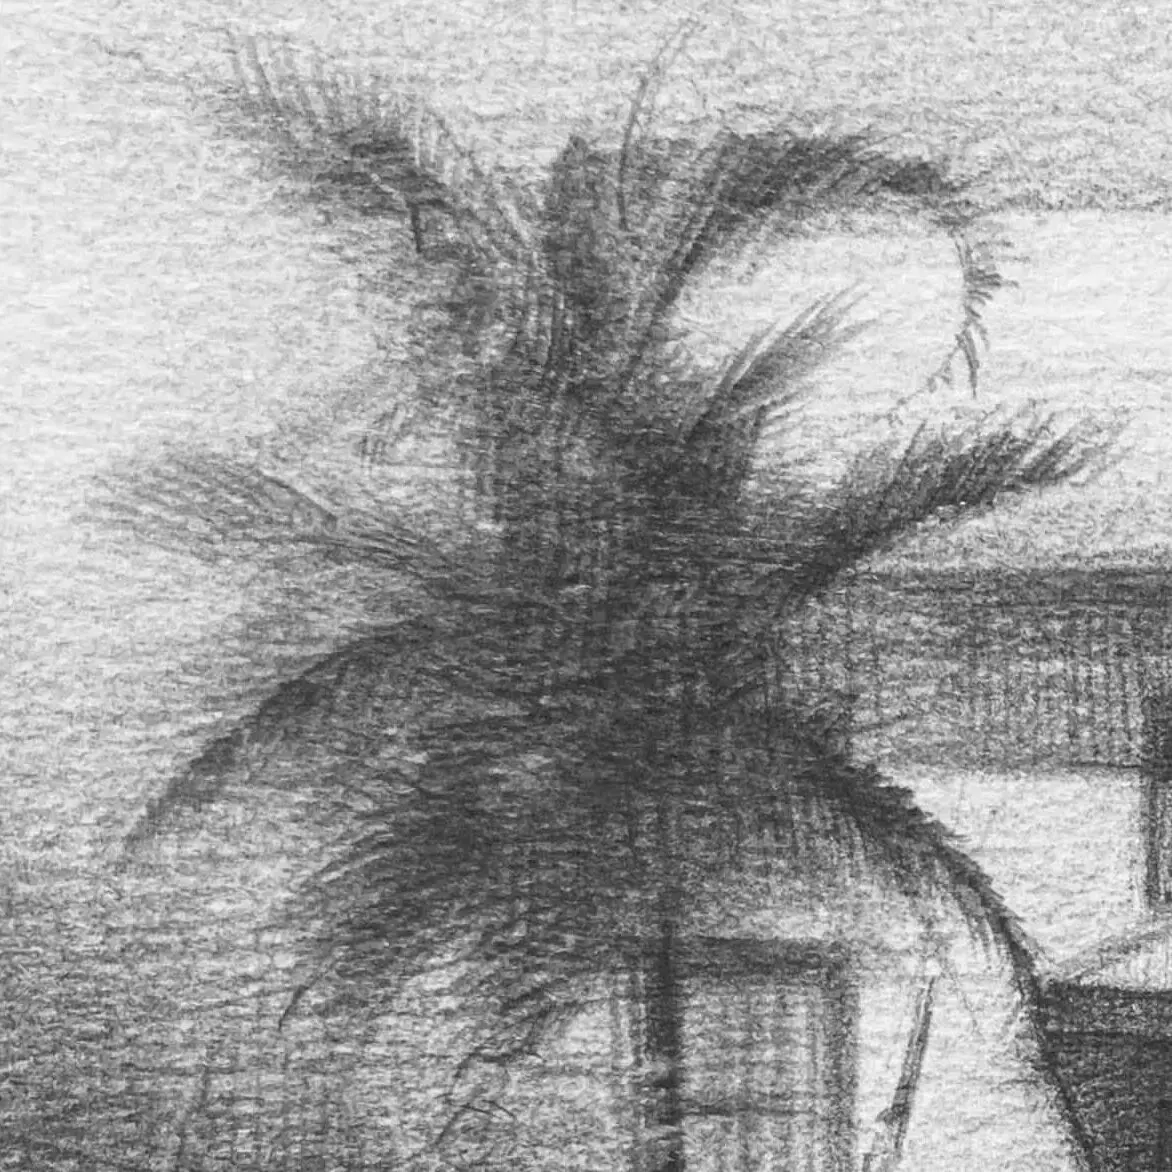
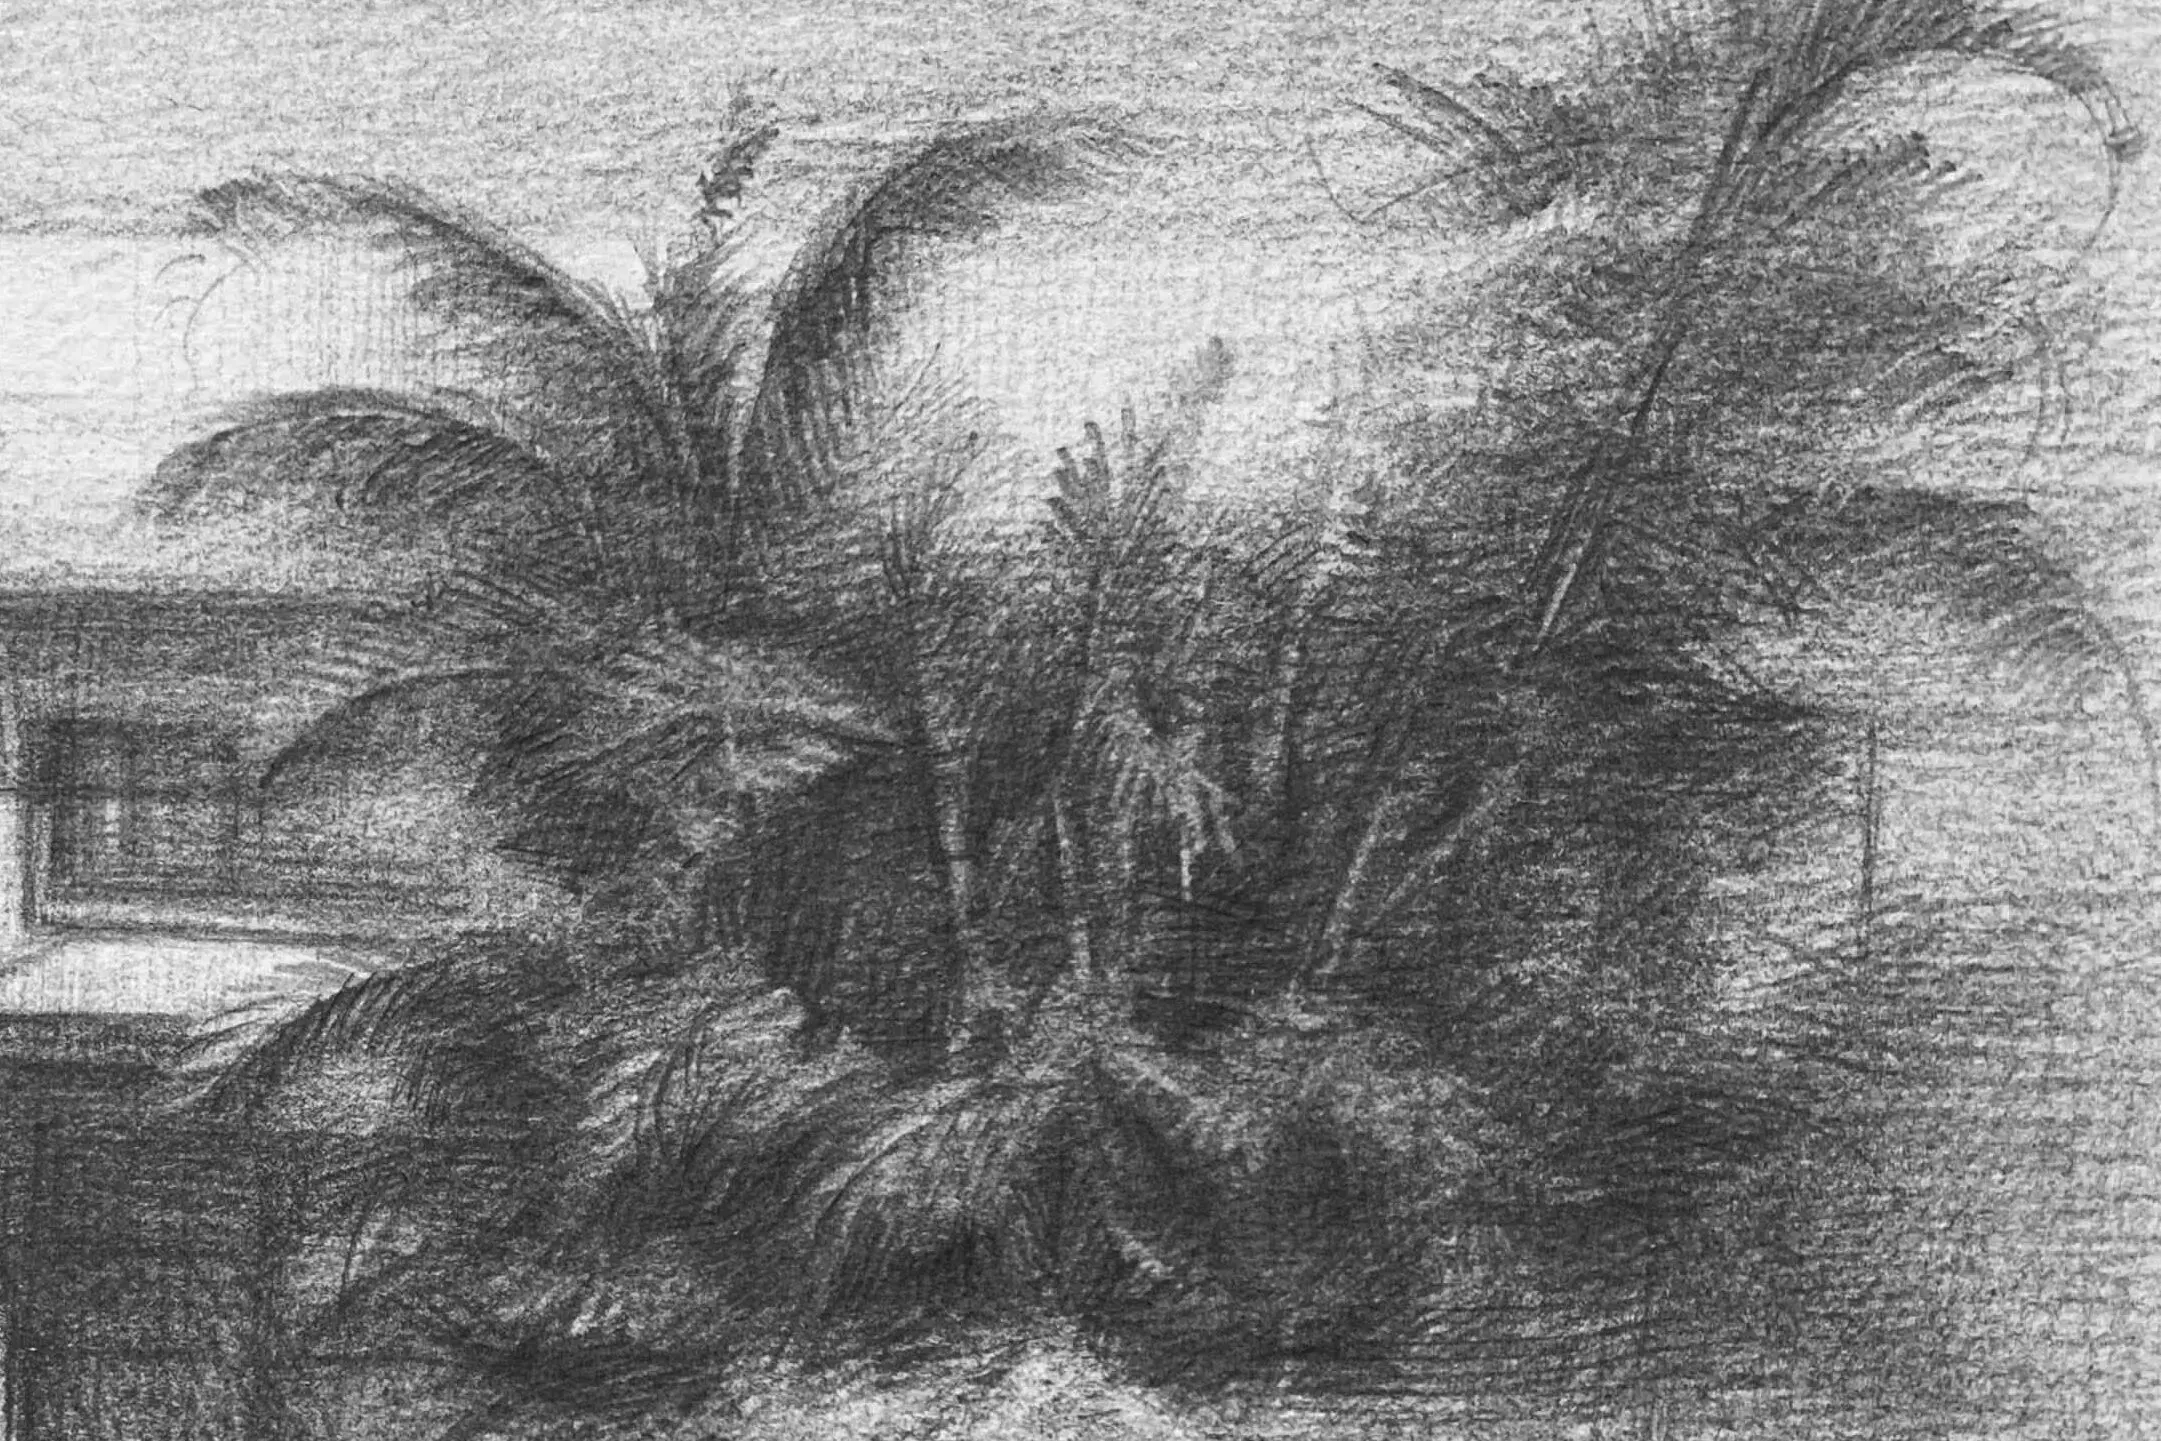
Leaves at first glance appear to be in pieces, it is recommended to organize them into a blocky distribution (dark surface clumps)Coconut leaves are concentrated at the top in a feathery arrangement
Structural Characteristics of Coconut Leaves
Each leaf is long, with a well-defined central vein that spreads out from the sides of the main axis like a feather or broom.
The leaves are curved and drooping.Long and soft leaf stalks。
The leaves are distributed in a radial pattern, like a "radial fan".
Leaf Clusters and Layers of Light and Dark
The leaf group thinks in "blocks" rather than piece by piece.
Lights, midtones, and shadows often constitute three variations of light and dark.
Pay attention to the "overlapping layers" and "translucency effect" to avoid drawing flat and messy lines.
✏️ Recommended exercises:
Observe the group of leaves in backlight and downlight (following the light), and draw the simplified chunks of light and dark.
Practice "blockiness" with brushstrokes: e.g. curved lines for leaf direction.
How to express the leaves in brushstrokes.
After the leaves are divided into light and dark colors, add strokes on them, the direction of the strokes can be set by yourself, divide the strokes into three layers, light, gray and dark, the area of the strokes is getting smaller and smaller in the order.
How to draw leaf clusters?
When drawing leaves, you can pay attention to the undulation of the leaf mass, the concave and convex parts.
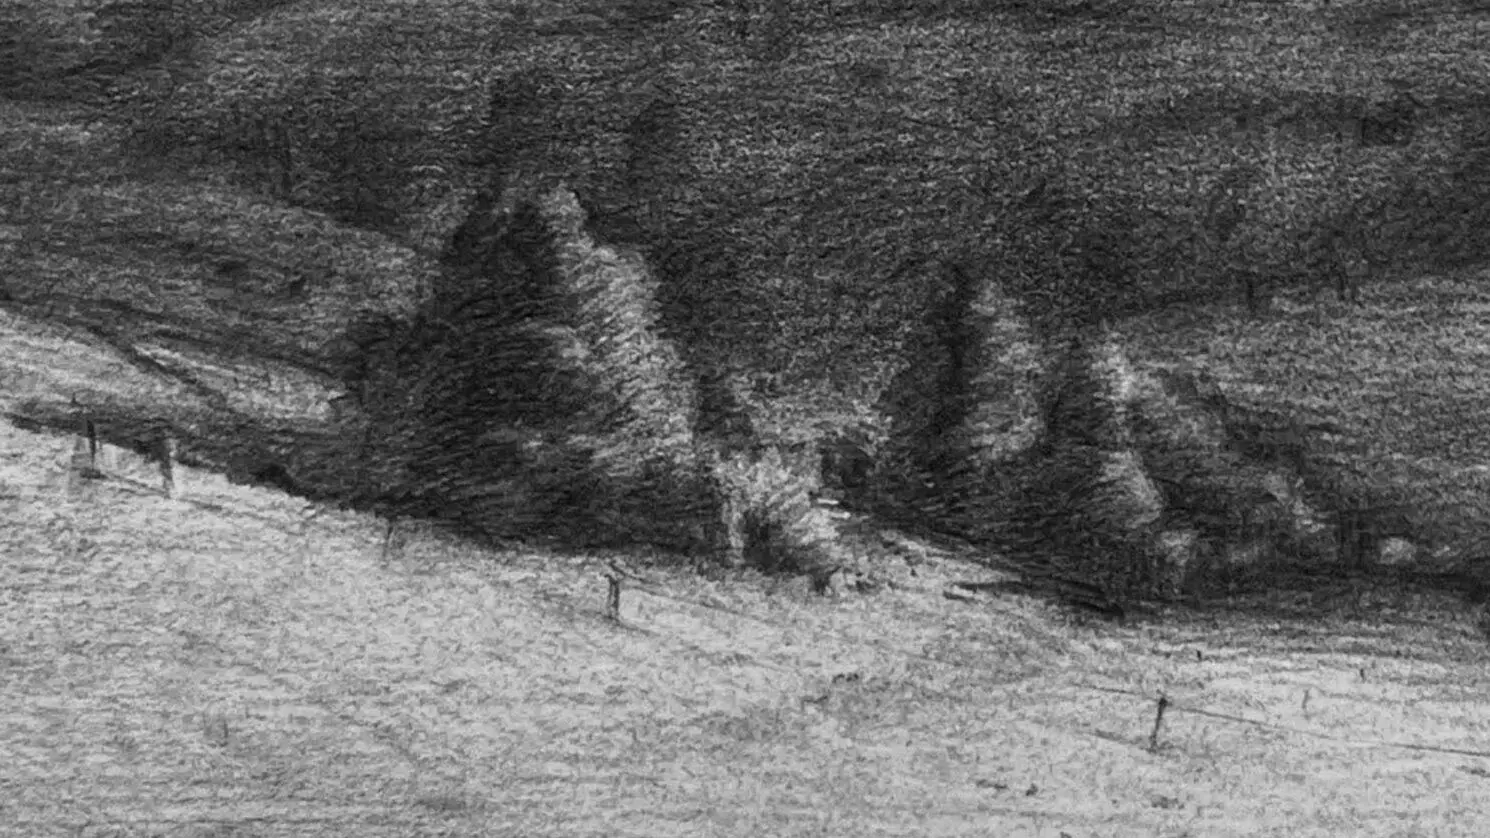
For example, in the tree sketch below, try to avoid spacing out each block or repeating the size of the shapes, as the repetition of the changes will make the natural variations lose their effect.
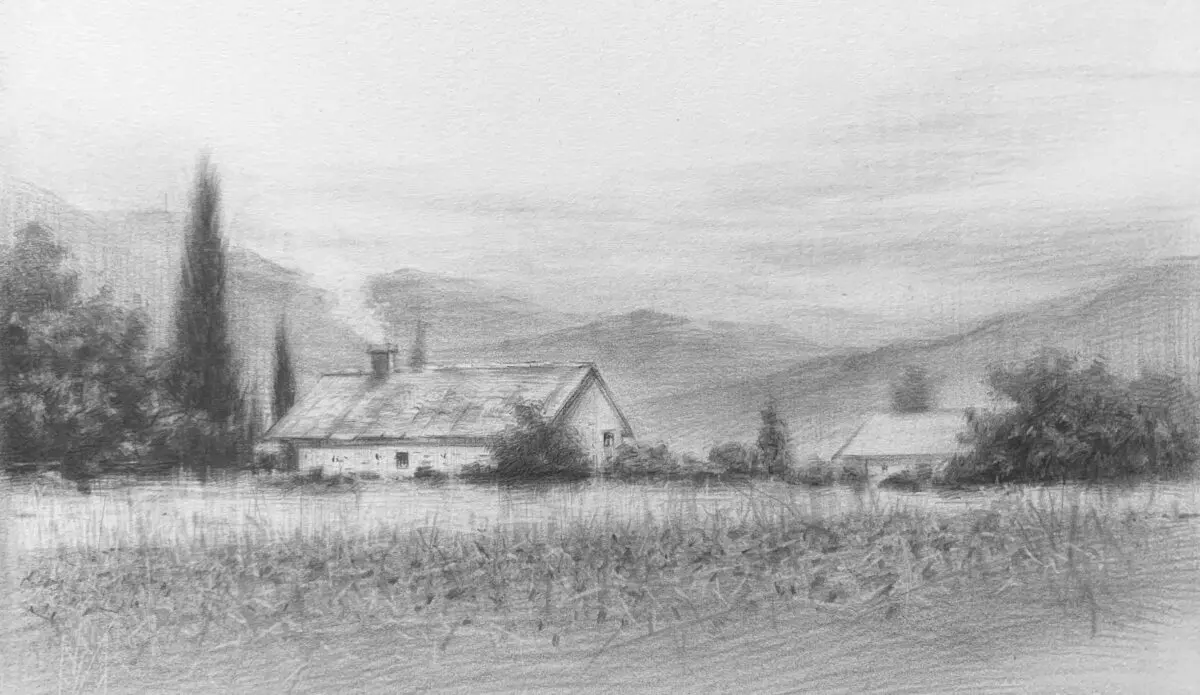
Overall light and darkness of the tree / matching space atmosphere performance
Understand how the position of the light source (uplight/side light/backlight) affects the overall mood of the scene.
Background and ground shadows (projections) can also help to visualize trees.
Areas close to the viewer (foreground) are usually clearer and more pronounced, while distant vistas are faded in brightness and detail (air perspective)
✏️ recommends exercises:
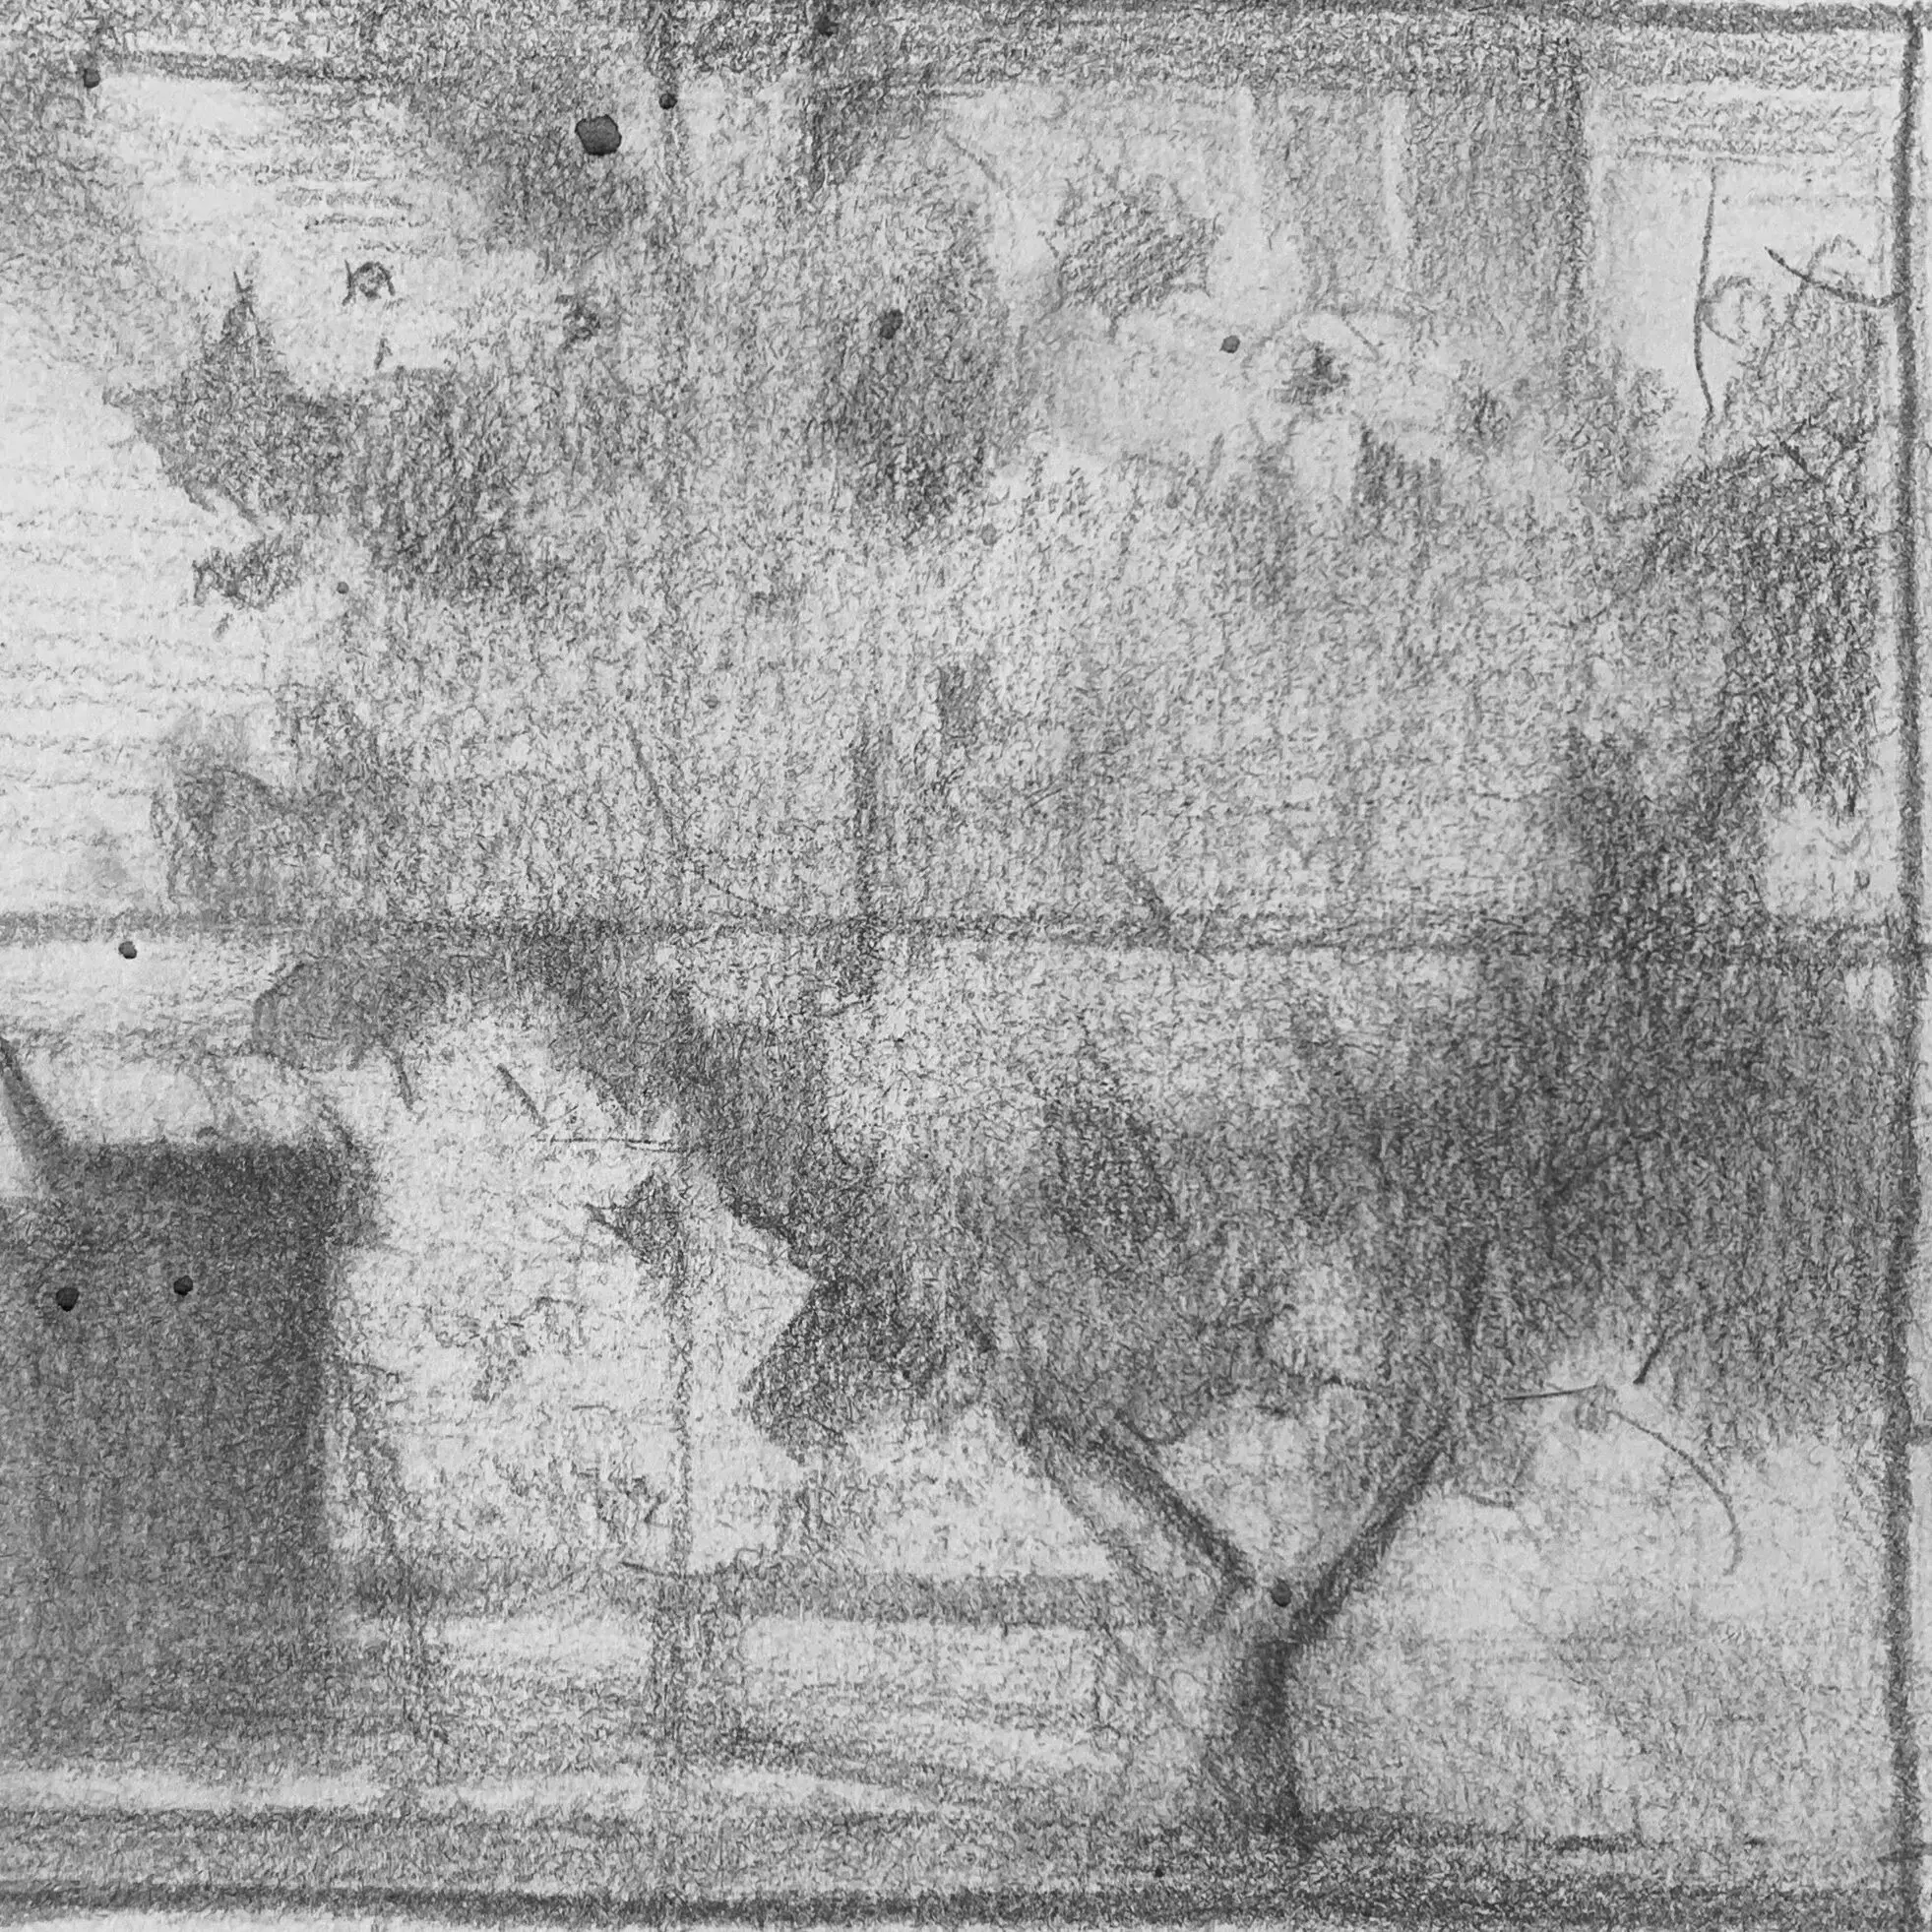
Draw 1~2 complete vignettes, from simplified silhouette to texture.
Try different materials: HB/2B/4B, etc. to show the difference between rough particles and soft strokes.
I hope this step-by-step description can help you recognize and understand how to draw trees, if there is any subject you want to see or want to know how to draw, please feel free to leave a message or private message me, I wish you a happy painting!