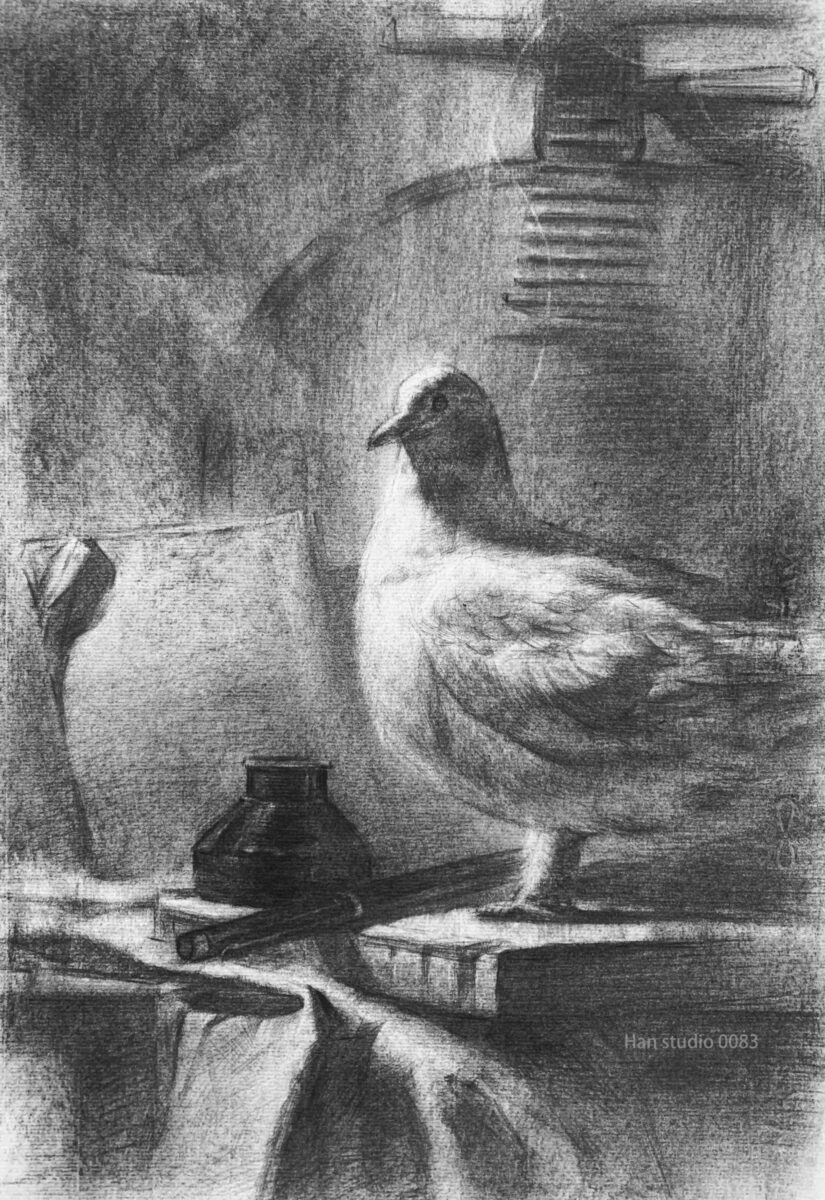
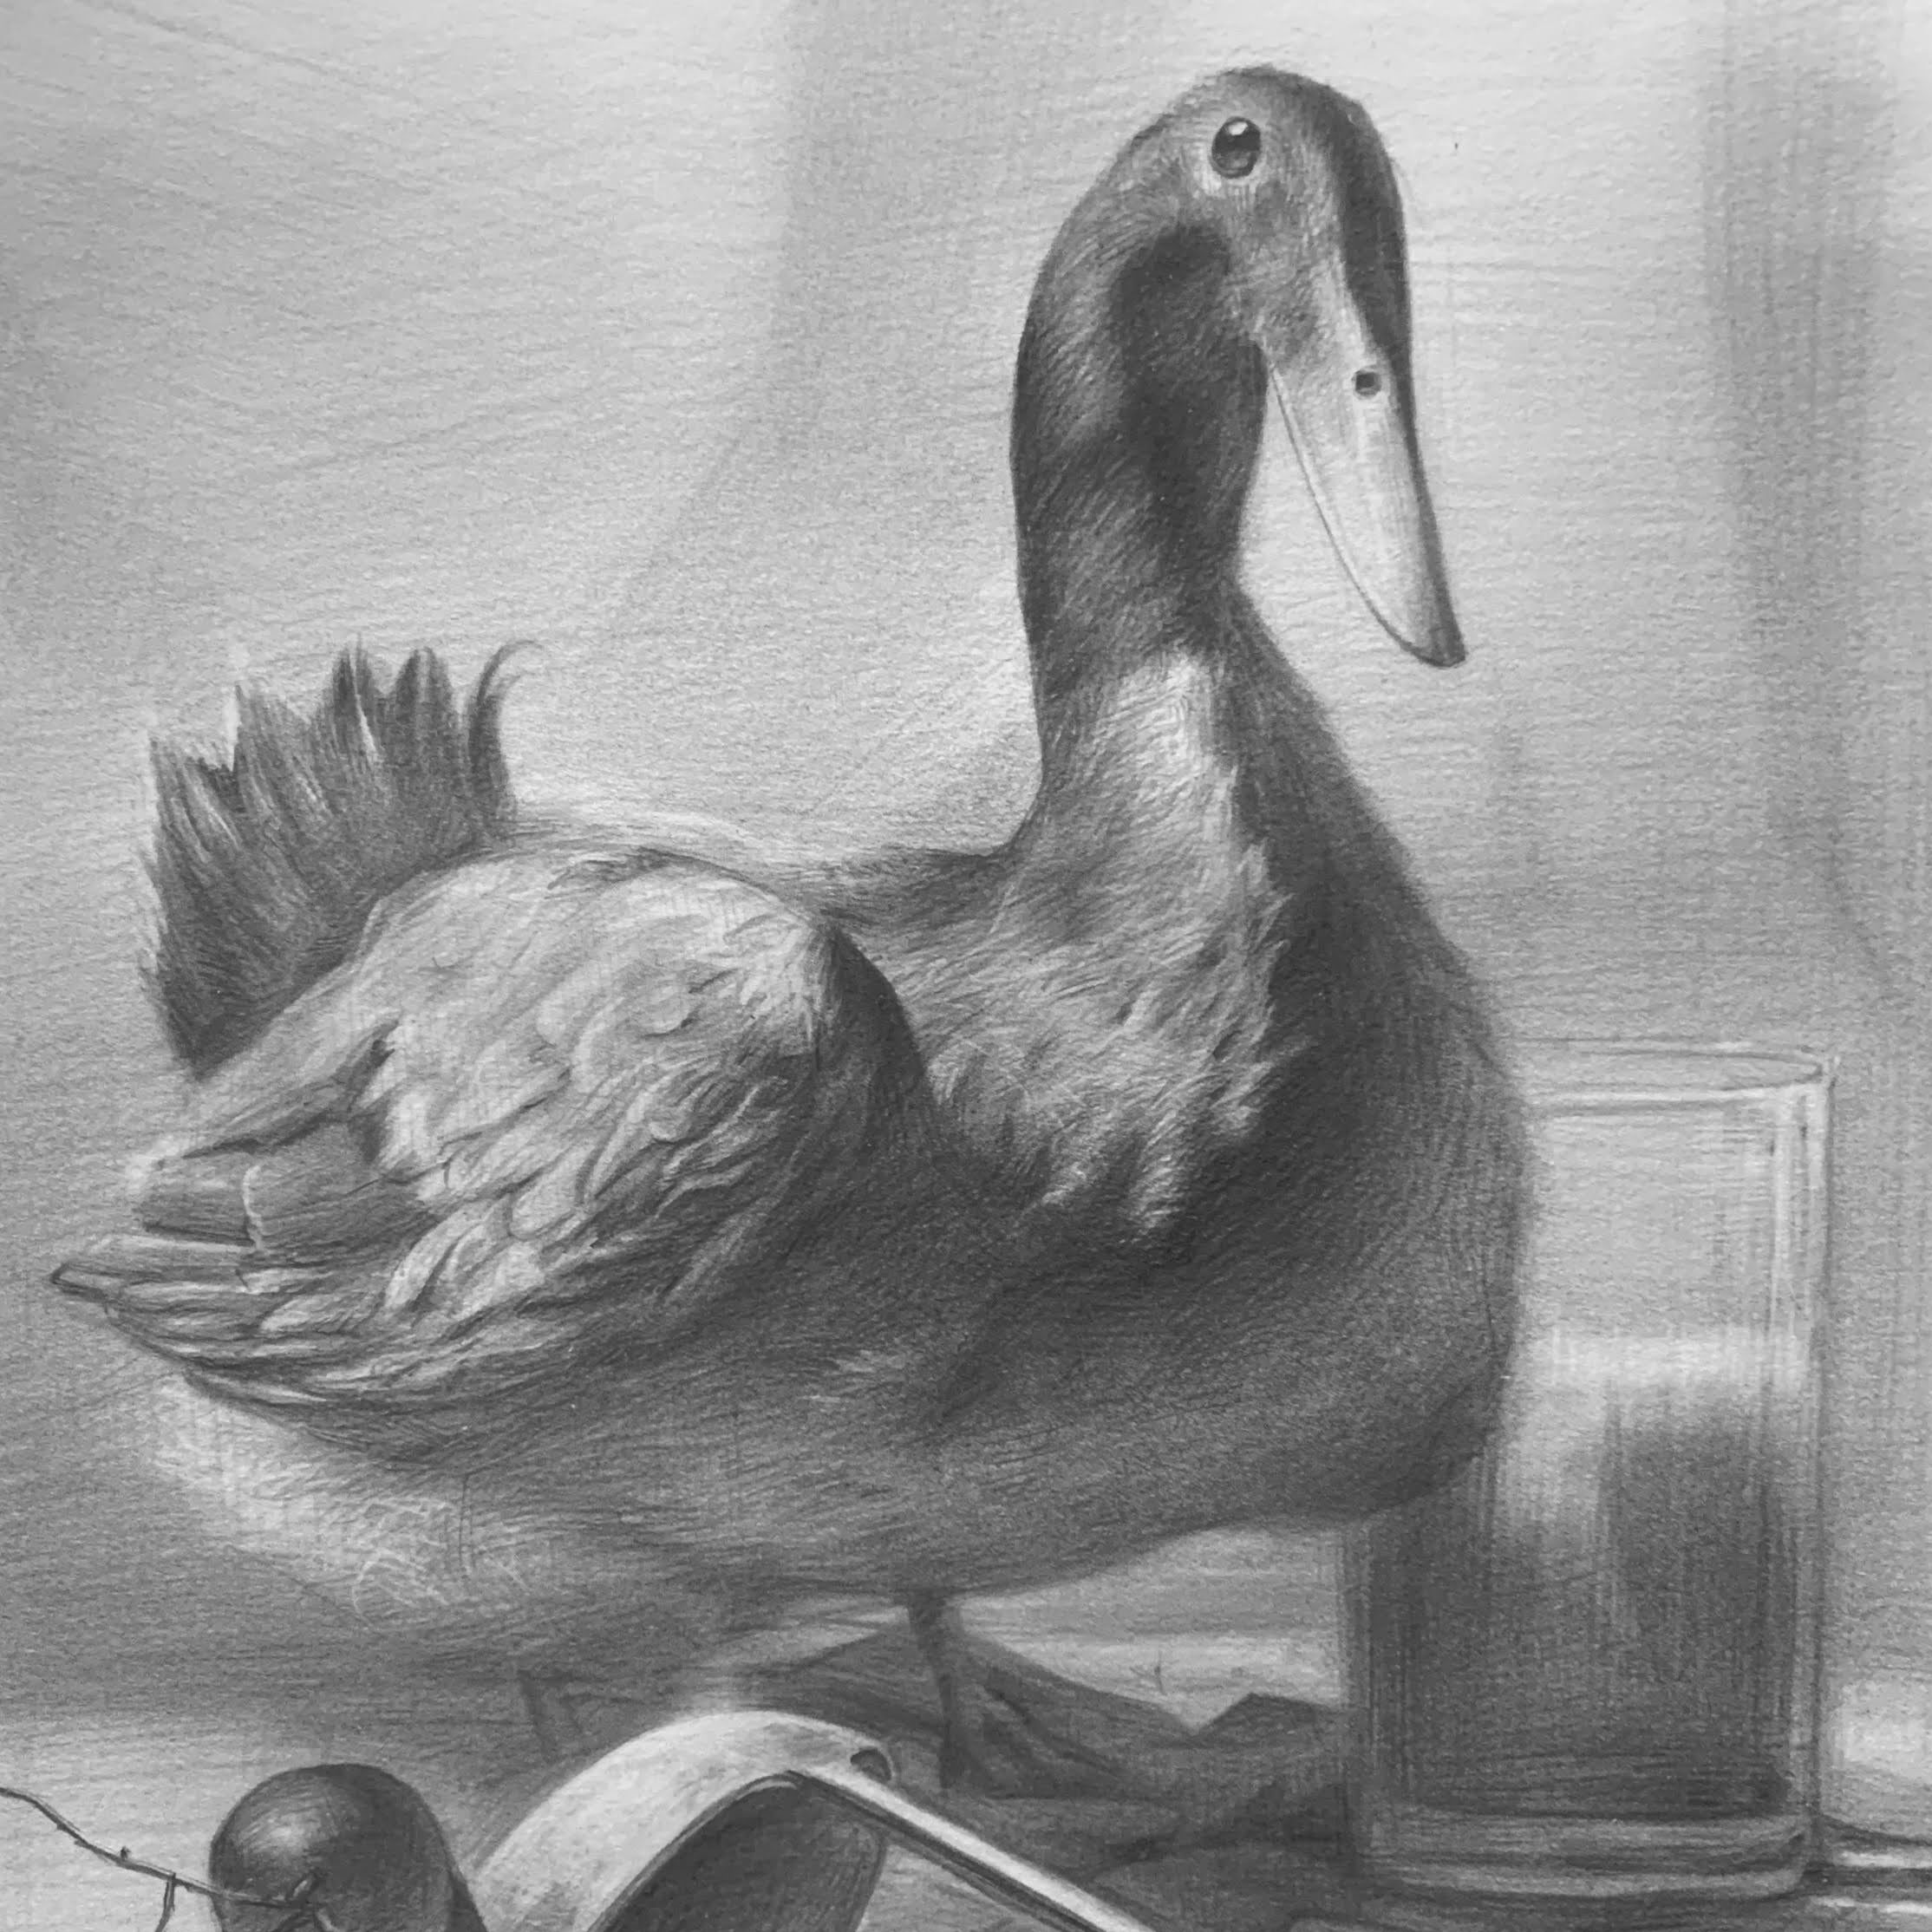
這週鳥類靜物組課堂習作,調整不同物件之間位置及強度。
好奇鴿子整隻的結構,查找資料發現身體骨架比較複雜,留給之後再補齊,
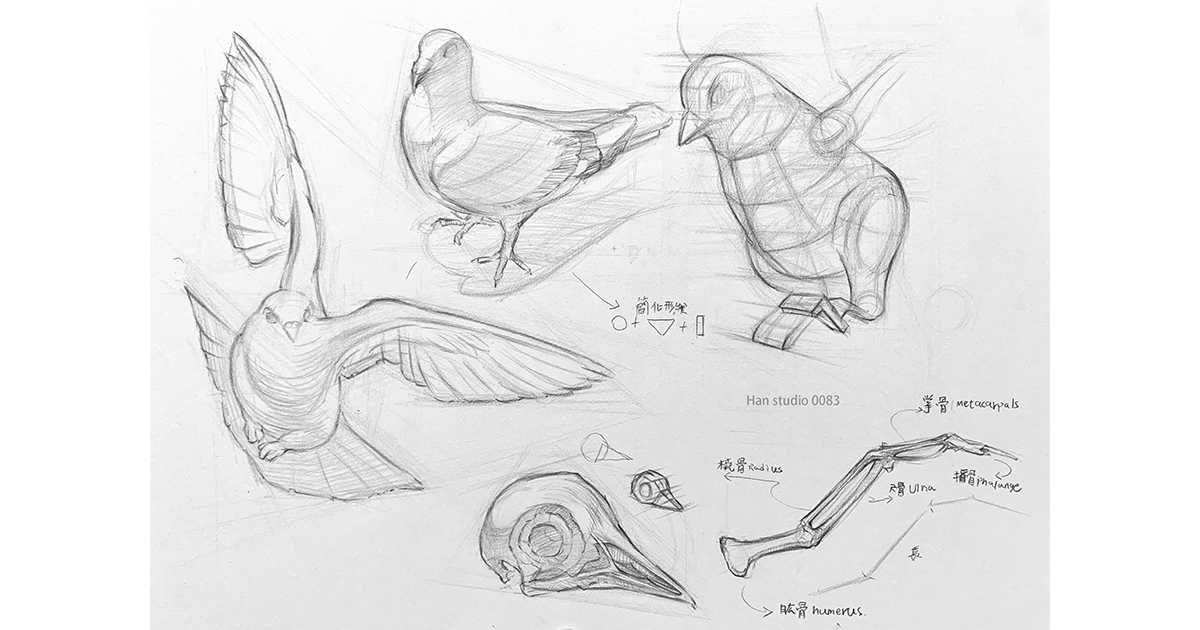
Curious about the full structure, I found that the pigeon’s skeletal frame is quite complex, so I’ll save a more detailed study for another time. For now, I’ve compiled some key points about pigeon anatomy and how to draw them. If you're interested, follow along, and use the second image for better understanding!
●Pigeon Anatomy:
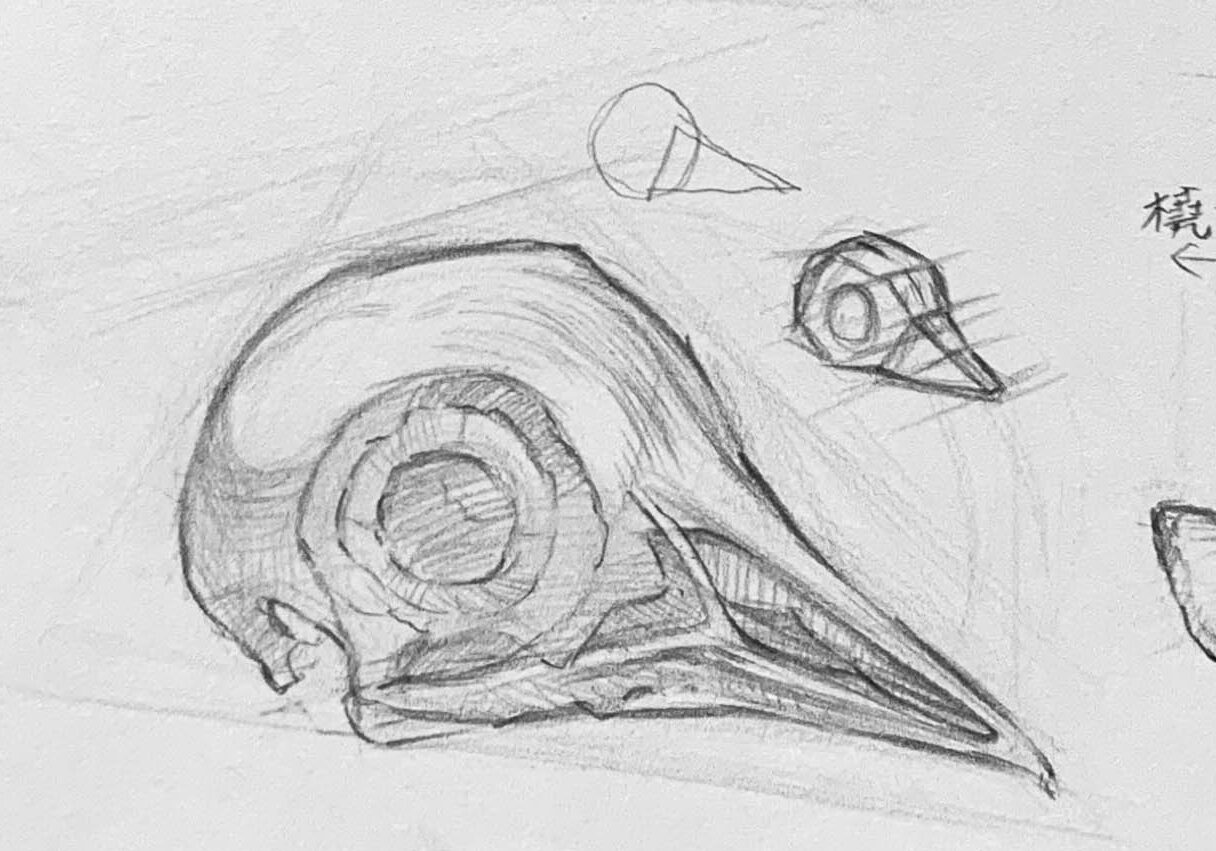
1. Head:
The pigeon’s head is small and round. The skull is relatively smooth, and you can observe the eye sockets and cranial structure in the small diagram below.
2. Body Proportions:
The body has a streamlined shape, with a wide chest and a narrower abdomen, suited for flight.
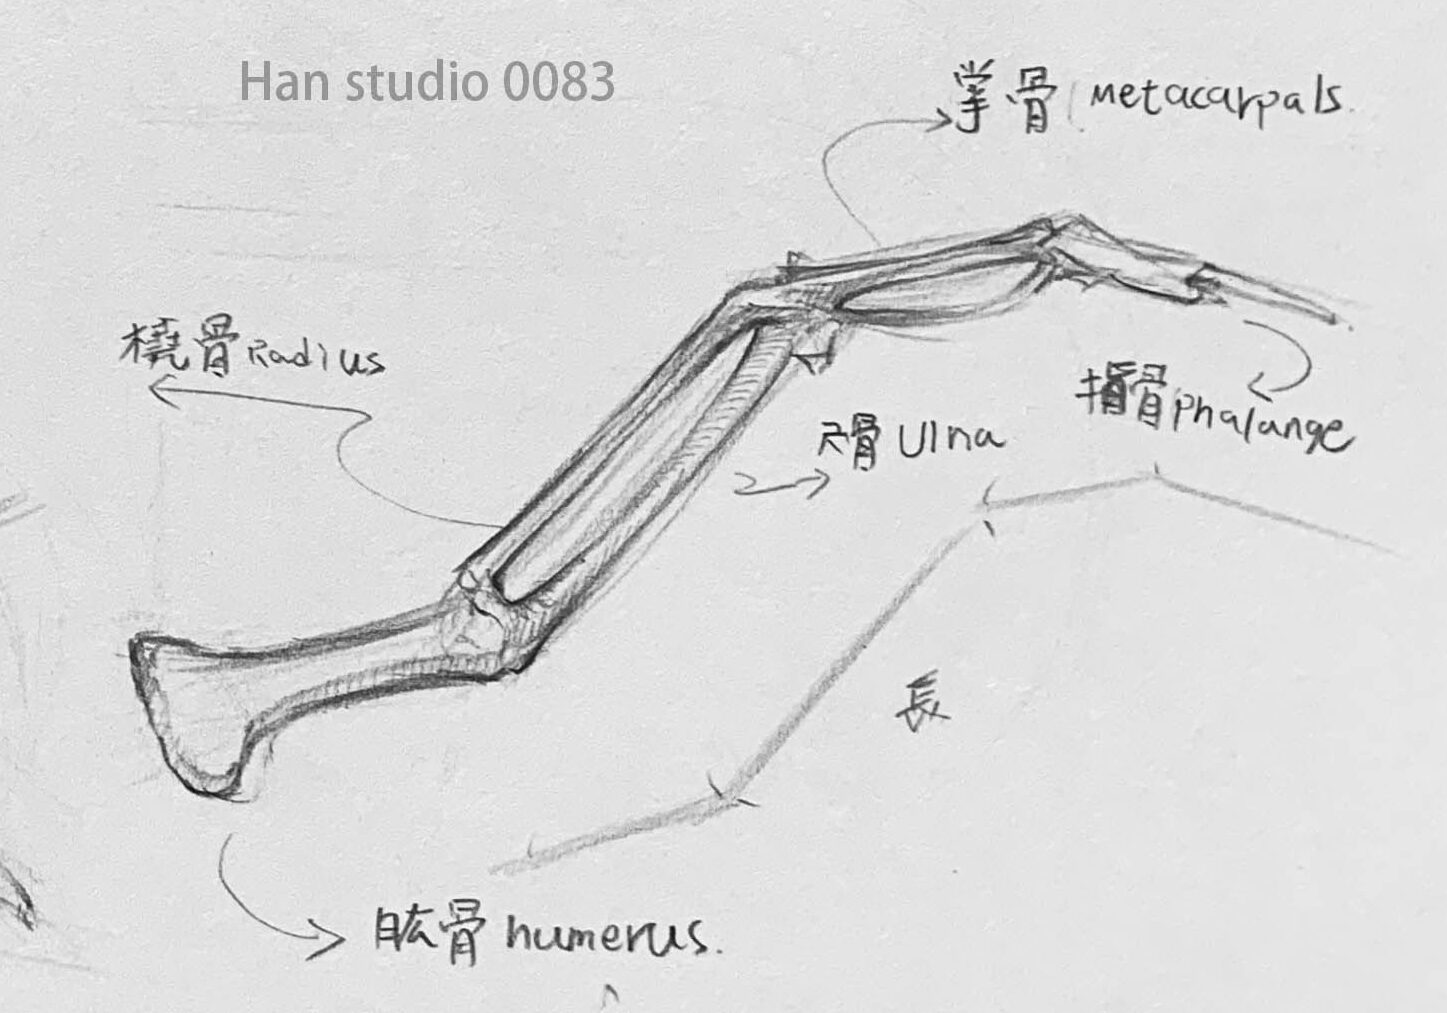
3. Wing Structure:
The wings extend from the shoulders to the phalanges (wing fingers), with major bones including the humerus, ulna, and radius. These bones support the force of flight. For details, check the small diagram in the bottom right.
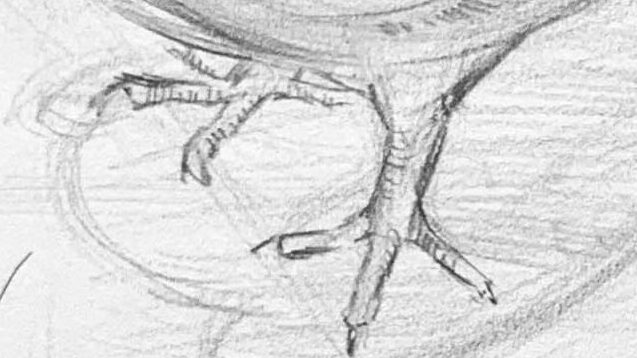
4. Legs and Feet:
Pigeons have short legs, and their feet usually feature four toes.
5. Tail:
The tail is short and fan-shaped, helping control flight direction.
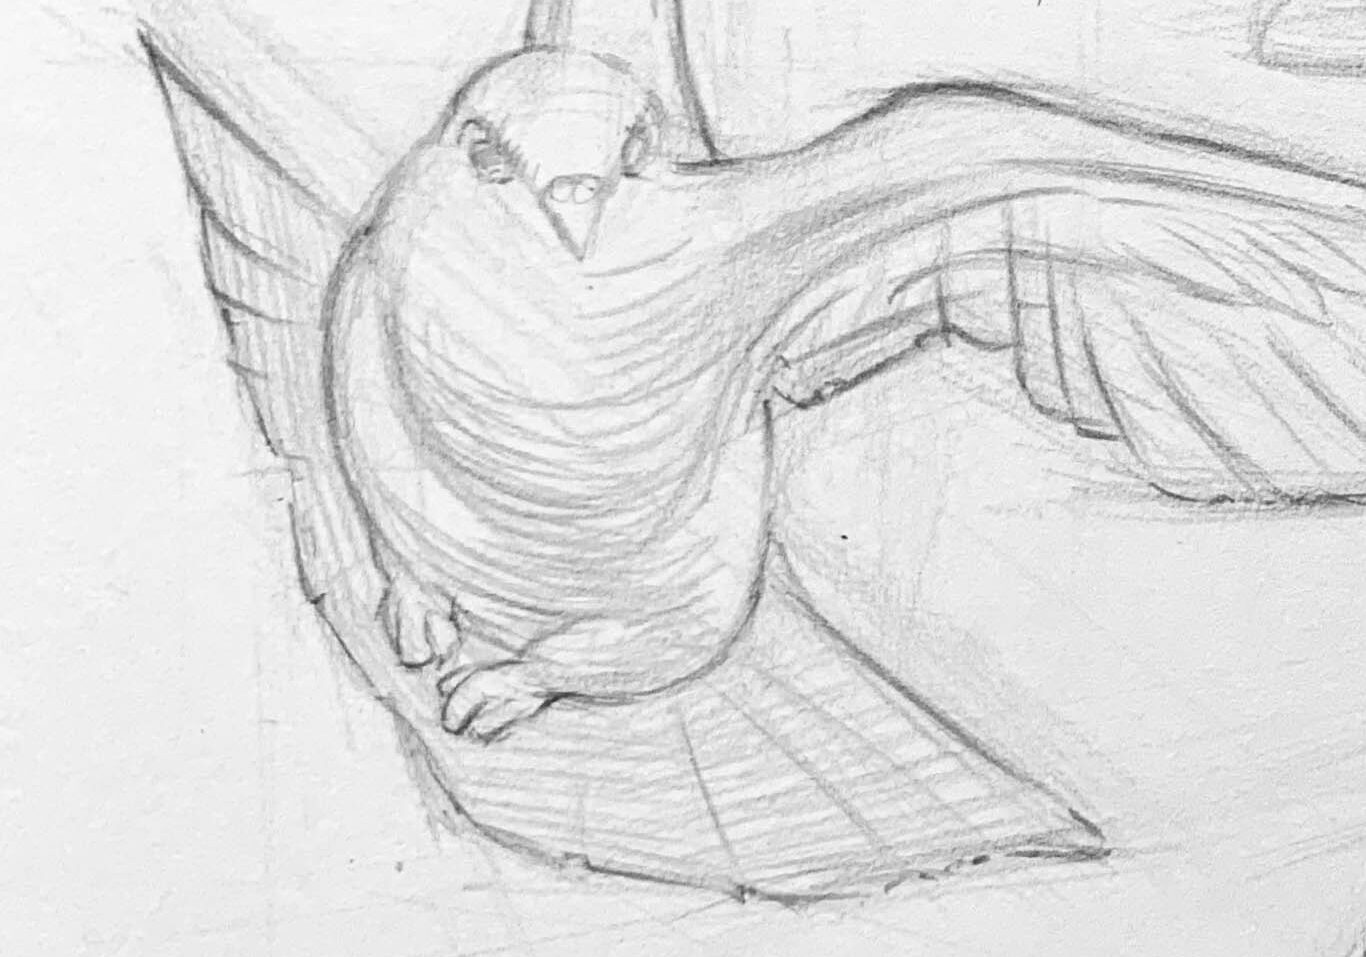
●How to Draw a Pigeon:
Step 1:
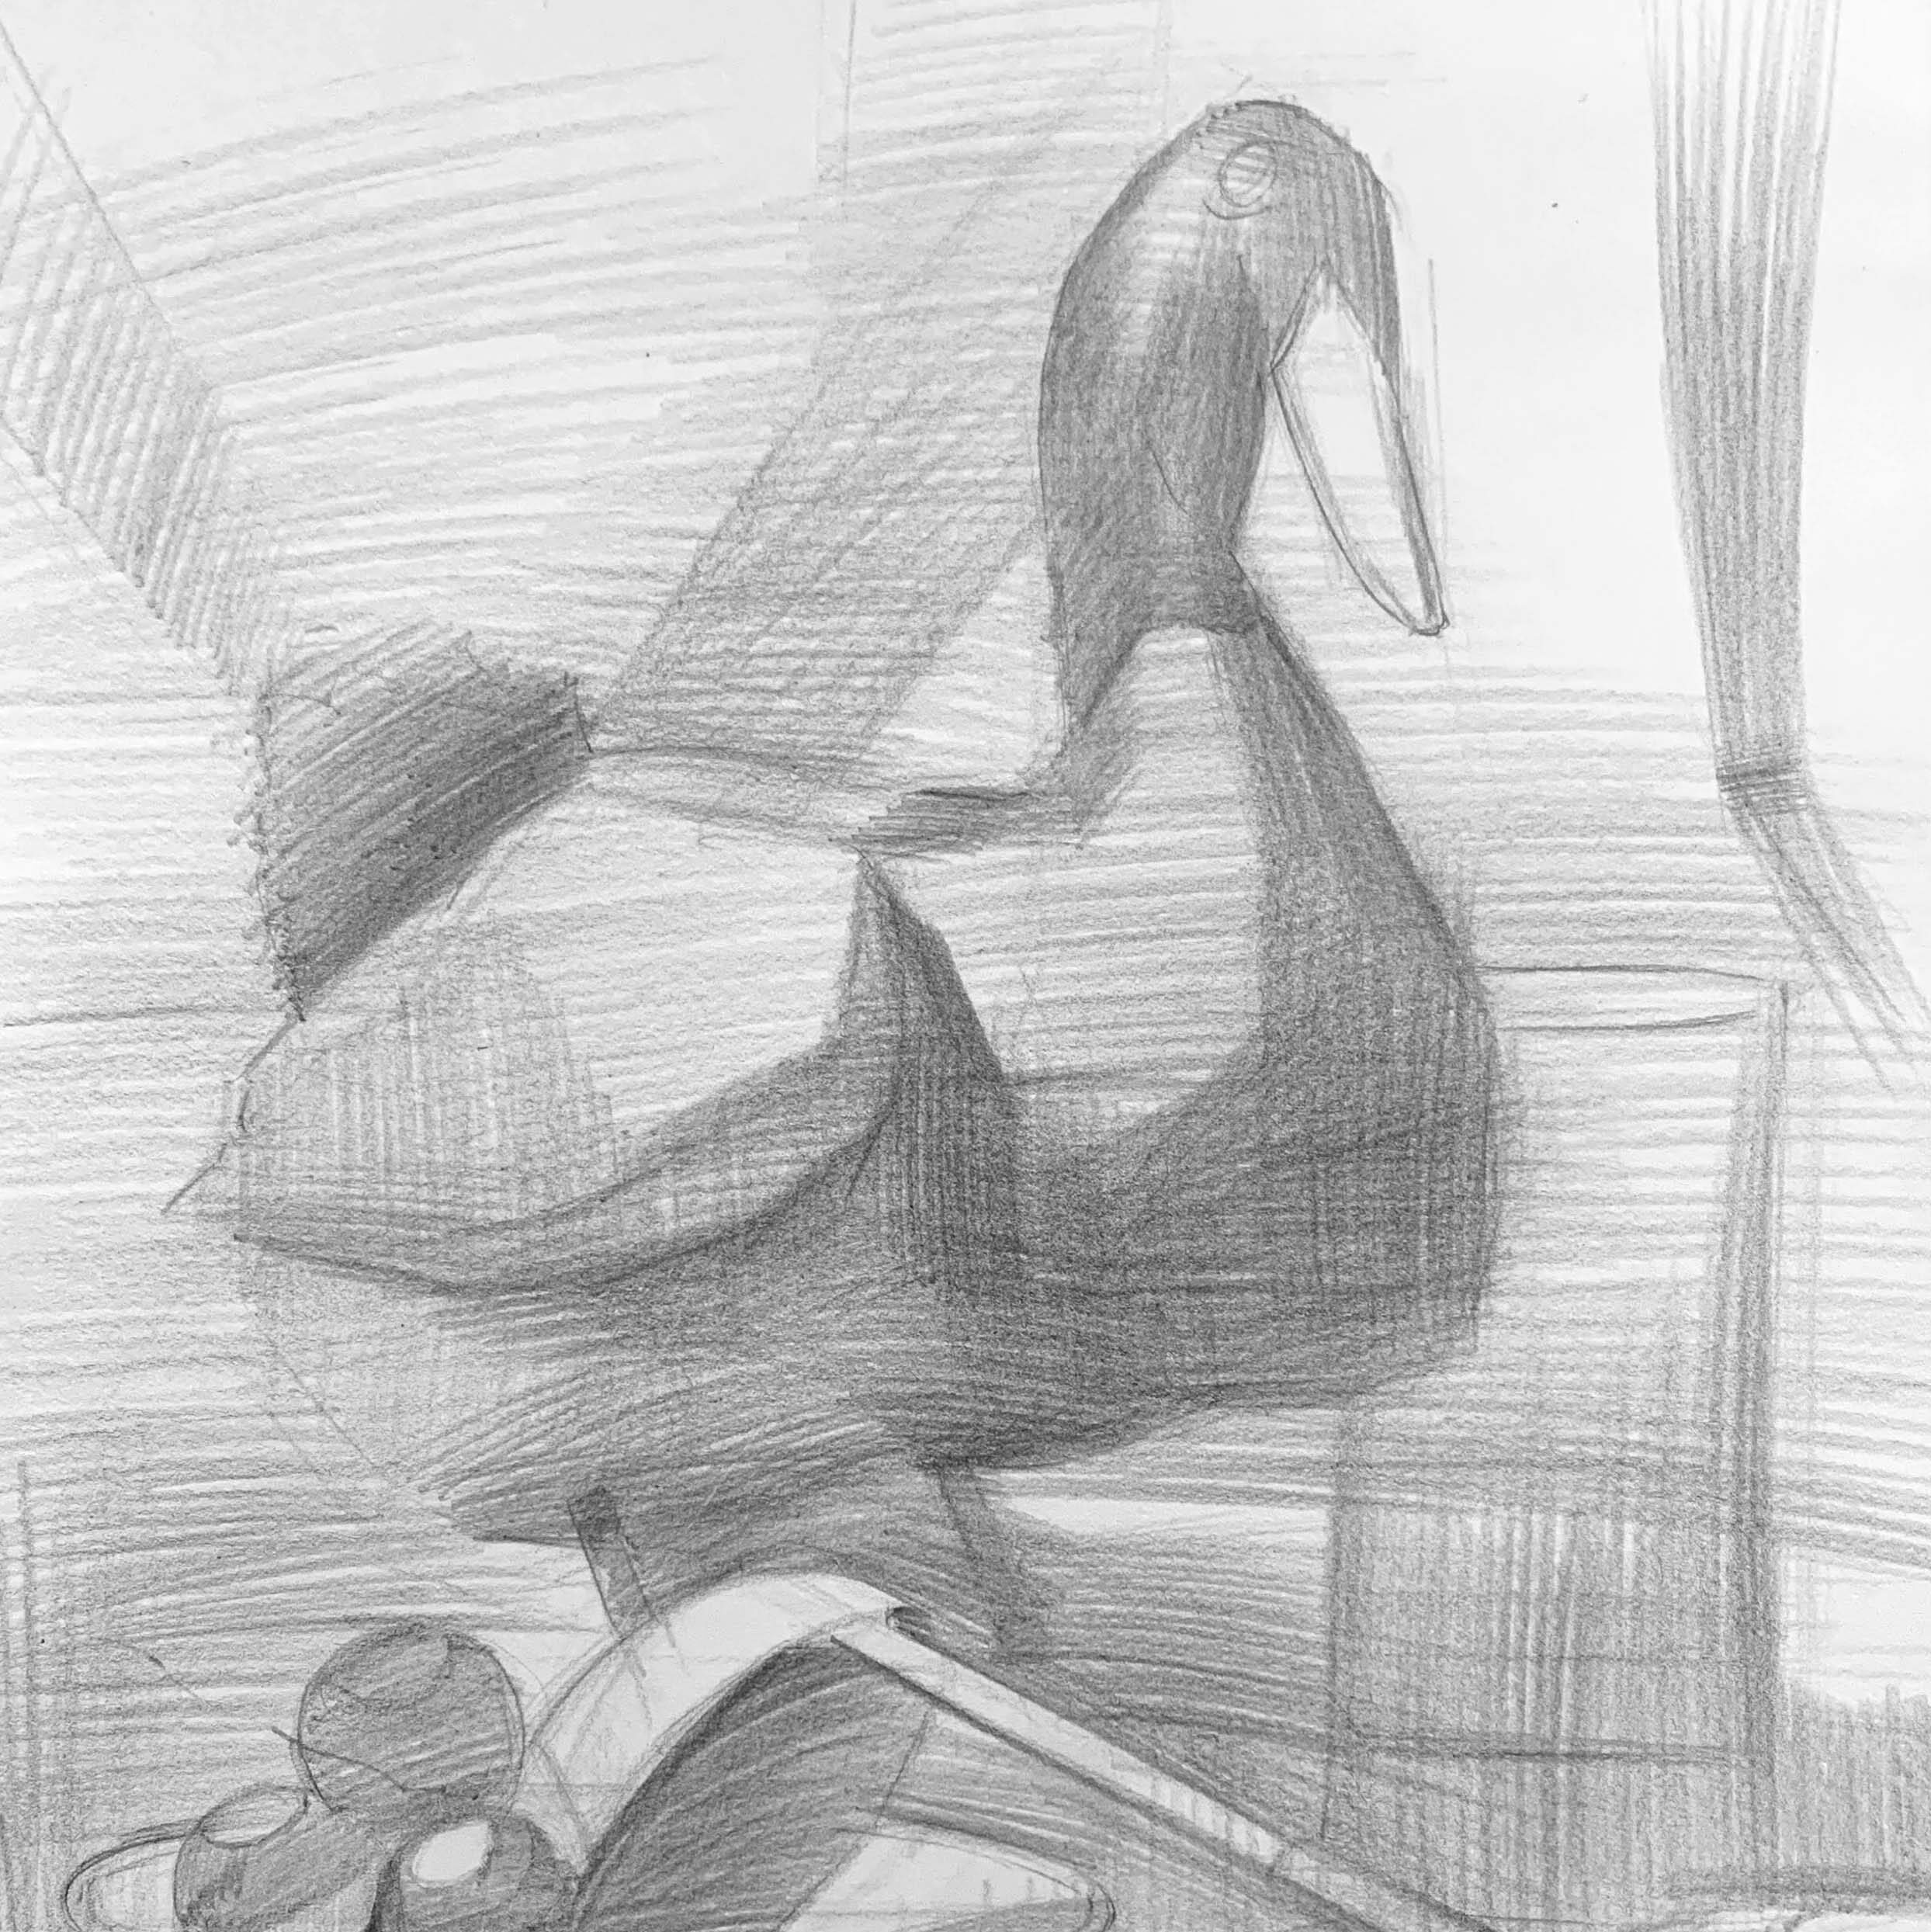
Pay attention to the overall length and width proportions. The pigeon’s body can be simplified into basic geometric shapes—circles, triangles, and rectangles—which will help you accurately capture the body’s proportions and posture.
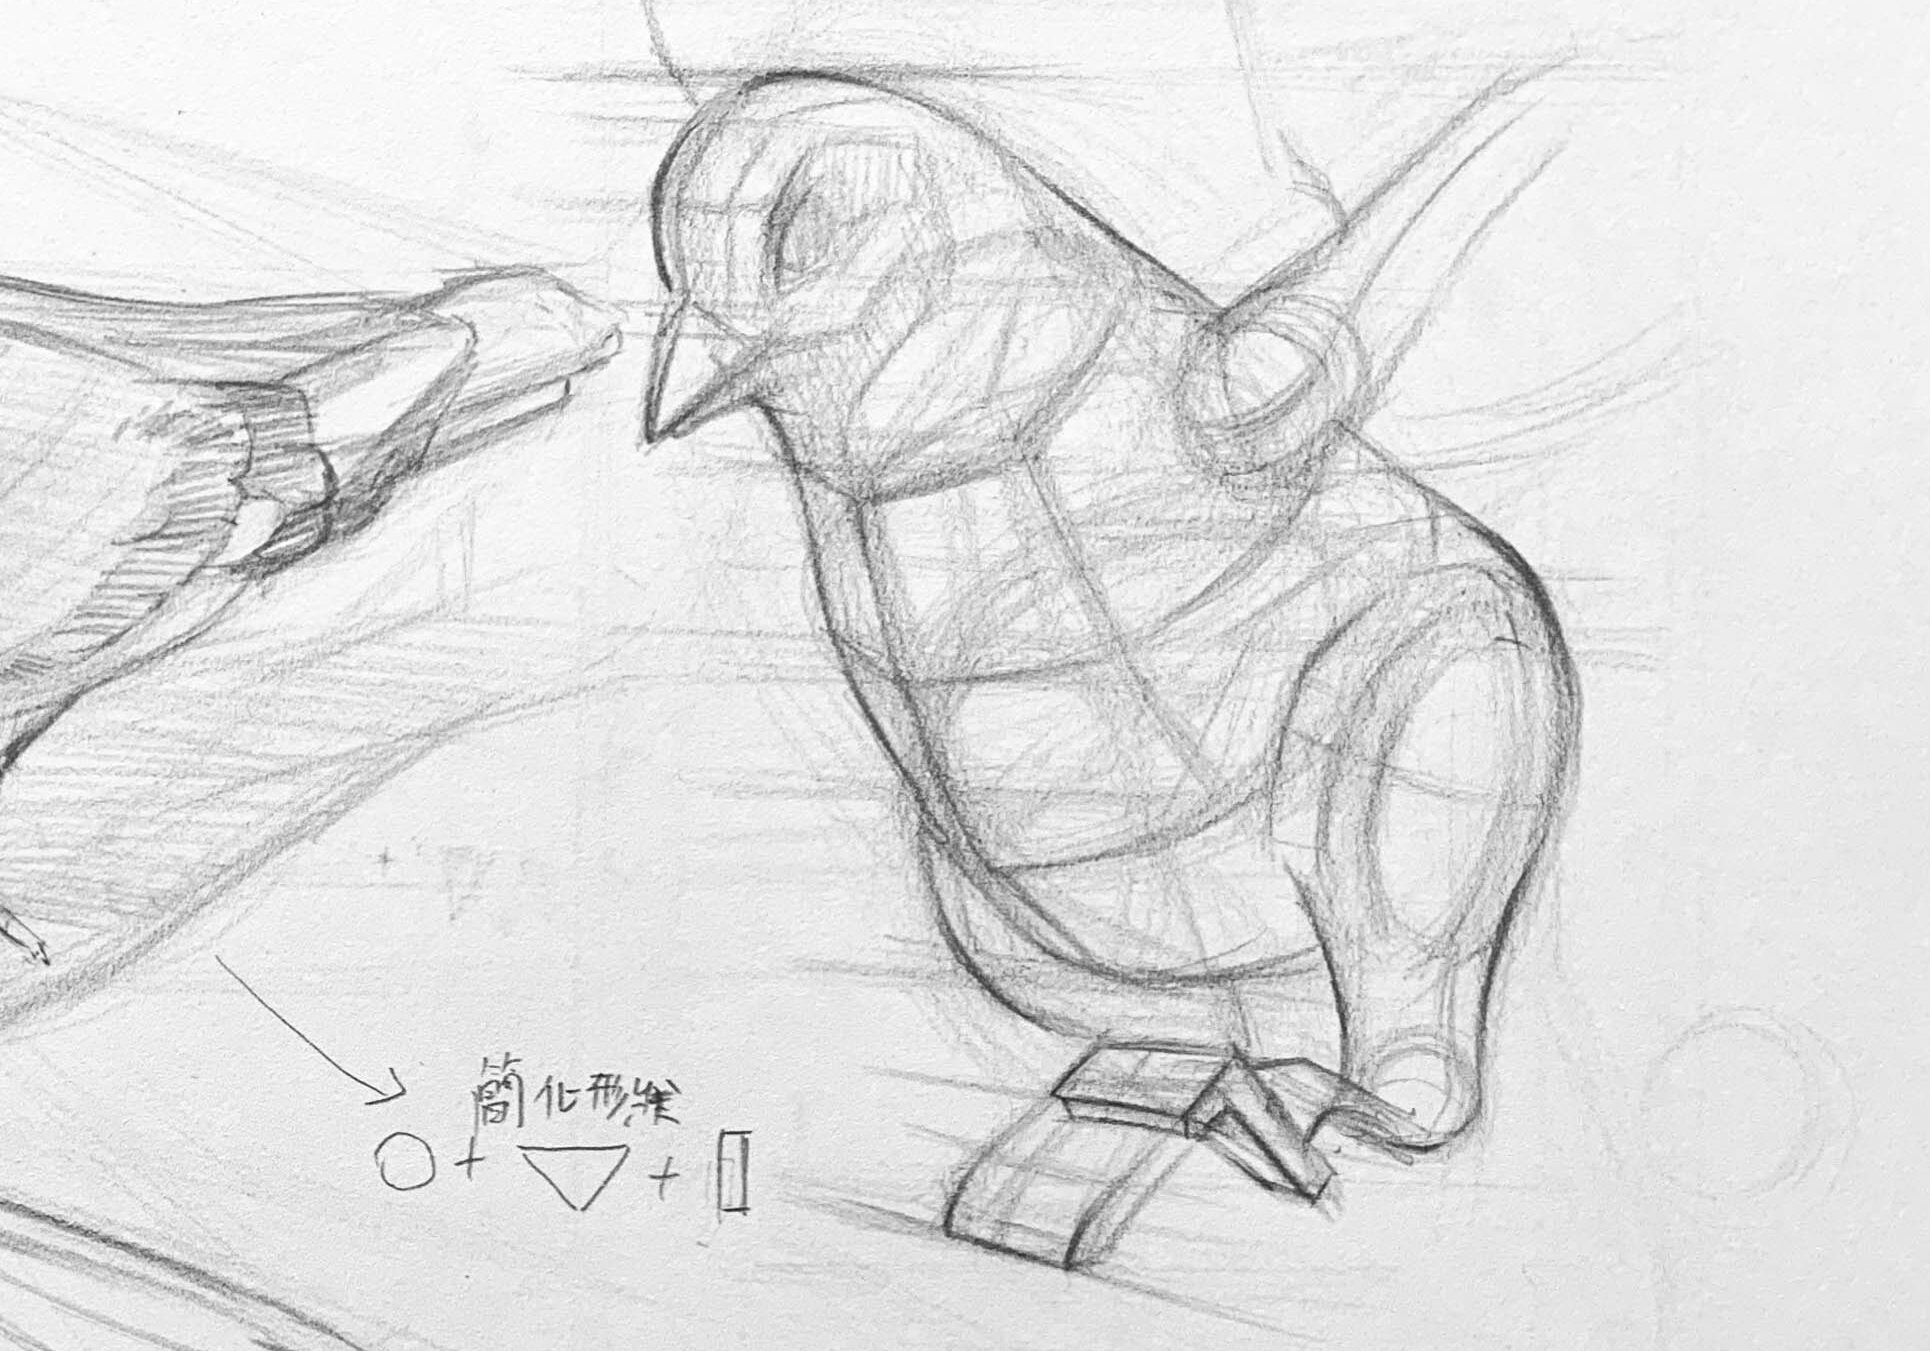
Step 2:
Gradually reinforce the lines, focusing on the front-to-back relationships of the forms. For example, in the image, the neck overlaps and partially hides the rear of the body.
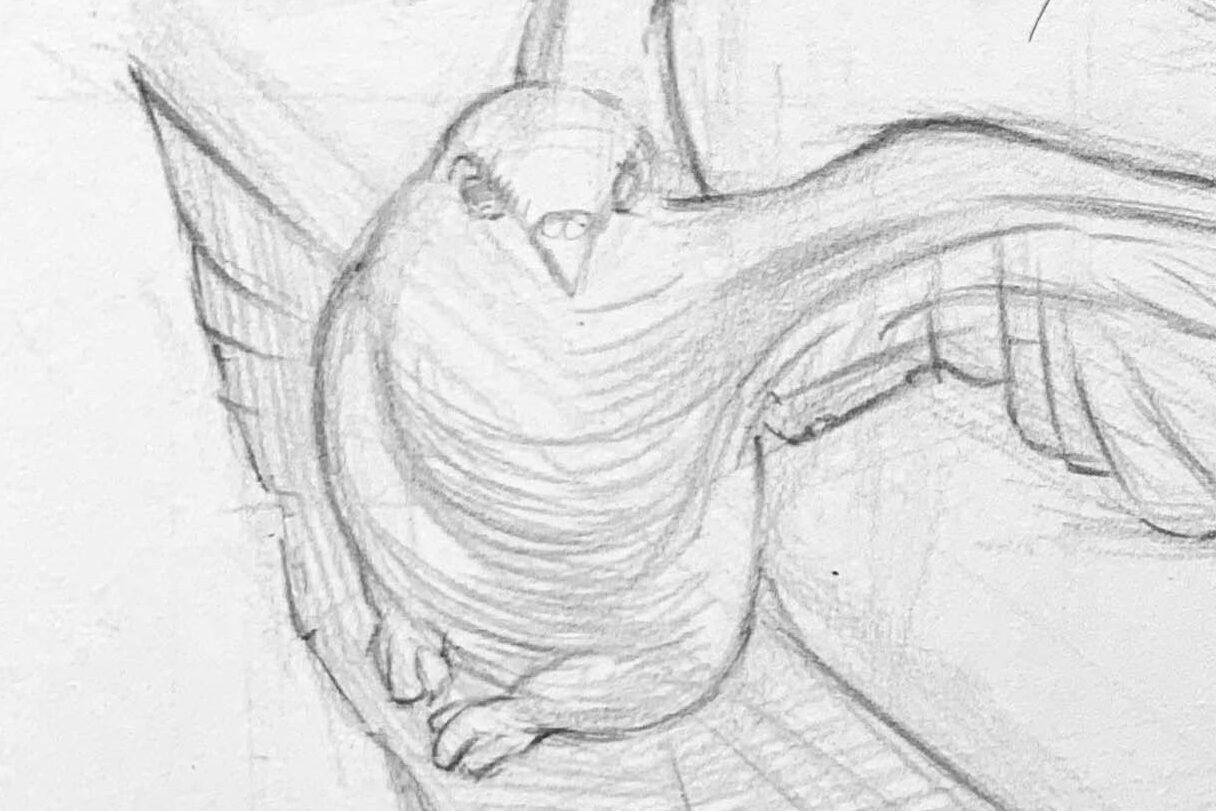
Step 3:
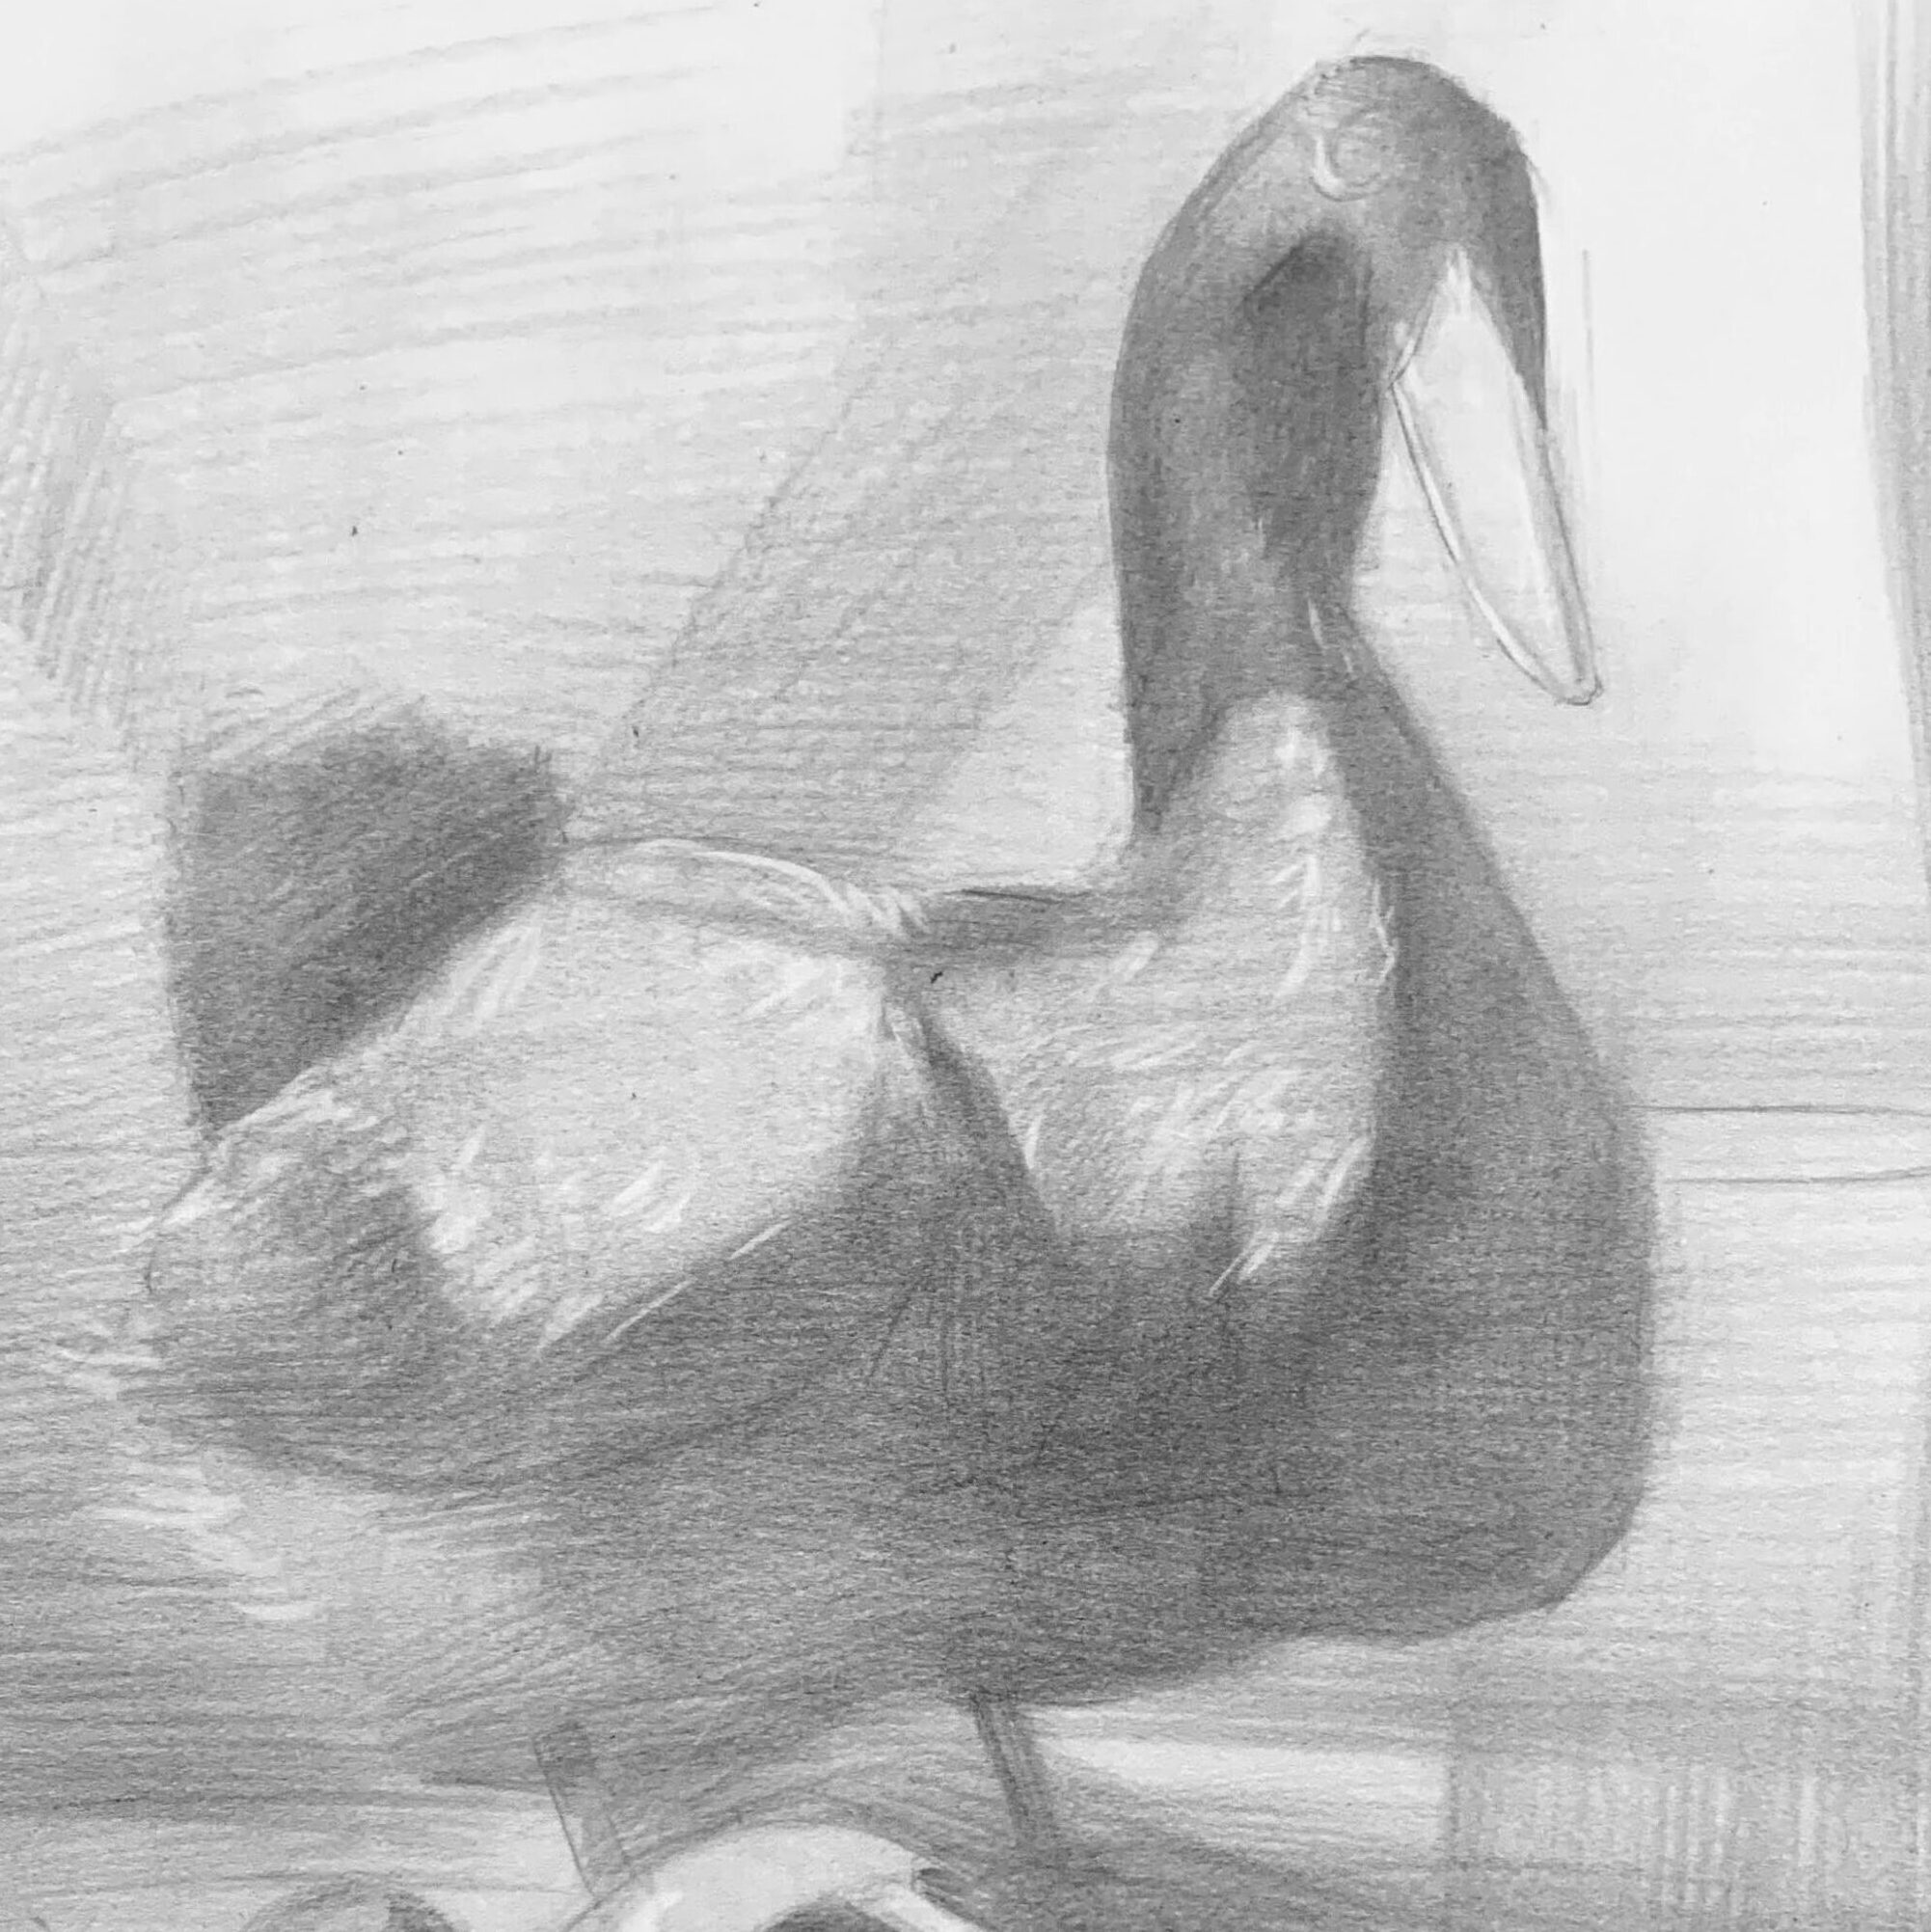
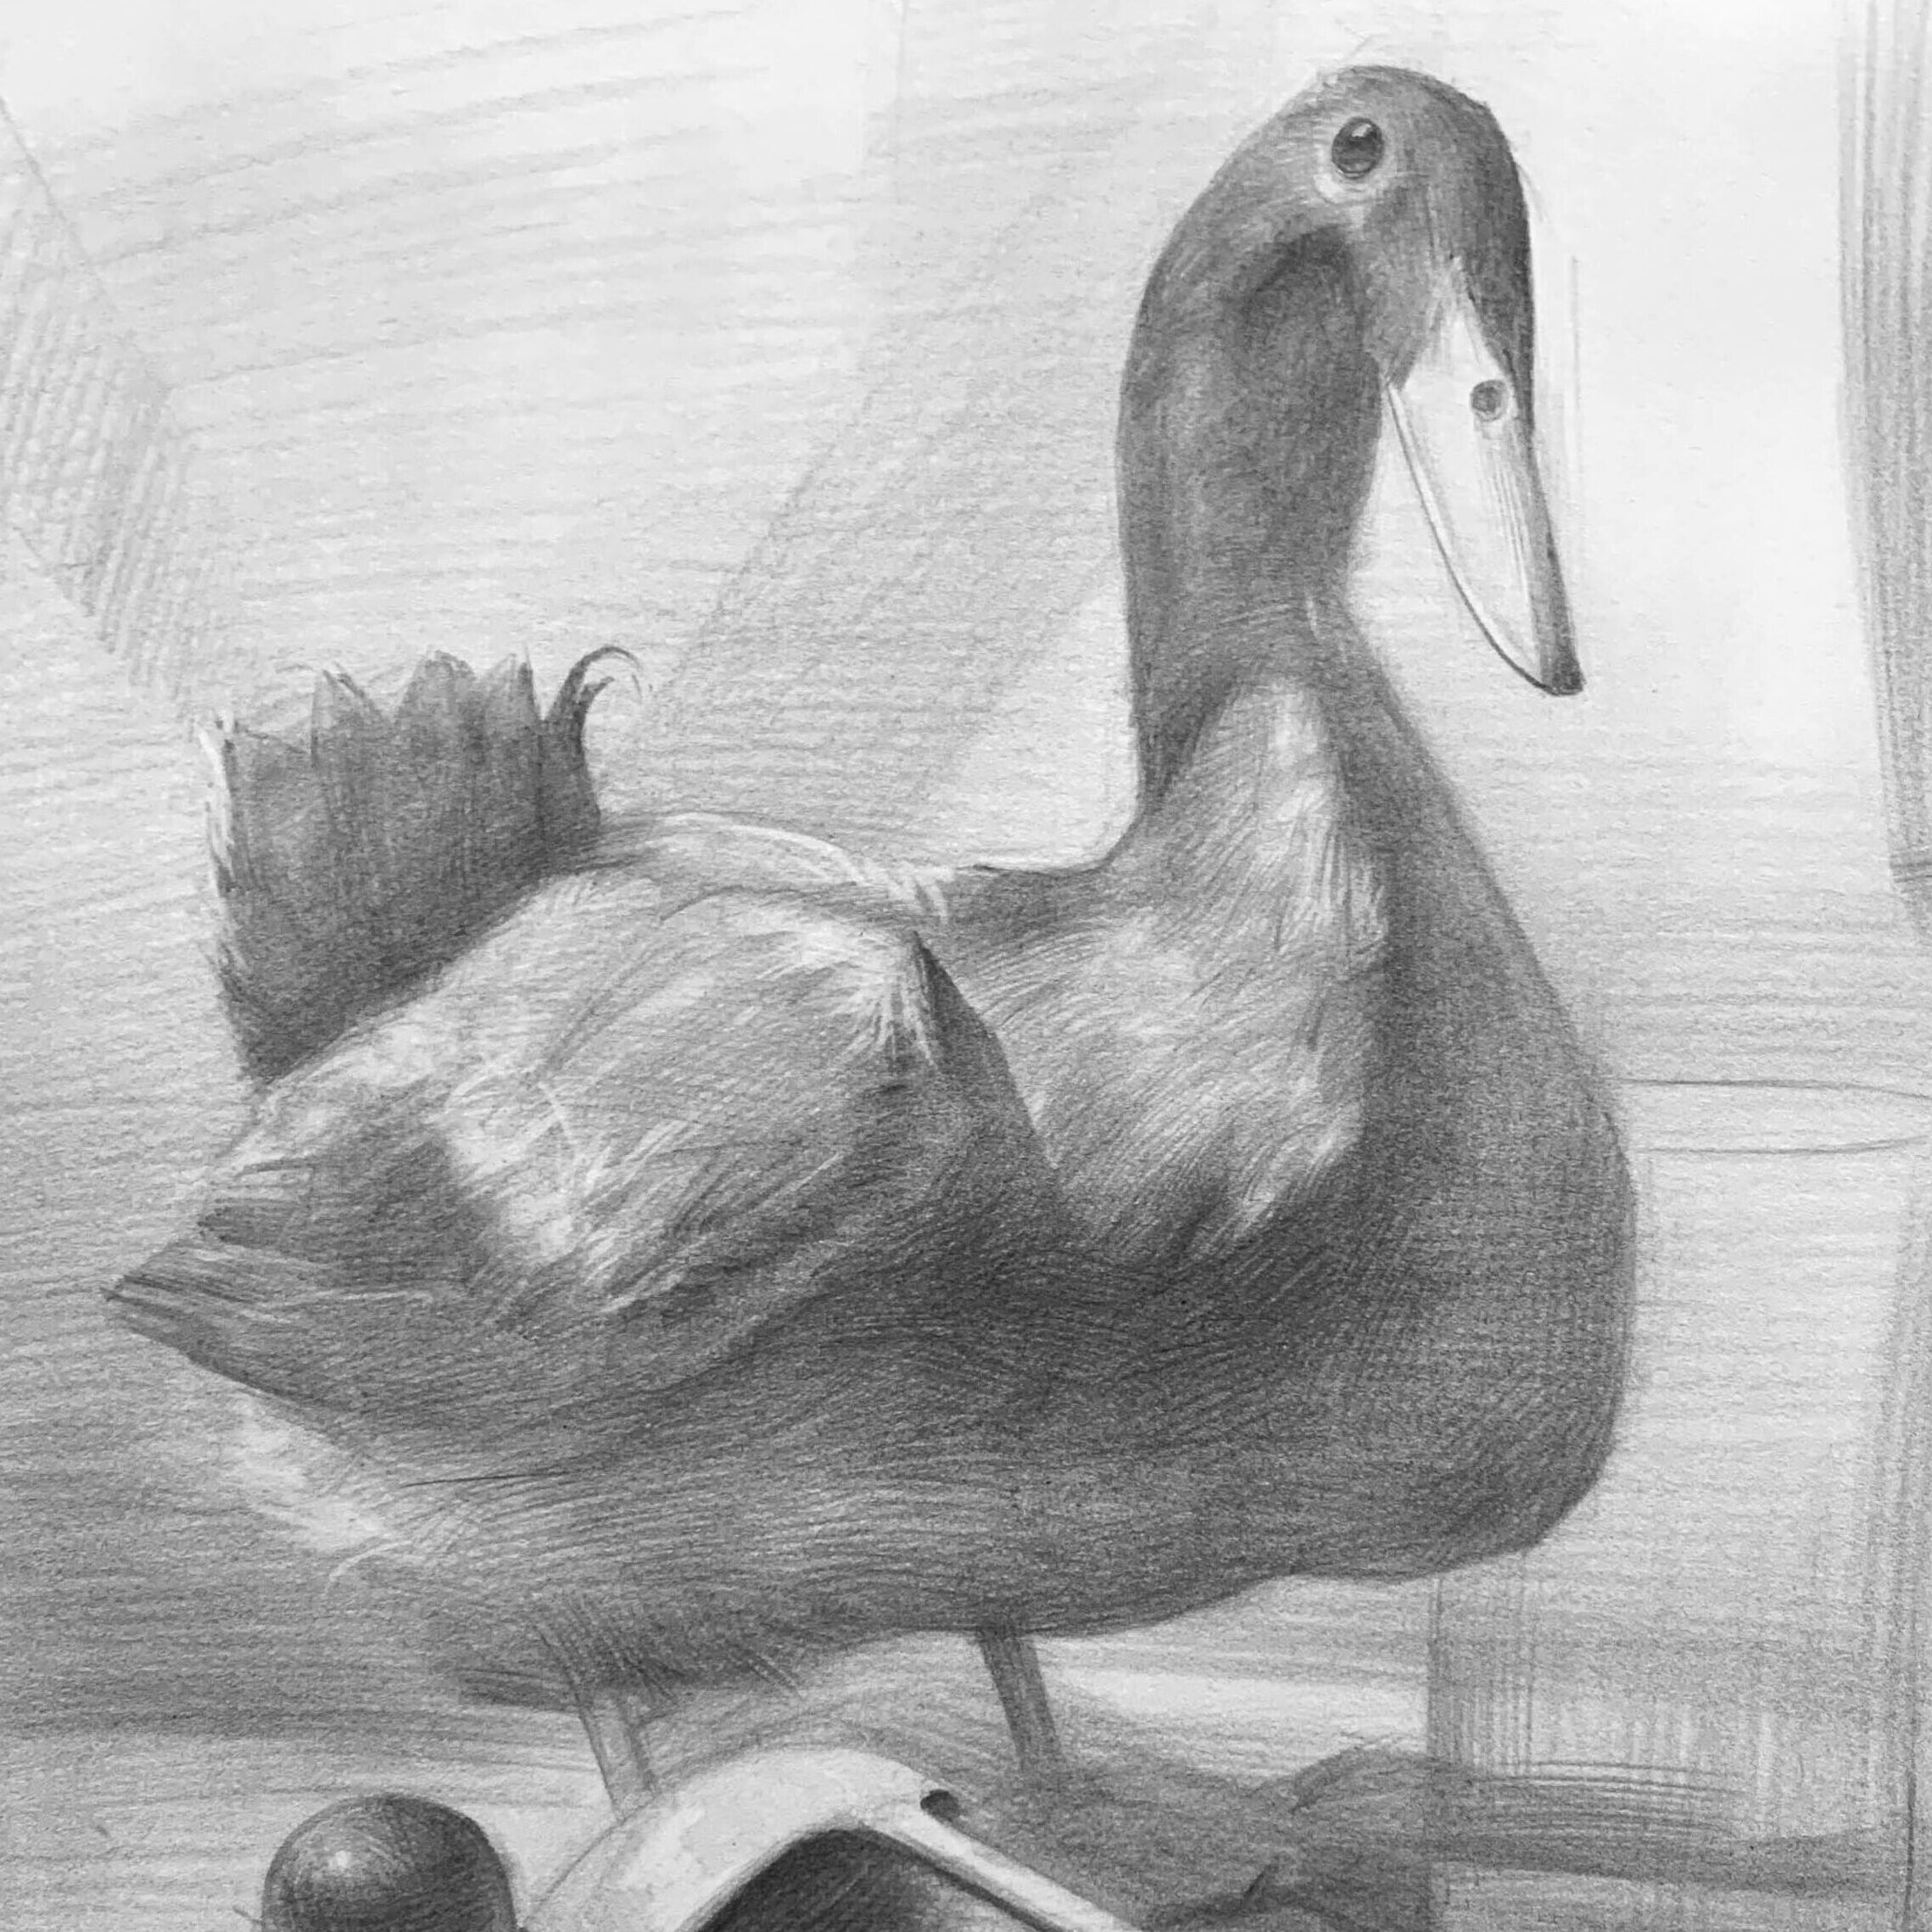
Add shading by marking shadow areas with crosshatching. Pay attention to how the shape of the shadows changes with the body’s curves and muscle structure.
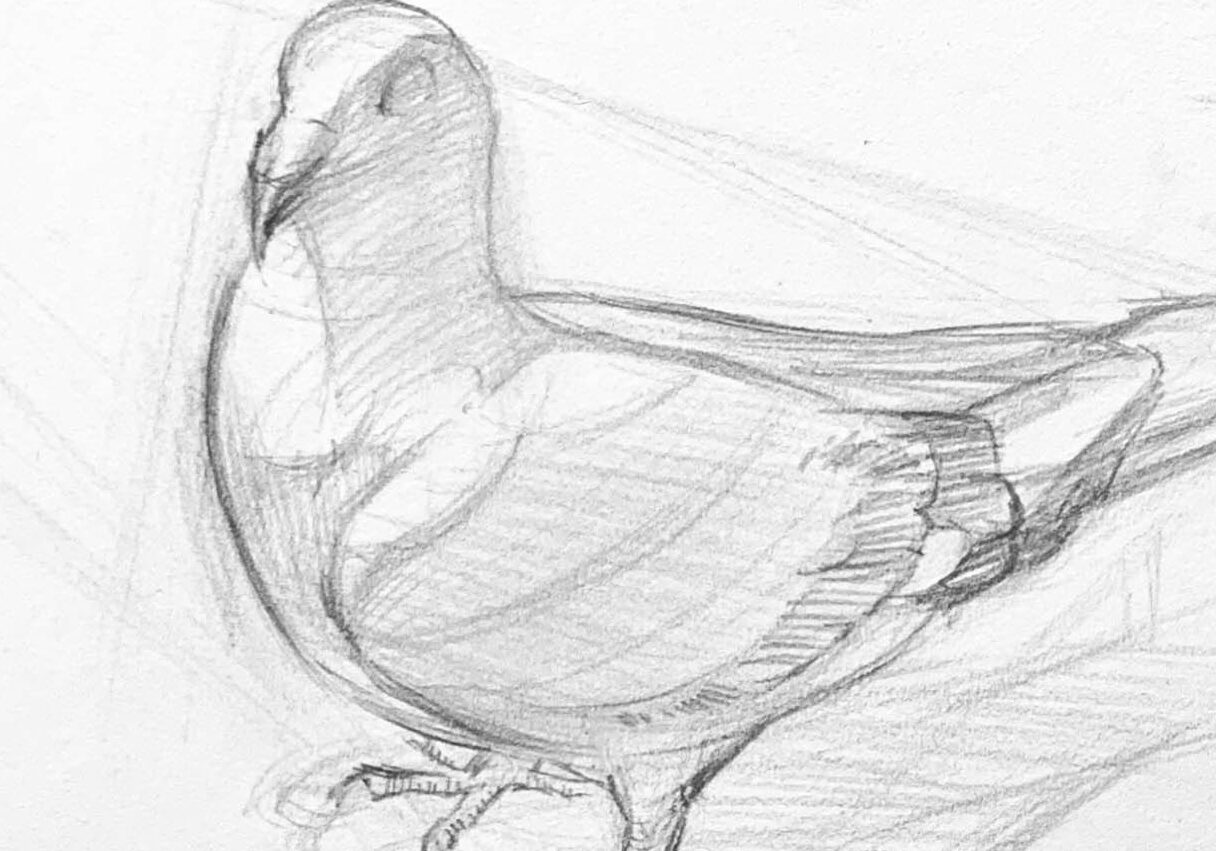
●How to Depict the Three-Dimensionality and Texture of Bird Feathers?
Here's an example using another bird species, we can simplify its form into two main sections: the head and the body. Each of these sections (head and body) is further divided into two areas: the light-facing side and the shadowed side. If you're unsure how to distinguish light and dark areas, I recommend reading the article I wrote onhow to separate light and shadow.
This is an introduction to drawing birds in pencil sketching. Have you encountered any challenges while sketching birds? Feel free to leave a comment and exchange ideas!
If you're interested in learning to draw but don't know where to start, or if you'd like to understand the knowledge behind drawing,
feel free to join my LINE and contact me. In my classes, I organize drawing methods in a clear and structured way.
Click here to learn more about my drawing courses!
Want to explore more articles on extended drawing techniques?
How to Draw a Pet Dog: Mastering Perspective and Proportions
How to Draw a Koi Fish with a Pencil: Fish Sketching Tutorial
How to Draw Primates: Proportions, Anatomy, Dynamic Poses
Sketching Lions: Simplifying Head and Torso with Basic Shapes
