- 登入
- 註冊
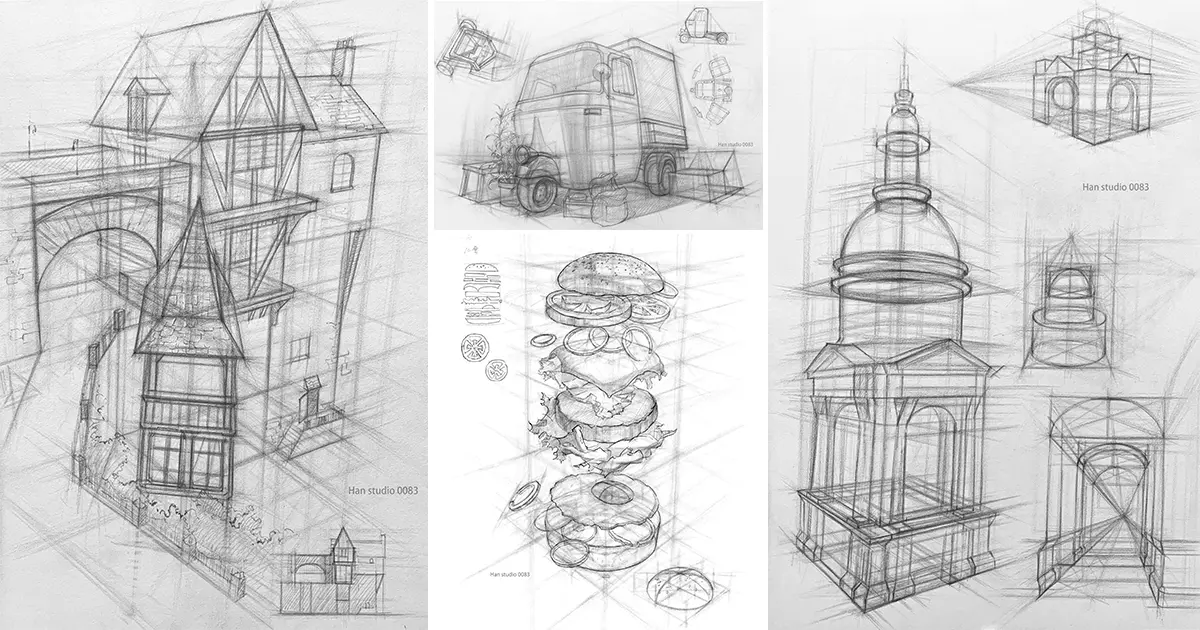
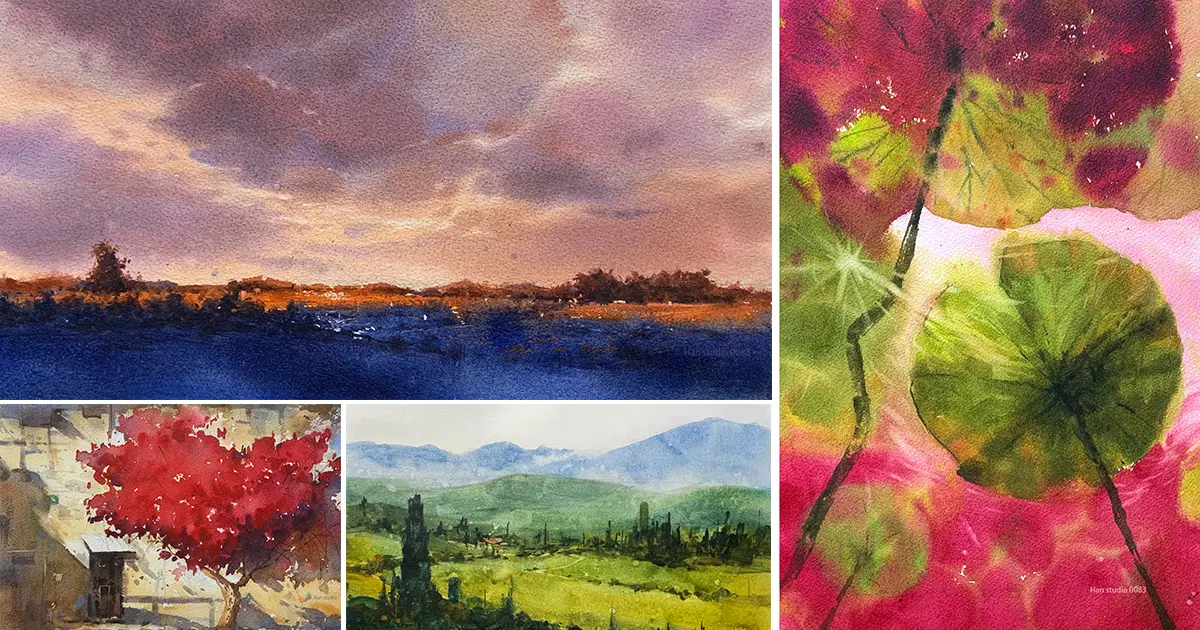
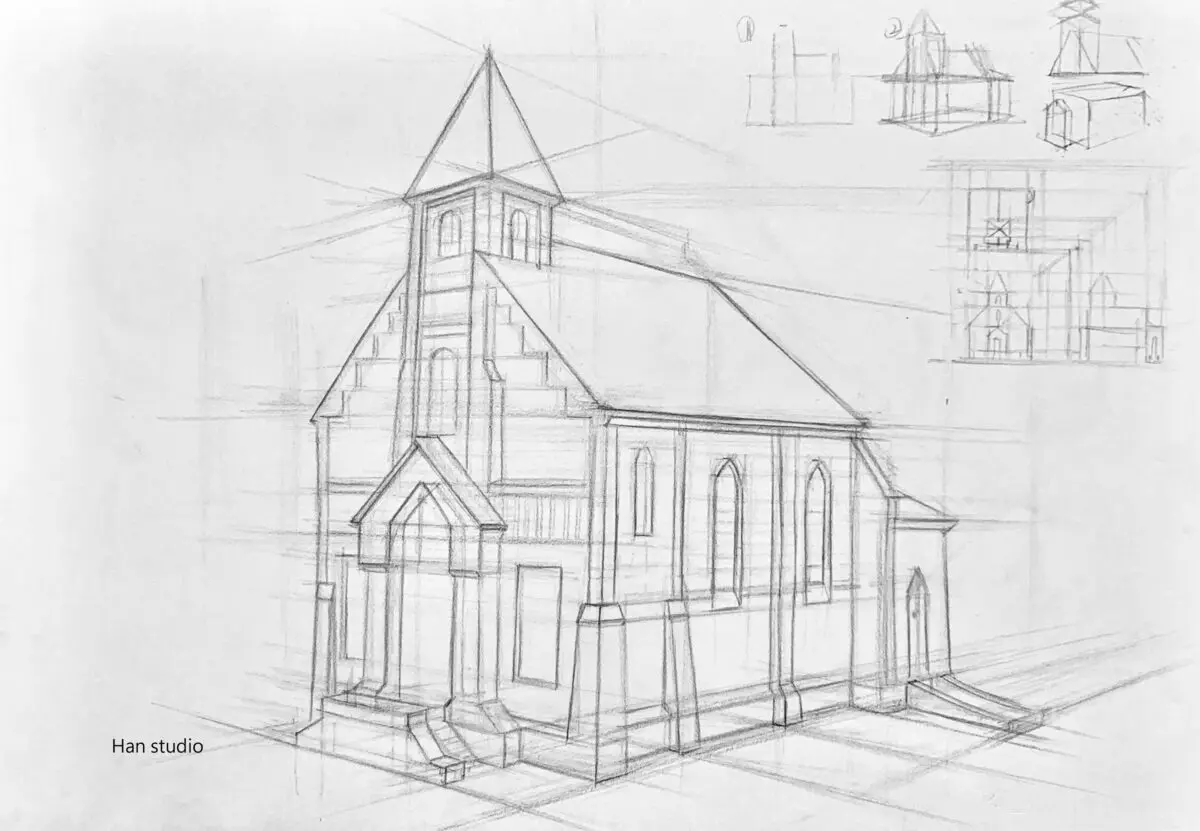
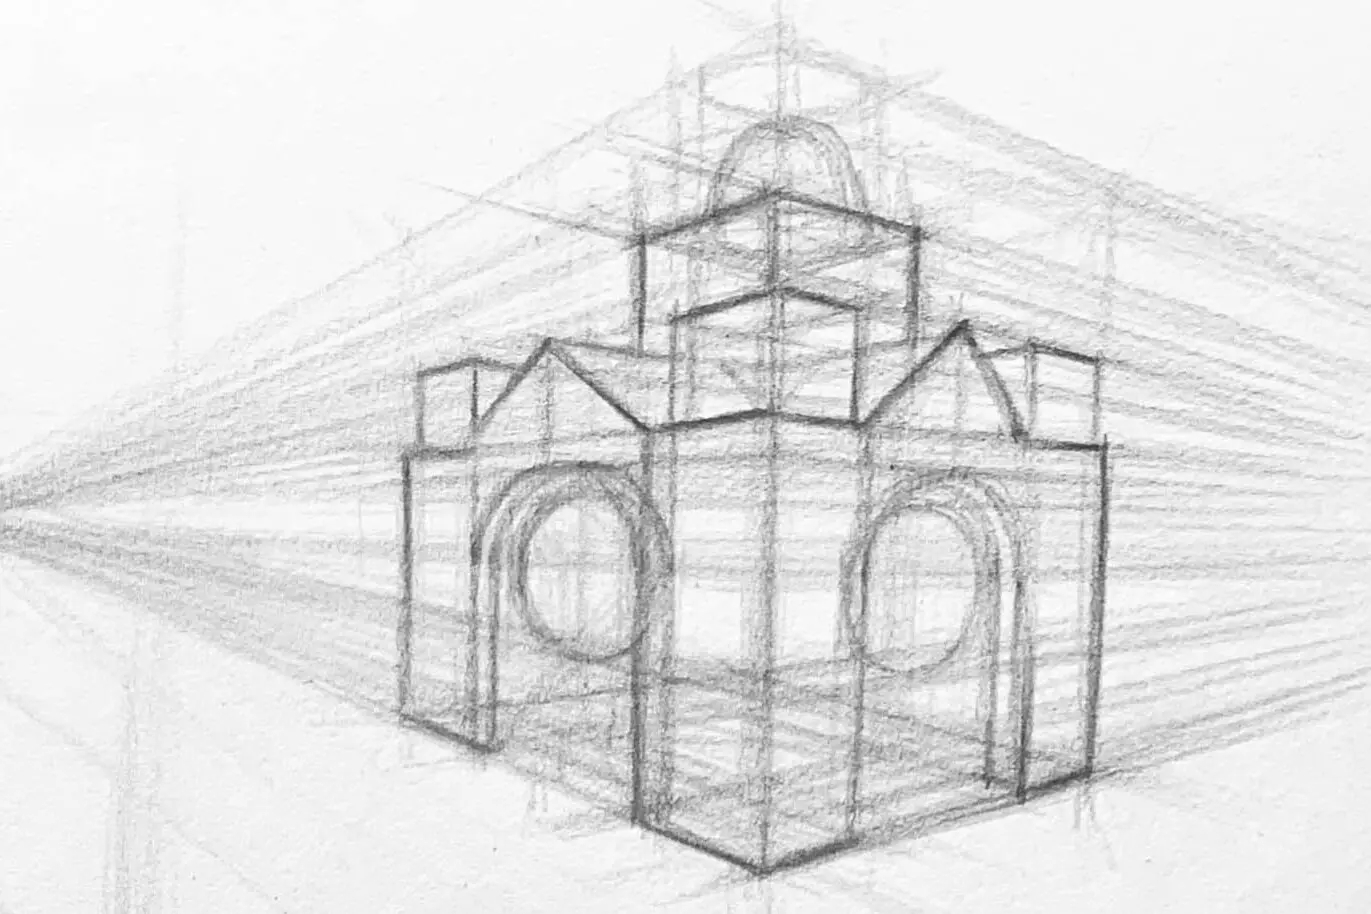
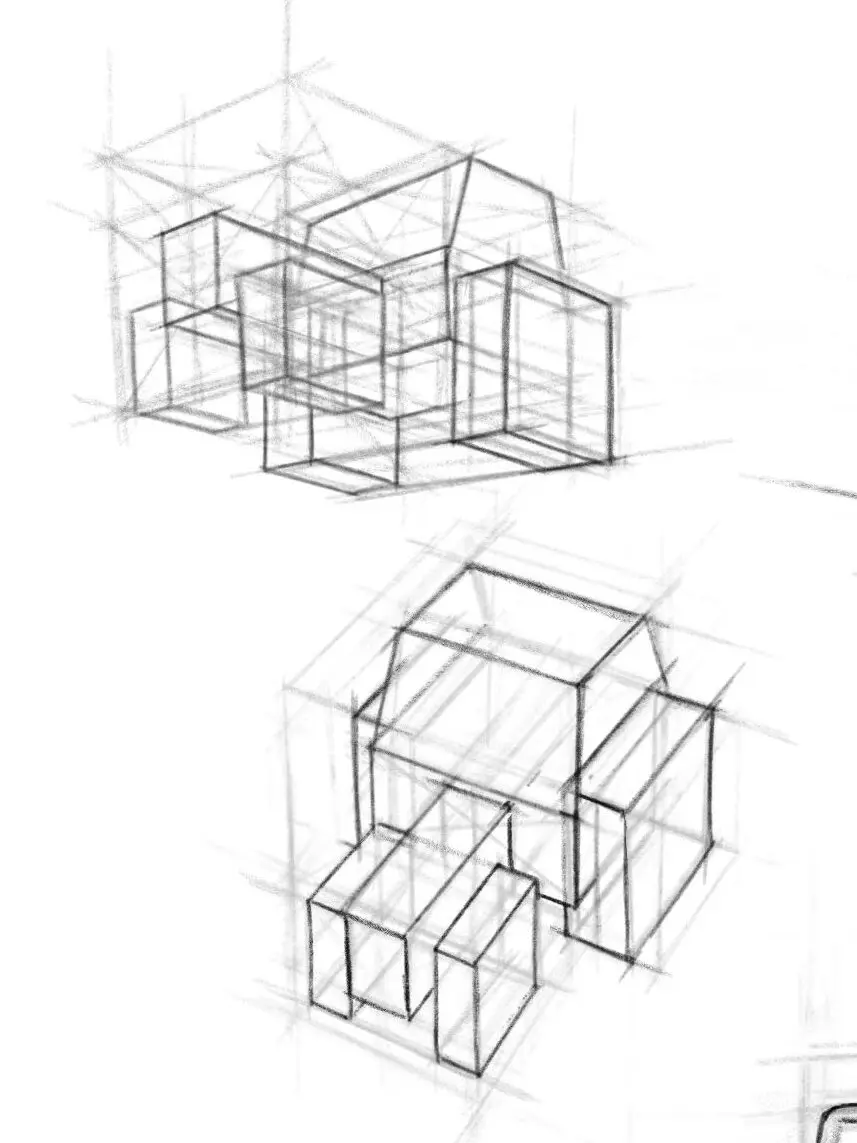
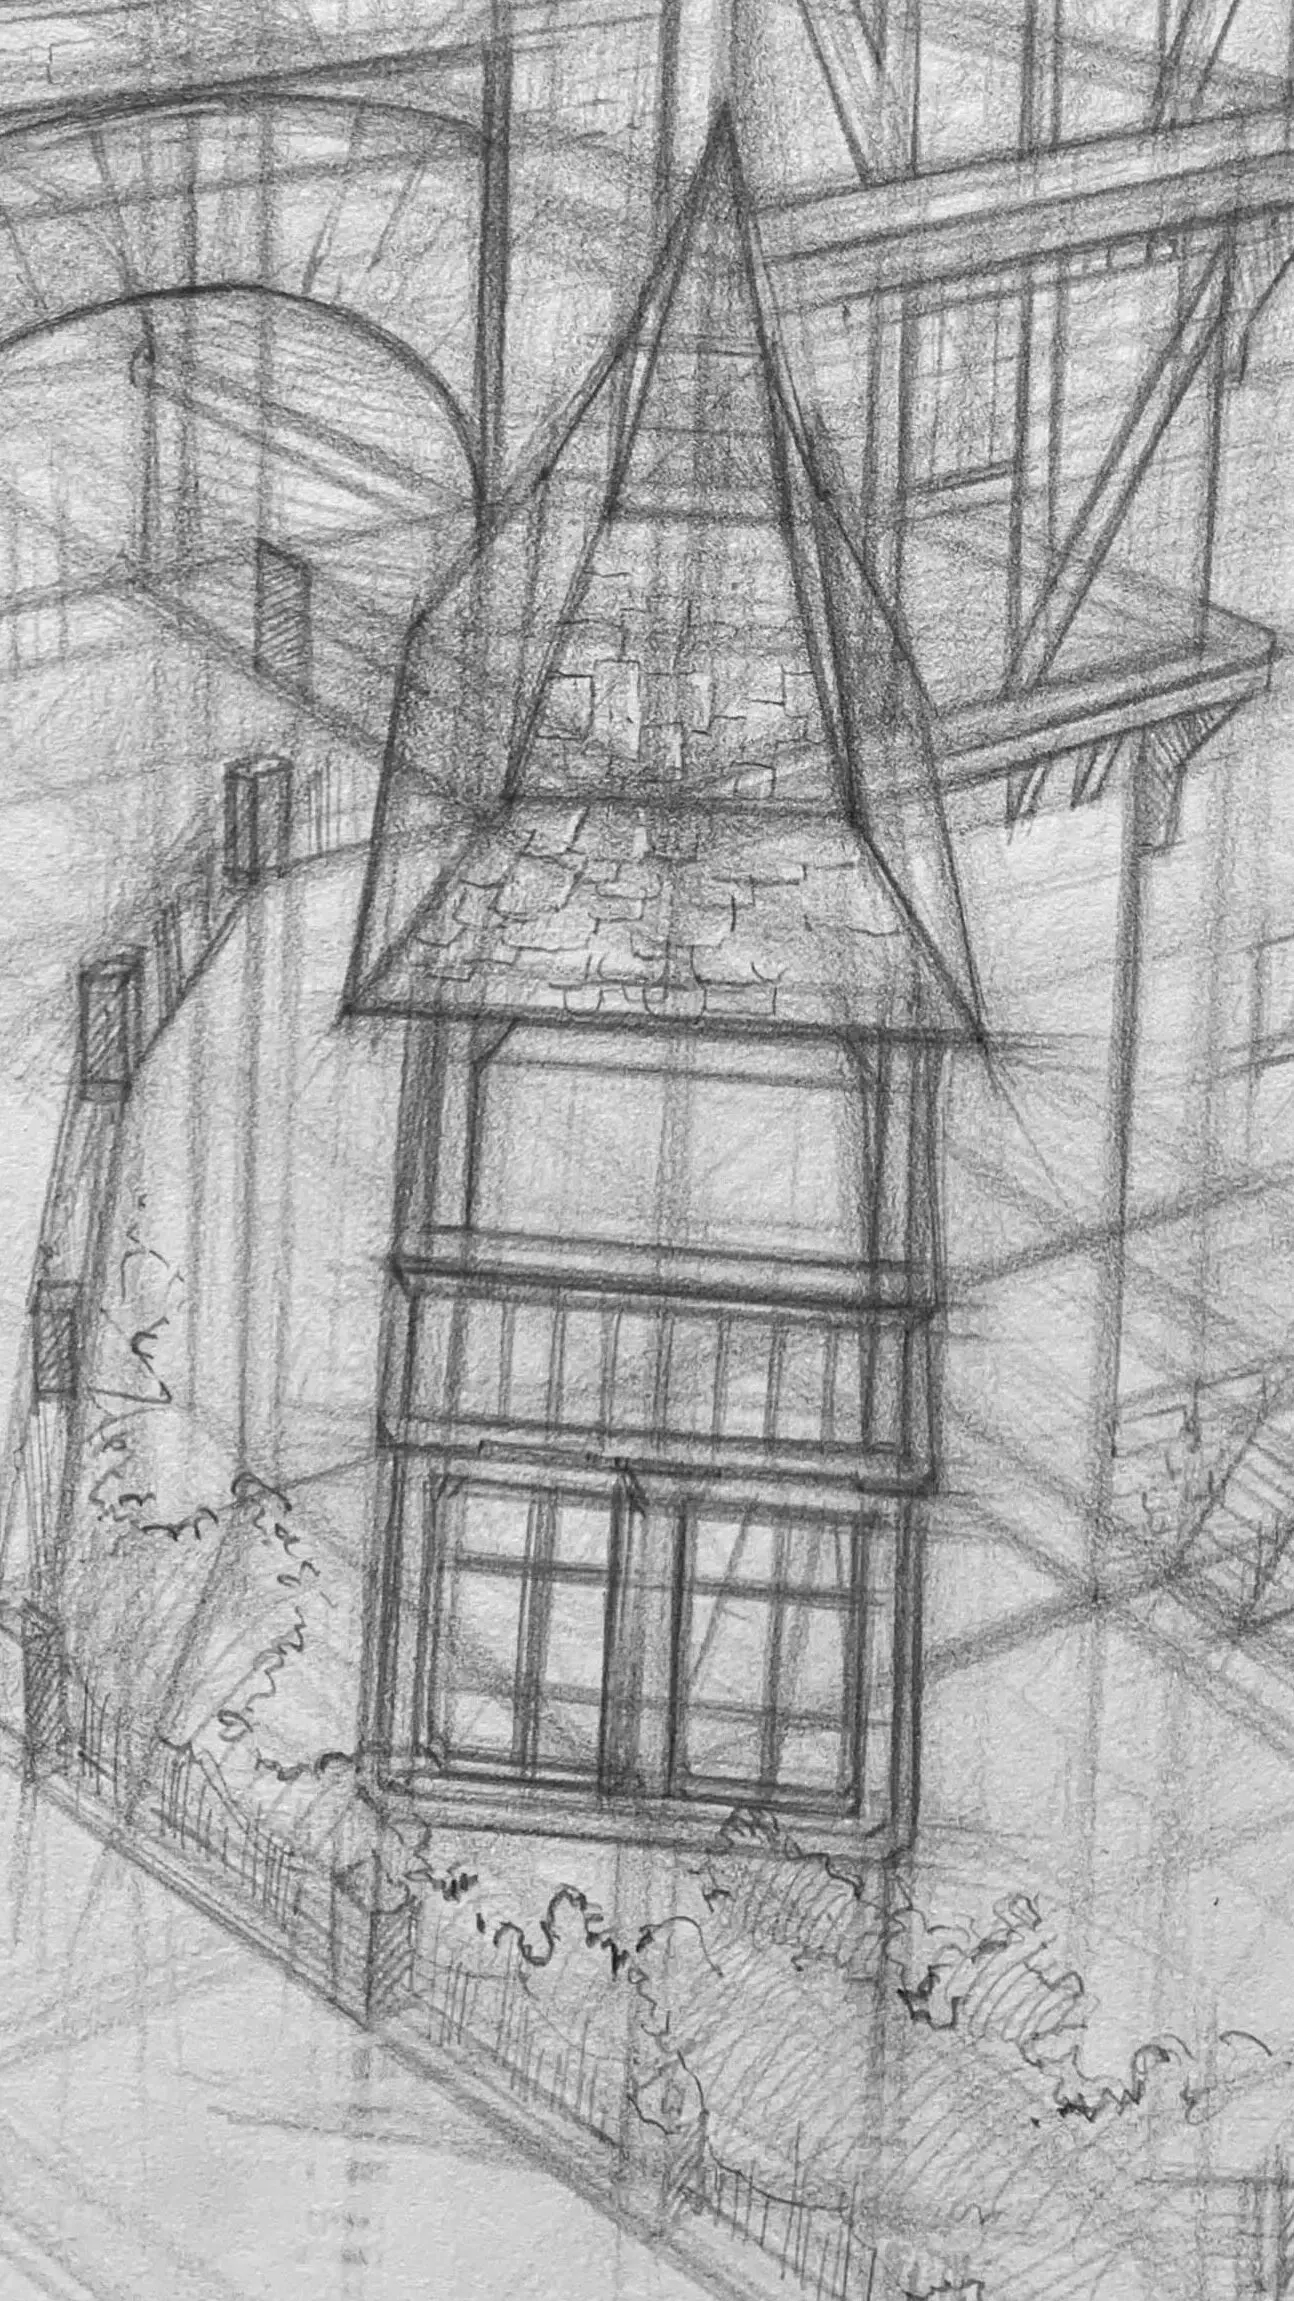
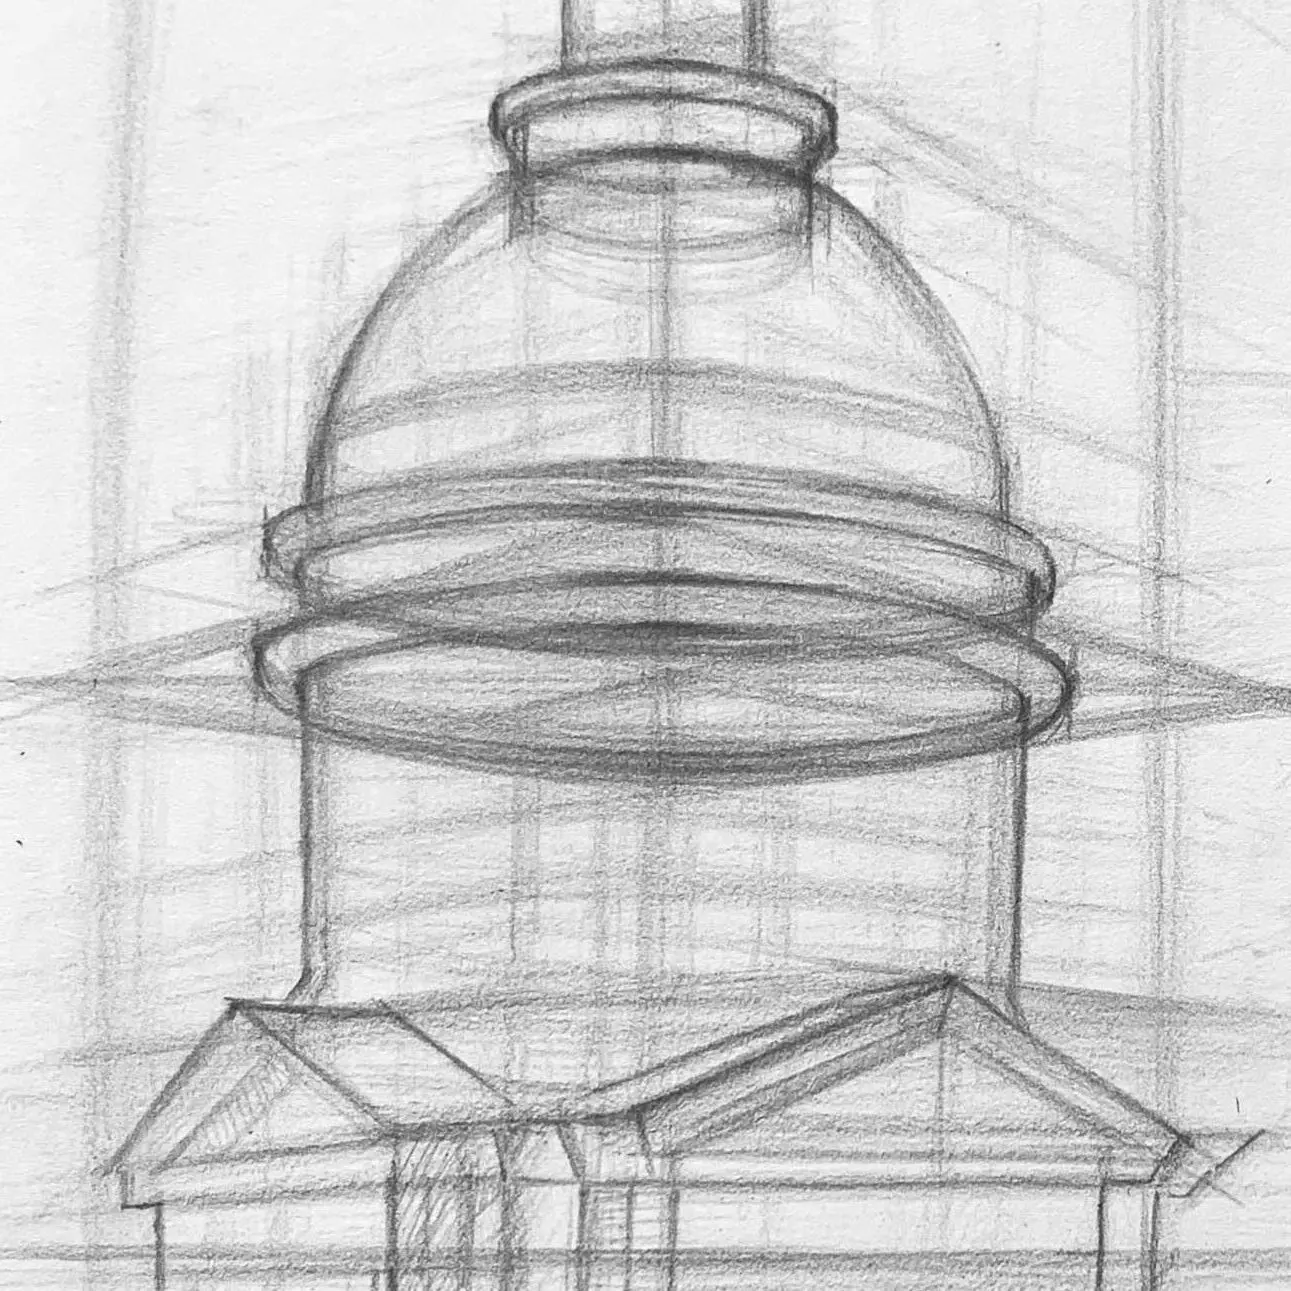
This week, I've been painting churches abroad, and one day I'd like to go and see them on site, and marvel at the time and effort the ancients put into designing their exquisite shapes.
Through drawing the church, we learned how squares and circles are constructed with each other, which can be applied to our drawing of space and buildings, and the method of drawing is very similar to computer modeling.
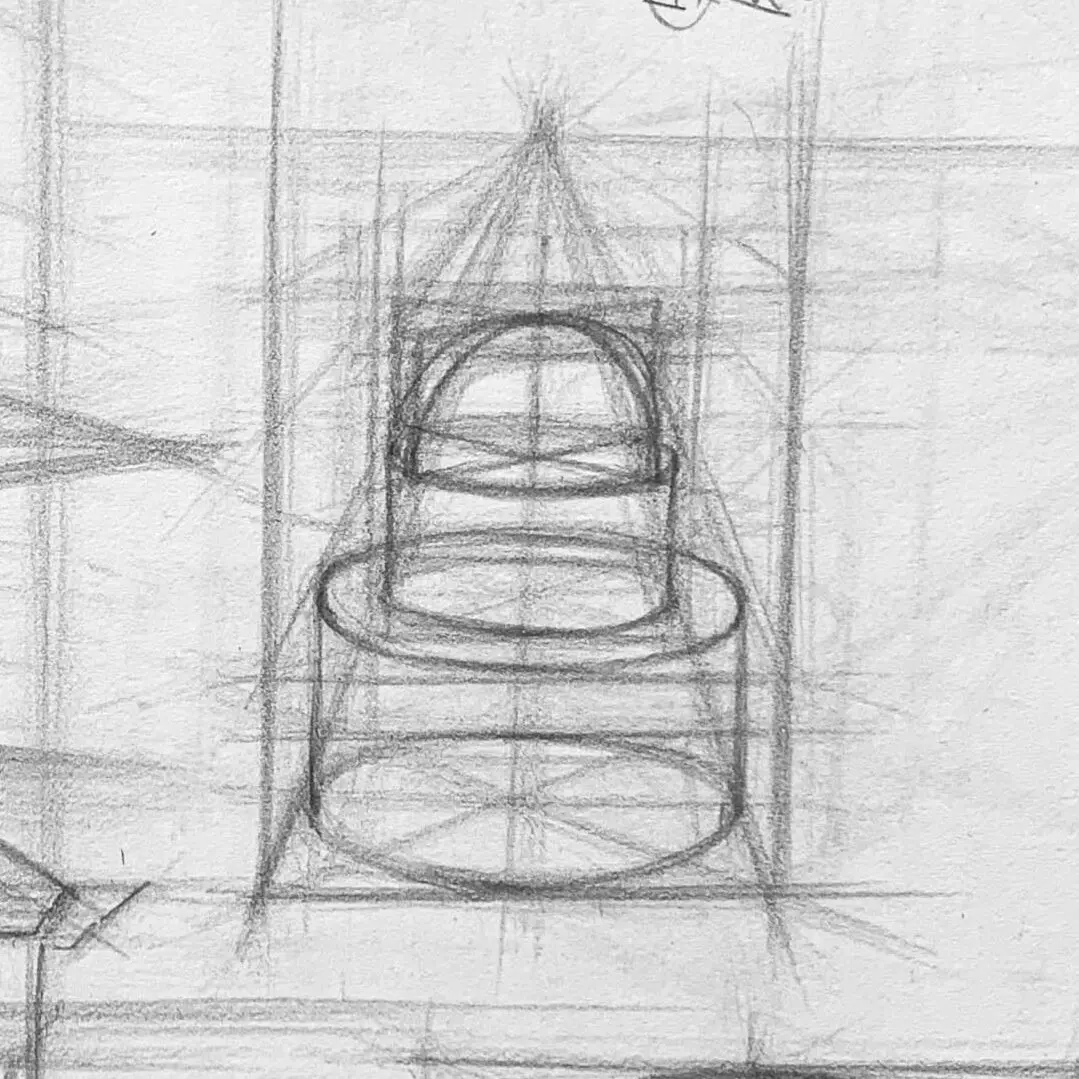
Definitely shaped planning space, stacked layer by layer, much like stacking cakes 🙋
Read on to see how to use lines to create a sense of space!
Let's start with a few simple points before we start painting.
Perspective is a way of making your drawings on paper look spatial, and can be used to translate real objects onto our canvases.
It helps us to understand the proportions of shapes, and perspective allows us to grasp the relationship between the size of objects near and far.
The image is like a window that guides our perspective, like the lens of a camera, or our canvas, or paper.
A three-dimensional object is transformed (projected) onto this plane to form the picture we see.
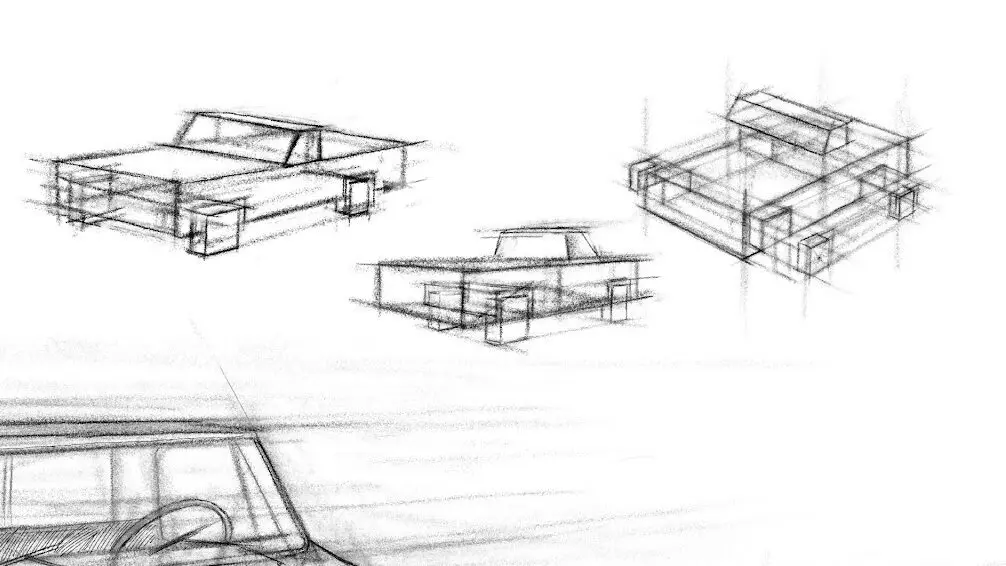
In a perspective drawing, all nearly parallel lines point to the same point, which is called the vanishing point.
This is a way to simulate the nearness of a large and the distance of a small.
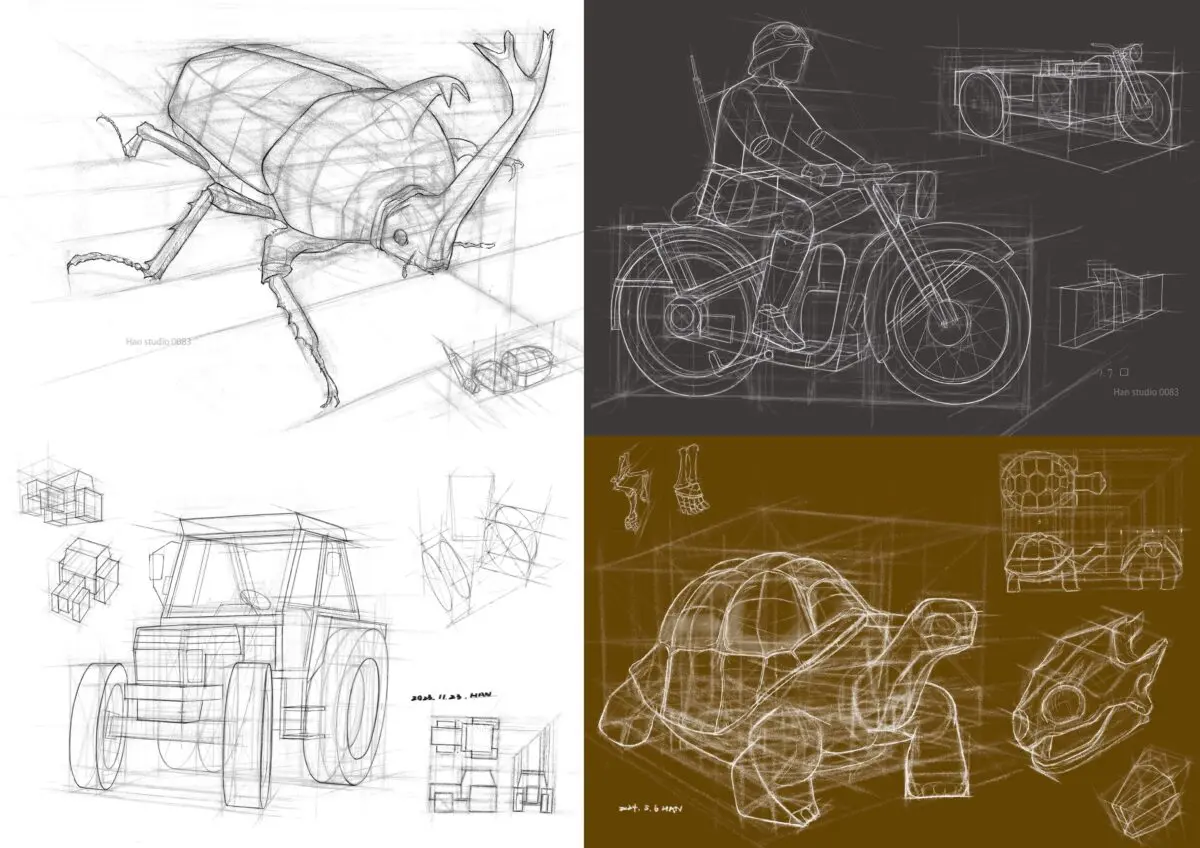
Like the top right image, the lines in the same direction are facing their respective vanishing points in the line of sight.
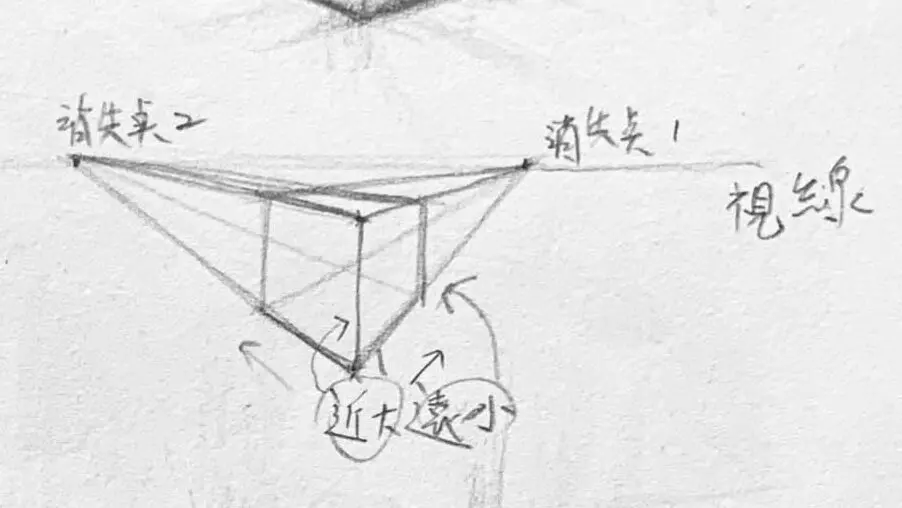
The height of the line of sight determines the viewing angle of the screen, which is the feeling that the screen presents to the viewer.
It's like looking down, looking up, looking up.
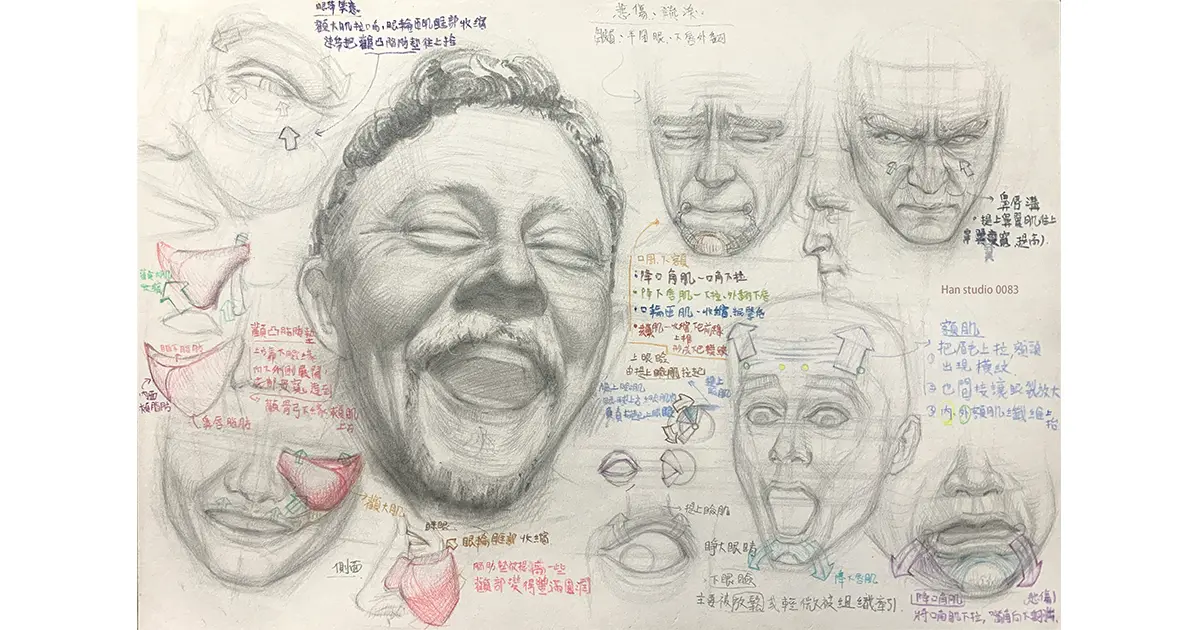
Take the head as an example.
Several methods:
The only thing in the scene isA group parallel to each other and perpendicular to the screenThe edges of the lines in the center of the screen converge to the same vanishing point; the rest of the horizontal lines parallel to the screen remain horizontal, and the vertical lines remain vertical.
Like the corridor in the lower right corner, all lines point to a vanishing point.
All lines extending in the same direction will converge to the same point on the screen, which is called the vanishing point.
This will happen:
When we are facing the front of an object, and the object extends in only one direction, we can see that the object is not in the front of the object.。
When the two Lines that seem parallel in reality When I'm getting farther and farther away from you
The "actual width" that your eyes can see will be:
That's why you look at the railroad tracks, the road, the edge of the table.
The farther away they get, the closer they get to each other.
They are then painted in the world of the screen:
Wide from the front → concentrate backward → finally converge on the same point
When you look out horizontally, you see all “horizontally extended parallel lines”.
They will eventually remain at this height.
So:

Perspective is not only the connection of vanishing points, but also the structural positioning of an object in three-dimensional space.
I have specialized training in product design in the Han Studio In the course, we worked together withLogic breaks down space to create shapes for step-by-step guided learning
I simplified the complicated logic of product design modeling into a drawing method that can be grasped by the average person.
[Click to join the LINE Counseling Program]
Let logic validate your guesses and build the dimension you want!
Prime example:
All of these scenes will be there.Depth in only one direction → only vanishing point
Imagine you're standing on a street corner with one road stretching to the left and another to the right in front of you.
At the end of the road, all the points "gather together into a point in the distance", forming two points to the left and two points to the right on the horizontal plane in front of your eyes:

- There's no “front” parallel to you.
- You saw the object.Two sets of horizontal lines(extends left + extends right)
→ So two vanishing points are needed.
Three points hold → two points vanish.
This is the easiest part of two-point perspective to “exaggerate” the image.
● Vanishing point too close → super wide angle, distortion exaggerated
● Vanishing point is too far away → lines look nearly parallel, perspective weakens
● Balance point: the vanishing point falls far to the left and right of the screen
Imagine you are looking up or down at a tall building, not only the left and right edges converge to two vanishing points, but also the vertical edges converge to a third vanishing point up or down due to the angle of view from the top or bottom - this is what theThree Points of View
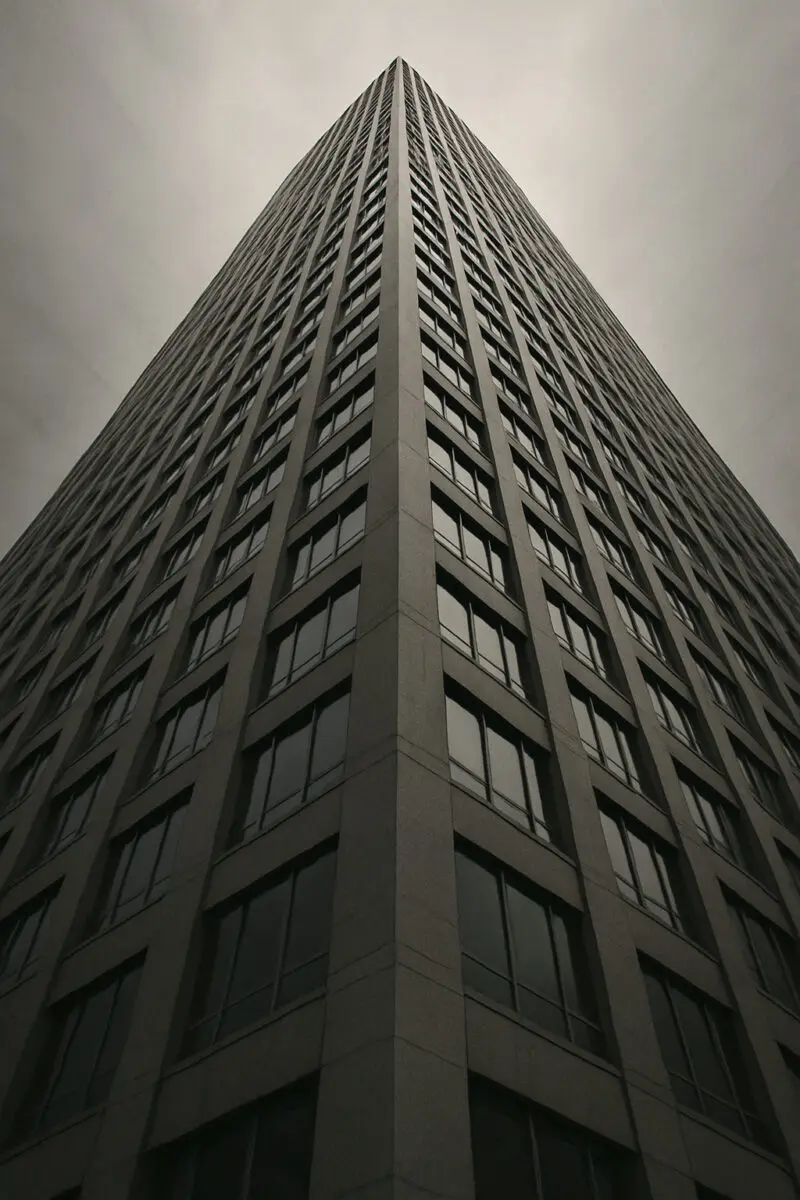
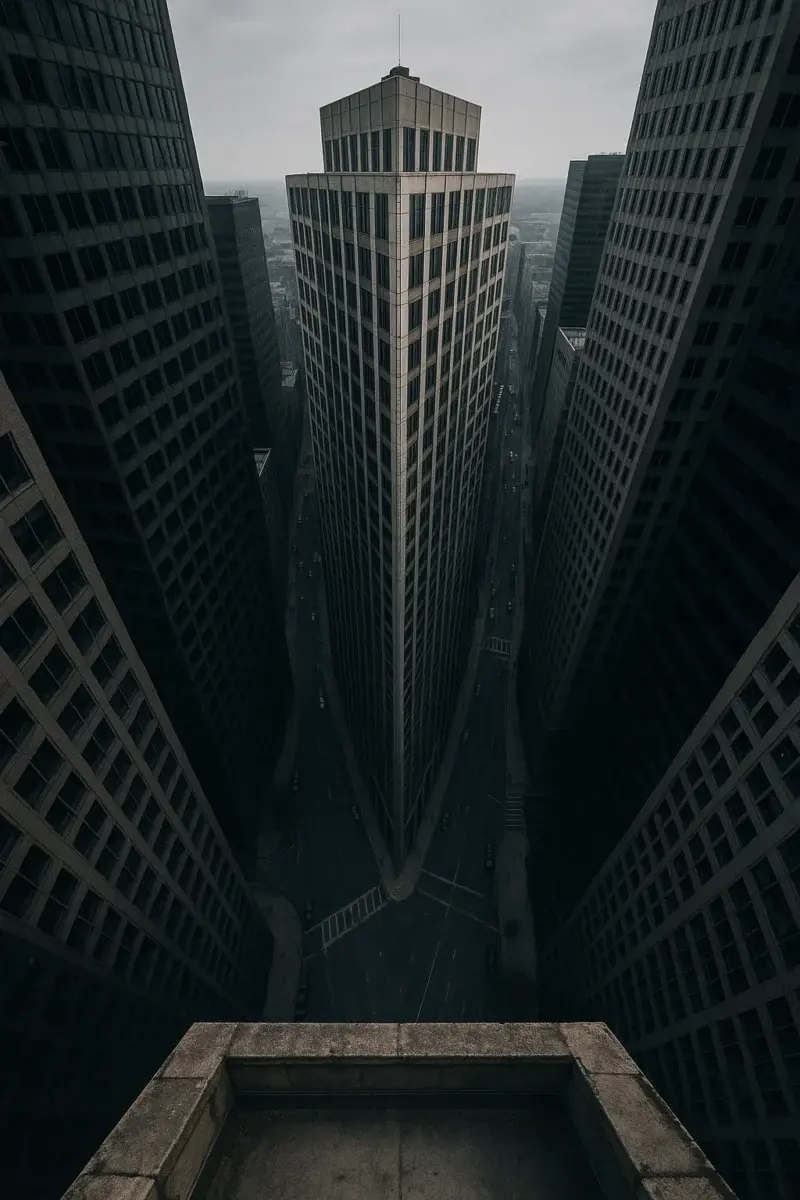
A third vanishing point is added, which focuses on the up and down directions, and can simulate a top-down or top-down view.
For example, scenes showing tension, looking down from a tall building, etc.
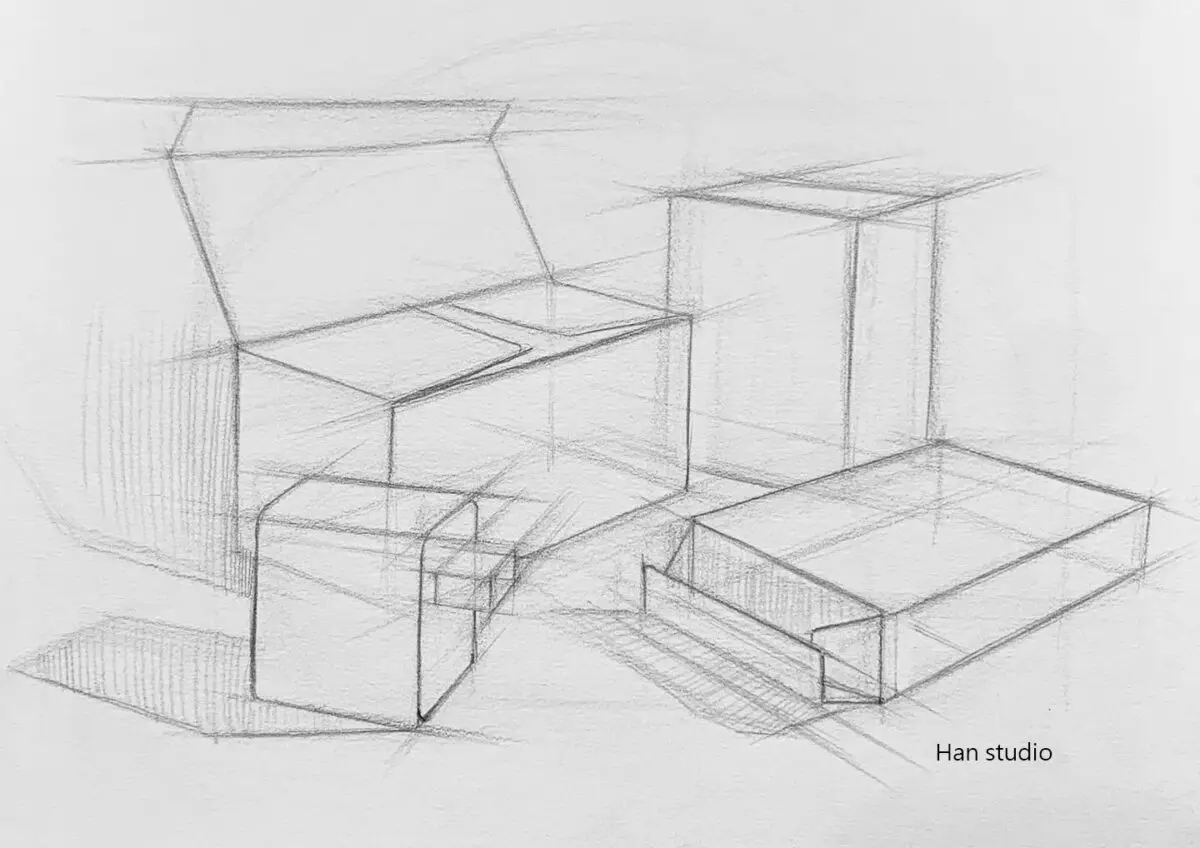
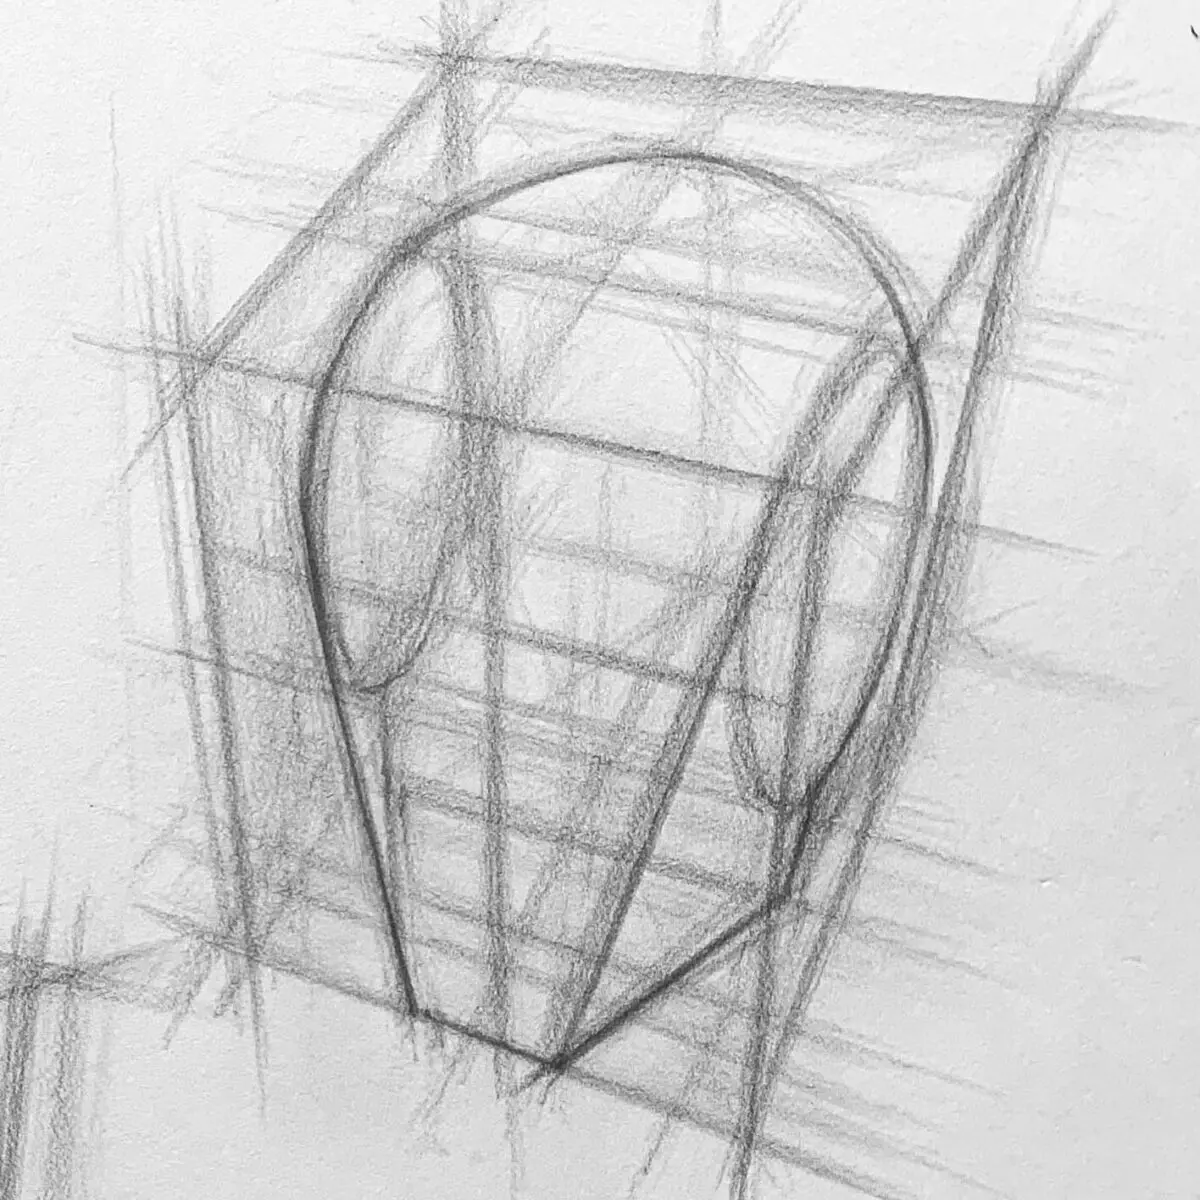
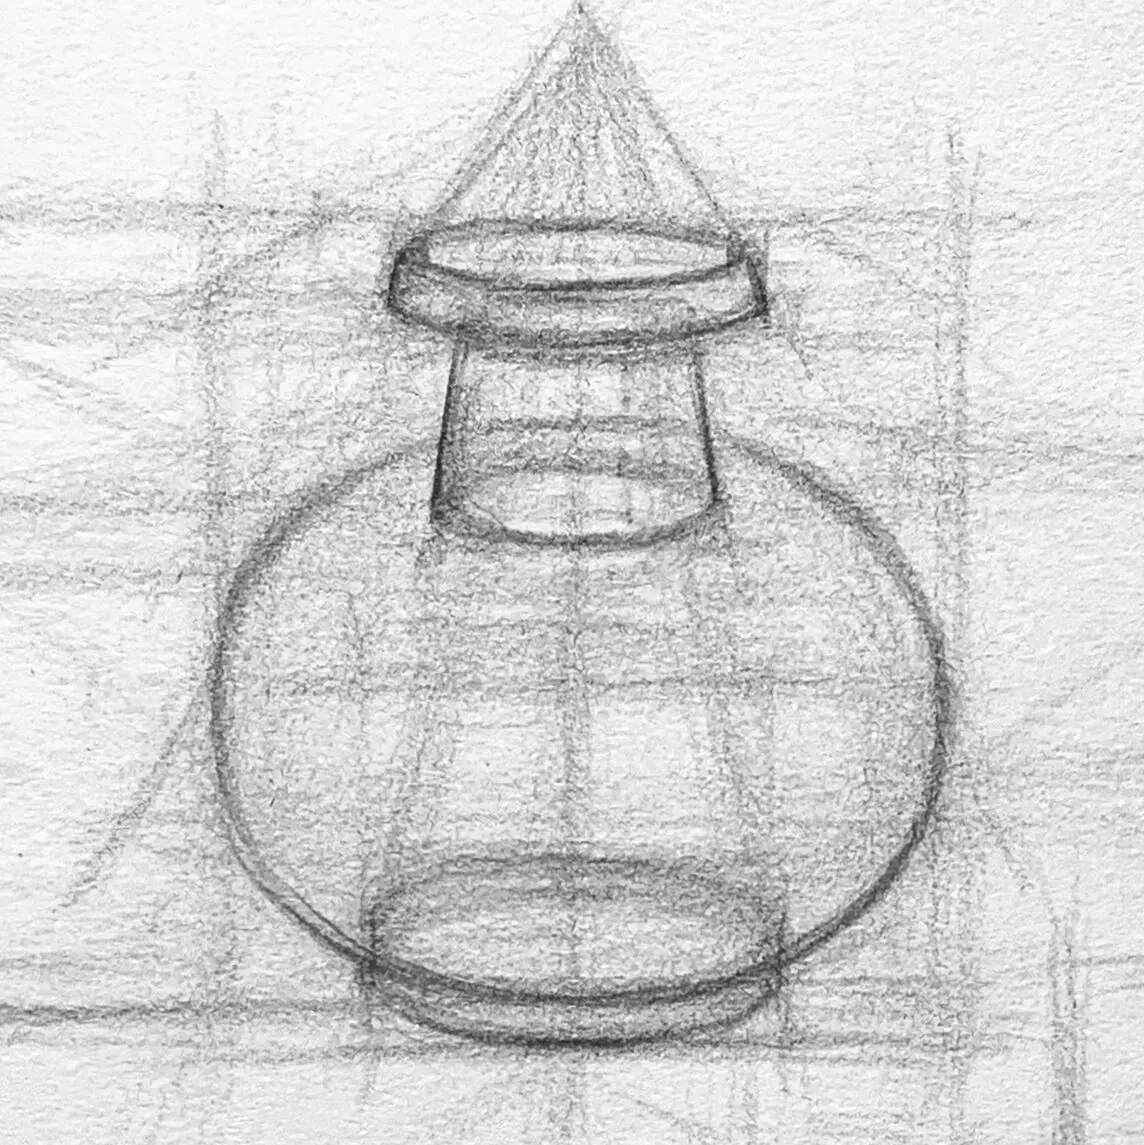
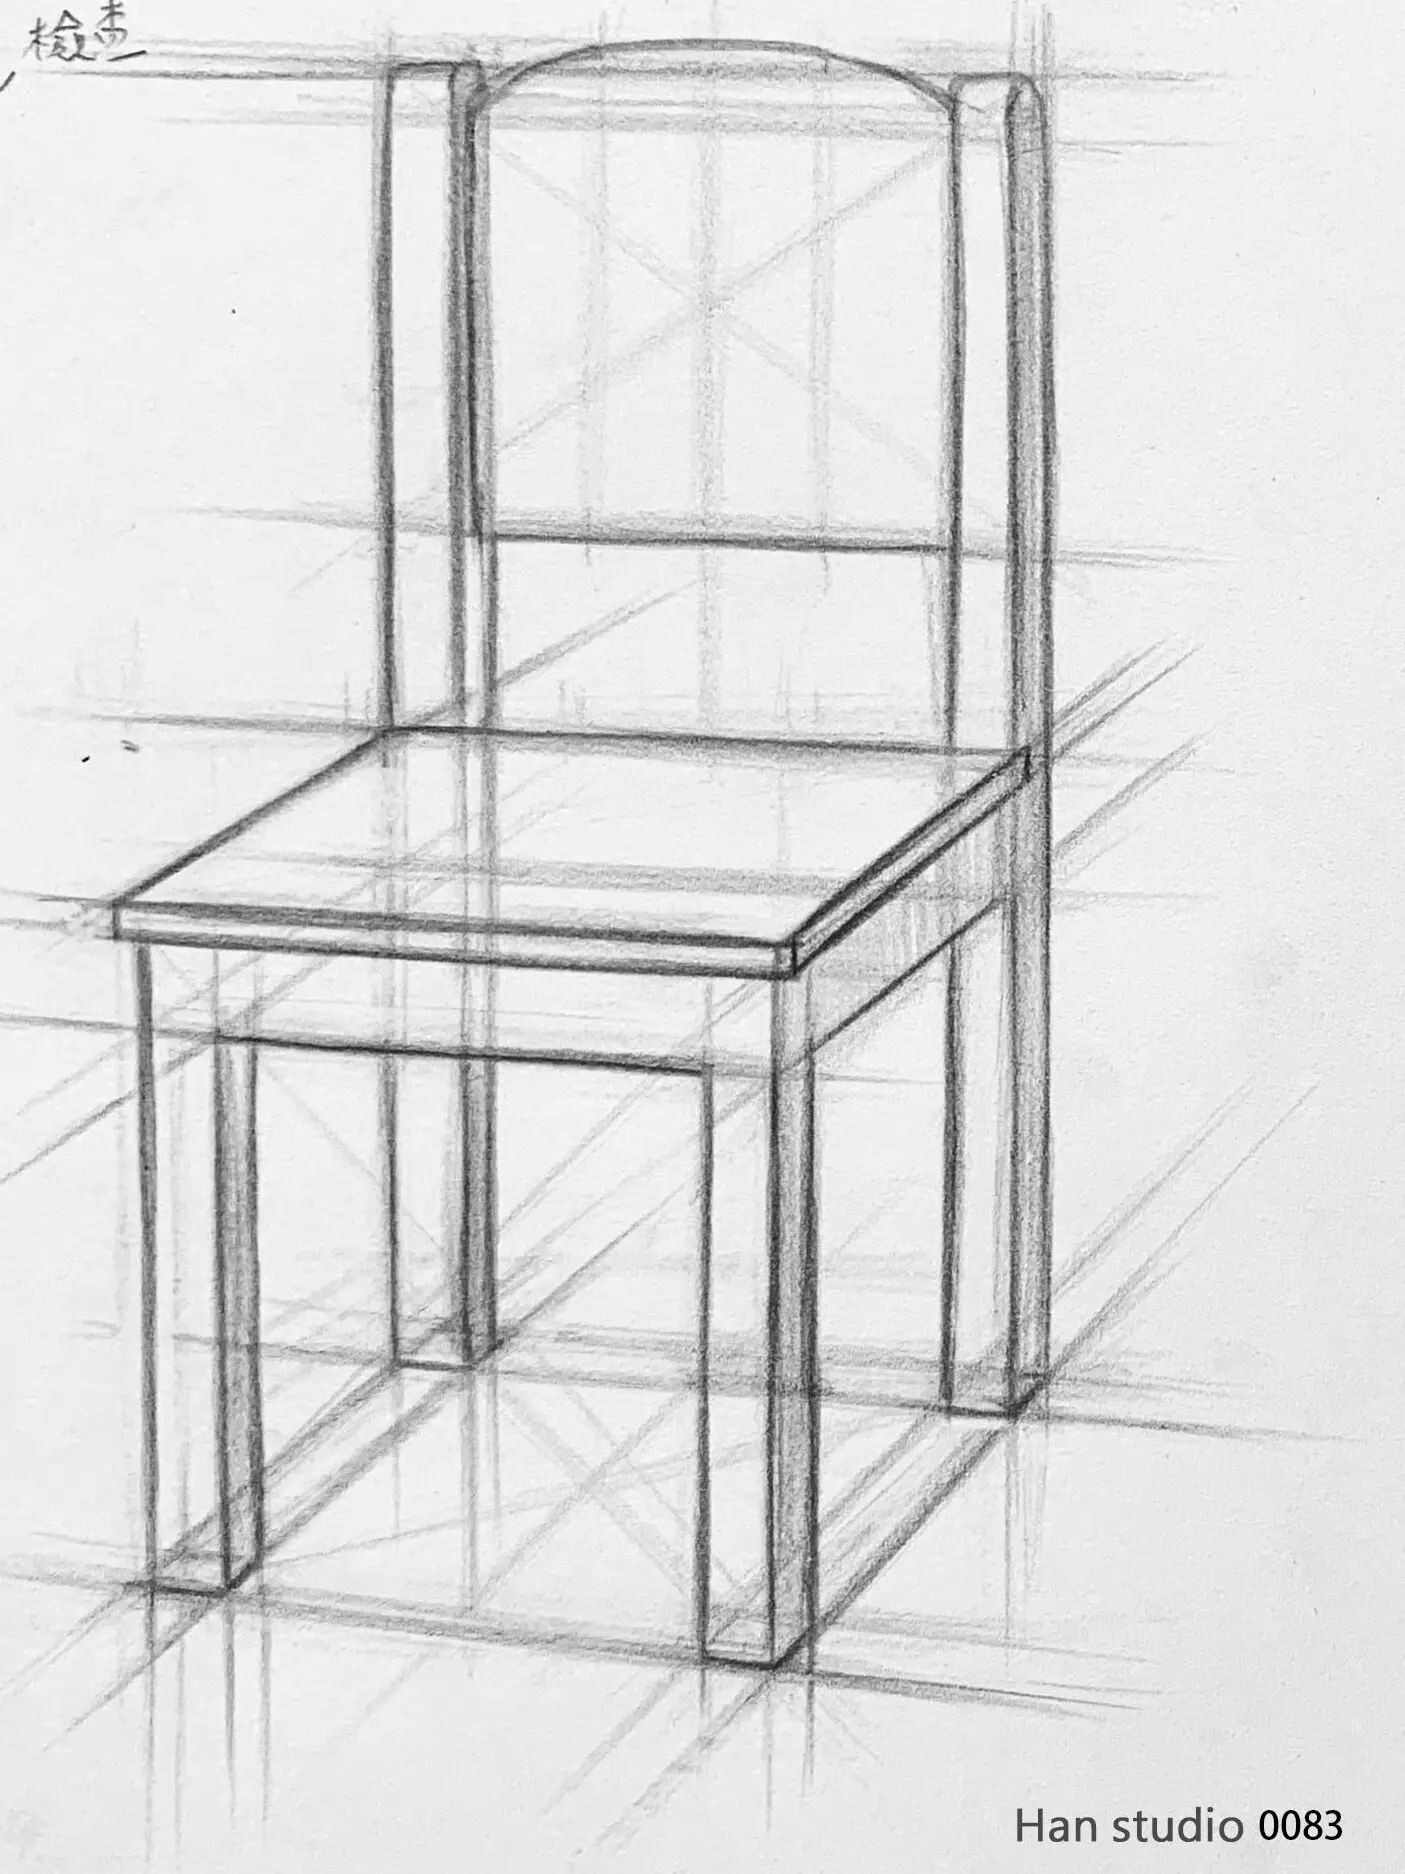
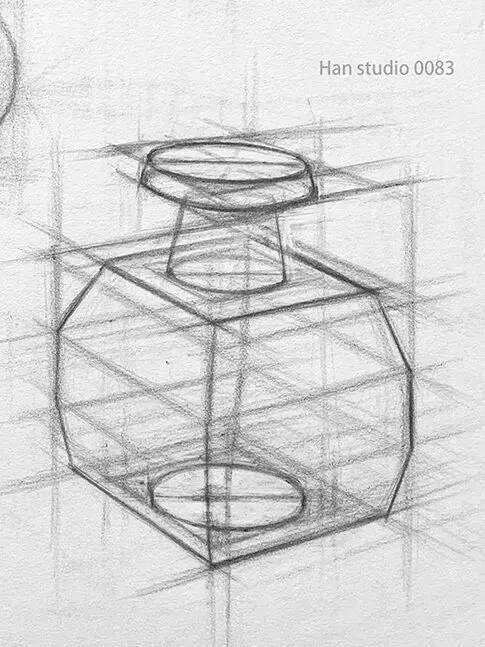
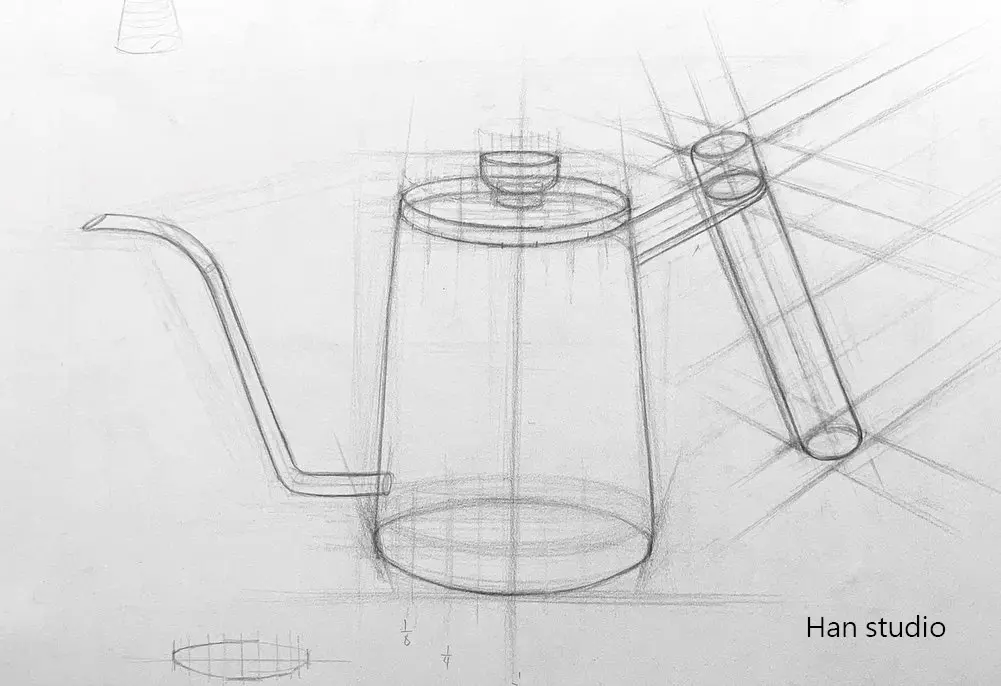
The objects we see in our daily life can be simplified into squares to construct shapes and proportions. By using squares, we can quickly understand the structure and establish the relationship between the size of the object and the space when we draw.
You can visualize the object as being built up from several squares, for example, in the following Cosmos demonstration, the width is scaled to one square and the height is roughly two squares more, so we can stack the blocks to construct a scale of about 1:2.3.
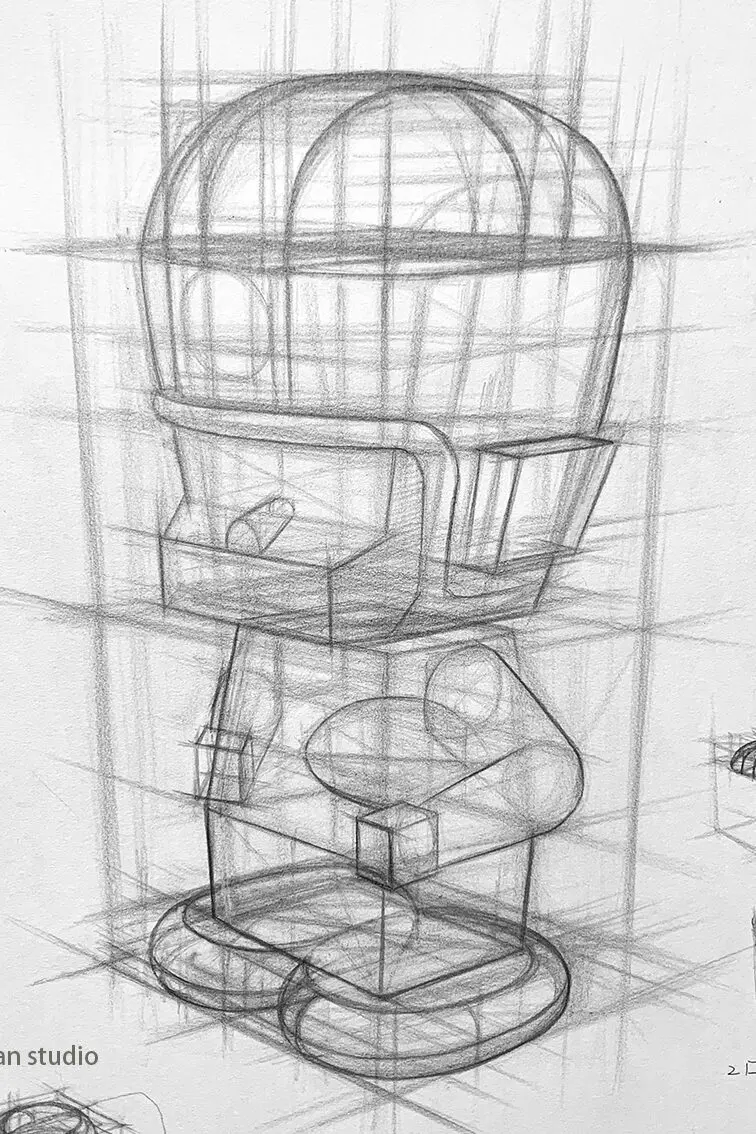
Using the square we can easily calculate the length to width ratio of an object, as well as what it might look like if we wanted to draw it at an angle.
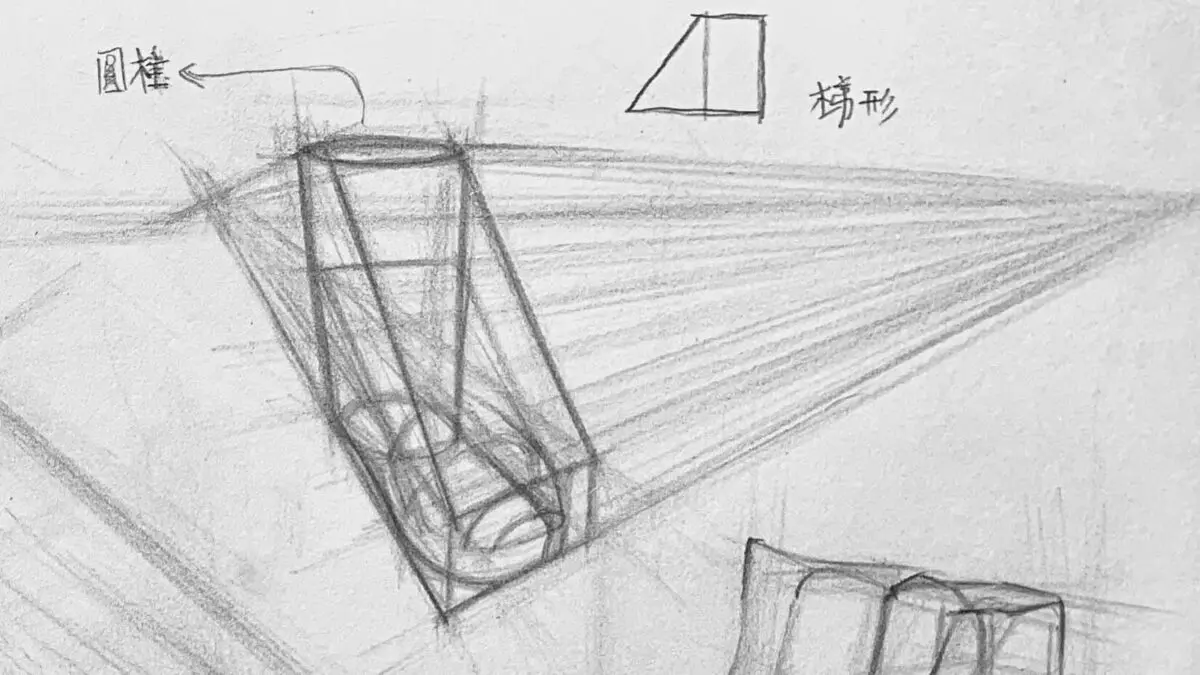
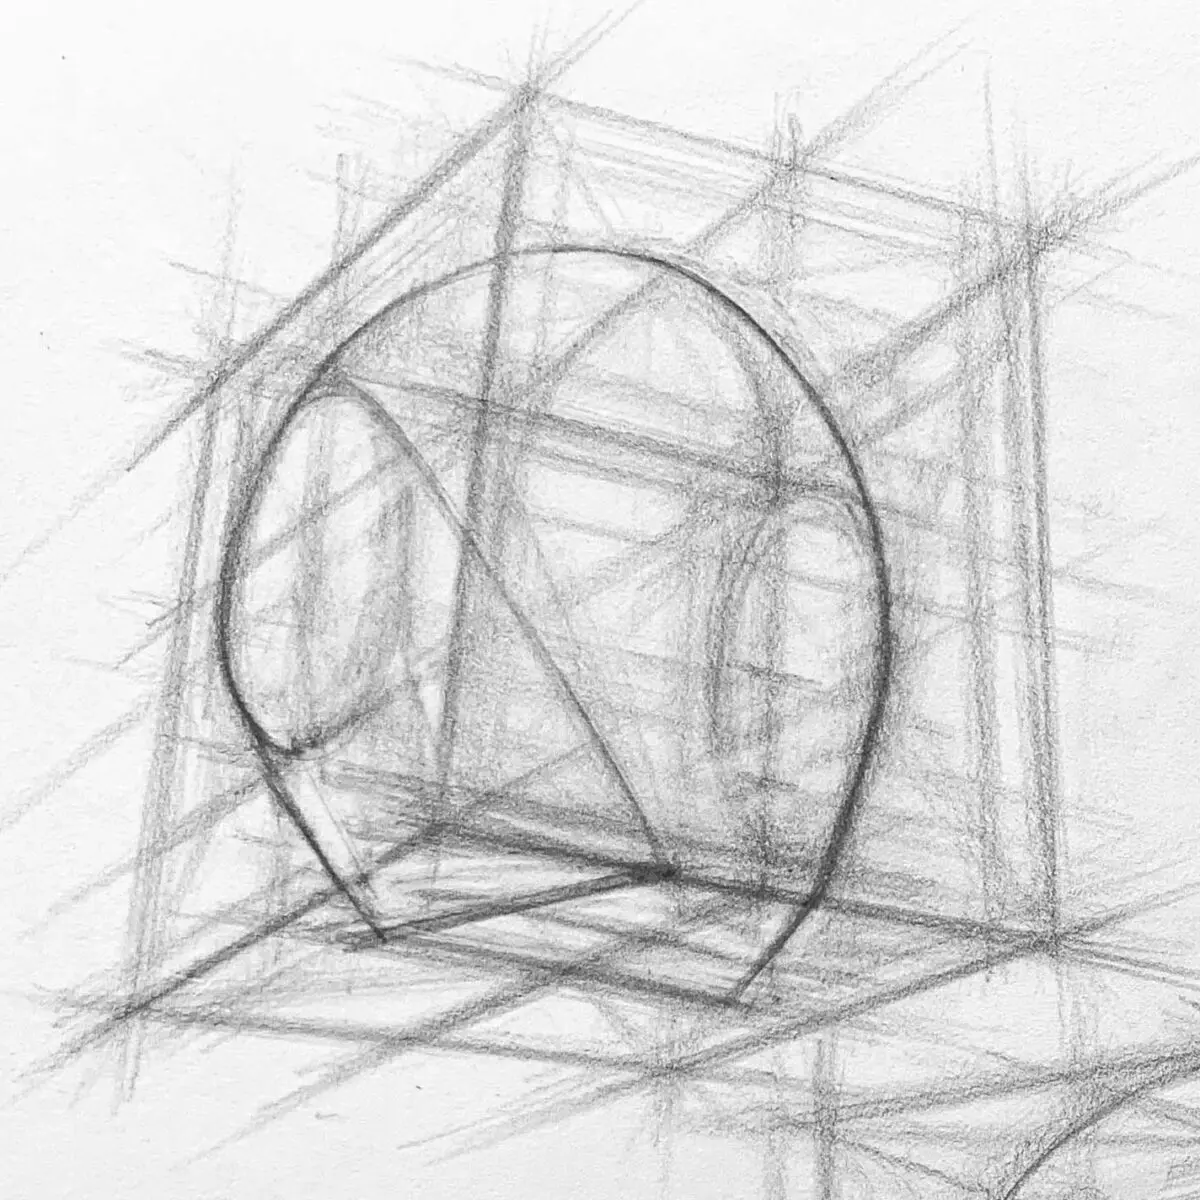
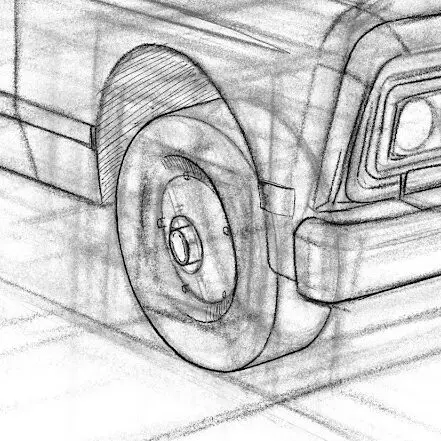
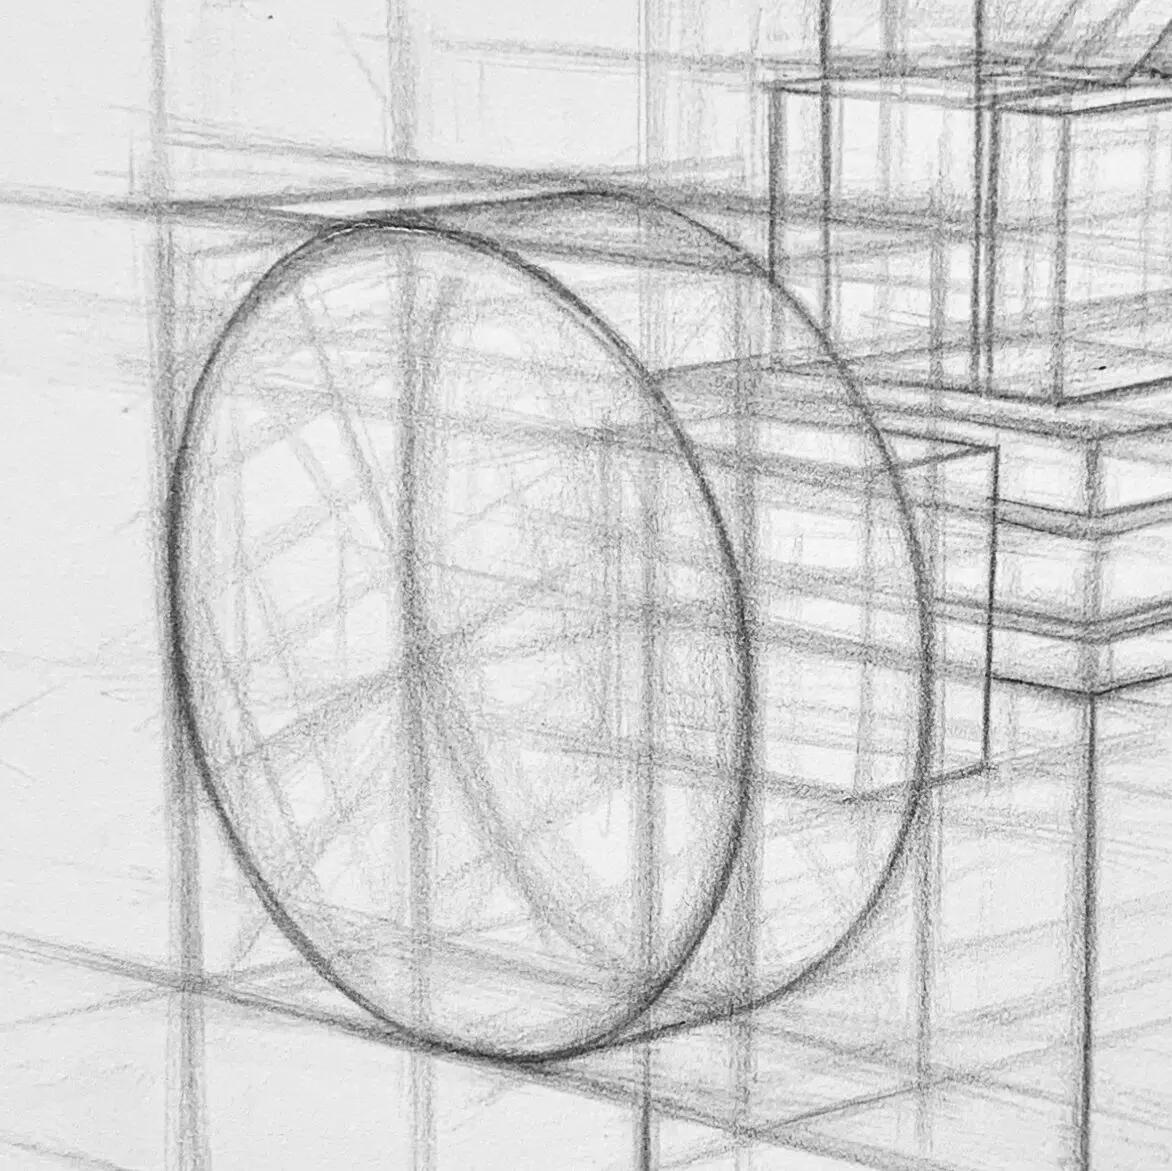
Circle in Perspective: A circle becomes similar to an ellipse in perspective, as the circle moves away from the line of sight and the circle begins to look like an ellipse.
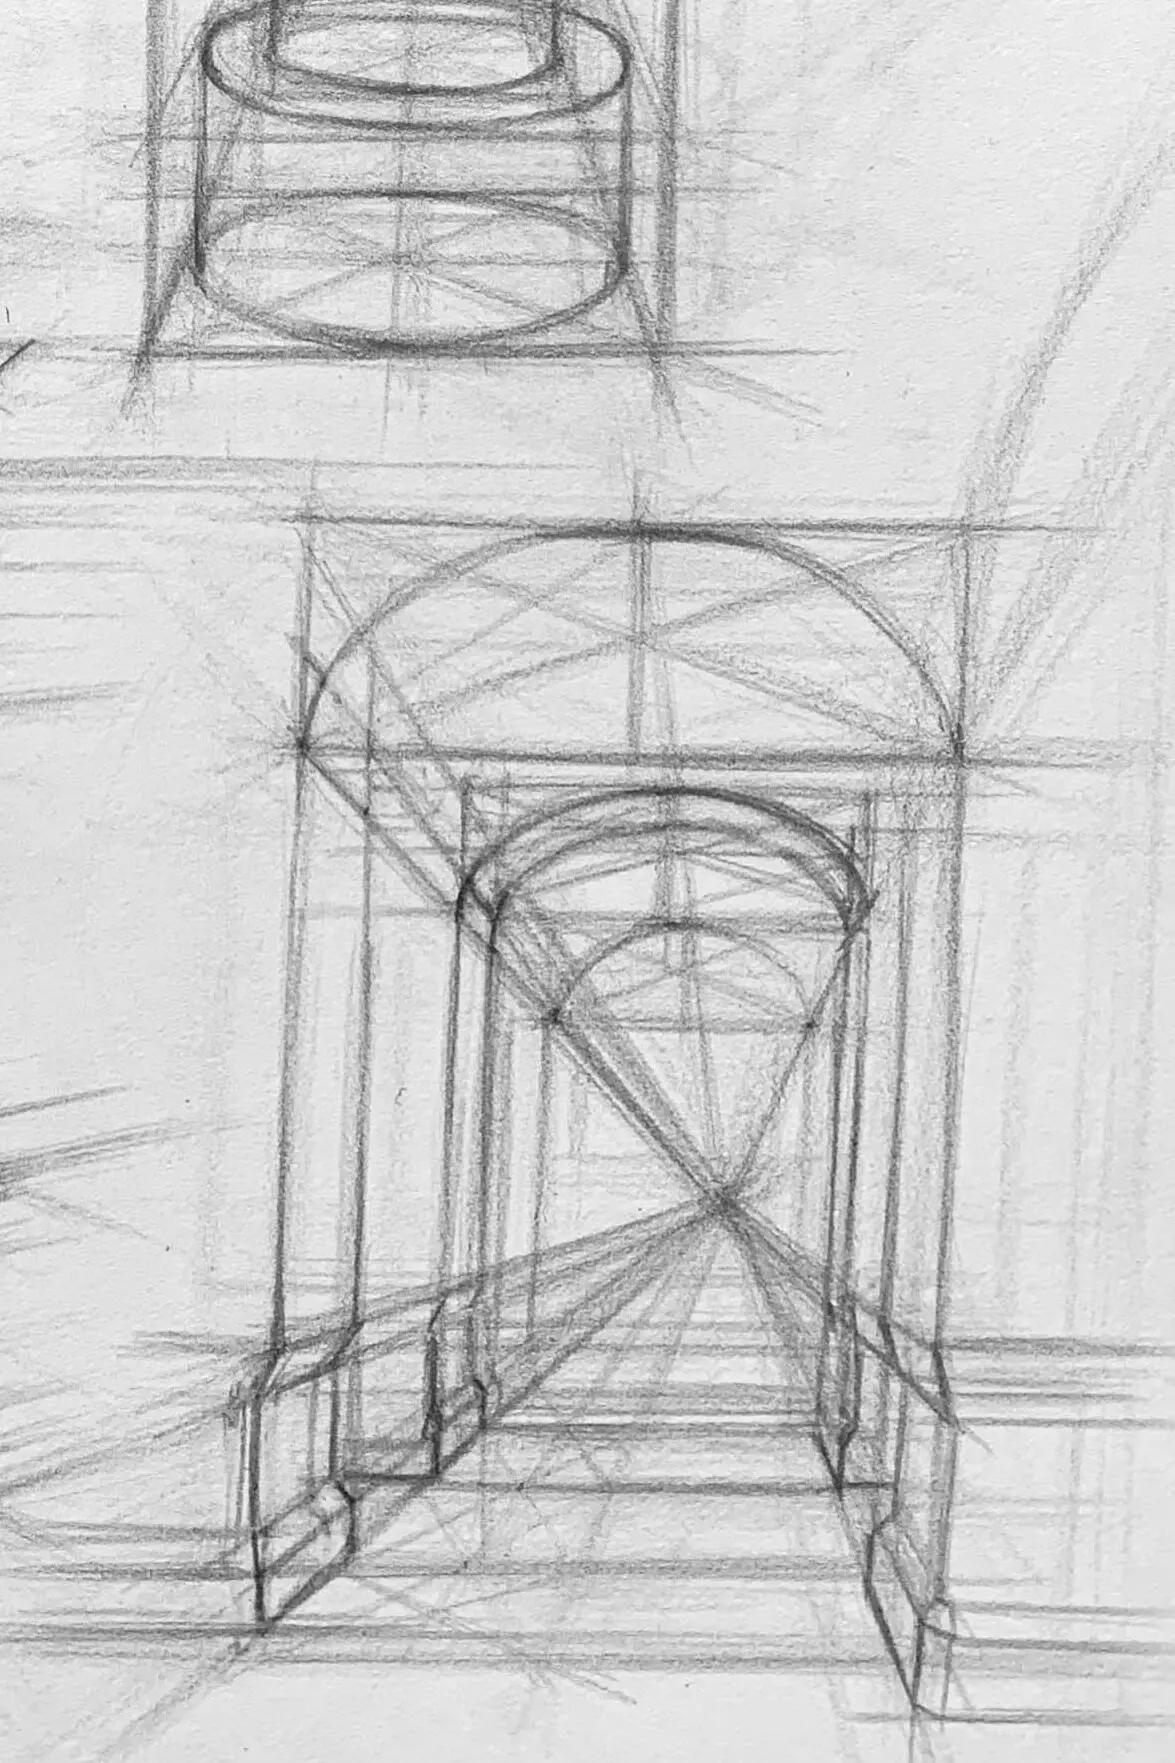
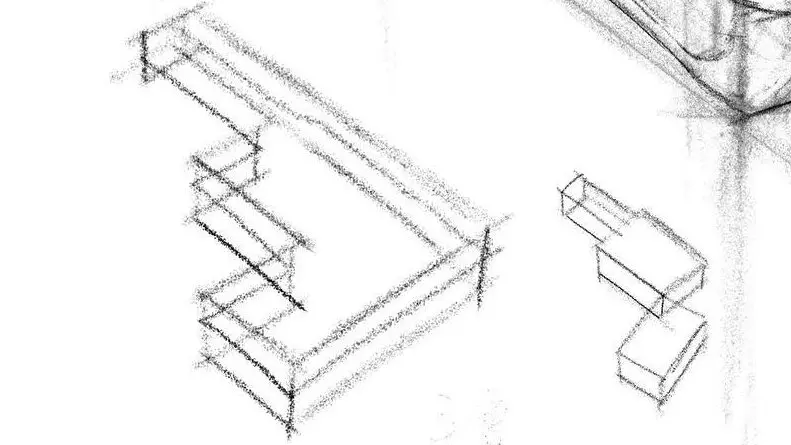
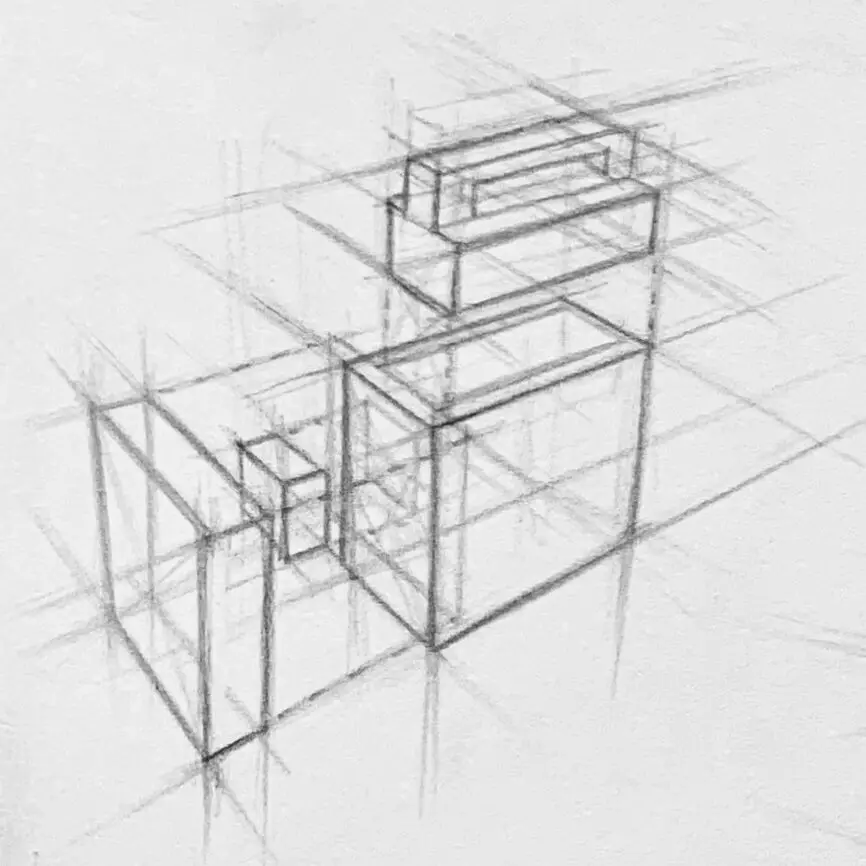
Creating Perspective Rhythms with Square Multiplication
When drawing perspective, you may wonder, "How deep should I draw this object or scene? How do I know where to put the next layer?"
This is where the "Square Multiplier Method" is the answer. It is a relatively precise method that can help you:
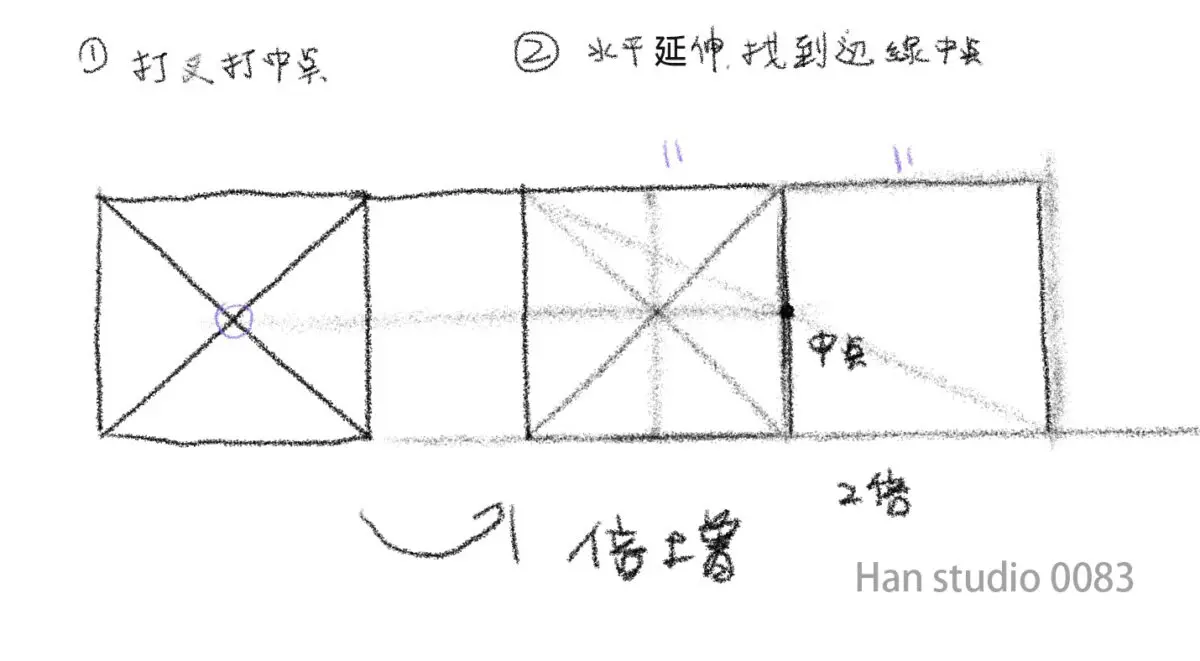
🔹Step 1:
Draw a square, then two diagonal lines to find the "center" of the square and use it as a base for positioning.
🔹Step 2:
By lengthening the edges of the squares so that they meet the diagonals, you can step-by-step draw "equally spaced squares" to help you cut the space more accurately!

✅Reminder: As long as the first frame is a correct square, subsequent multiplication is less likely to be deformed.
❌Common mistakes: not grasping the center line and guessing intuitively at each frame will lead to more and more crooked drawings and a collapse of proportions.
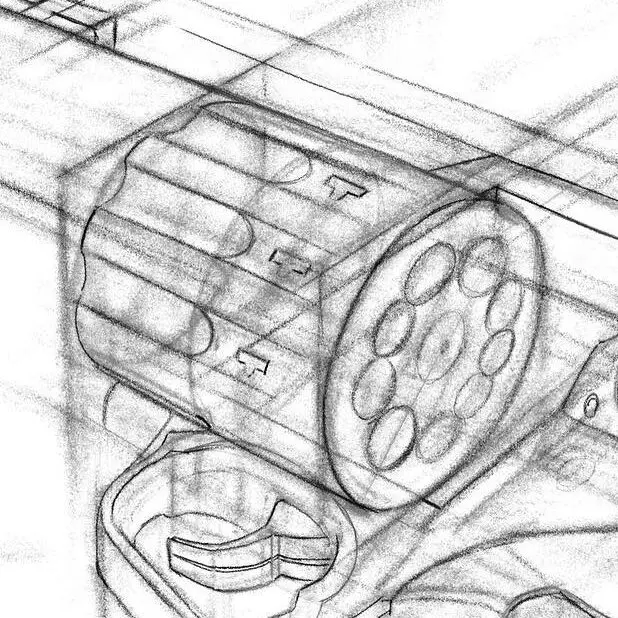
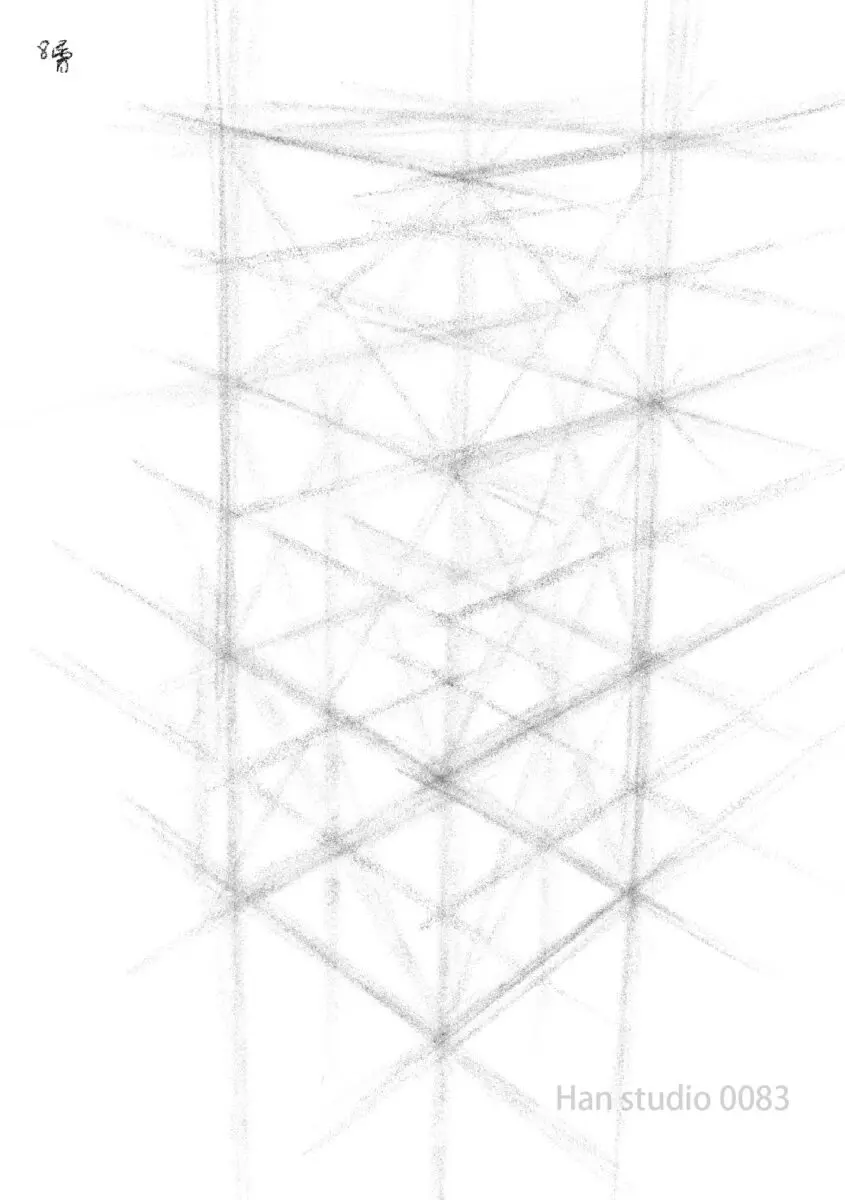
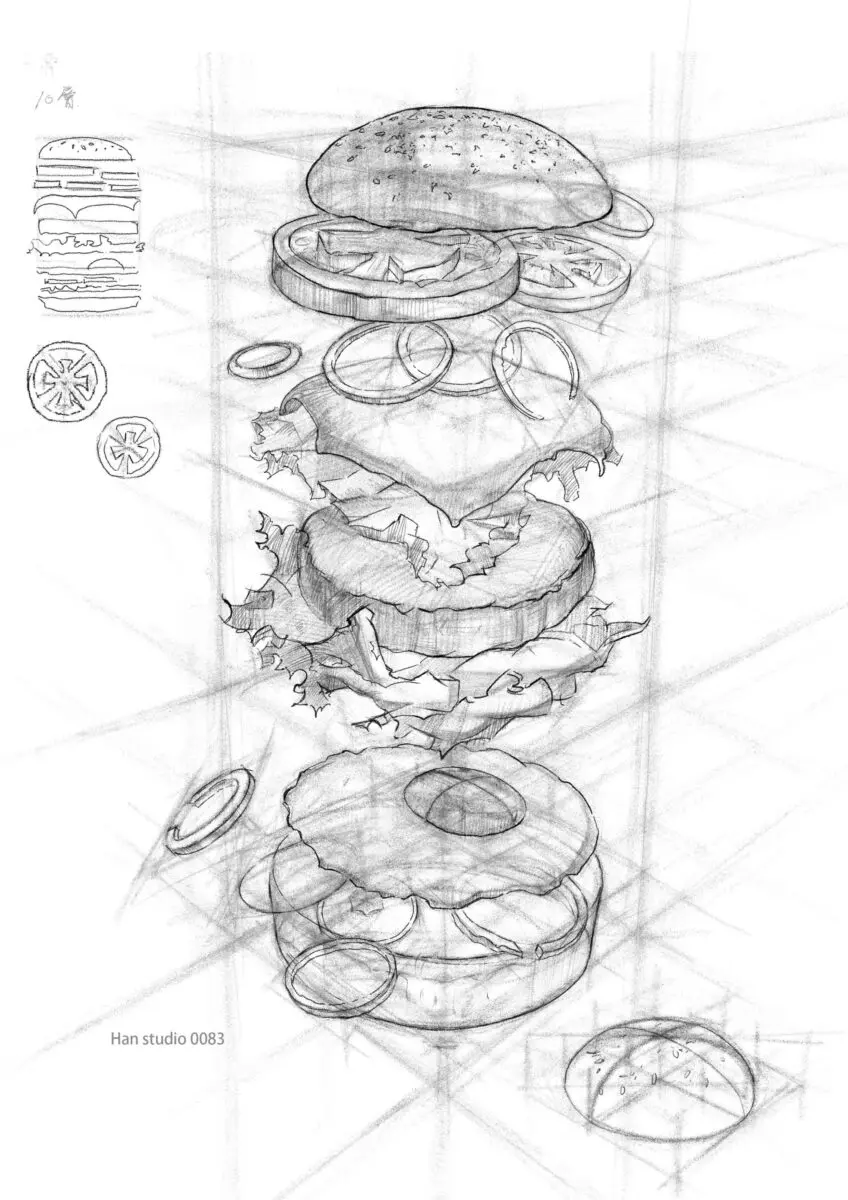
Many painters see the explosion picture will think that it is a hollow decomposition, in fact, if there is no bottom of the "square space structure" support, it is easy to parts do not match, the overall structure is not stable.
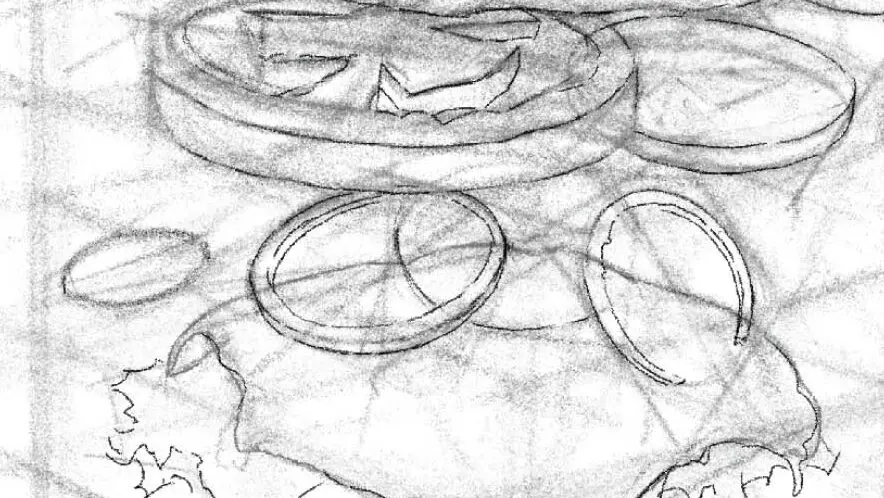
Here, we take the burger as an example and map each layer of its ingredients to 8-10 layers of multiplication, creating an exploded view of the top and bottom stacks with spacing.
| Steps | Key Concepts |
|---|
| 1️⃣ Create 8-frame space cube | Creating Isometric Spaces with Consistent Viewpoints Using Multiplication Methods |
| 2️⃣ Insert Round, Square Ingredients | Start with a simple circle or square to define the position and thickness. |
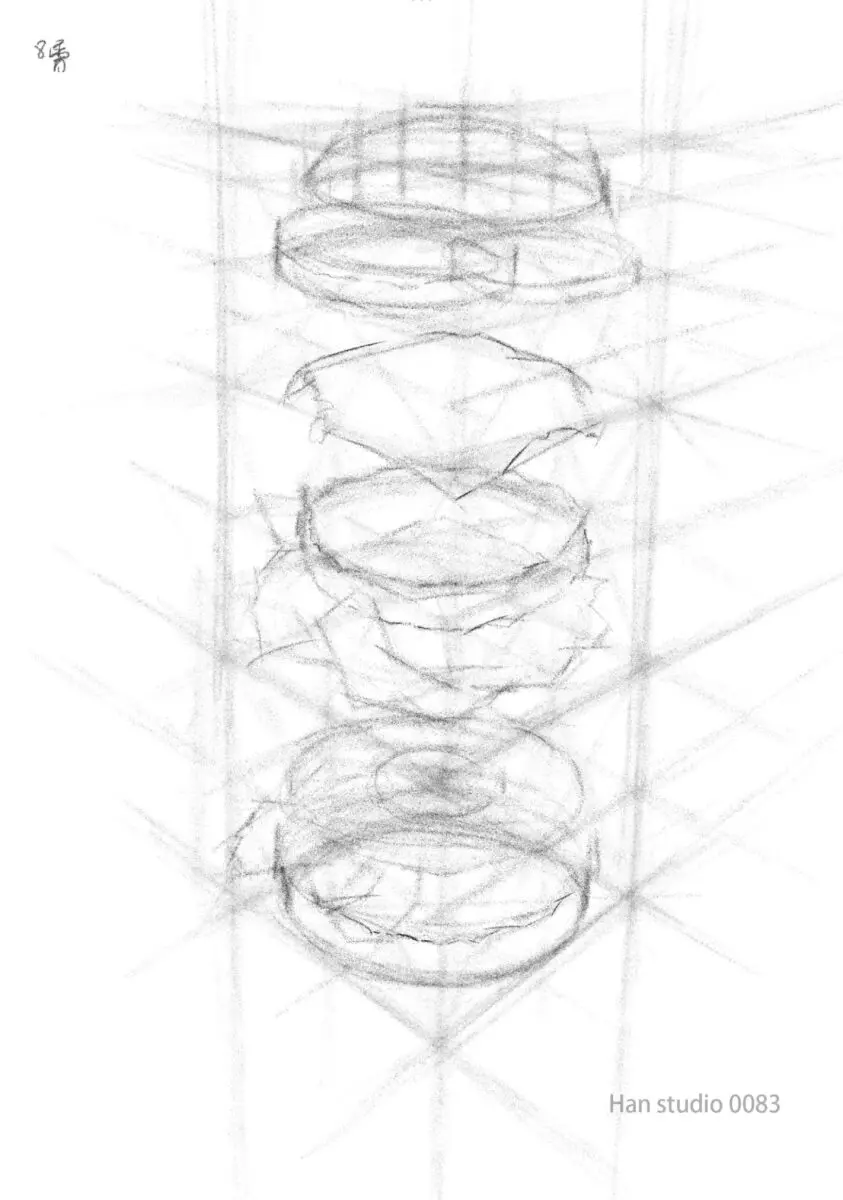
| 3️⃣ Add natural variations (e.g., cheese extensions, lettuce mess) | Referring to the original lattice perspective, the shape can be slightly organic. |
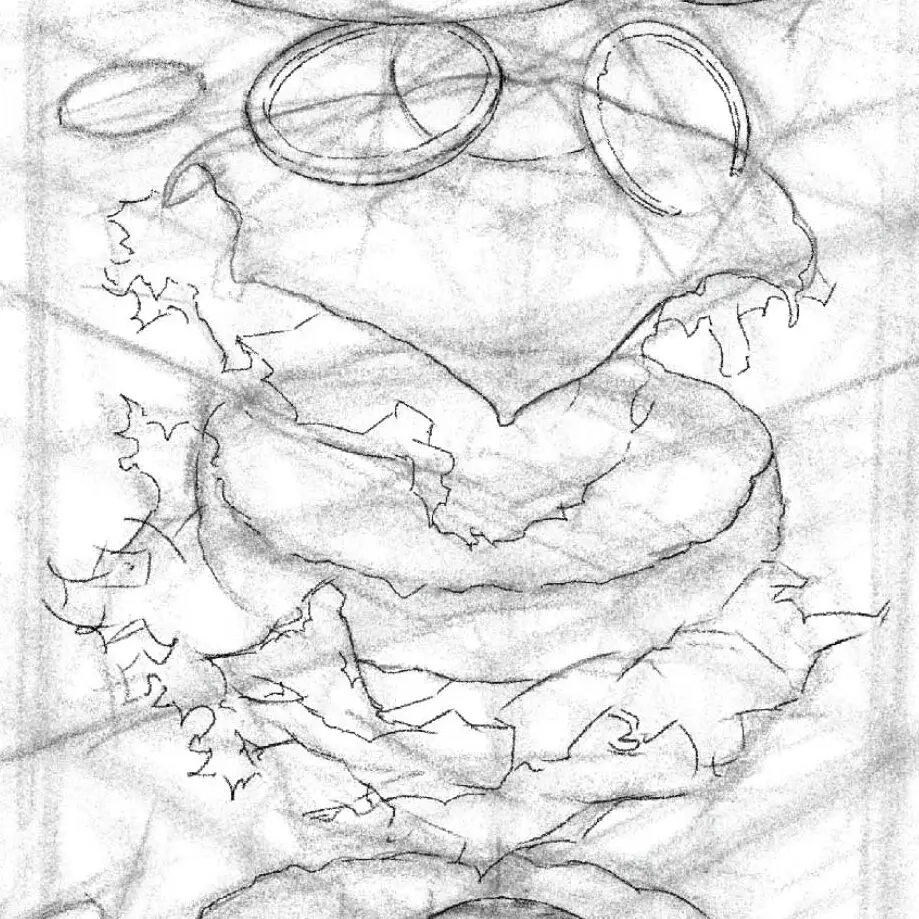
| 4️⃣ Floating element design | Onion rings or tomato slices can be moved horizontally from the original layer to create variety. |
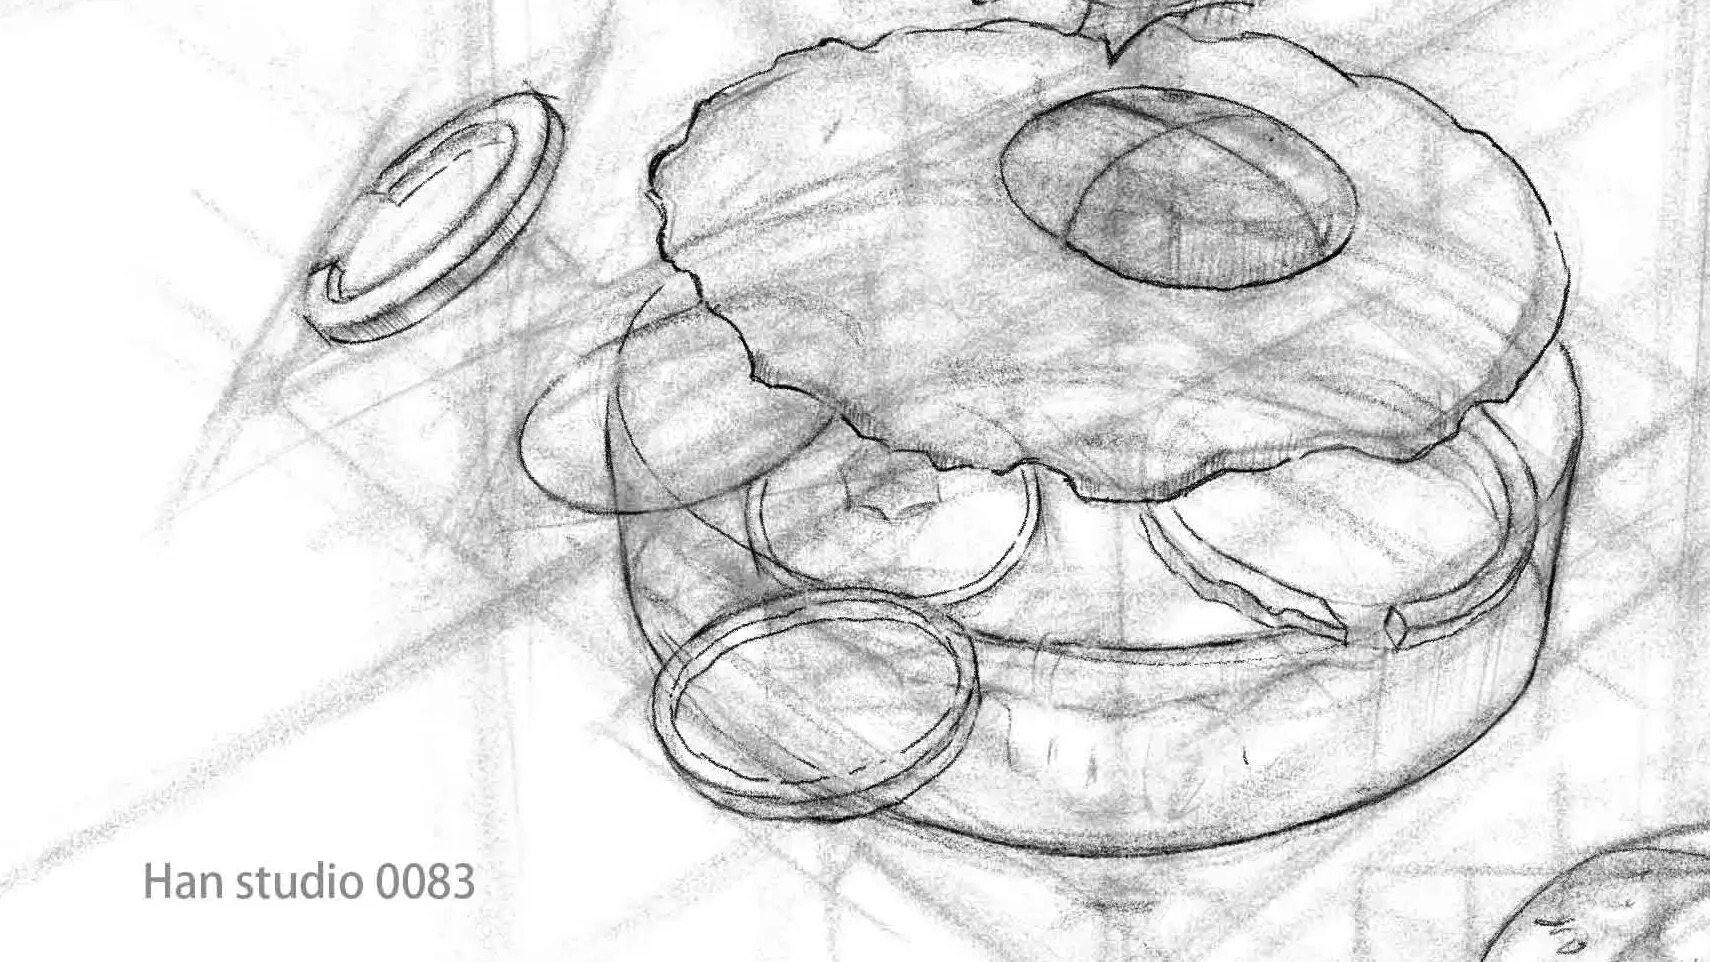
| 5️⃣ Final Line Drawing and Structural Simplification | You can leave part of the grid and keep the perspective frame to increase the richness of the picture. |
Above is the perspective of some of the knowledge of the introduction, interested in their own hands to try to see, practice the use of perspective understanding, to see things in everyday life to capture.
If you want to learn to draw, but don't know how to start, or are interested in understanding what drawing is all about.
Welcome to join line Contact meIn my classroom, I organize the way I learn to draw in a clear and organized way.
Click here to learn more about the Painting Program
How to Draw a Car for Beginners: Using Simple Shapes
Boots Sketch Tutorial: Learn Proportions and Structural Lines
How to Master the Proportions,Shape, and Symmetry of a Teapot
Three Easy Steps to Drawing a Stuffed Duck with a Pencil
Mastering the Shape and Curvature of a Fishing Boat: Sketching Classroom Fishing Boat Drawing Tips