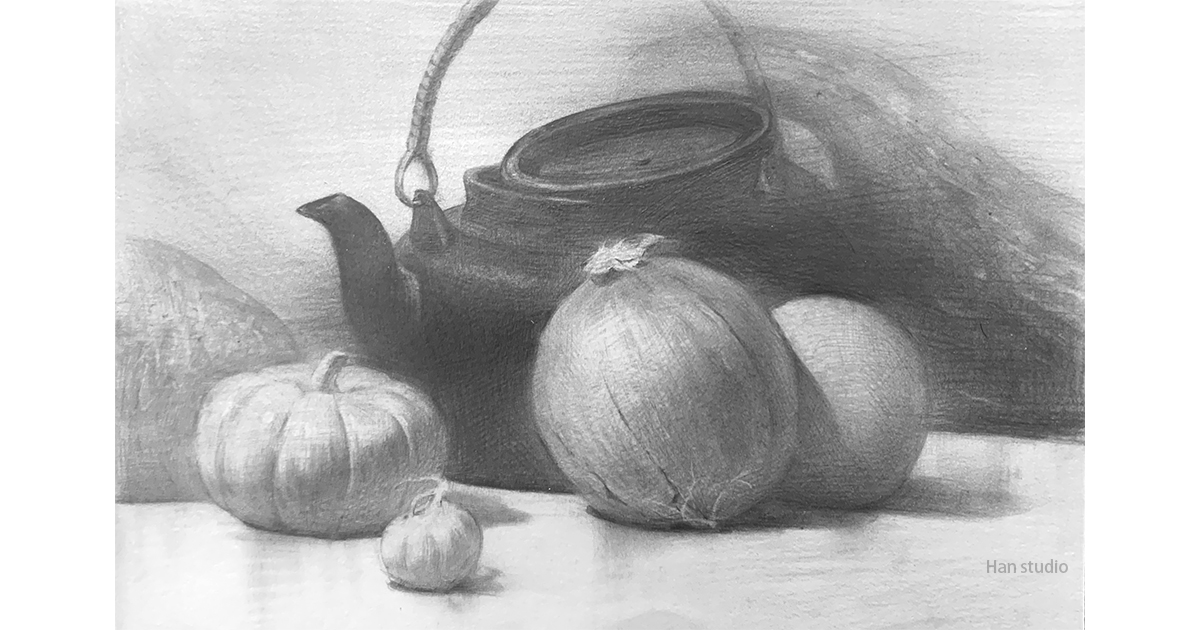
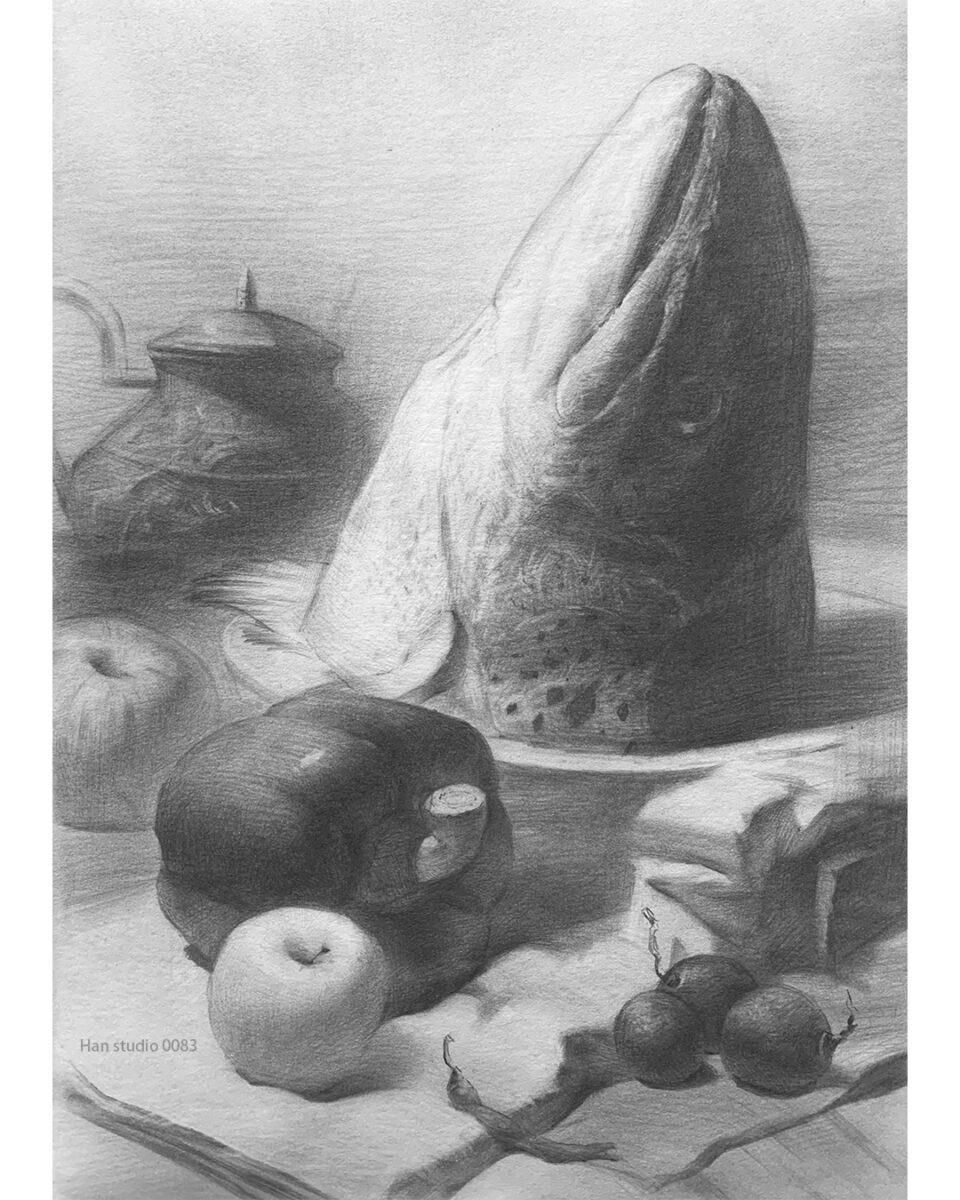
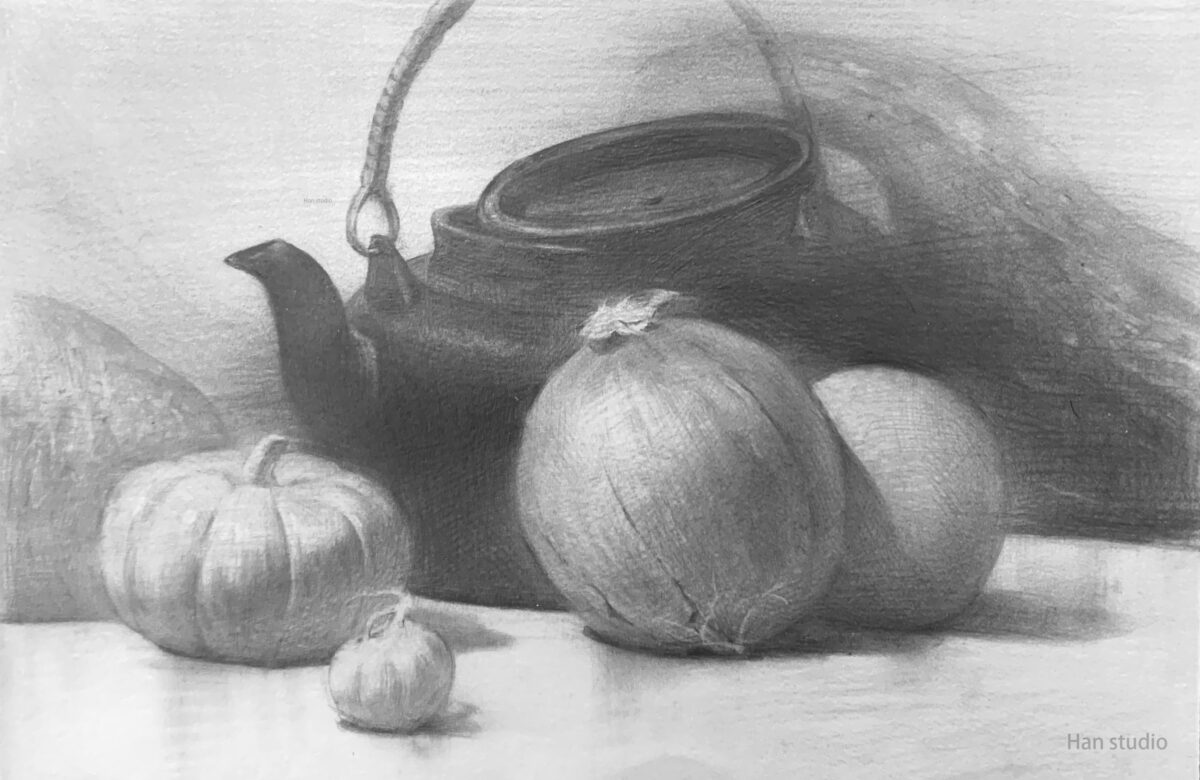
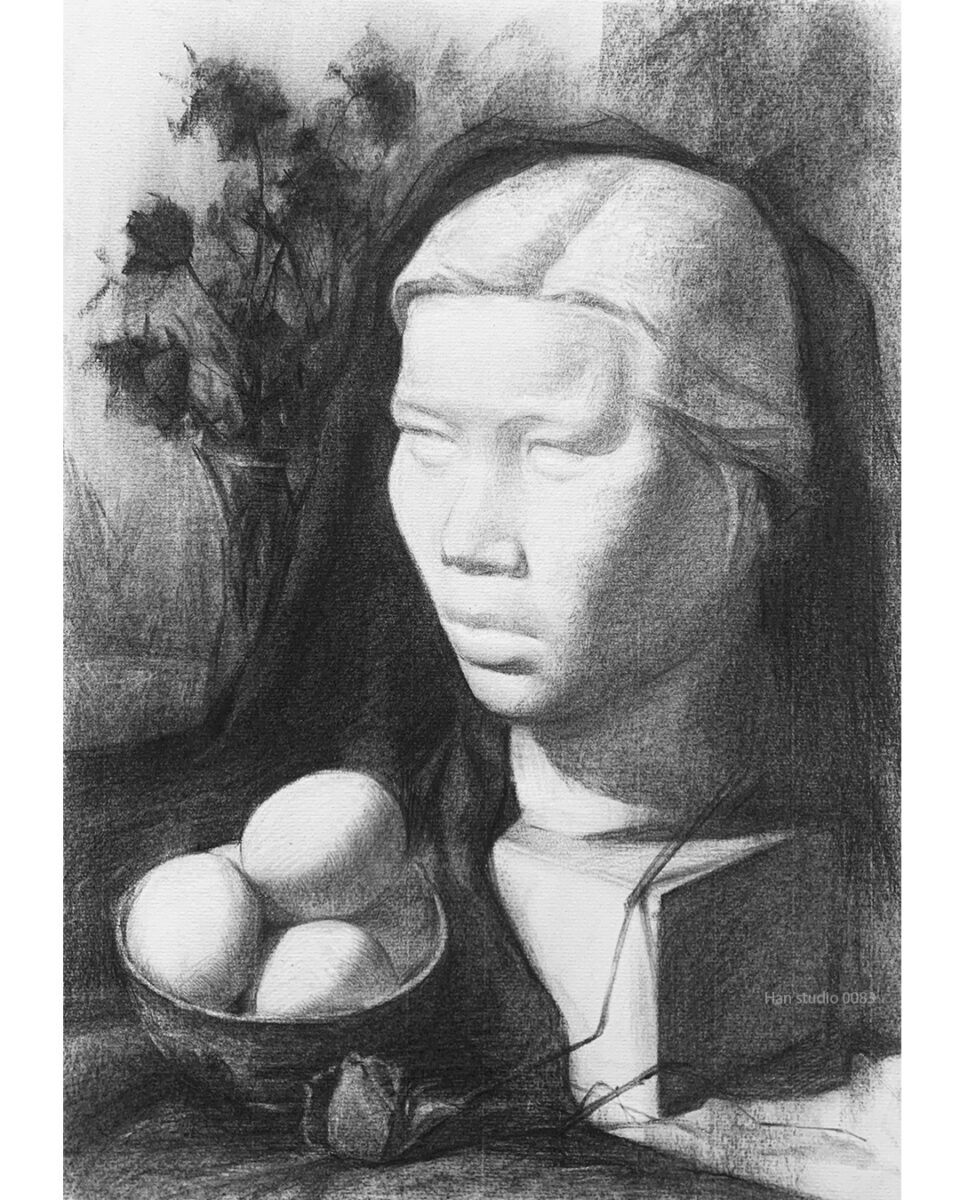
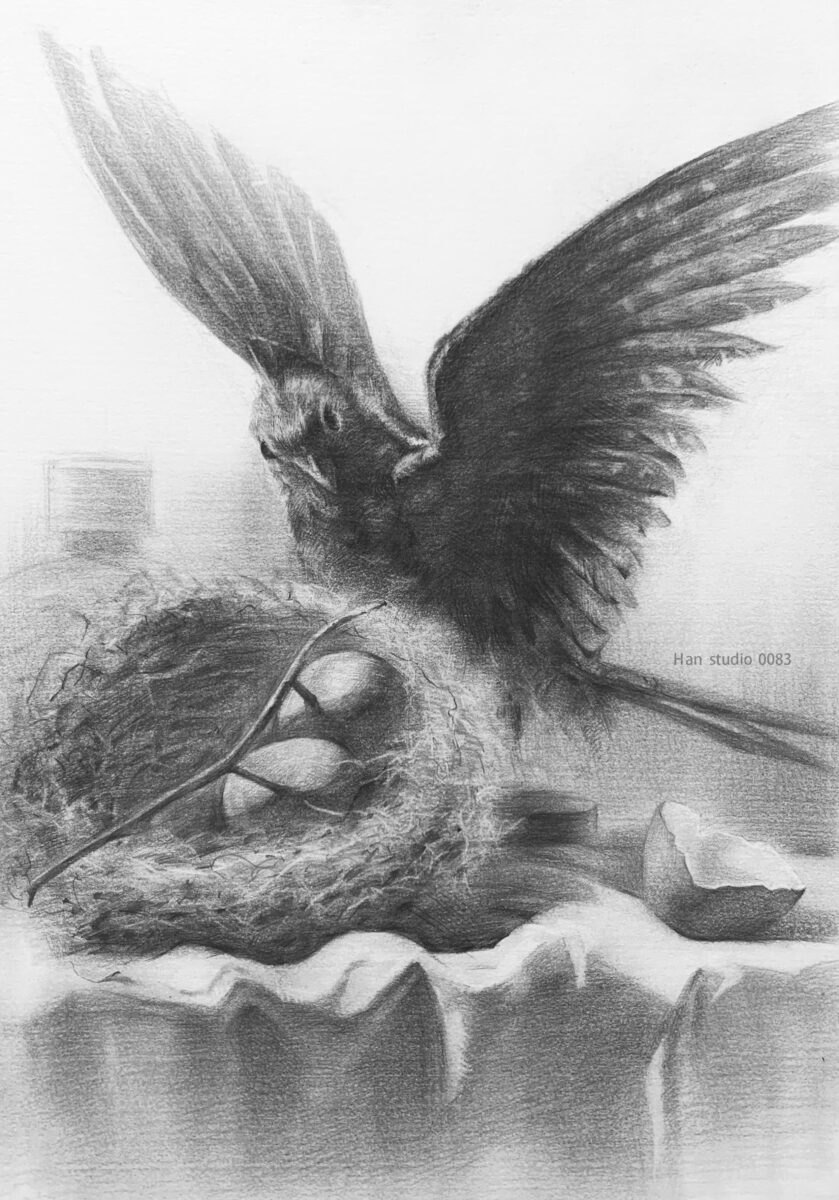
Documenting this week's pumpkin still life exercise. The arrangement of shapes in this setup is quite interesting and offers a chance to understand how to overlap objects with different brightness levels and characteristics.
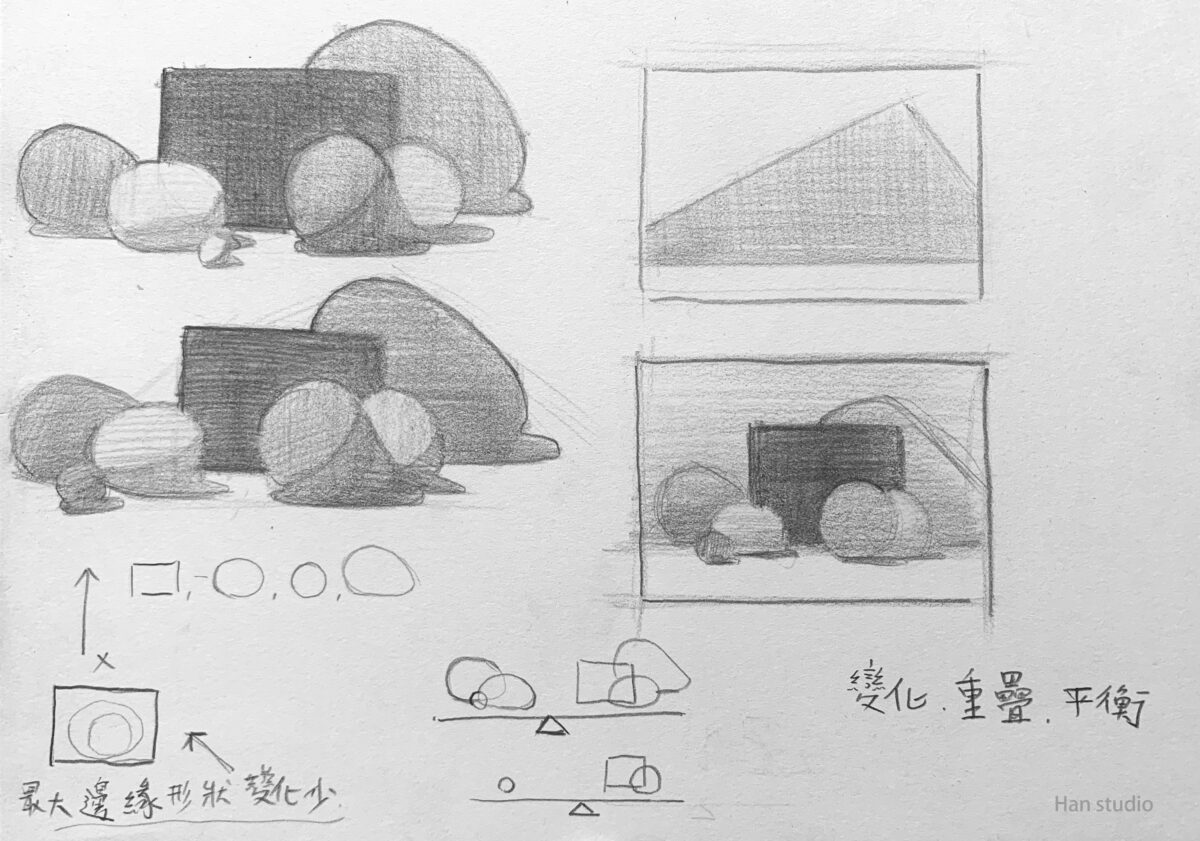
If you’re interested in how to arrange shapes and compose a picture, follow along with the second image for better understanding. 🙋
● Simplified Shapes:
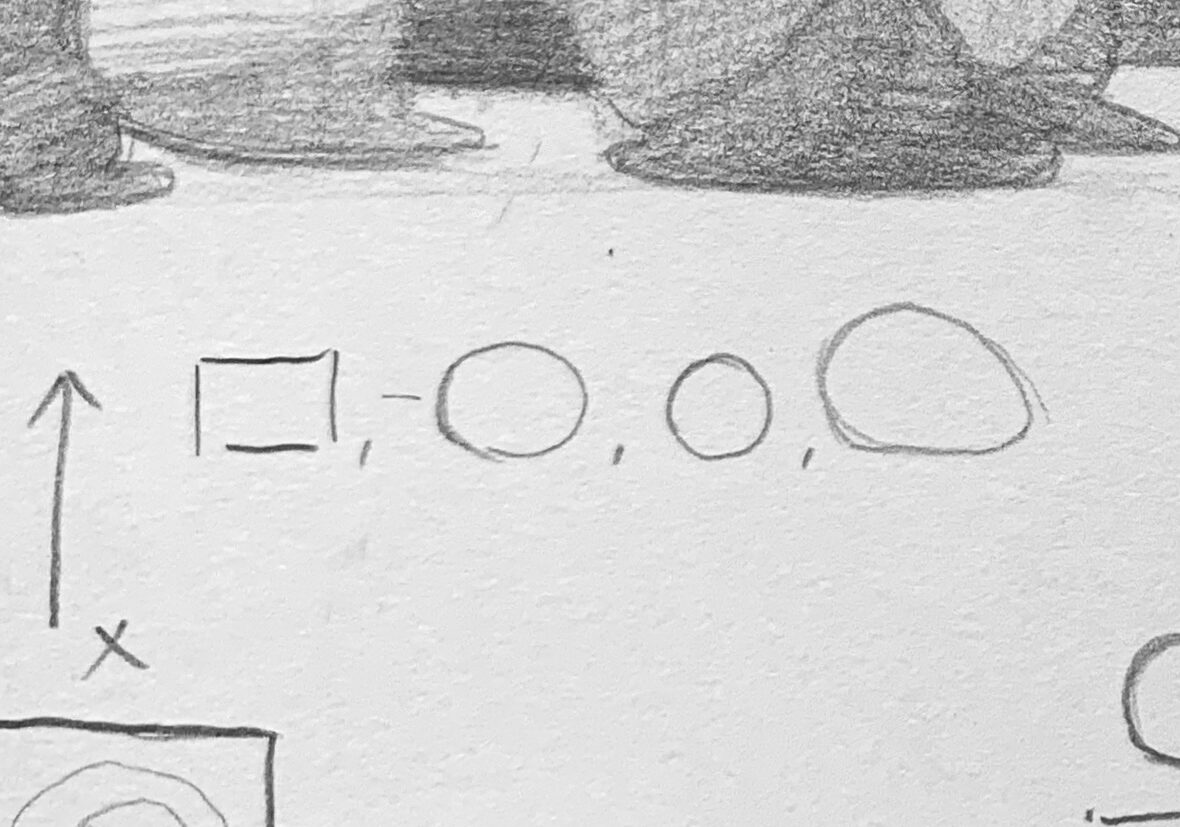
1. All objects can be simplified into basic geometric shapes (circles, squares, ovals).
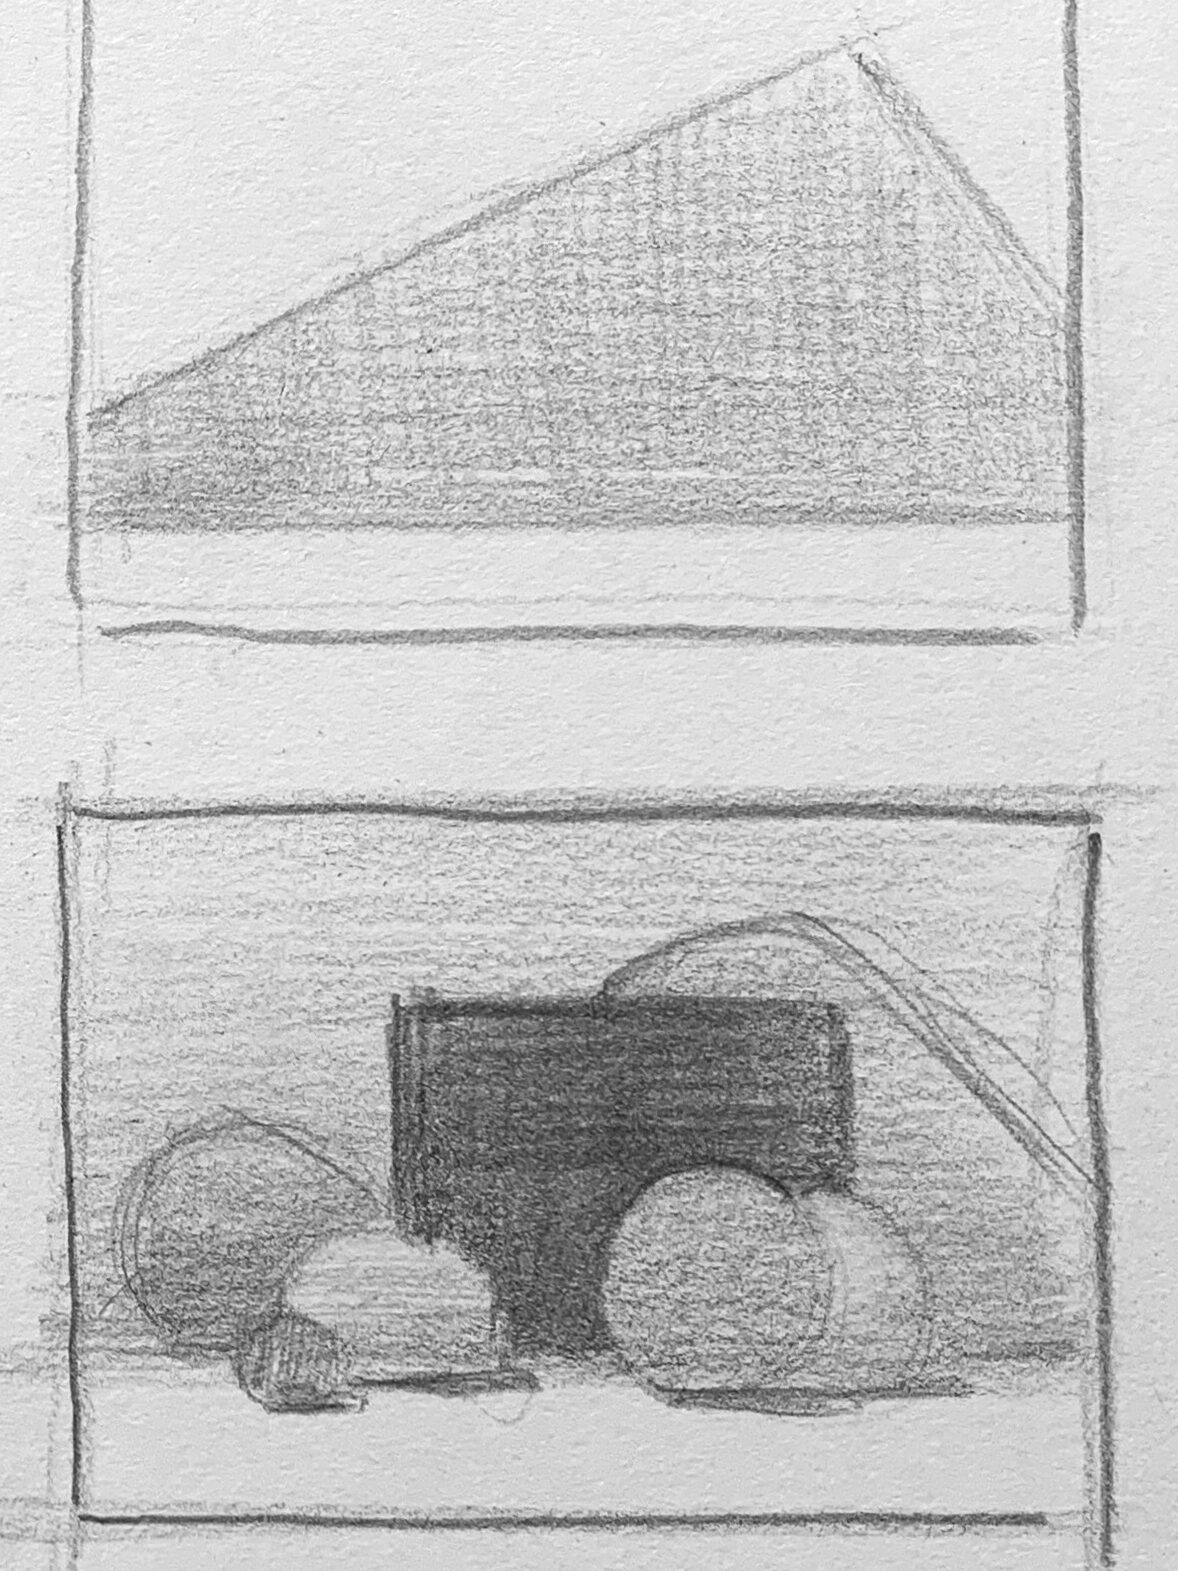
2. In the small image on the right, simple geometric shapes (triangles) are used to summarize the overall objects.
The goal of summarizing the overall objects is to stabilize the large structure of the picture first, then place the smaller shapes.
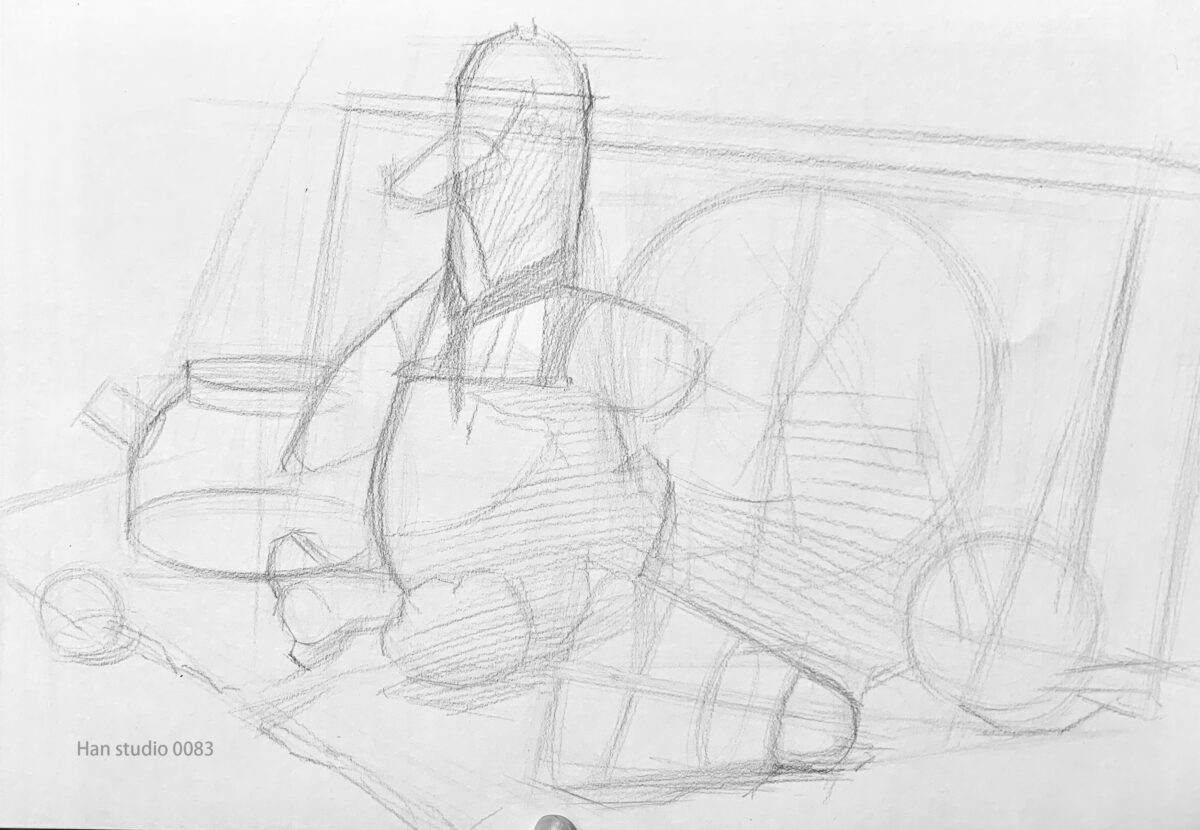
● Examples of Composition Styles:
When composing, pay attention to the different shapes and the variations created by their spacing and arrangement. We aim to arrange the objects with unequal spacing for variation.
1. Gathering and Dispersing:
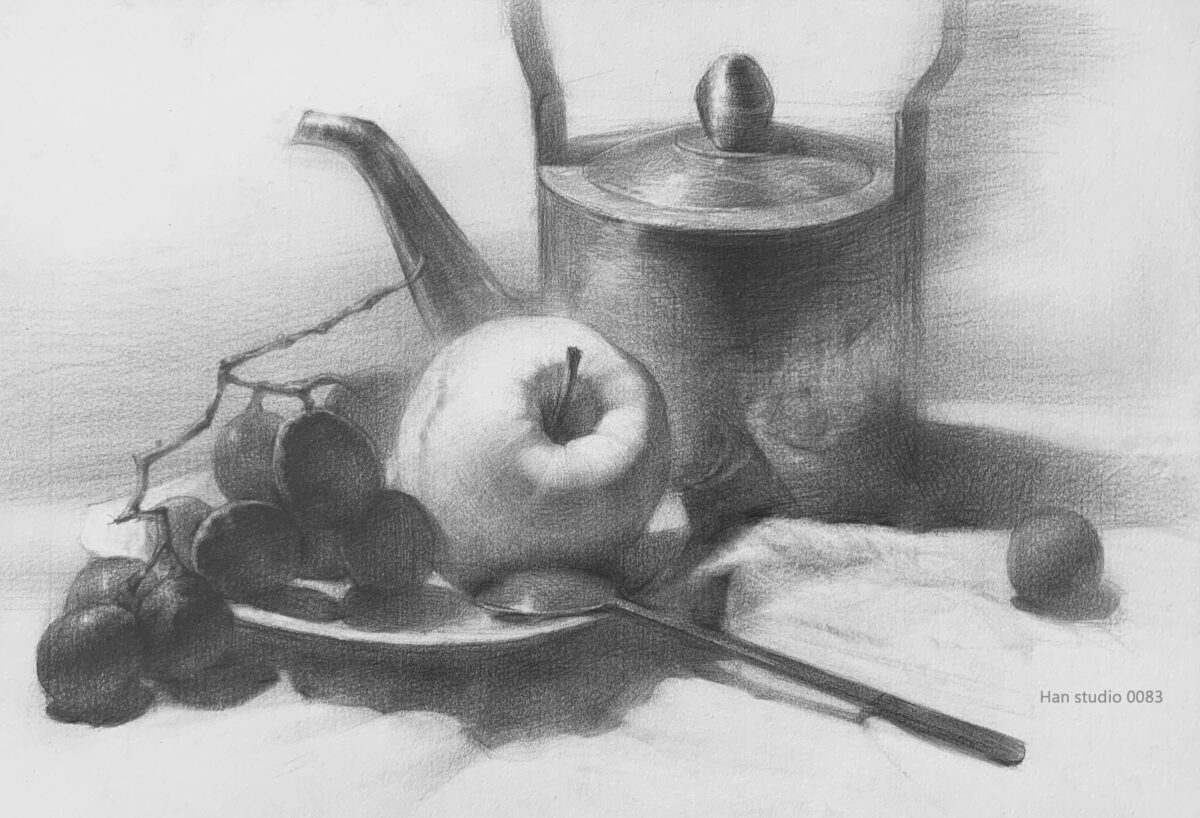
When arranging each object, create a focal point by gathering or dispersing the shapes. The size and shape of the objects should vary, but the overall layout should remain harmonious. Refer to the simplified small image in the upper left corner.
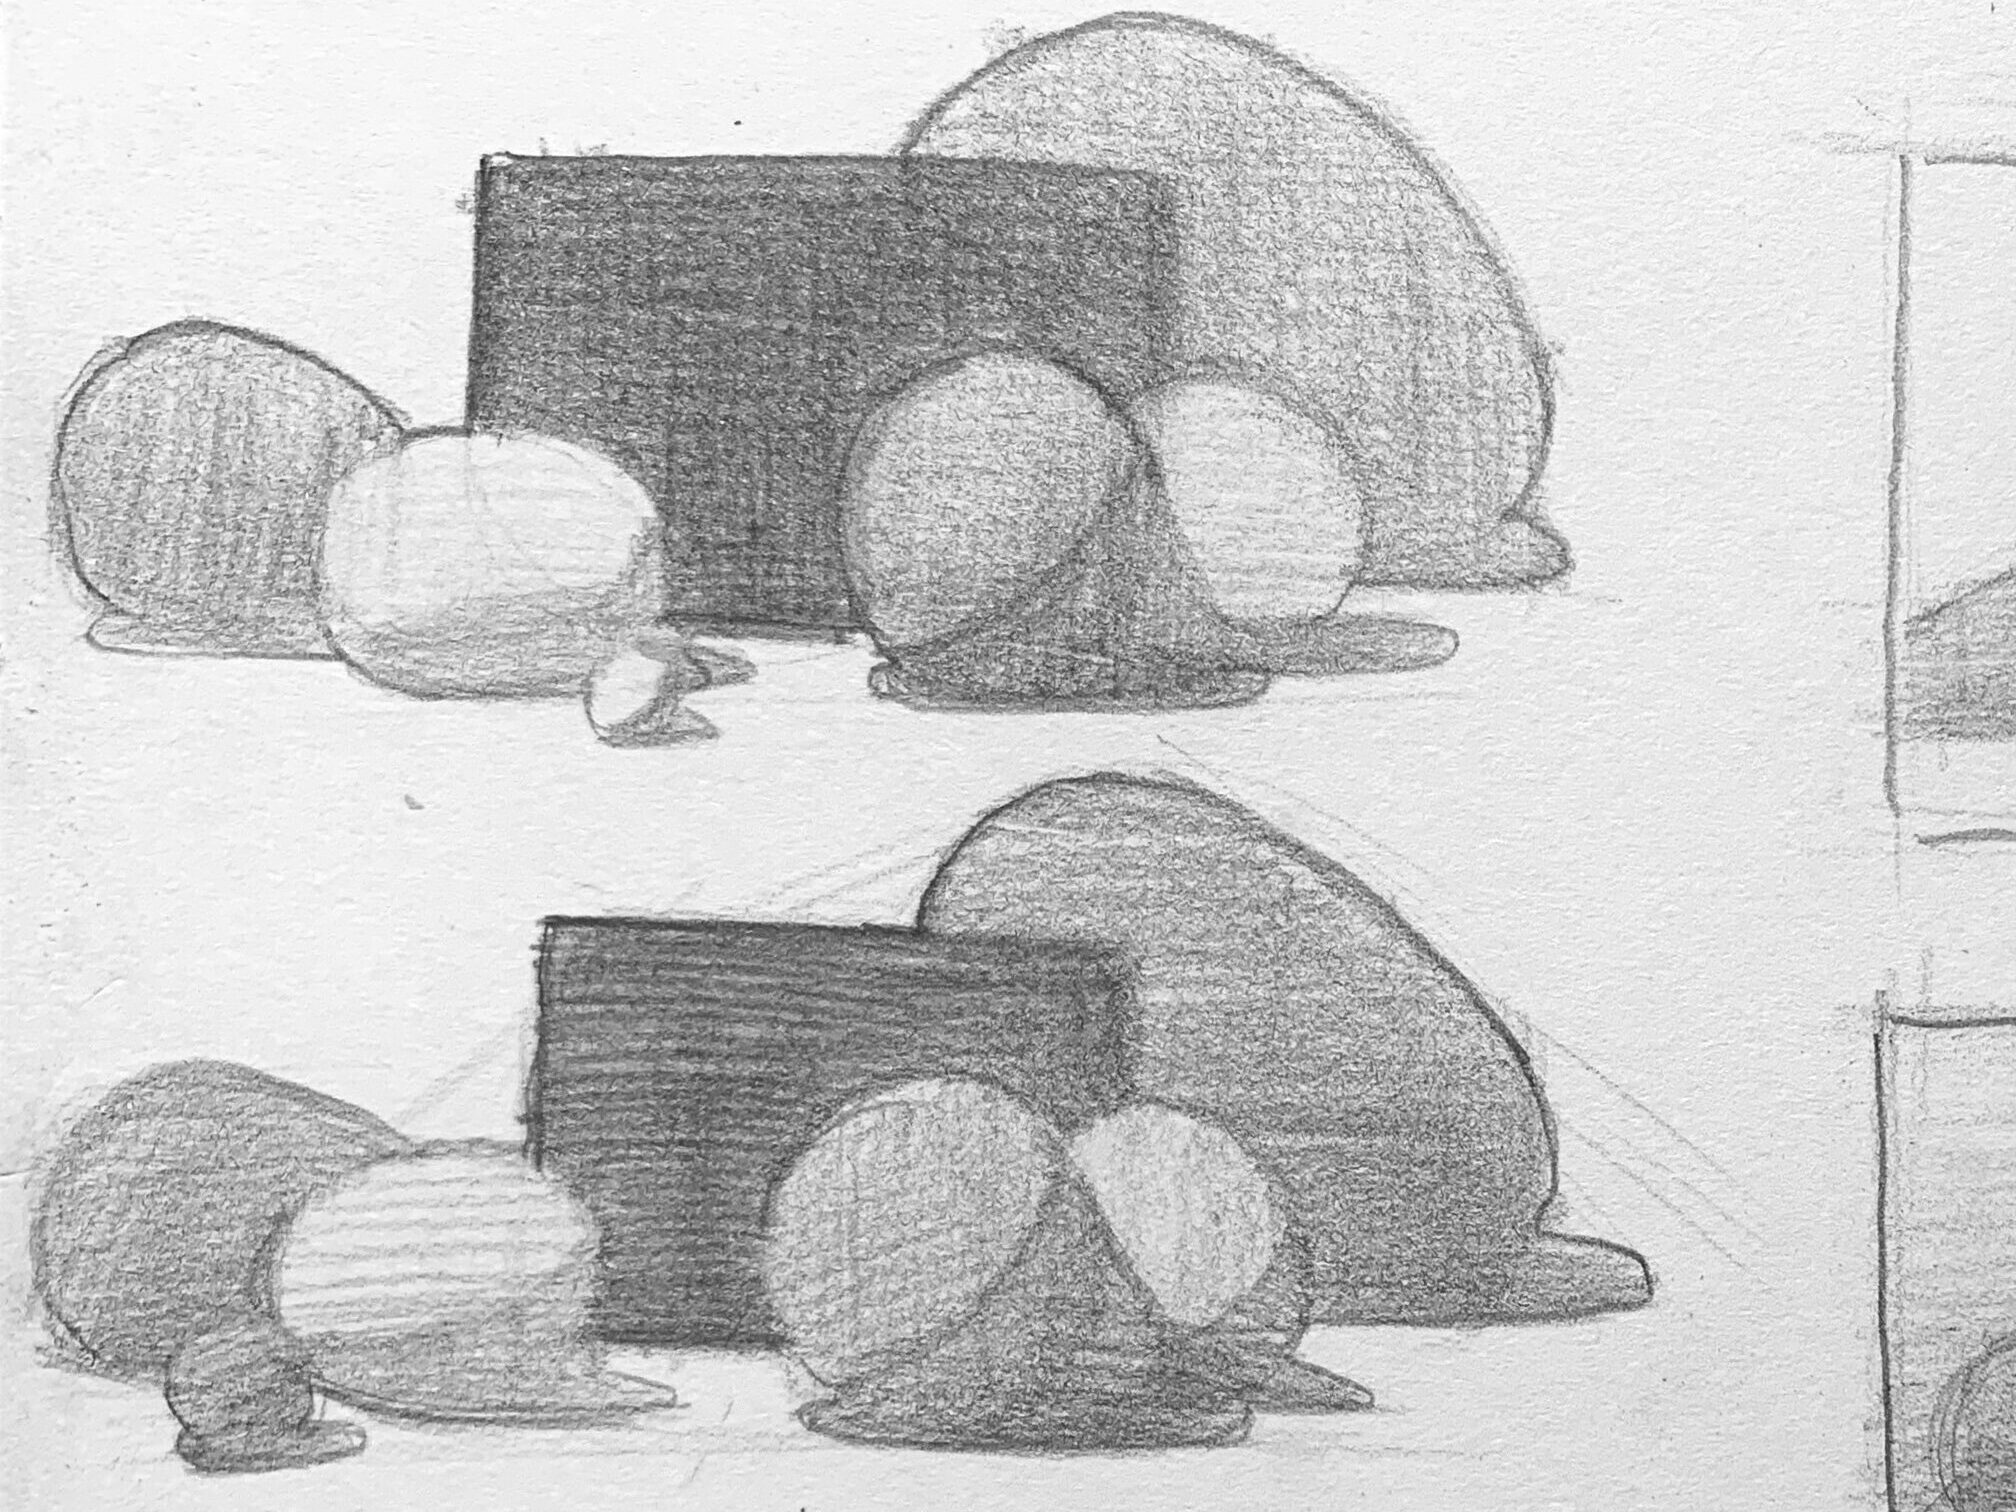
2. Overlapping:
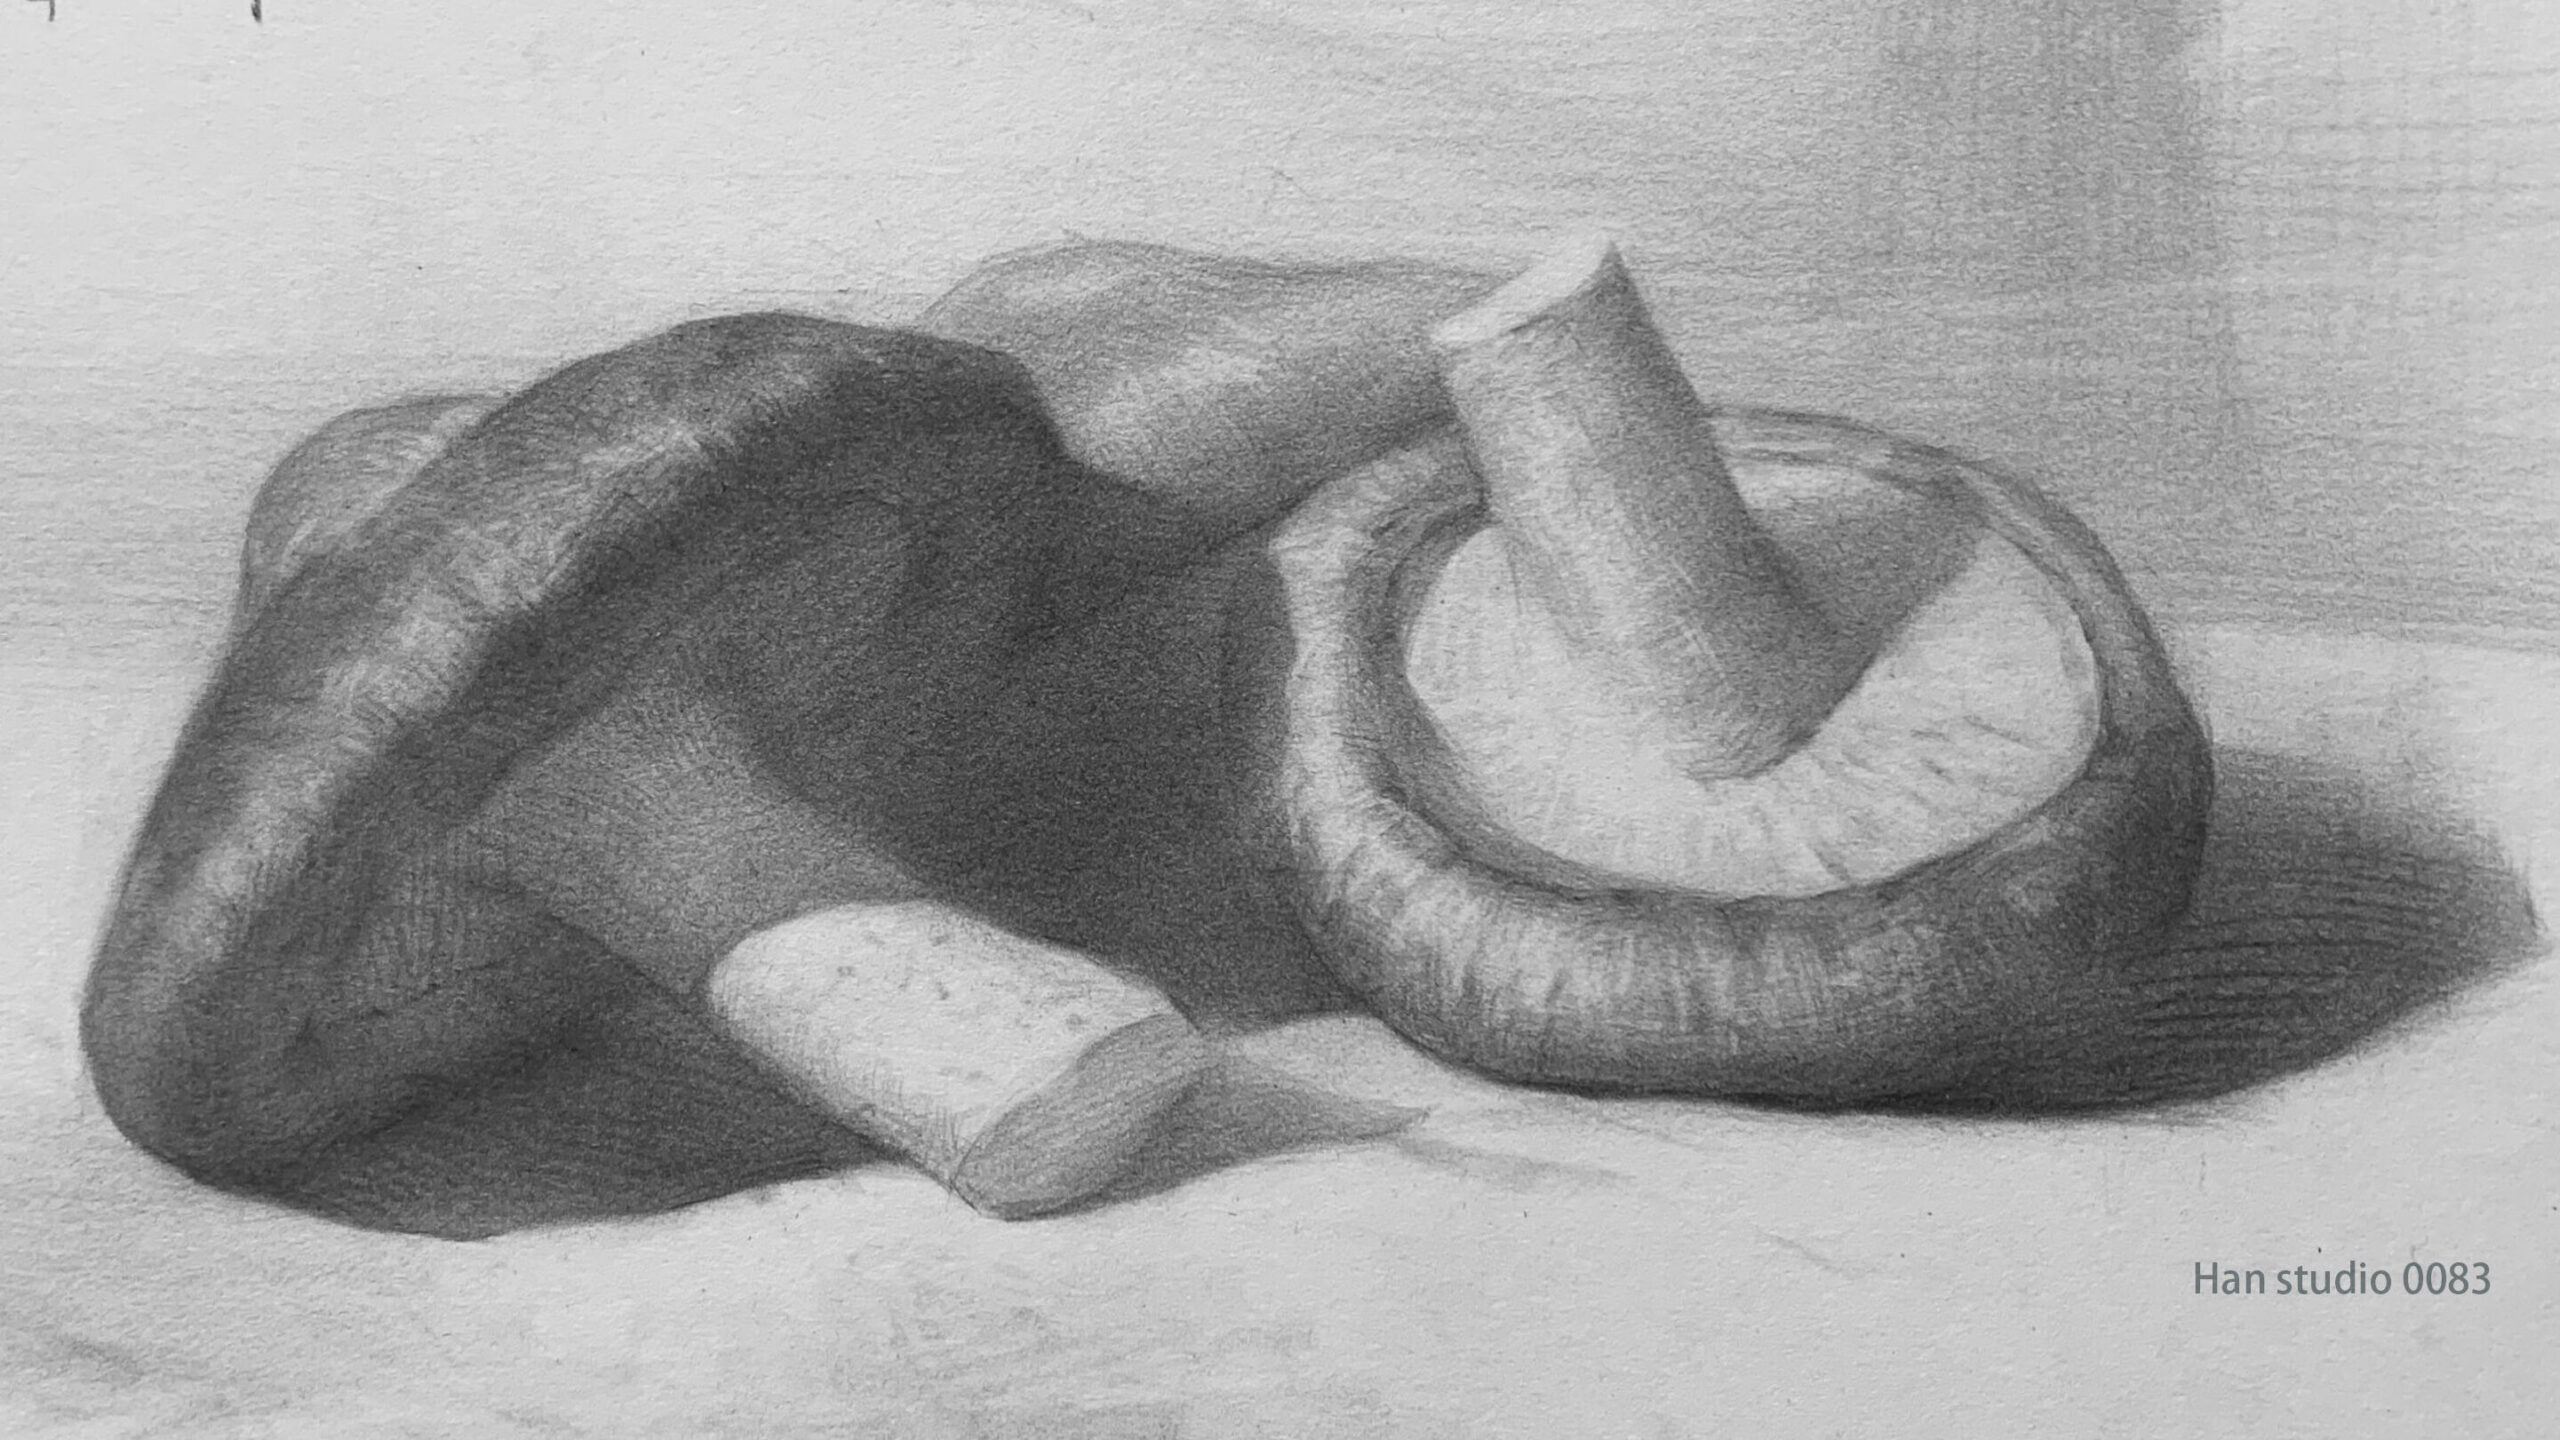
Use the overlapping relationships between objects to create a sense of depth and space. Additionally, the edge variations created by overlapping objects add interesting changes to the picture.
●Visual Balance:
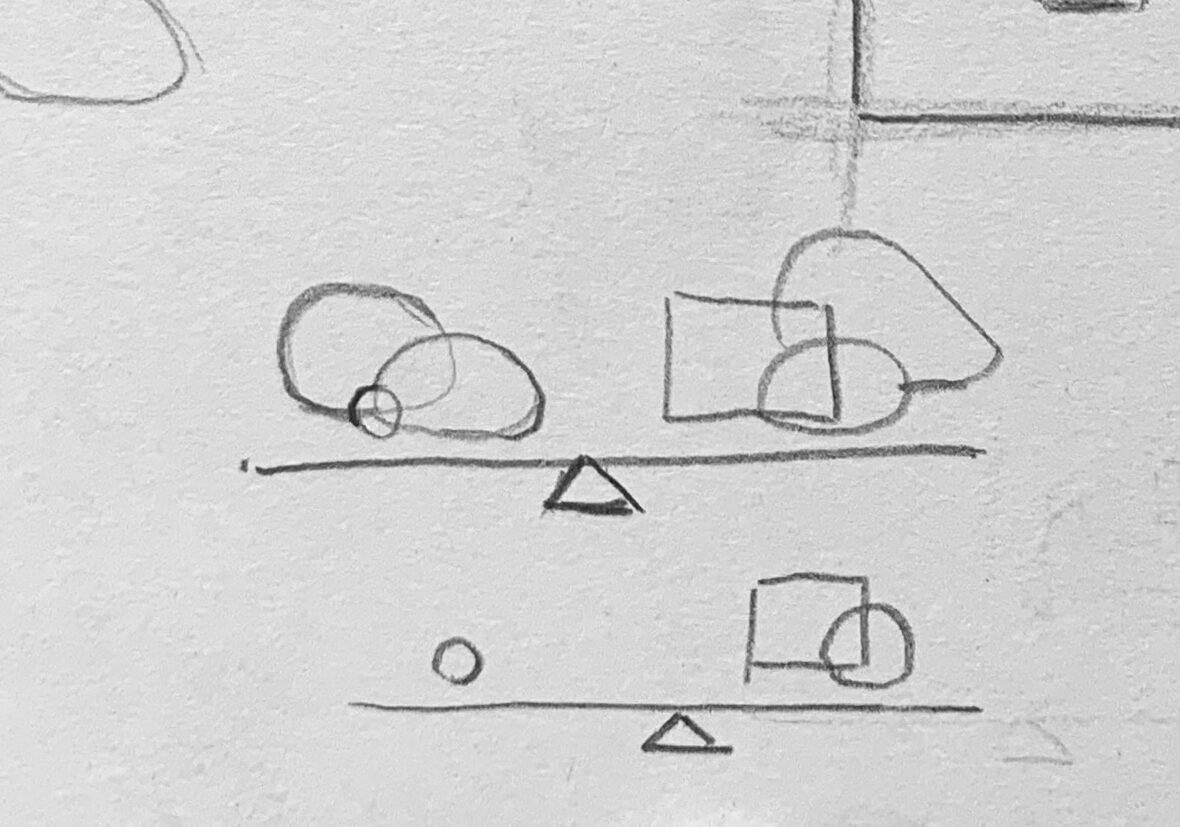
Maintain visual balance and highlight focal points by adjusting shapes and positions. For example, balance large shapes on the left with smaller shapes on the right. Refer to the small image that looks like a seesaw at the bottom.
●Object Brightness:
Objects have brightness differences due to their inherent colors, such as a yellow pumpkin and a black teapot.
By placing objects with different brightness levels together, it is easier to highlight the main subject (objects with a large color contrast in the foreground and background) and the supporting elements (objects with a small color contrast in the foreground and background).
For example, placing the pumpkin and onion in front of a dark teapot creates a brightness contrast, making them the focal point.
I hope this structural introduction helps you understand the key points of composition. If there are any topics or drawing techniques you'd like to see, feel free to leave a comment or message me. Happy drawing!
If you're interested in learning to draw but don't know where to start, or if you'd like to understand the knowledge behind drawing,
feel free to join my LINE and contact me. In my classes, I organize drawing methods in a clear and structured way.
Click here to learn more about my drawing courses!
Other Still Life Related Articles:
How to Draw Perspective: Basic to Complex Structures
Boots Sketch Tutorial: Learn Proportions and Structural Lines
How to Master the Proportions,Shape, and Symmetry of a Teapot
Three Easy Steps to Drawing a Stuffed Duck with a Pencil
Sketching Class Fishing Boat Drawing Techniques
