- 登入
- 註冊

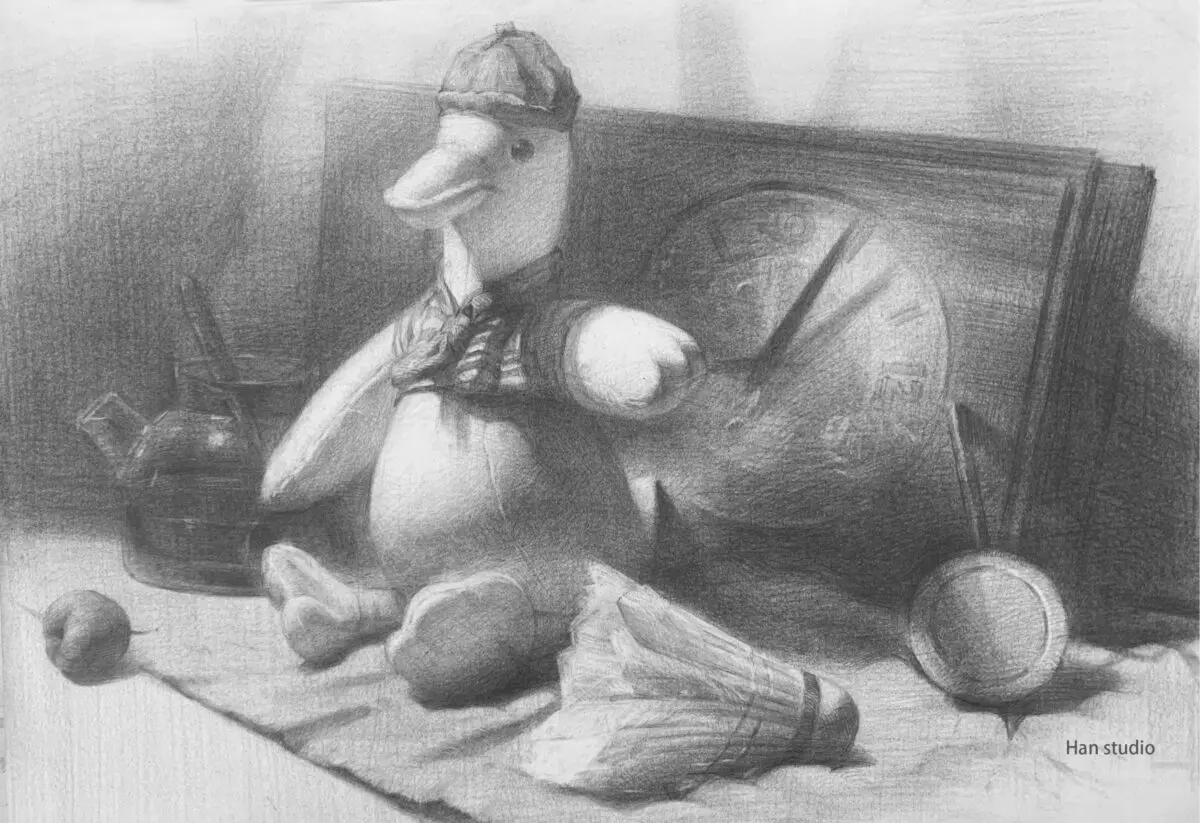
This week's class demonstration of the Duck Still Life Group.
Sharing how to draw a duck doll with pencil, interested friends please slide to the right the second sheet has details, with the look will be easier to understand the meaning of Oh, we divided the steps into three stages.
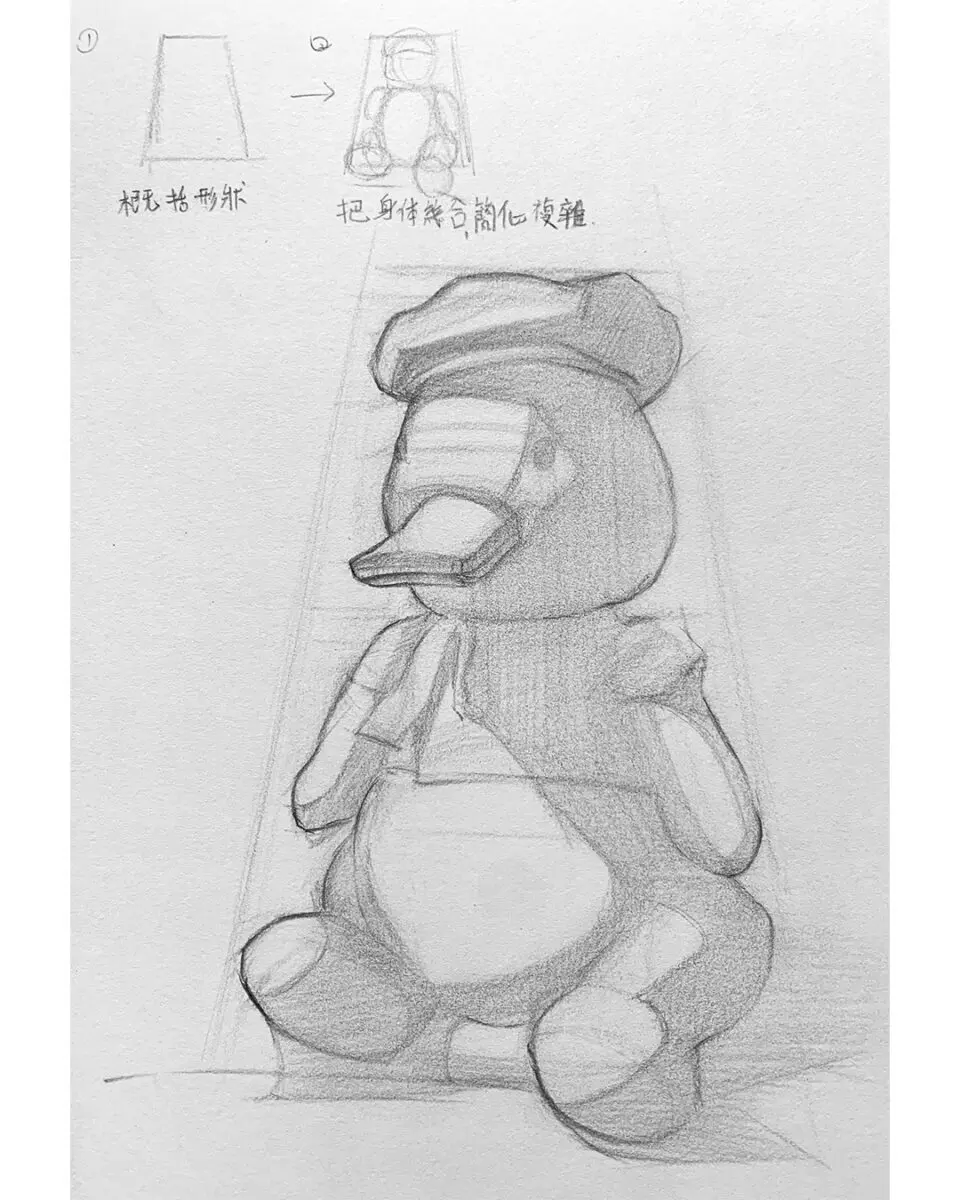
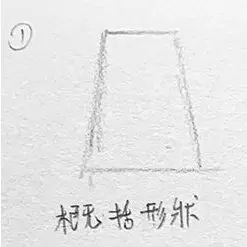
First, use simple geometric shapes (e.g. trapezoids) to determine the overall shape of the duck. This will help to ensure the overall proportions and approximate shape.
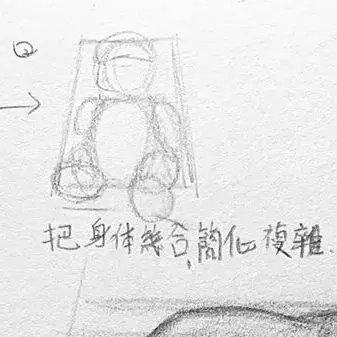
Next, add circles and ellipses inside the trapezoid to simplify the parts of the duck doll (e.g. head, body, arms, legs) into basic shapes, this step helps to better grasp the relationship between the sizes of the circles.
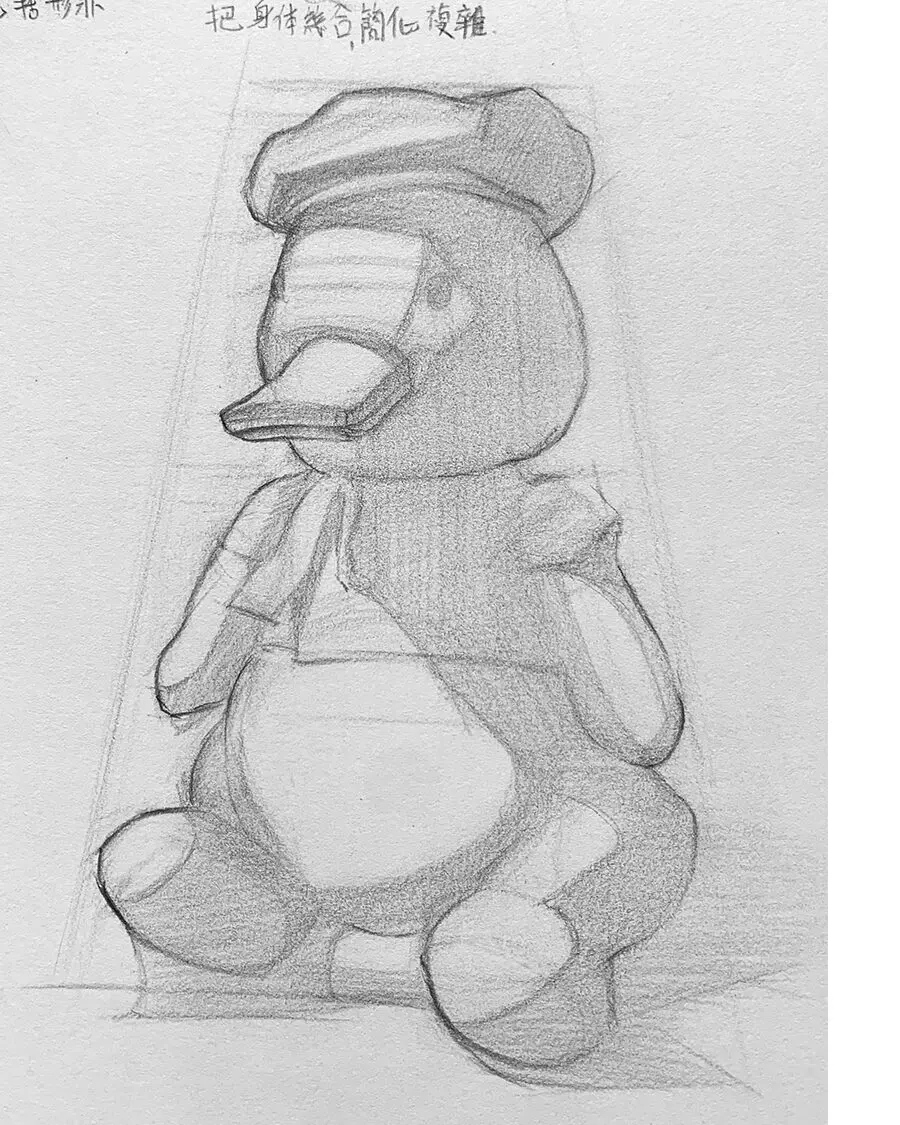
After the basic shapes have been determined, begin to draw out smaller shapes such as hats, mouths, and clothing.
Finally, add shadow to enhance the sense of three-dimensionality. Integrate the dark side of the doll and the shadow together, gradually fill in the shadow part, simplify the color into black and white, the uncolored part is the bright part, the shadow is the color block.
I hope this step-by-step description can help you recognize and understand how to draw duck dolls, if there is any subject you want to see or want to know how to draw, please feel free to leave a message or private message me, wish you happy drawing!
Other Extended Animal Sketching Articles.
Sketching Lions: Simplifying Head and Torso with Basic Shapes
How to draw a Koi in pencil: a lesson in fish sketching
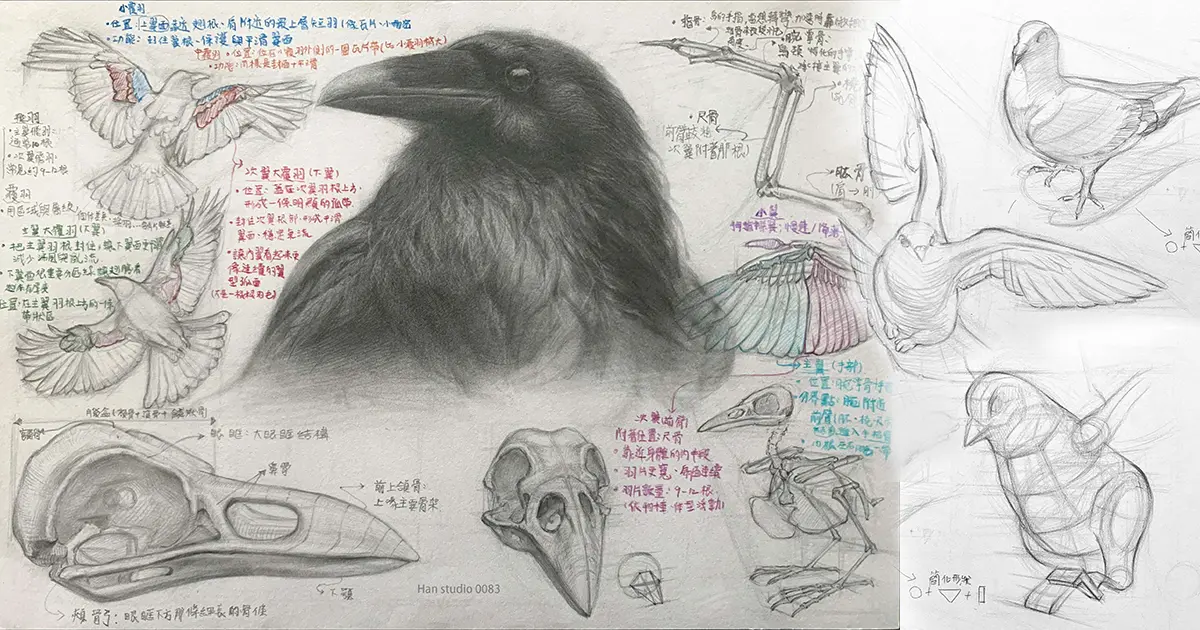
How to Draw Birds: Shape from Skeleton to Wings
Drawing a Dynamic Orangutan: How to Master Body Proportions and Dynamic Structures
How to Sketch a Pet Dog: A Practical Approach to Perspective and Proportion