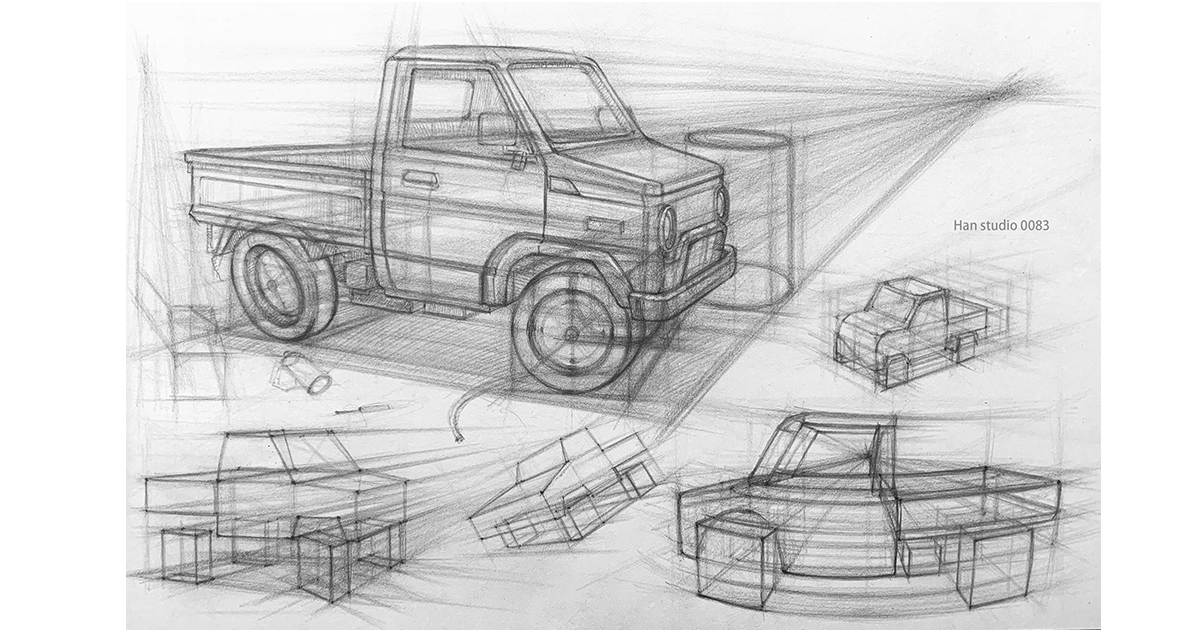
Sharing how to use squares to help draw your favorite car—let’s dive into the knowledge points for drawing vehicles!
● Breaking Down the Basic Shapes of Cars
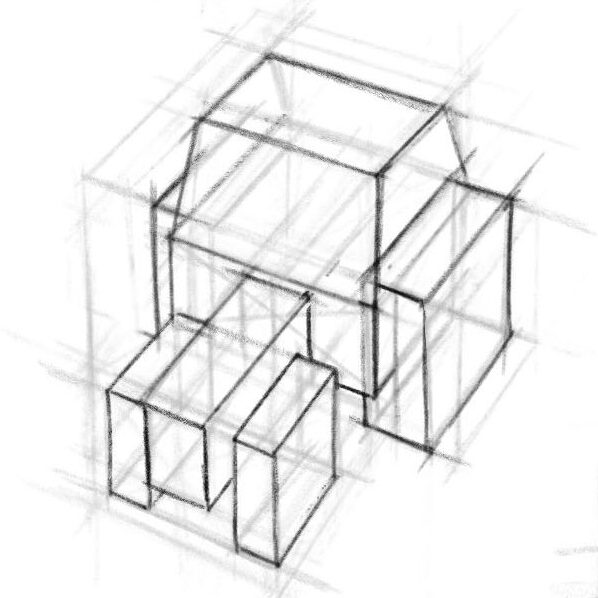
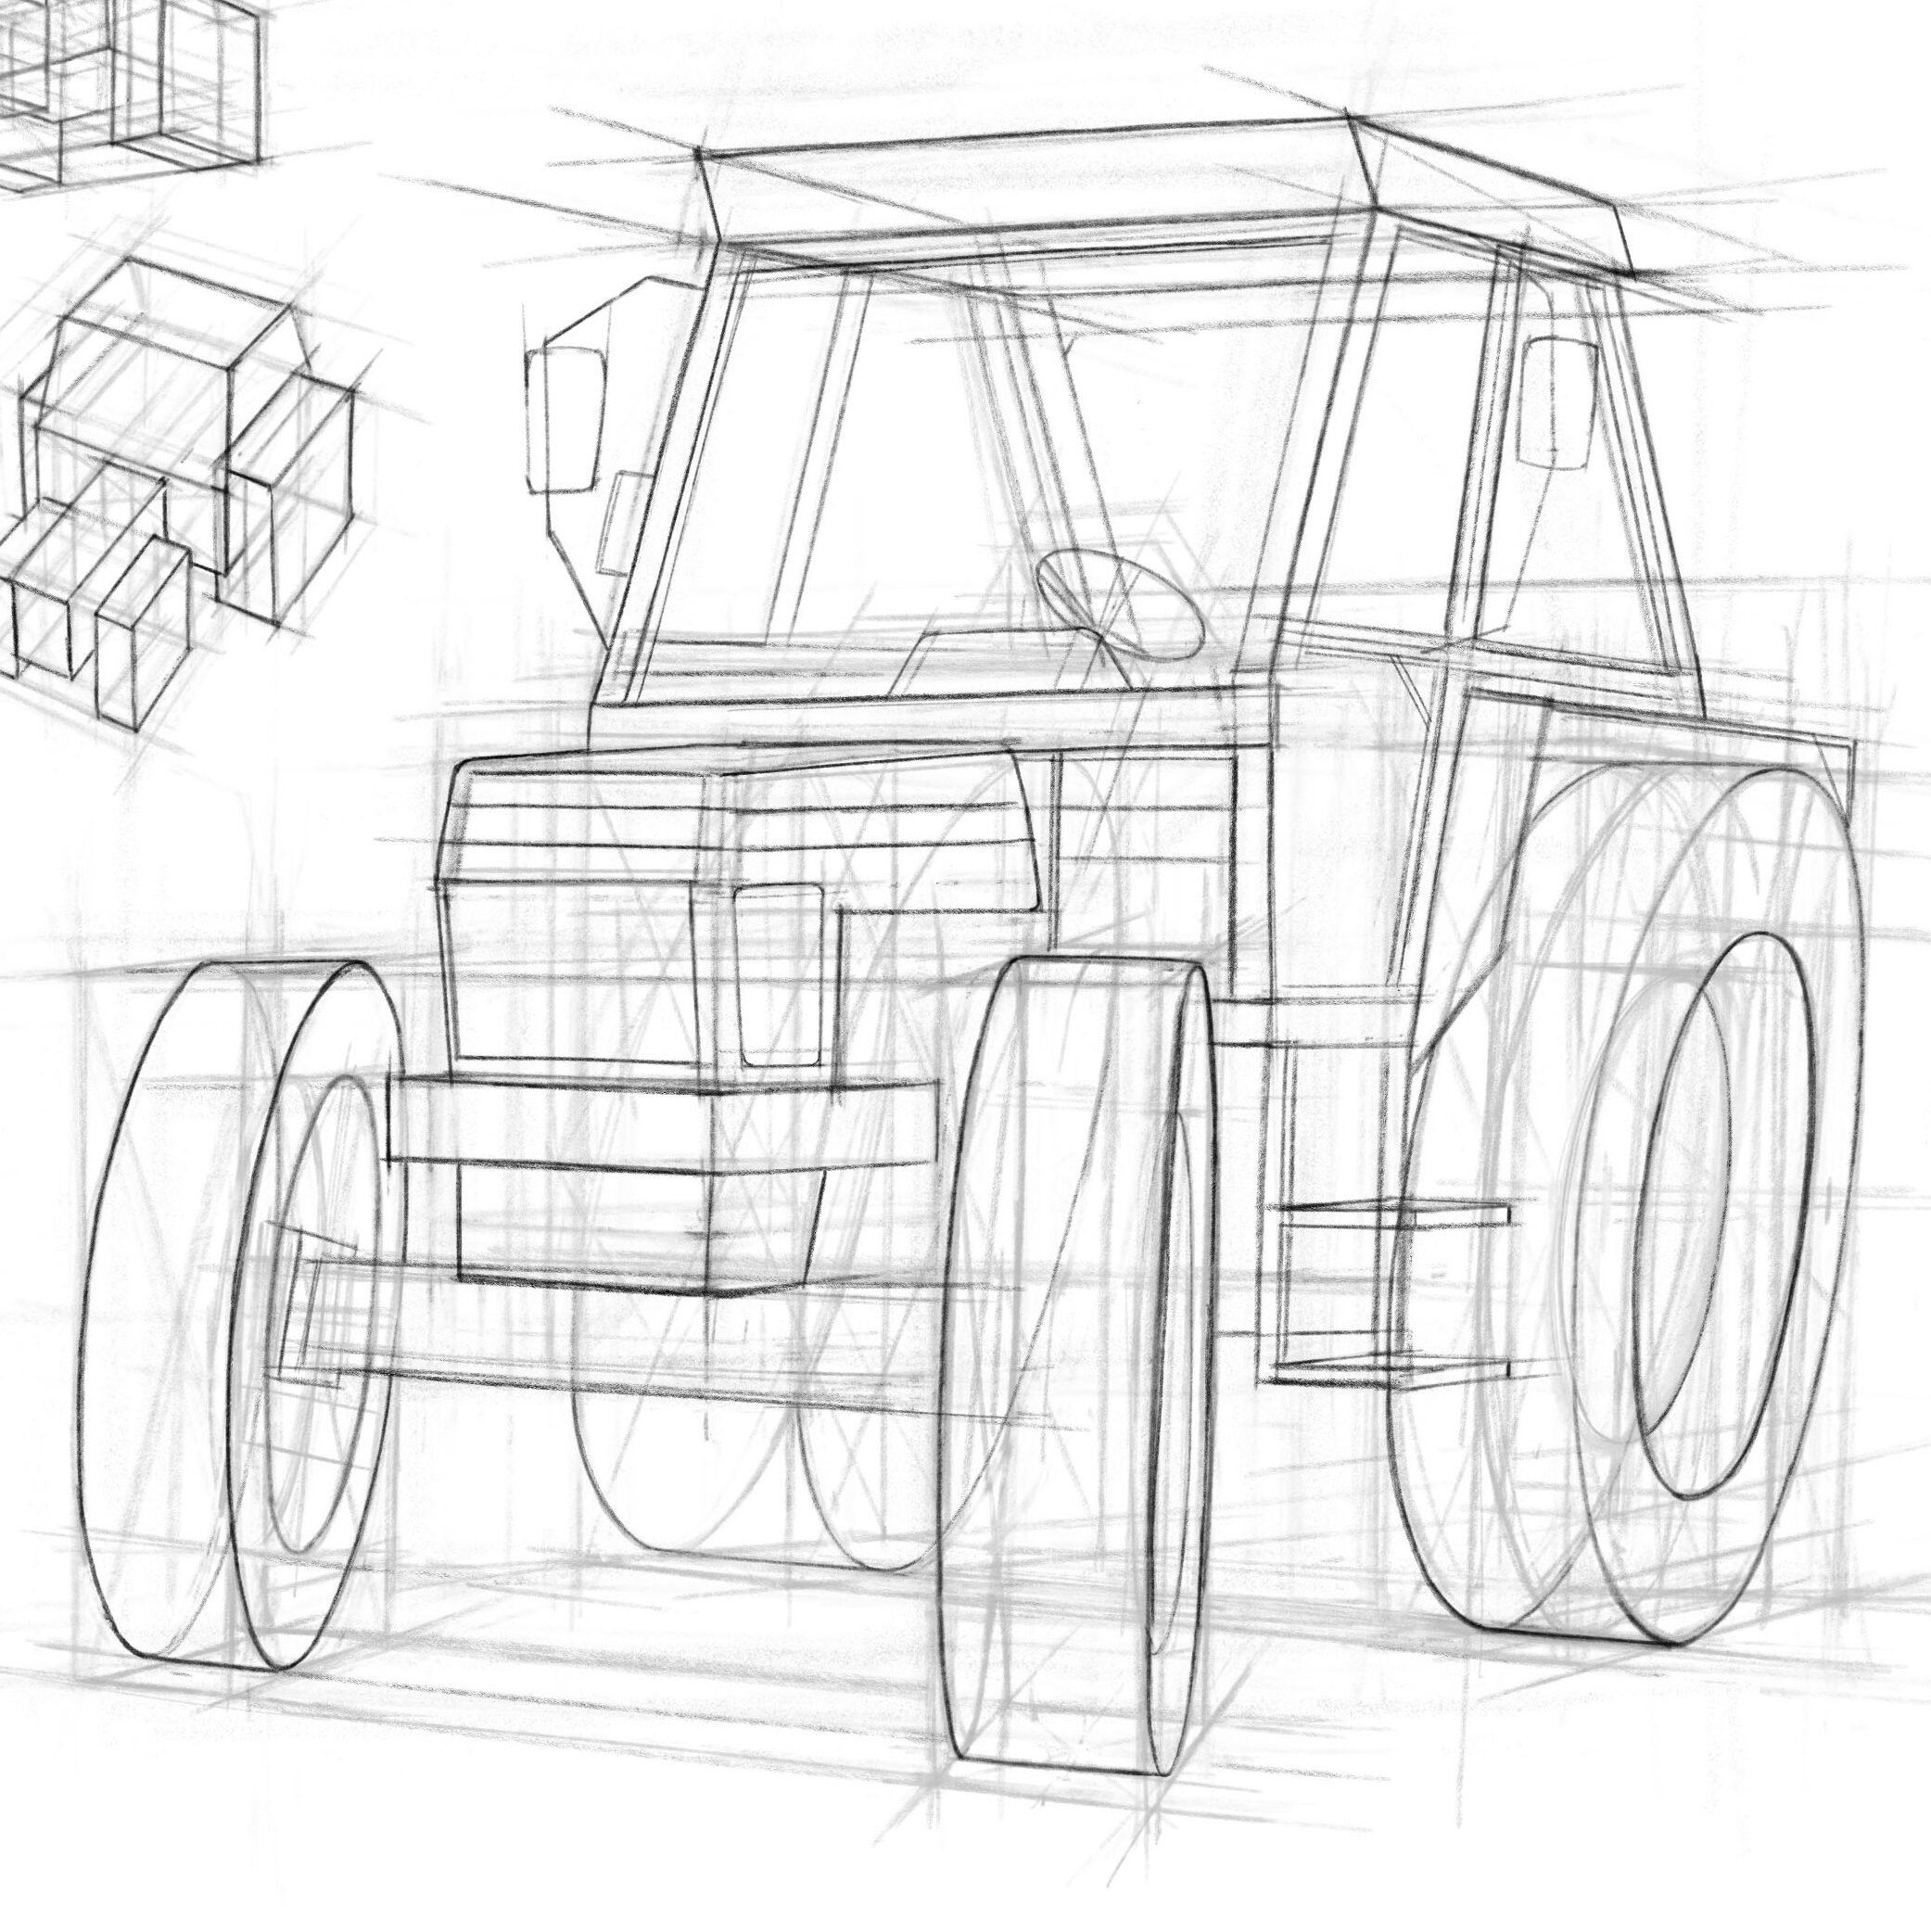
All vehicle structures can be broken down into simple geometric forms such as squares, circles, and cylinders. If you’ve played with LEGO, this concept will be easier to understand—using different-sized blocks to build the desired shapes.
Using geometric forms helps simplify complex structures, allowing us to focus on major aspects (like establishing perspective angles and checking for reverse perspective issues).

Before Drawing: It’s recommended to start with three-view diagrams to understand the vehicle’s overall structure.
For example, the following three-view diagram shows the vehicle’s overall body length-to-width ratio as roughly 1:2.

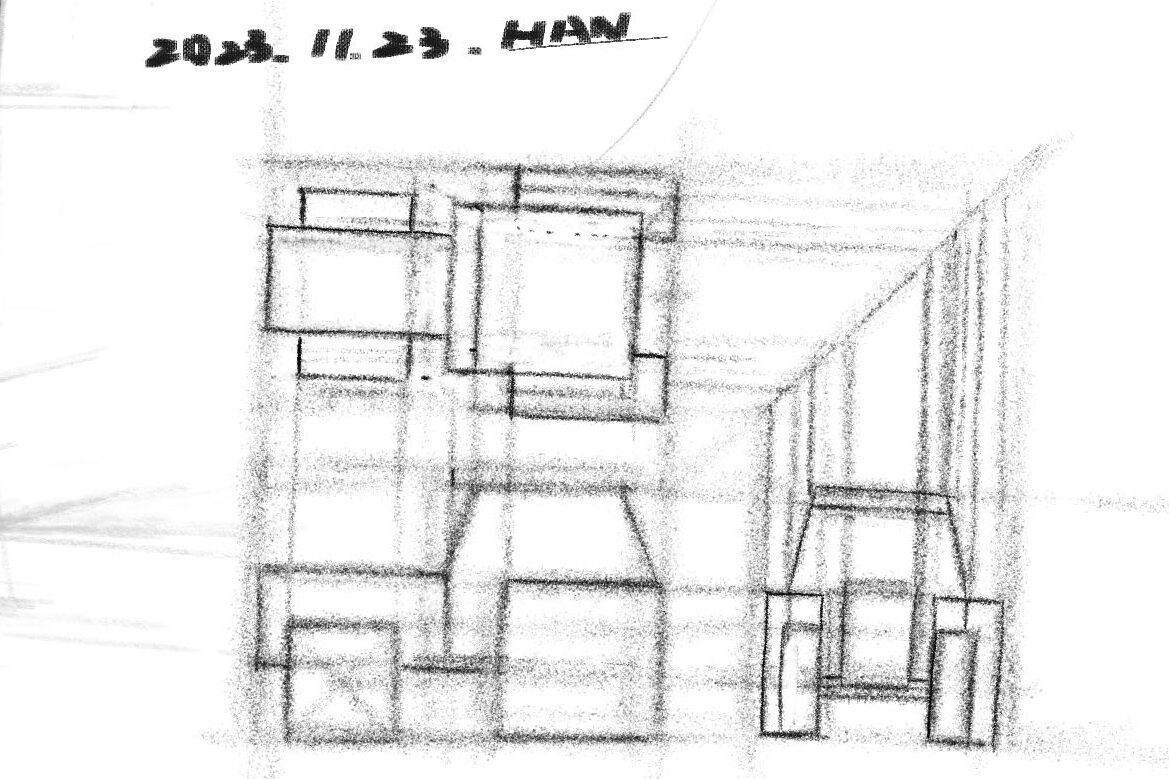
Relationship Between the Car’s Front and Body Structure
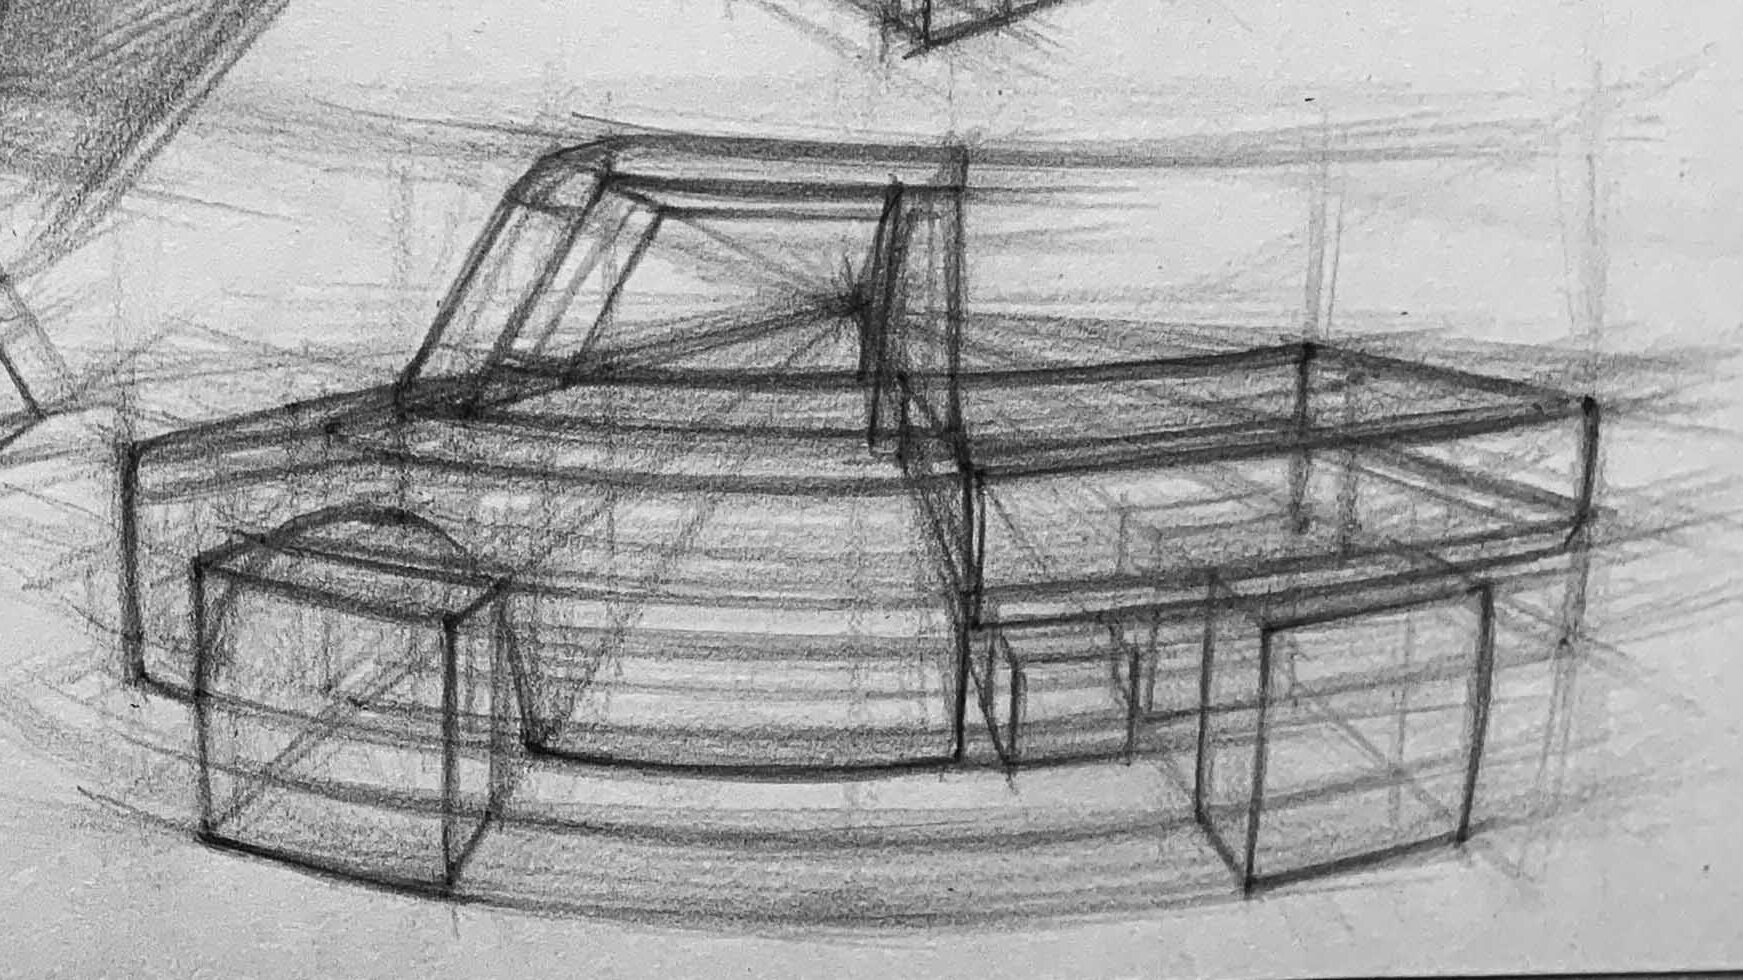
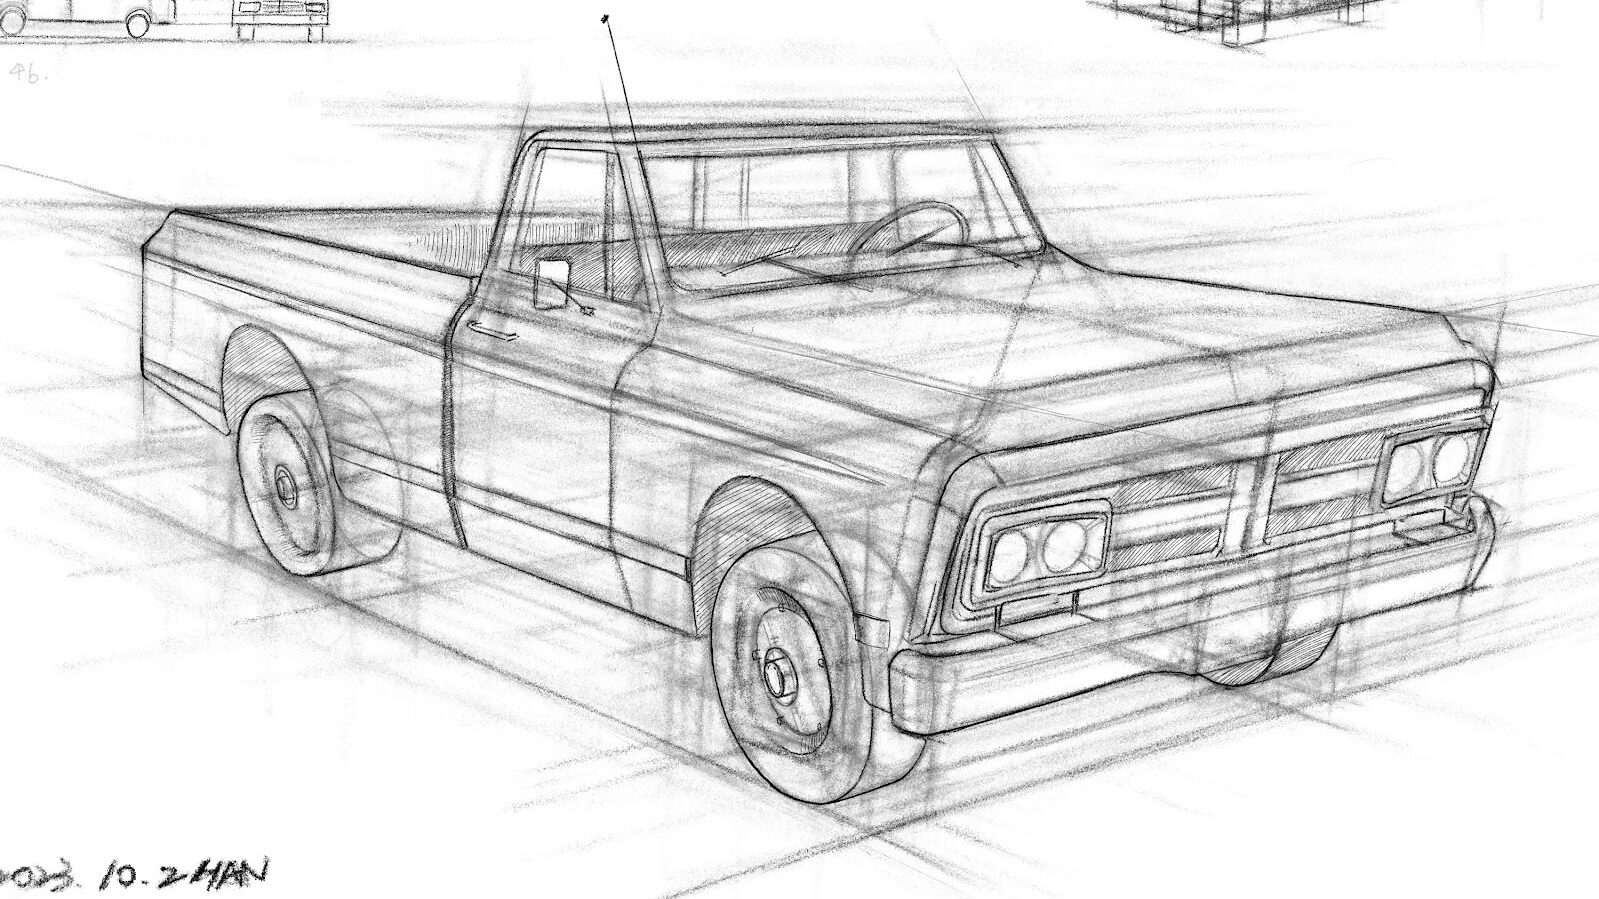
Pay attention to the vehicle’s length-to-width ratio and observe the overall relationship between the front and the body. Use simple shapes (like rectangles or trapezoids) to replace more complex parts, such as curved car bodies. Drawing curves directly is more challenging, so summarizing them as straight lines makes it easier to check for perspective alignment issues.
Connect the vehicle’s outline to the wheels, ensuring the wheels’ contact points with the ground are aligned.
●Application of Two-Point Perspective
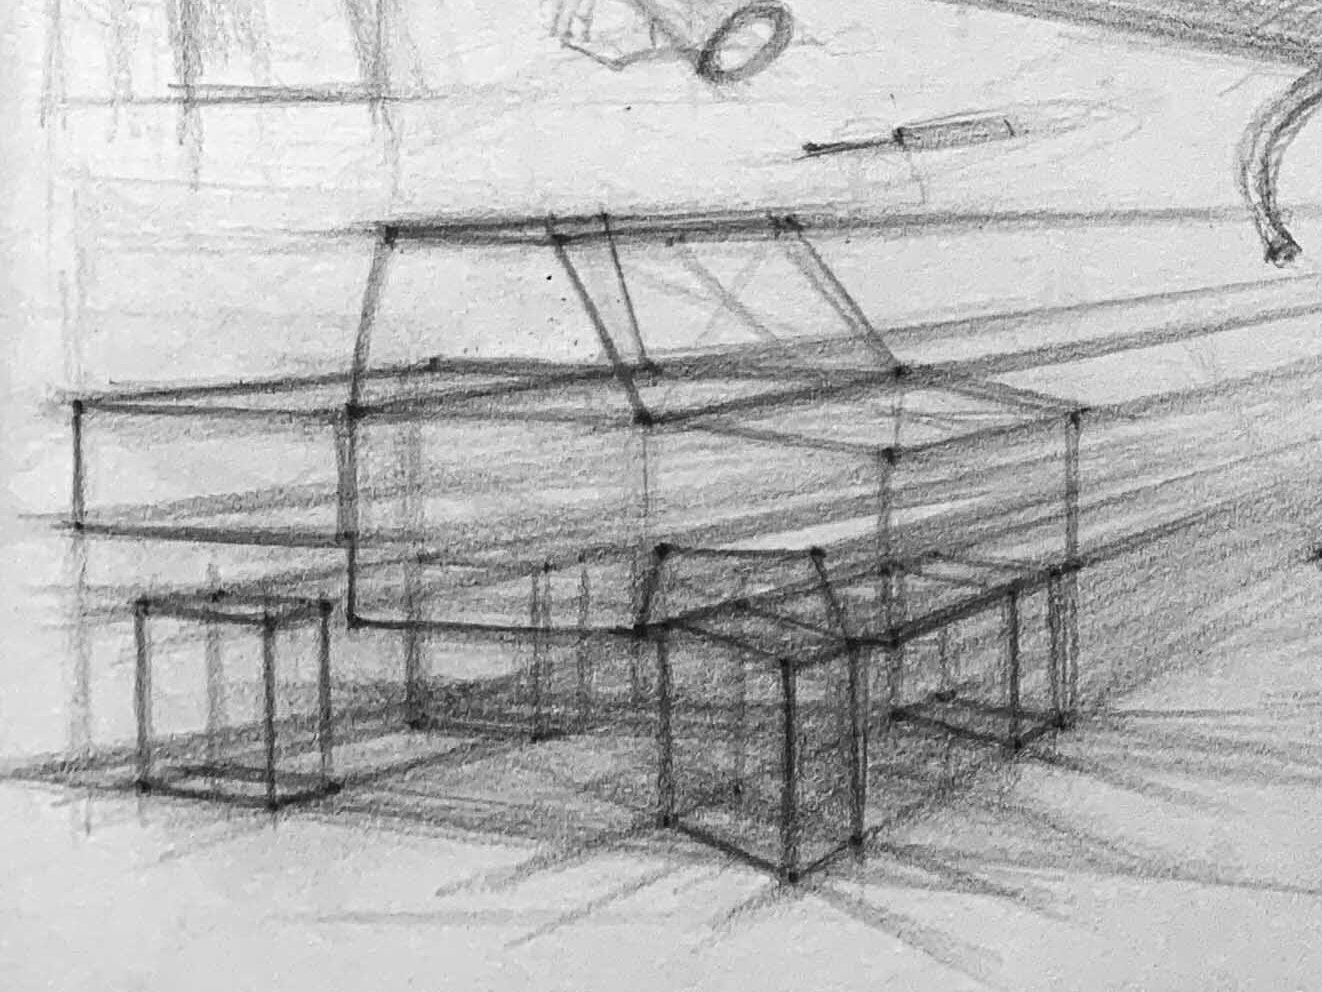
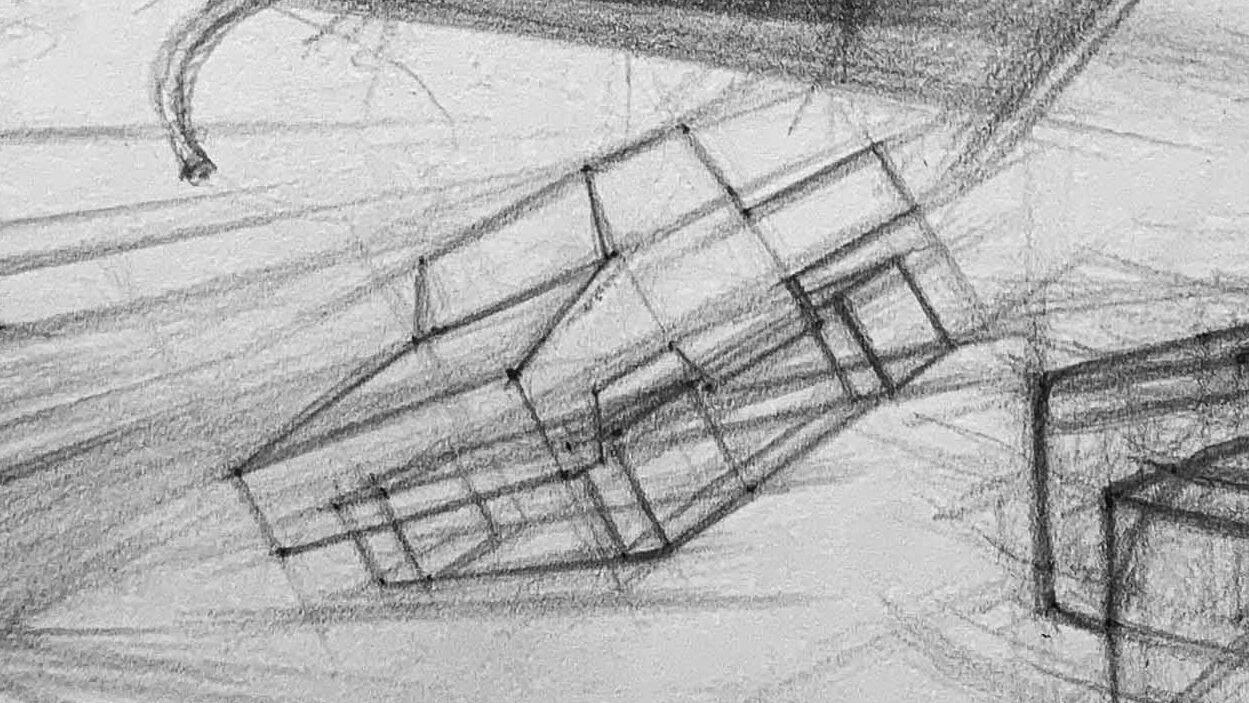
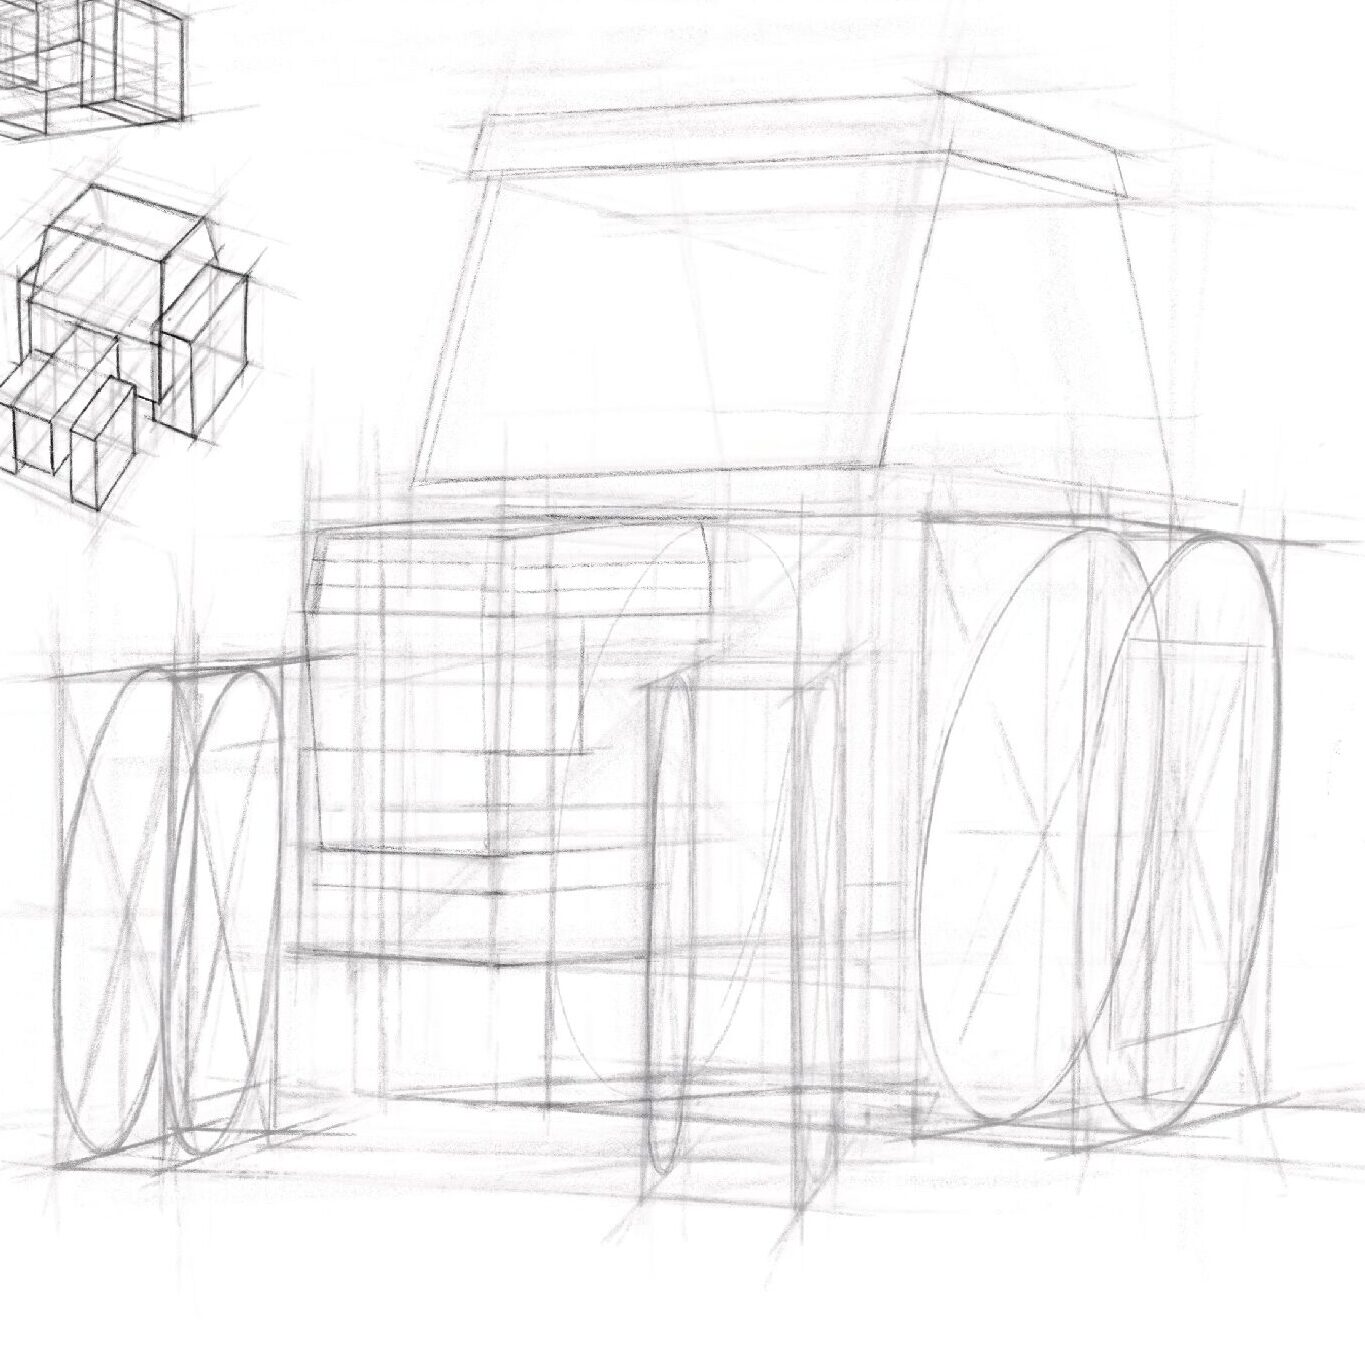
The entire vehicle body can be presented in perspective to add depth, imagining it as a tilted rectangular box.
First, set the direction of the vanishing points, and align parallel lines to these vanishing points. When drawing the vehicle, remember the principle of near-large and far-small perspective.
If you’re unfamiliar with perspective rules and methods, feel free to check out myintroductory article on perspective,
which explains how to draw in perspective.
● Application of Lines and Refinement
Understanding the difference between drafts and final versions:
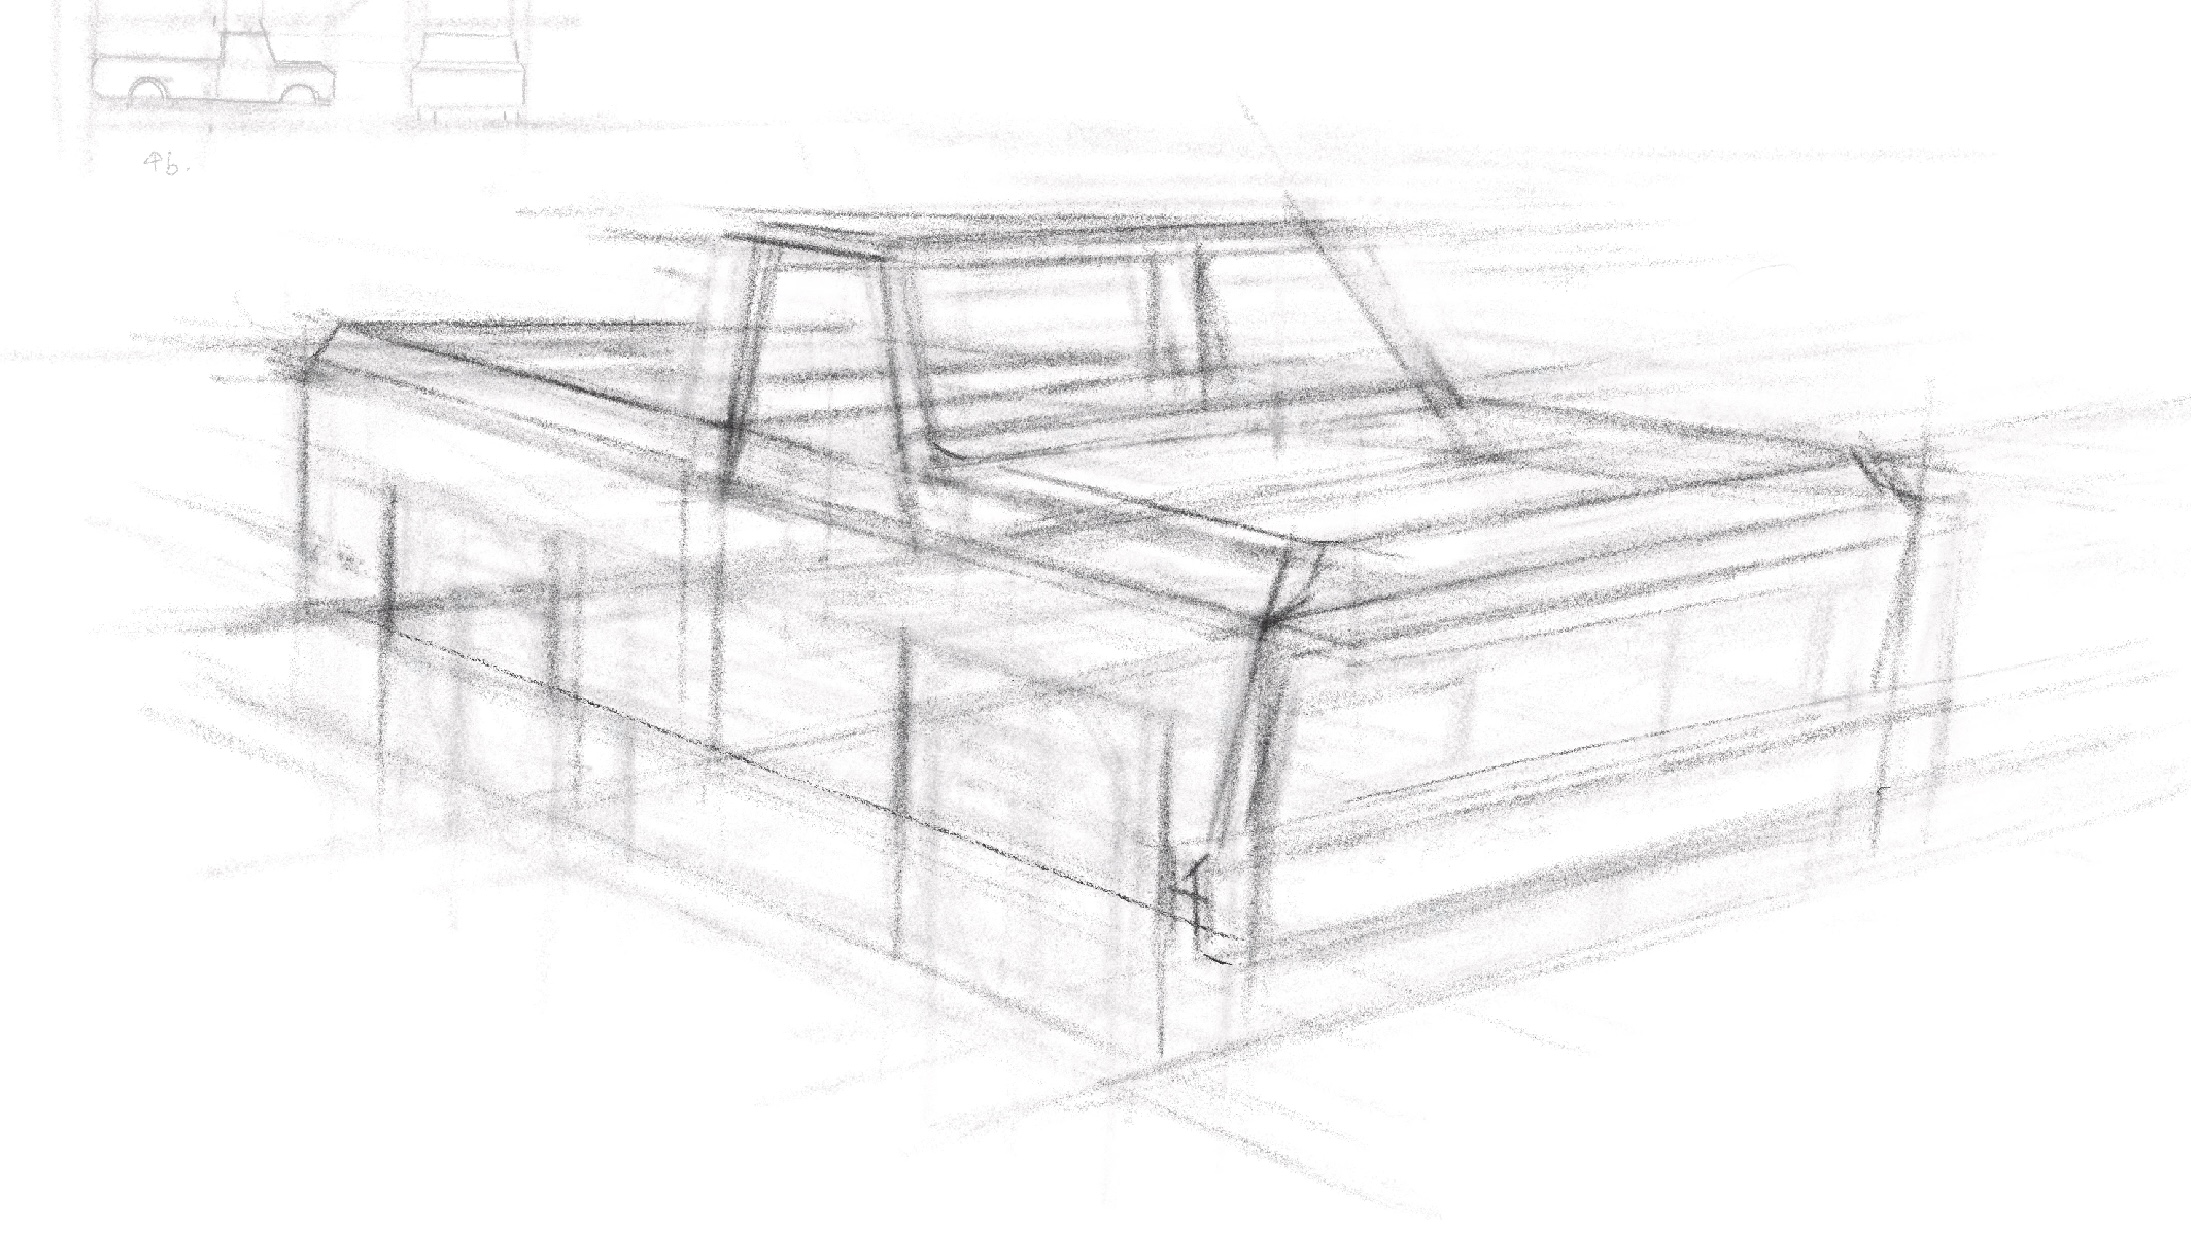
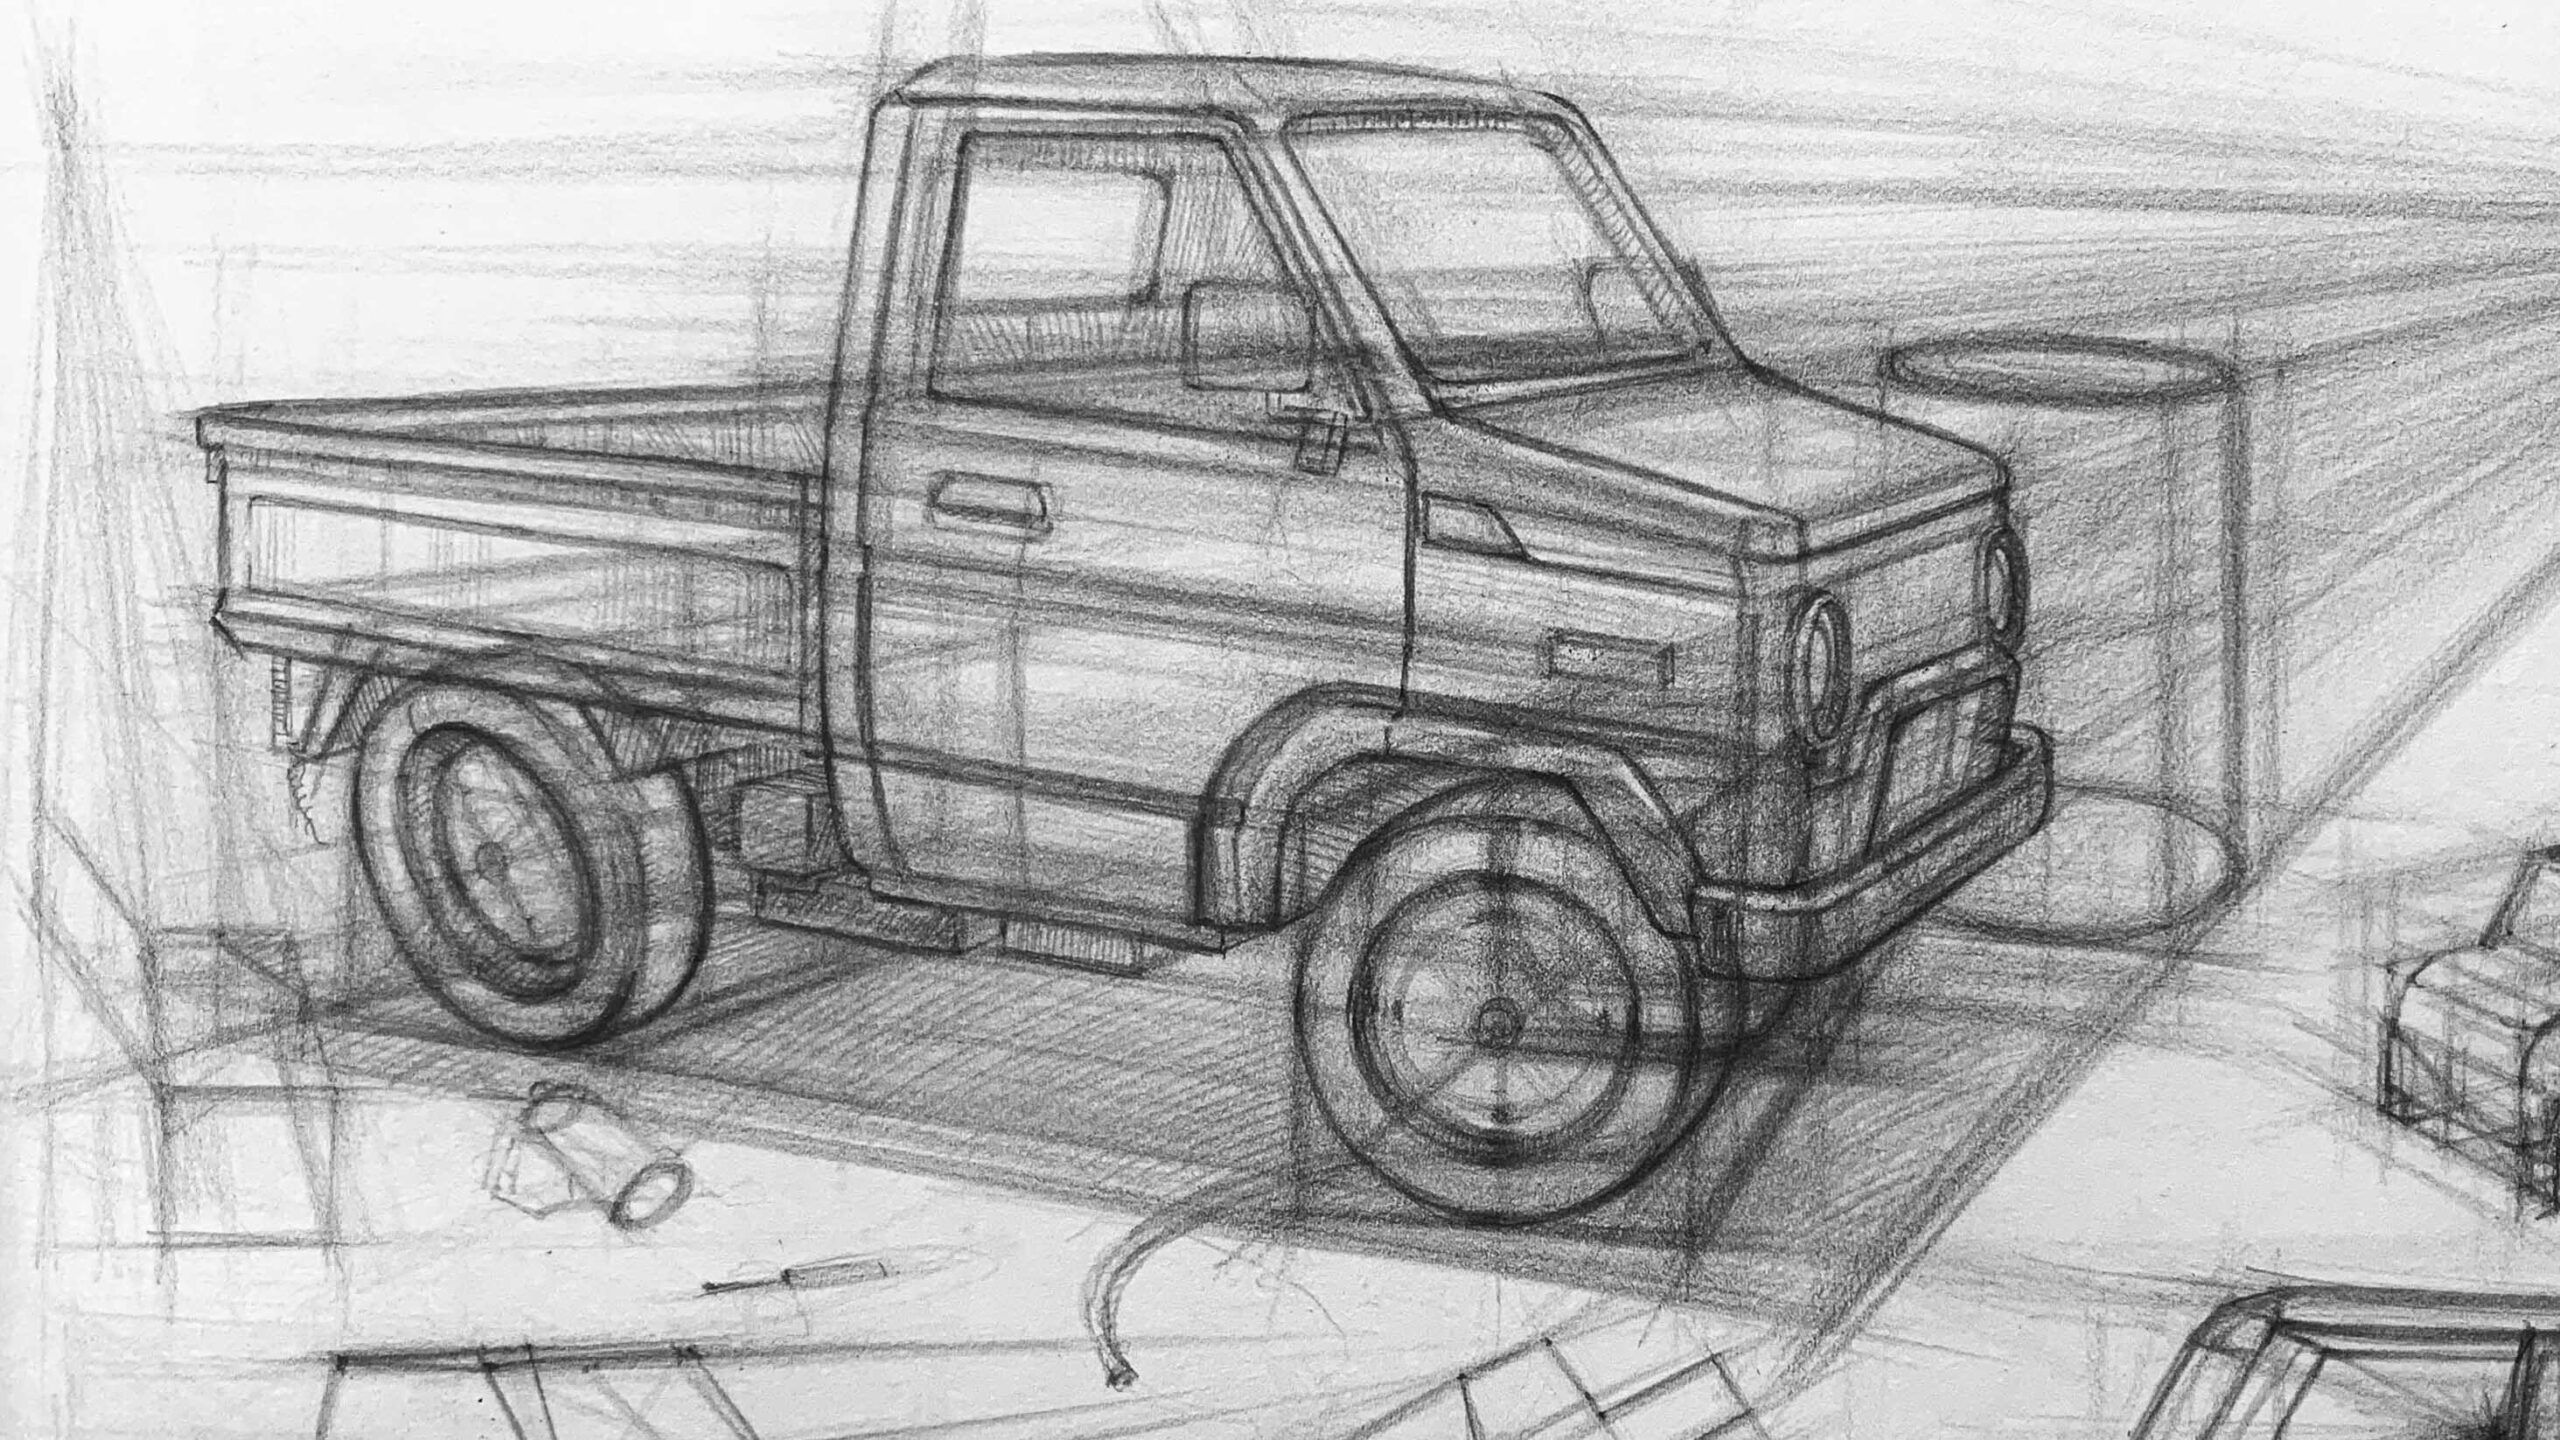
- Draft: Focus on light sketch lines to roughly capture the vehicle’s structure and perspective.
- Final Version: Build upon the draft with bold outlines, refine shape details, and enhance the vehicle’s three-dimensional feel.
● Time-Lapse Workflow Reference
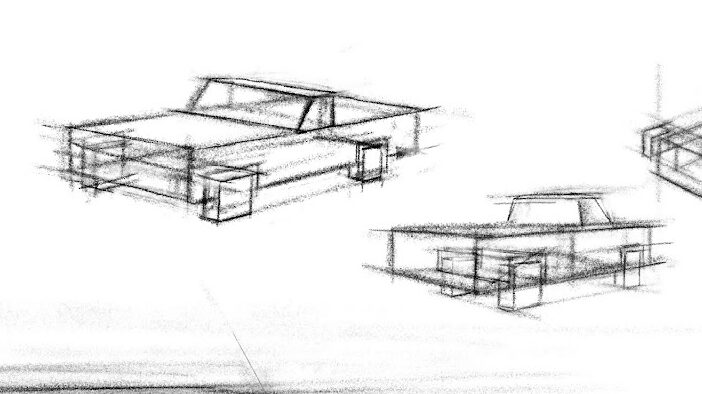
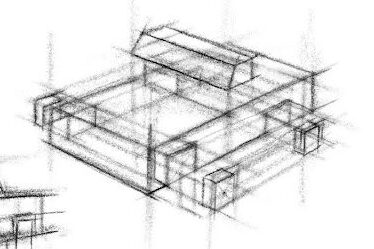
When constructing the shape, follow these steps:
- Start with the largest outer contour, ensuring that the initial proportions and perspective don’t have significant distortions.
- Simplify complex shapes—for instance, circles can be simplified into squares, and the car’s organic curves can be reduced to straight line segments.
- Once the overall structure is solid, gradually add smaller components. Ensure these smaller parts, such as tires and rearview mirrors, adhere to the main vehicle body’s perspective rules.
This is an overview of how to draw cars. Have you encountered challenges when sketching vehicles? Let me know!
If you're interested in learning to draw but don't know where to start, or if you'd like to understand the knowledge behind drawing,
feel free to join my LINE and contact me. In my classes, I organize drawing methods in a clear and structured way.
Click here to learn more about my drawing courses!
Want to explore more articles on extended drawing techniques?
- Still Life Topics
How to Draw Perspective: Basic to Complex Structures
Boots Sketch Tutorial: Learn Proportions and Structural Lines
How to Master the Proportions,Shape, and Symmetry of a Teapot
Three Easy Steps to Drawing a Stuffed Duck with a Pencil
Sketching Class Fishing Boat Drawing Techniques
- Watercolor Topics
How to Watercolor Grapes: Master Light, Shadow & Gradients
How to Paint the Light and Dark Layers of a Monstera Leaf
How to Paint a Vibrant Yellow Bell Pepper Still Life
How to Paint a Luminous Banana with Watercolors
- Portrait Topics
How to Draw Arms: Learn Arm Movements and Bone Proportions
Human Skull Sketch: Learn Anatomy for Accurate Portraits
How to Accurately Master Hand Proportions and Joint Structure
How to Draw Ears:Simplified Ear Structure and Shading Tips
How to Use Two-Tone Shading: Simple Shadow Techniques
How to Sketch Facial Muscles: Capture Realism and Expression
How to Draw Masks: Use Perspective and Shadows
Building Up from Simple Contours to Detailed Eye Portraits
Capturing Realism in Lip Drawing: Key Structures and Shading
Understanding the Three Key Elements of Head Structure
Mastering the basic proportions and structure of portrait drawing


Leave a Reply