Why Learn a Portrait Proportion System?
1. Helps you capture shapes quickly and avoid facial features “drifting”
- If your goal in portrait drawing is to “capture a likeness,” I recommend learning the facial proportion system.
- With a proportion system, you can check whether the nose is drawn too high, the mouth is off-center, or the eyes have drifted up into the forehead.
- Think of it like the latitude and longitude on a map — it gives you fixed reference points so that even when the angle changes, the features can still be placed with relative accuracy.
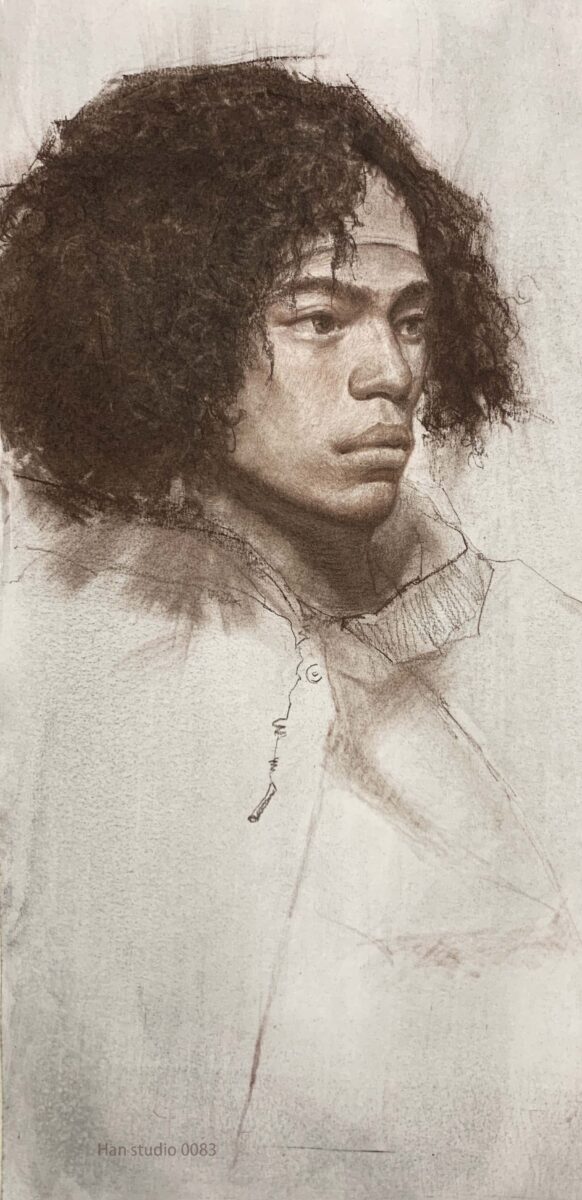
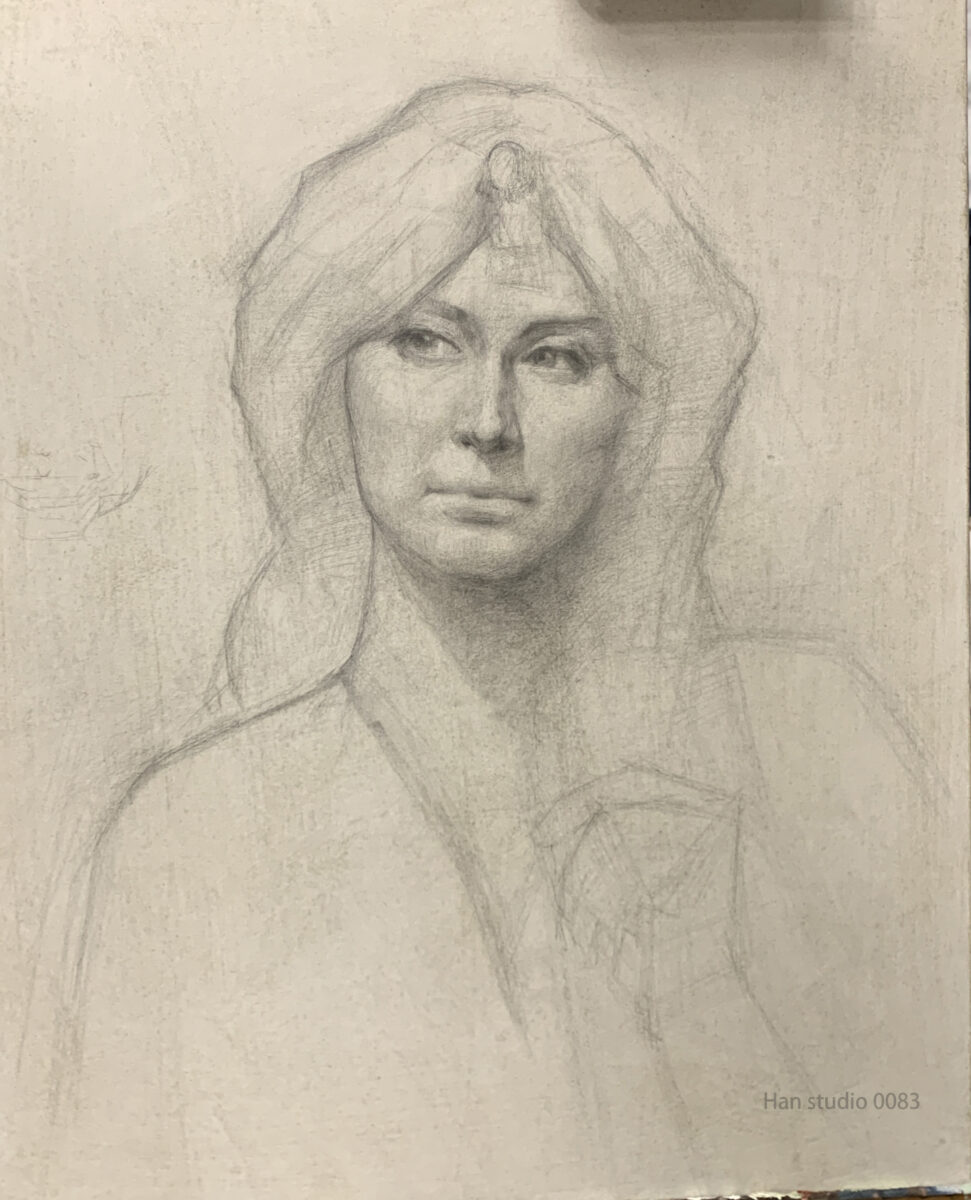
2. Handles different head angles and perspective
- When drawing from life or photos, a change in angle will cause the distances between features to compress or stretch due to perspective.
- By learning a proportion system, you can estimate the approximate relationships of the features in 3/4 view, as well as in upshots or downshots.
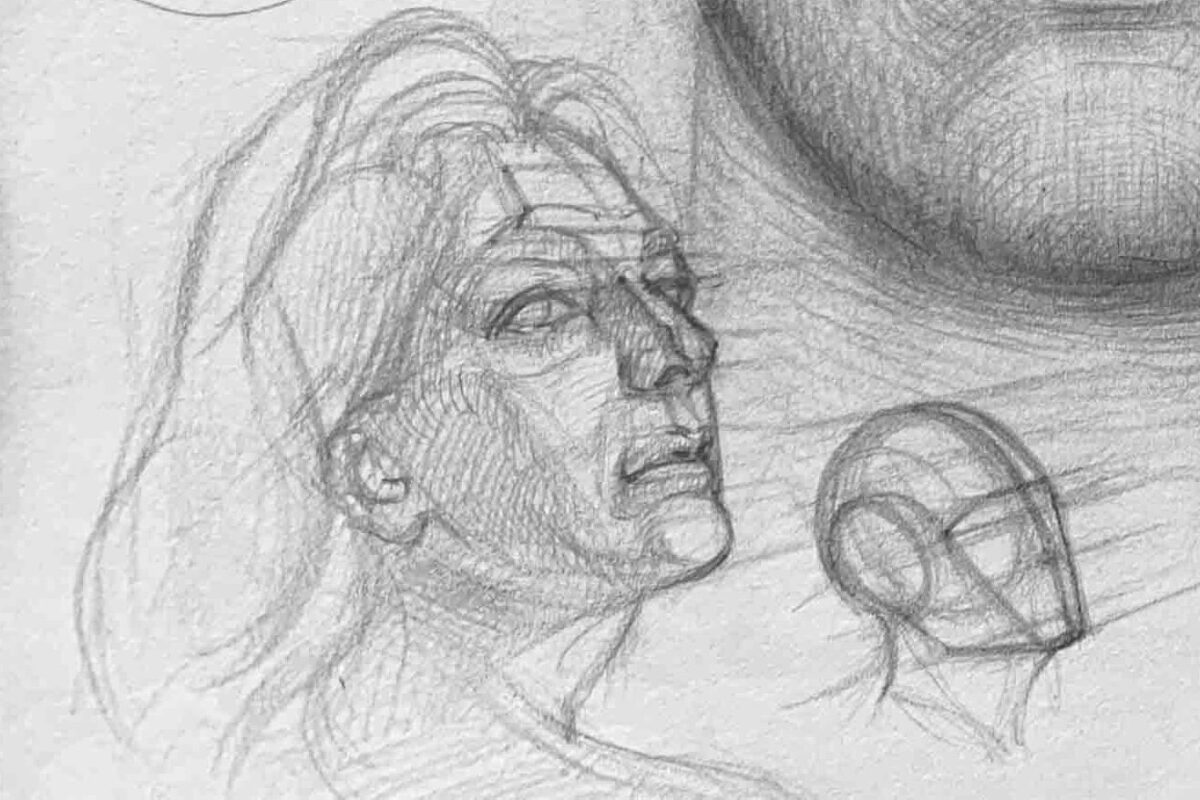
3. Quick checking and correction
- If something feels off midway through a drawing, you don’t have to erase and start over—use the proportion lines to check.
- This is especially important for quick sketches, exams, or commercial work, where speed and accuracy matter.
4. Builds a foundation for stylization and character design
- A proportion system is the shared foundation for both realism and exaggeration.
- Once you understand correct proportions, you can stylize—whether in cartoons or illustration—without distorting the face beyond recognition.
5. Deepens your structural understanding instead of rote memorization
A proportion system is not about memorizing numbers—it helps you understand the logic behind the skull’s structure and the arrangement of facial features.
The focus is on observing “from the inside (skull) out (skin and flesh)” for a solid structural grasp.
*The following will use a front-facing model to explain facial structure. In reality, everyone’s proportions will vary to some degree.
Facial Structure Planes
First, think of the entire face as a three-dimensional form, divided into several main planes:
- Forehead plane → The curved surface from the hairline to the brow ridge.
- Middle plane (eye and nose area) → From the forehead’s transition down to the bridge of the nose and cheekbones.
- Lower plane (mouth and jaw) → From the base of the nose to the chin, including the forward projection of the lips and the angle of the jaw.
- Side plane → From the outer cheekbone to the ear and temple area.
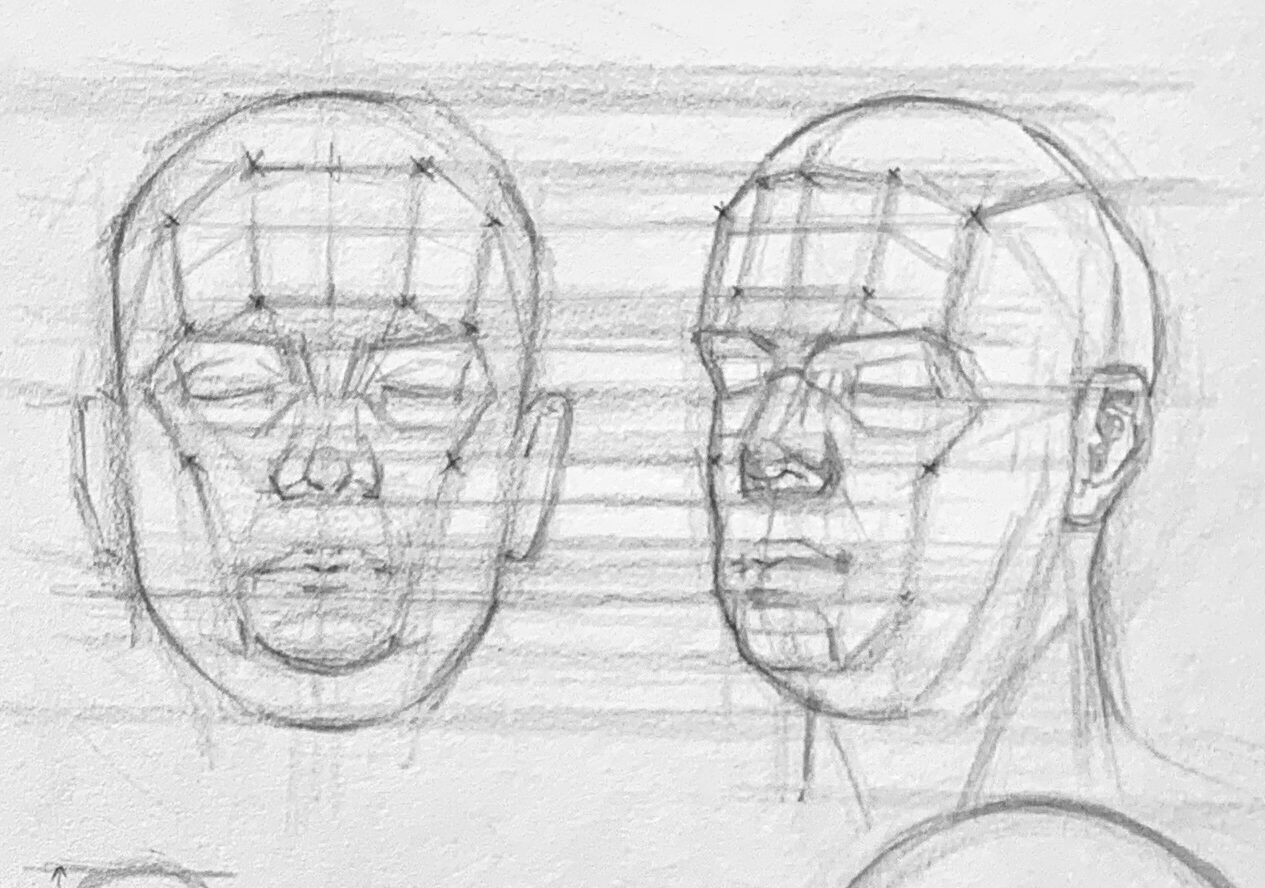
● The head can be roughly divided into three sections:
1.From the hairline to the brow ridge
- When viewed from a three-quarter angle, the hairline lies at the transition between the curved forehead and the flat frontal plane.
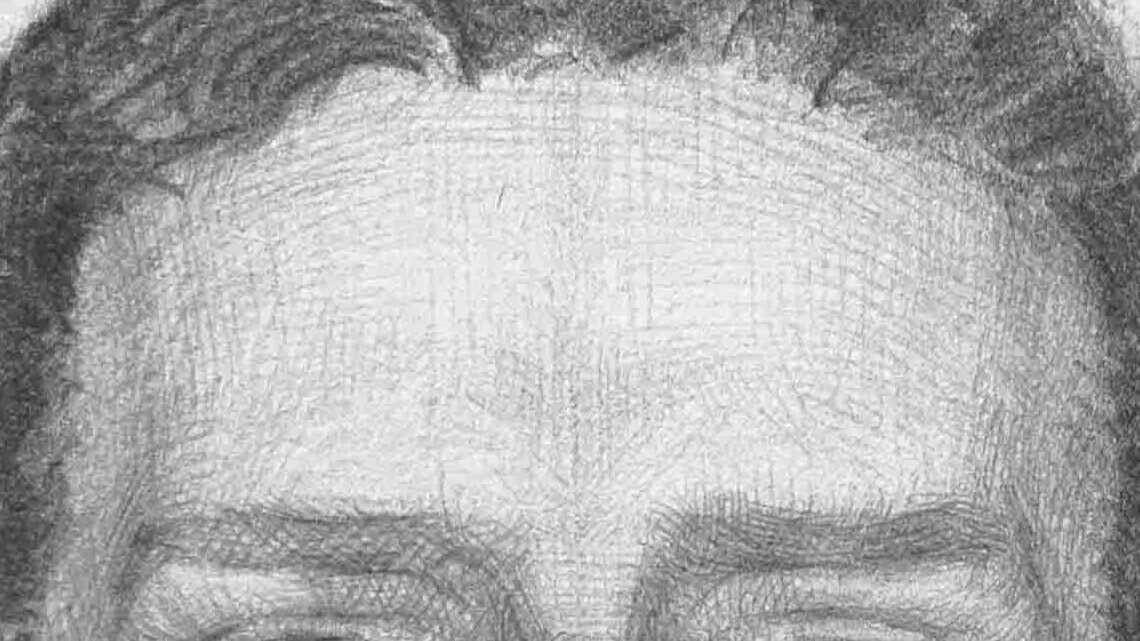
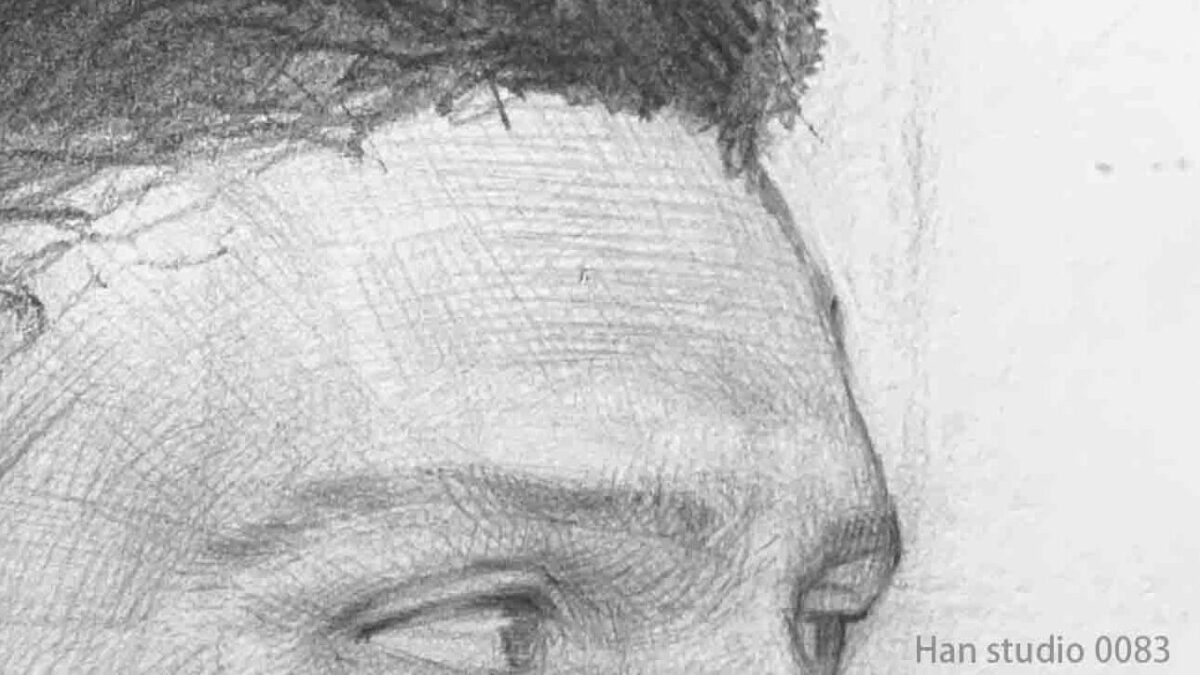
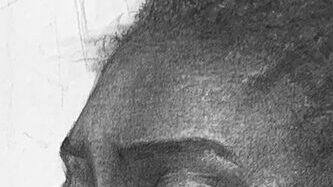
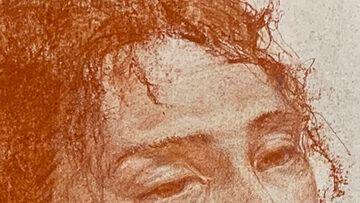
- The eye center line is roughly located at the halfway point (1/2) of the head’s height.
- From the top of the head downward, the second line marks the hairline.
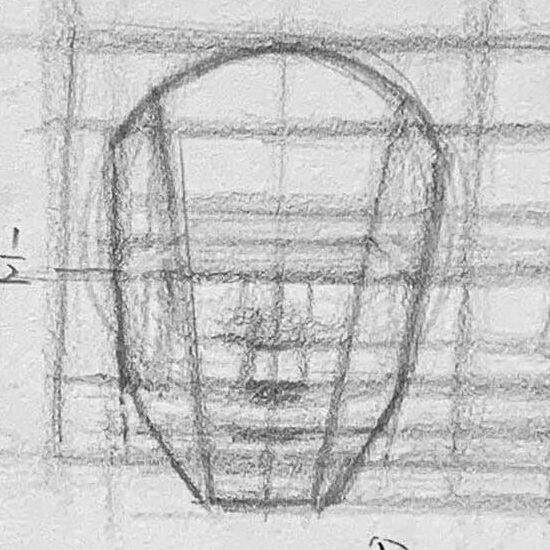
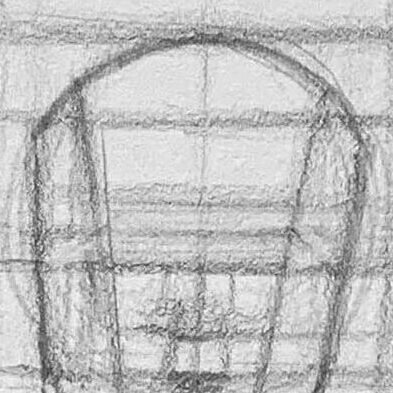
- Counting down from the top of the head, the third line is the brow ridge line.
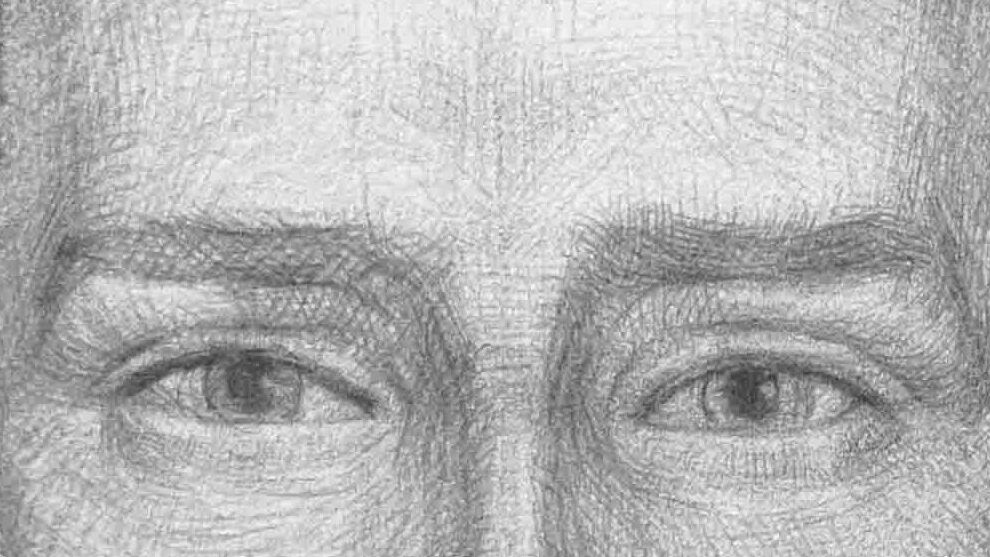
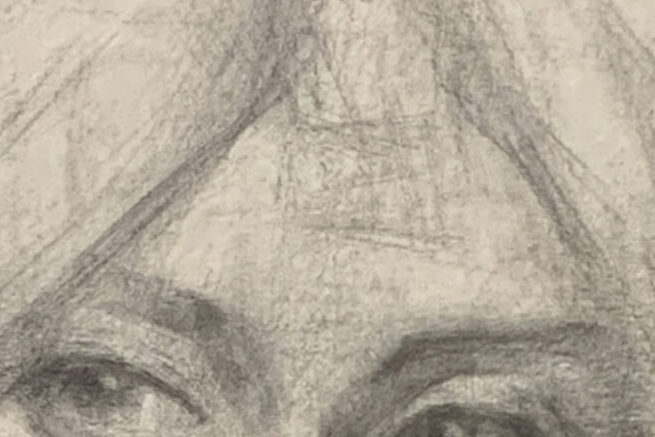
2.From the brow ridge to the base of the nose
- Brow ridge: Located just above the eye socket, this bony protrusion is part of the frontal bone.
- From the side view, you can clearly see how it transitions from the forehead into the eye socket.
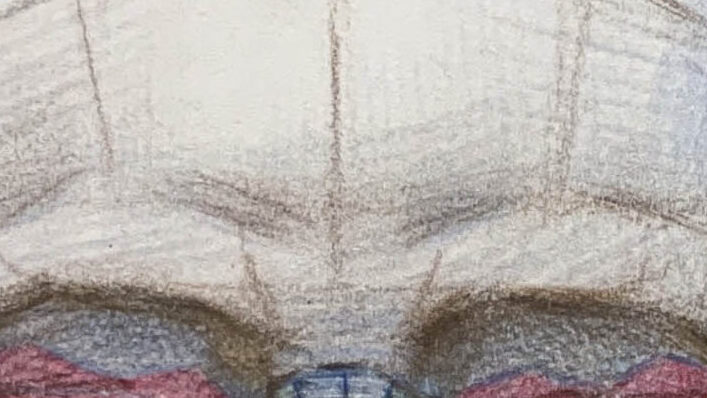
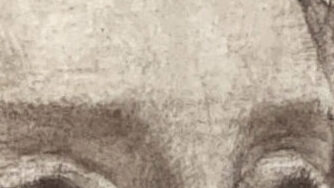
- The diagrams below show both front and side views to help visualize relative positions.
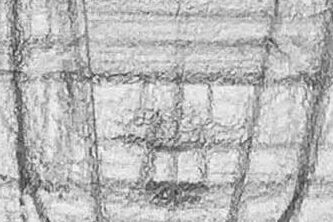
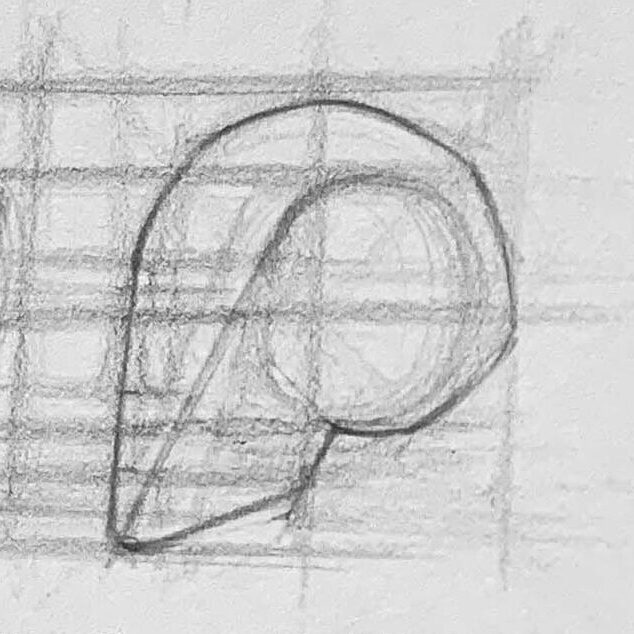
3.From the base of the nose to the chin
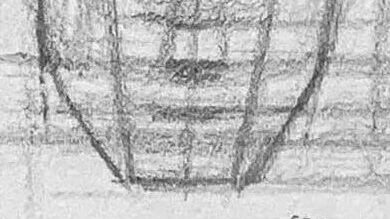
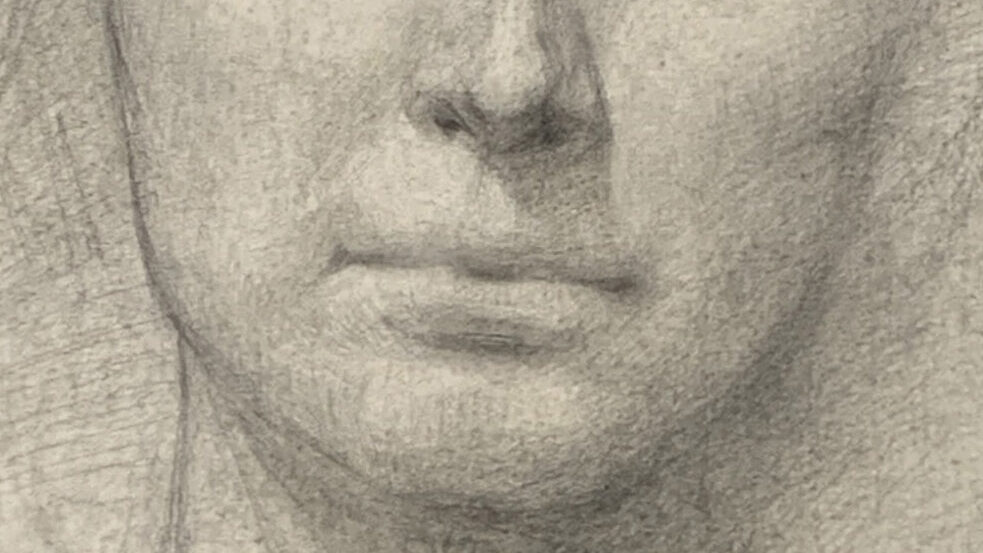
In the front view on the left, the thicker guideline marks the bottom of the nose. The side view on the right helps us understand the approximate location.

● The distribution of facial features:
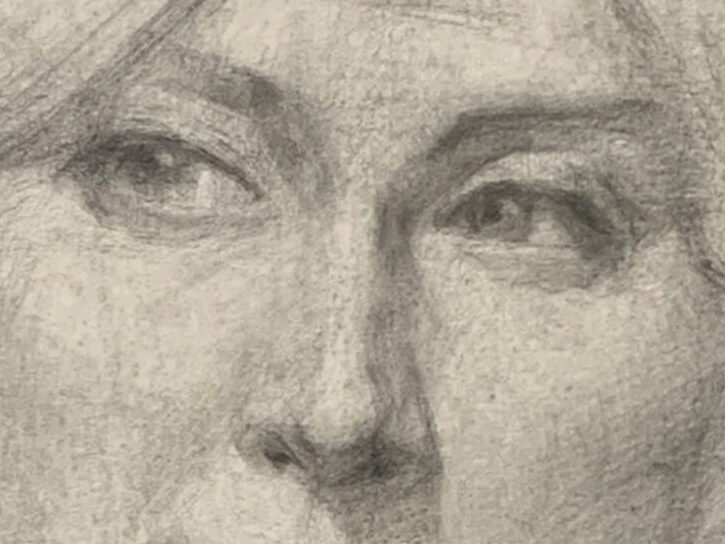
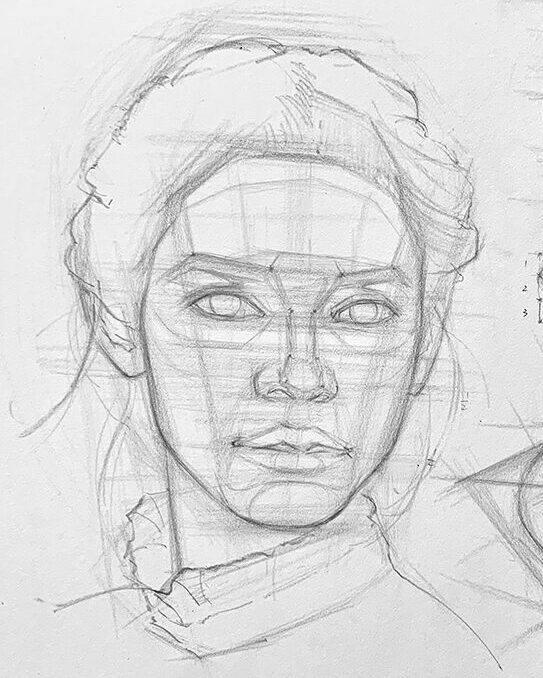
- Eyes: Positioned on the horizontal center line (1/2) of the overall head height.
- Nose width: Usually about the same as the distance between the inner corners of the eyes.
- Mouth corners: Generally align with the vertical lines dropping from the pupils.
If you want a deeper understanding of how the features gain their three-dimensional form, it’s recommended to read separate sections on each part’s structure (eyes, nose, mouth, ears).
Further Reading
- Building Up from Simple Contours to Detailed Eye Portraits
- How to Draw Noses Realistic: Beginner Techniques
- Capturing Realism in Lip Drawing: Key Structures and Shading
- How to Draw Ears:Simplified Ear Structure and Shading Tips
―――――――――――――――――
How to Start a Portrait? (Simplifying with Geometric Forms)
The head can be broken down into geometric forms, such as a sphere (cranium), rectangular blocks, and cylinders (face and neck).
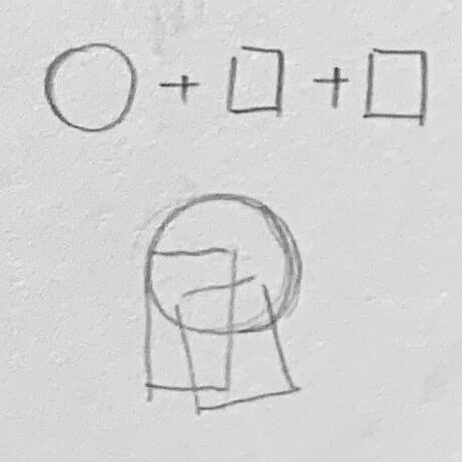
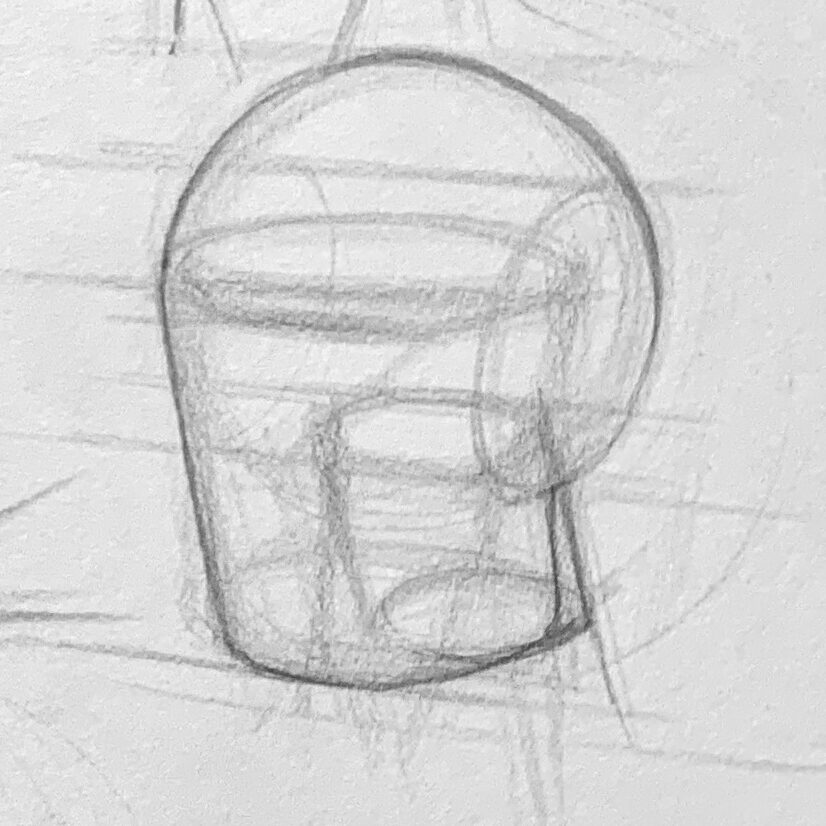
Understanding the basic structure of the head helps in depicting its posture and angles.
1.Simplify the overall shape of the head
- Draw a circle for the cranium, then attach the jaw below.
- About halfway down the circle is the brow ridge; from there downward is the eye socket area.
- You can also use a square (box) framework to capture the viewing angle: first decide the observation angle, then set the box’s orientation accordingly.
About halfway down the circle is the brow ridge; from there downward is the eye socket area.
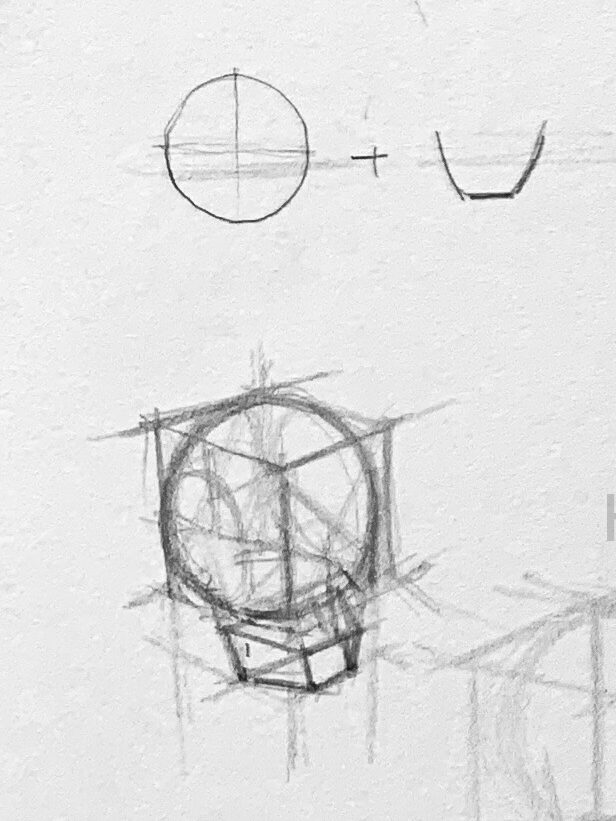
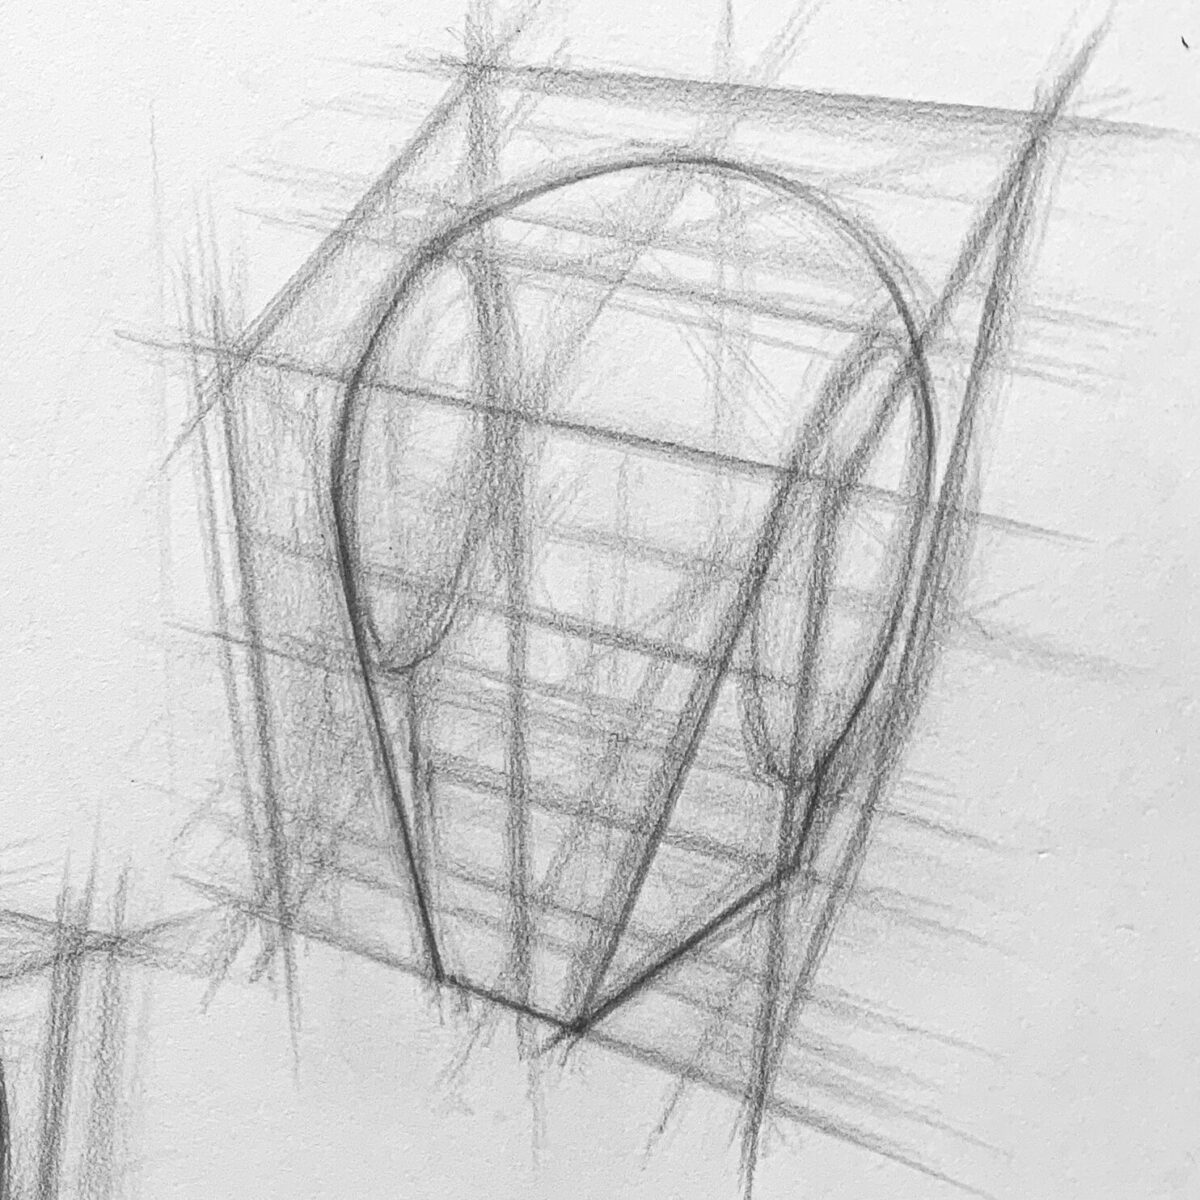
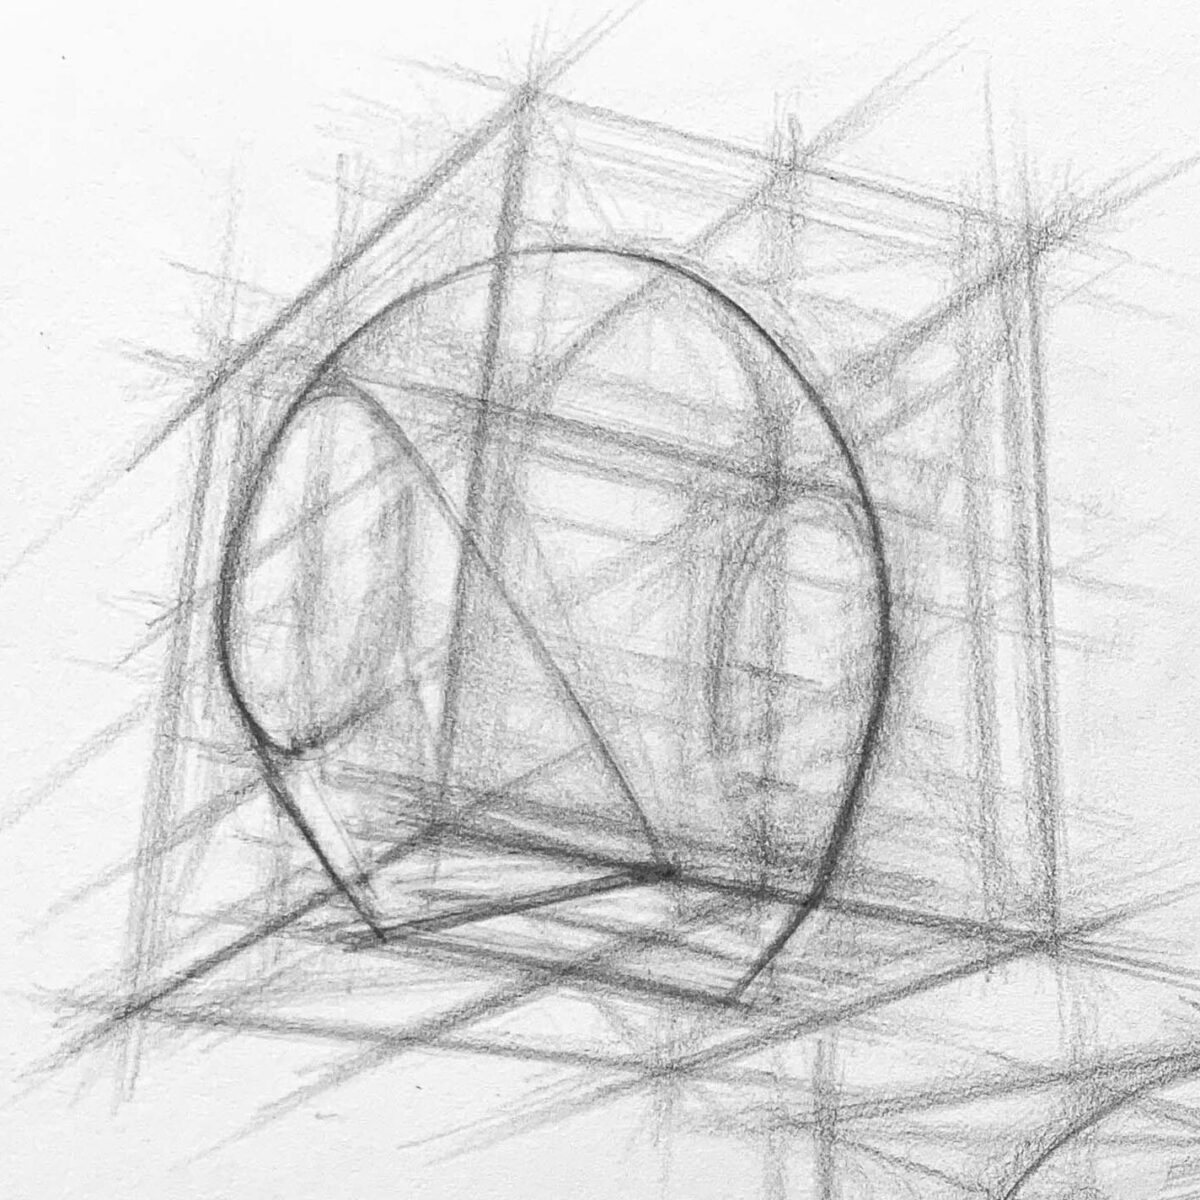
You can also use a box to help determine the head’s orientation. Simplified method:
- Decide the viewing angle, which will determine the angle of the box (head direction).
- Set the eye level and vanishing points. (Establishing the eye level and vanishing points helps us check whether our perspective lines are correctly converging.)
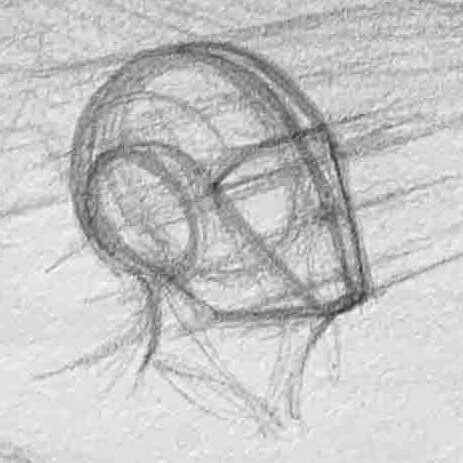
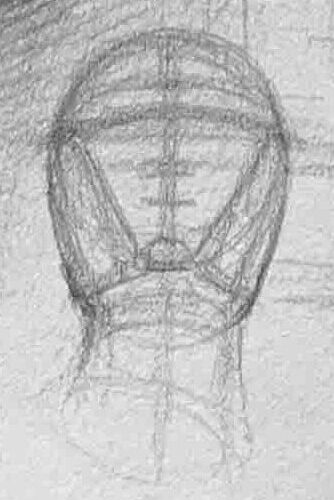
Using a square frame in perspective can assist in accurately locating the position of the head within the scene.
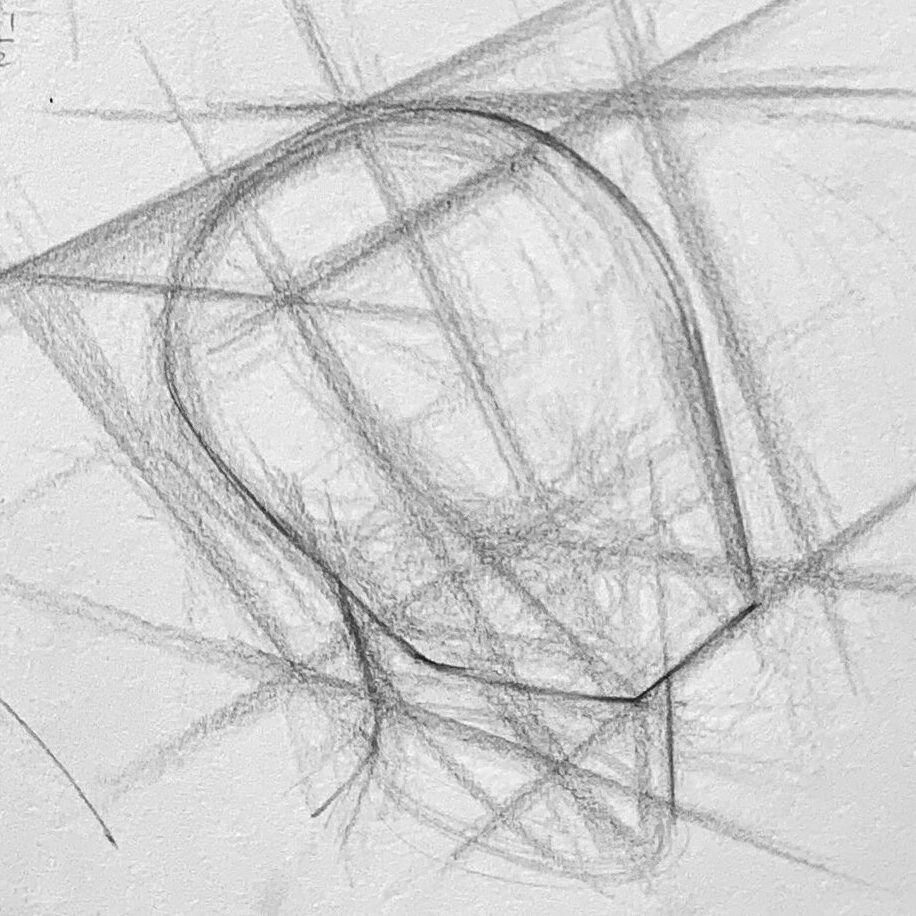
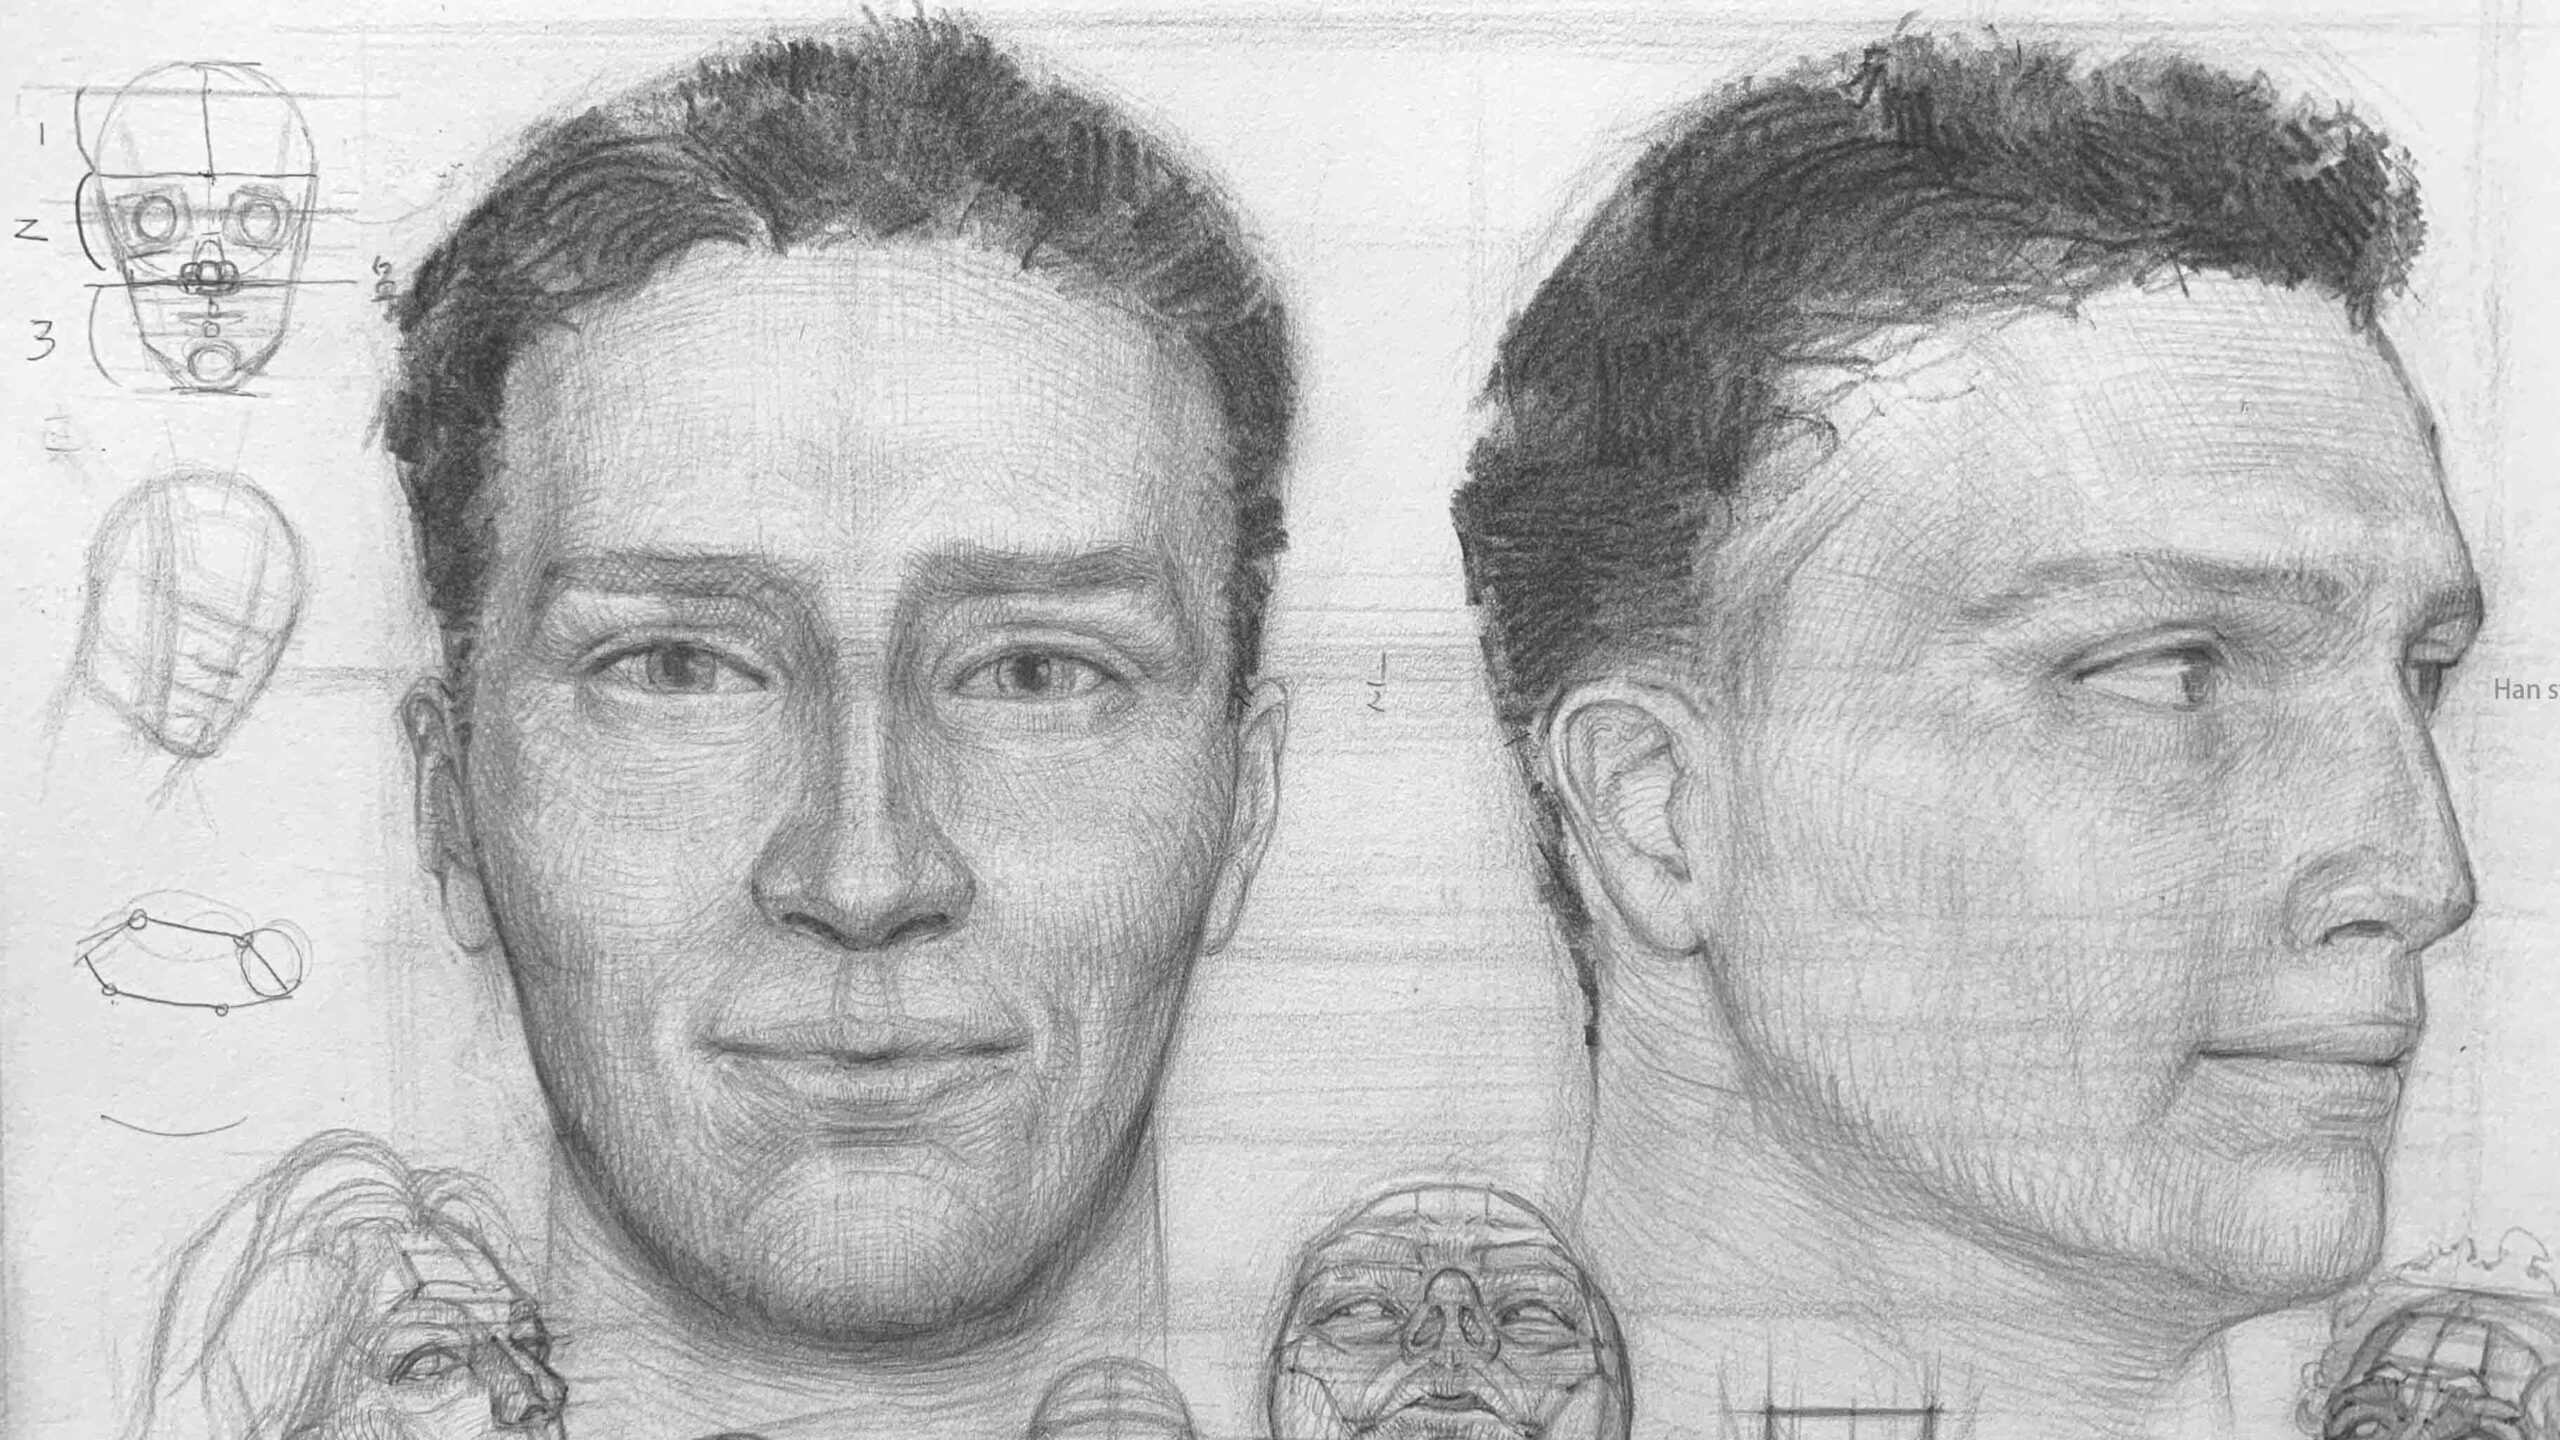
2.Position and draw the facial features
- First, use vertical and horizontal guidelines to position the features in relation to each other.
- Apply the facial three-part division (hairline → brow ridge → base of the nose → chin) to determine the general height, then gradually refine the shapes.
―――――――――――――――――
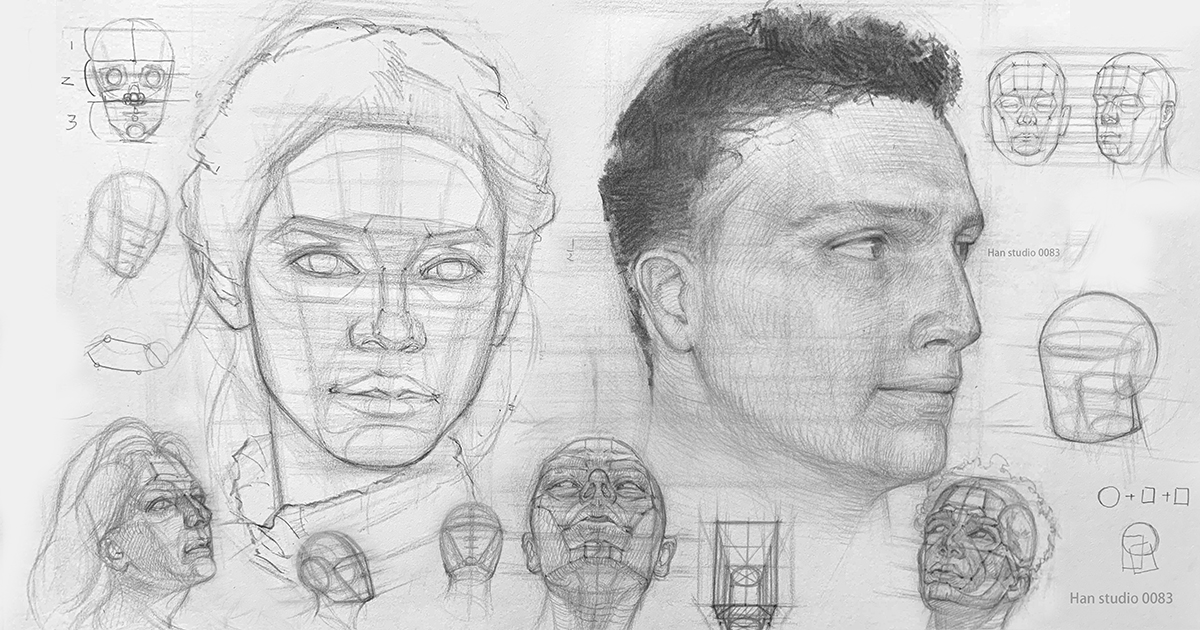
3.Reference for Head Angles
Below are examples of heads from different angles. I recommend simplifying them into box forms to better grasp head perspective in various viewpoints.。
- Each angle has specific vanishing points and foreshortening (closer parts appear larger).
- Use the box to separate three planes: the front plane, the underside from jaw to neck, and the side plane. Then place the features.
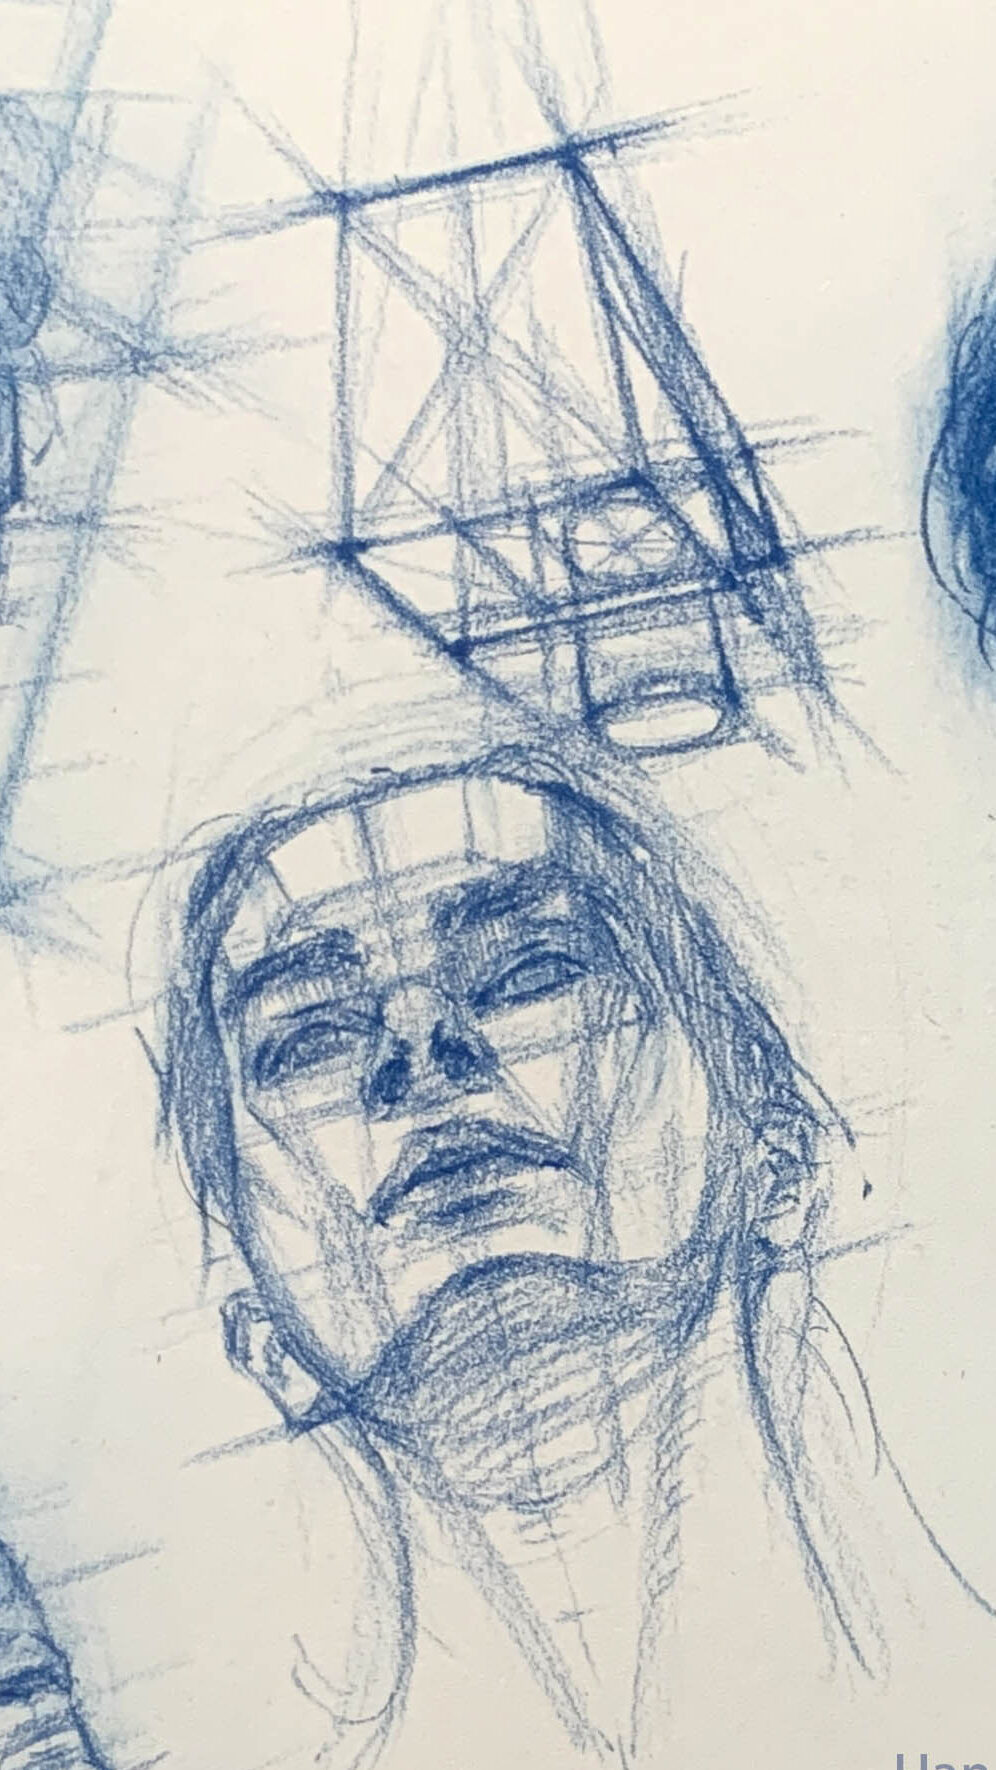
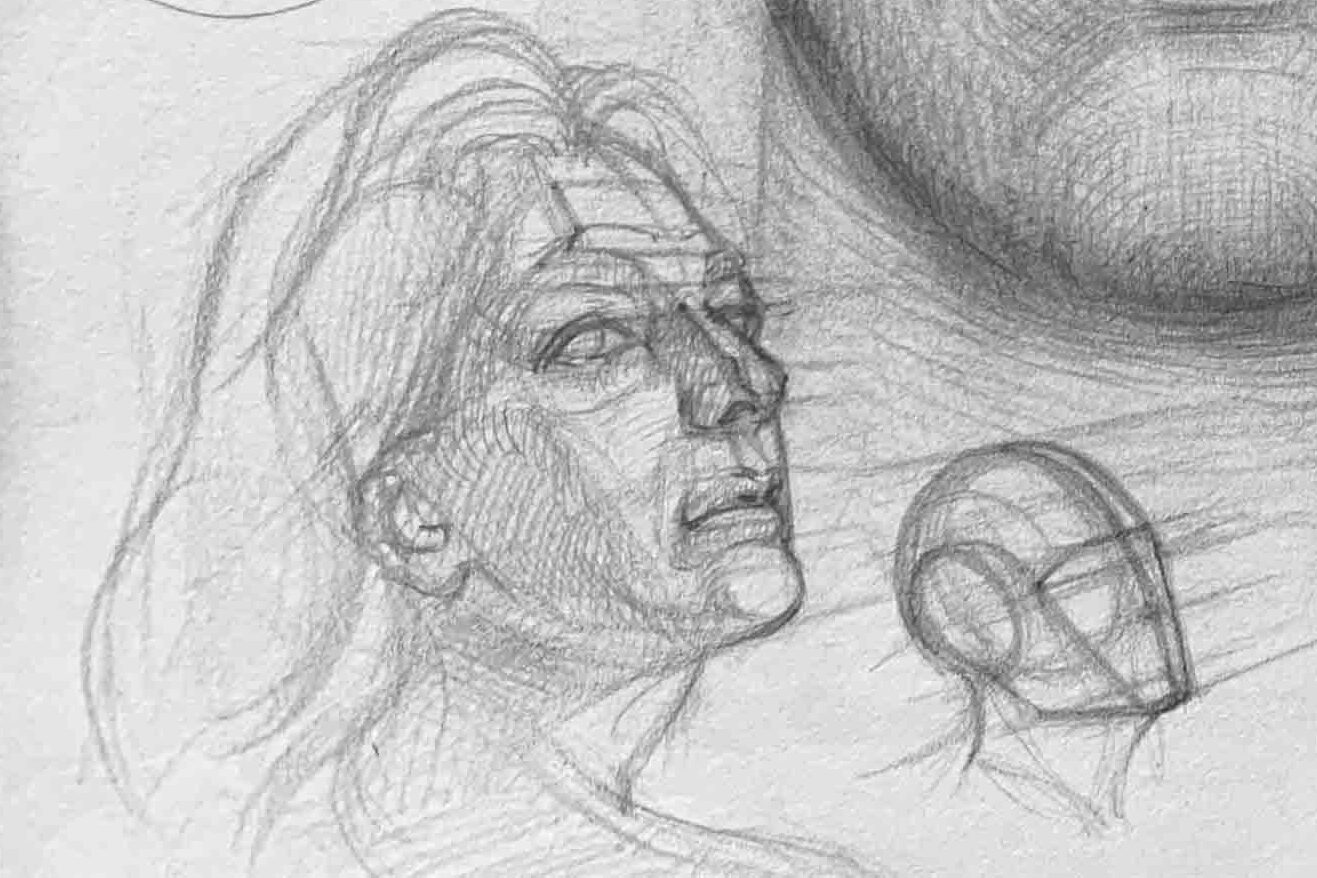
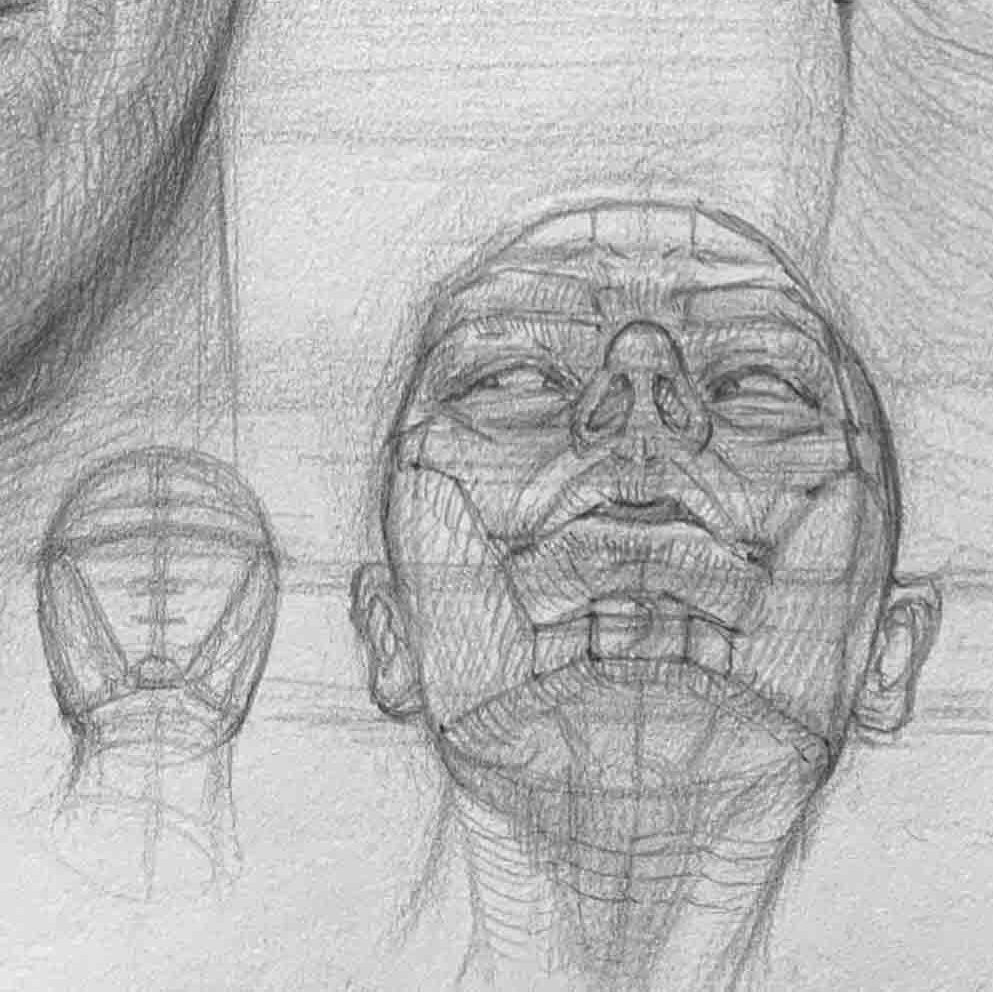
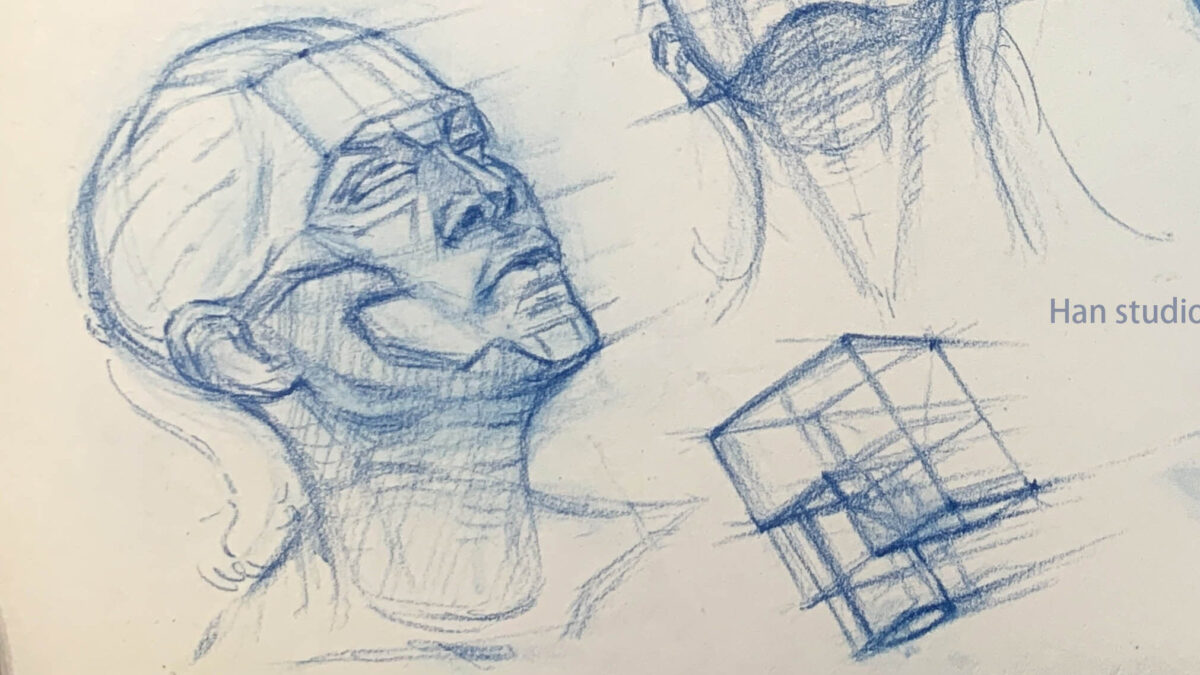
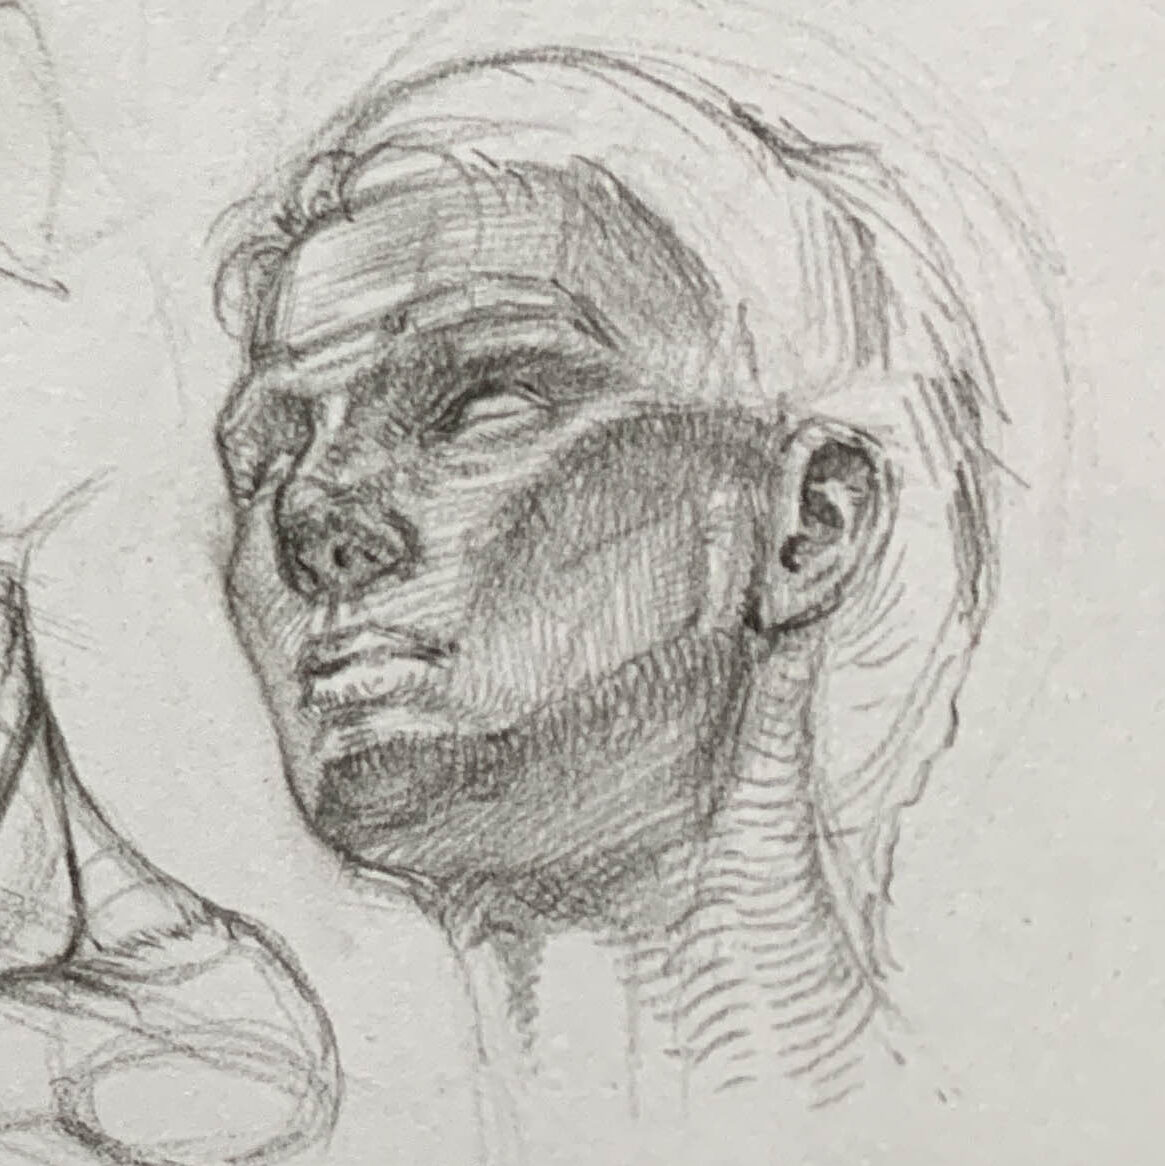
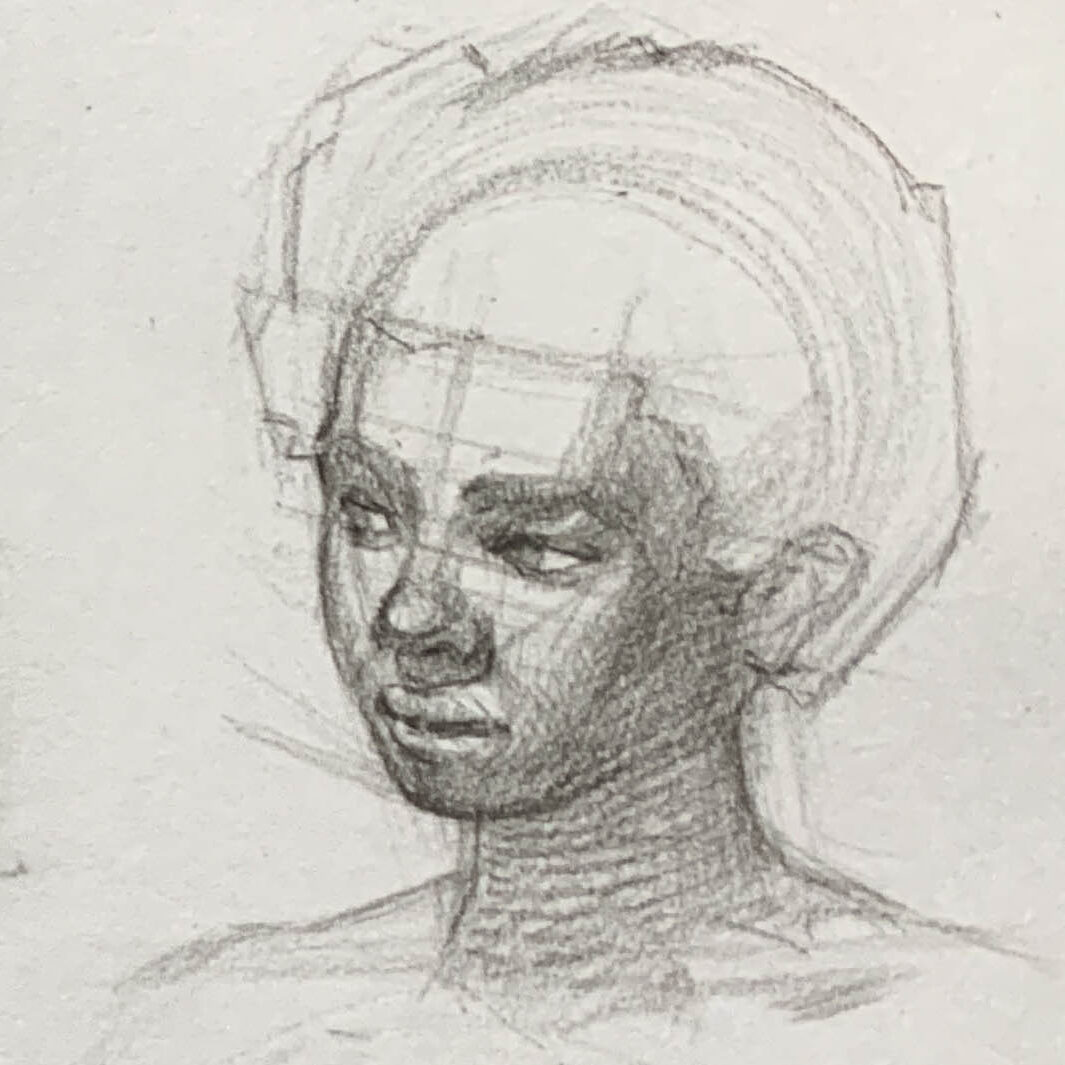
Application Suggestions: Practicing heads from different viewpoints is essential, and I encourage you to try breaking the head back down into a box. This makes it easier to understand proportions and structural placement.
If you want to draw a turning head, having a structural approach will make it much easier to construct accurately.
―――――――――――――――――
4.Mark the structure lines for curvature and check positions
- Use structure lines to mark where the face transitions (bulges/indentations); this helps understand the continuity of the form.

- Structure lines do not exist on the real face, but they are very useful for learning and checking.
―――――――――――――――――
5. Head Characteristics at Different Ages
Children's head proportions and structure differ slightly from adults:
1. Children's Head Features and Structure
Children's head proportions and structure differ slightly from adults:
●Proportion: A child's head is relatively larger, accounting for about 1/4 to 1/3 of their total body length.
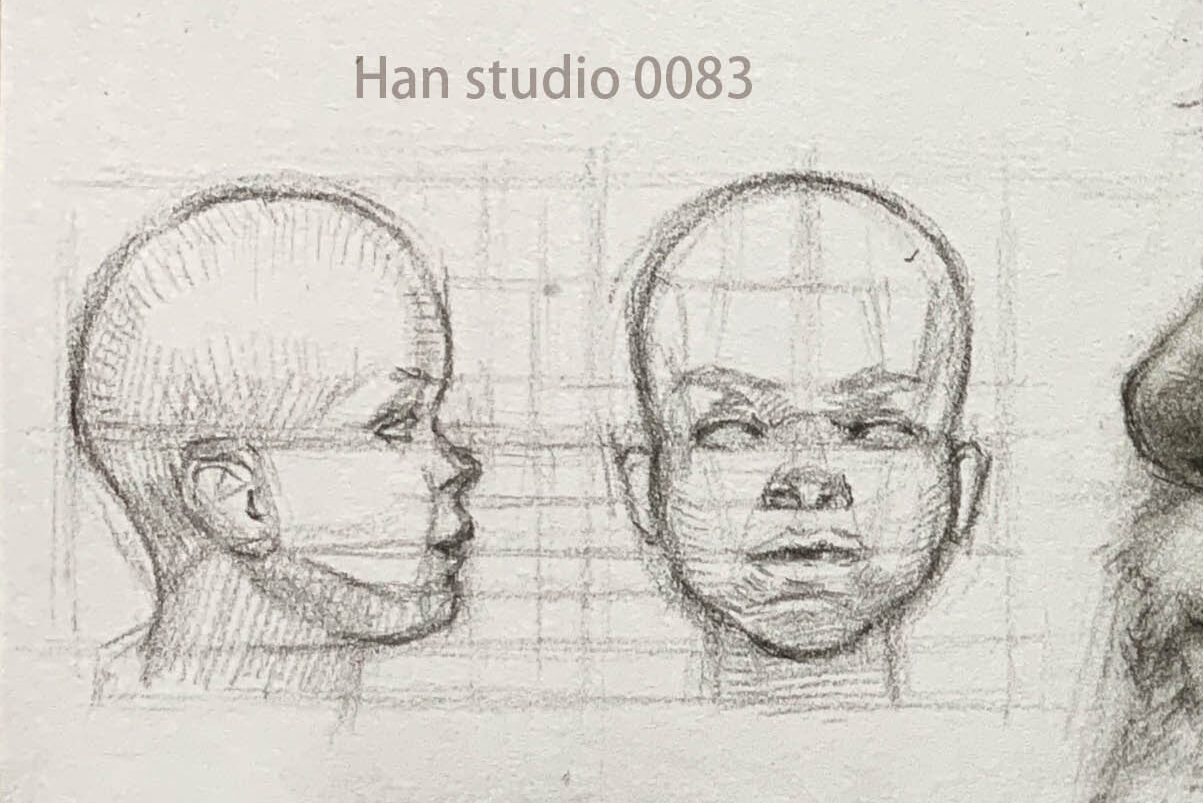
Through the front and side views, it is observed that a child's head is overall shorter in proportion compared to an adult's.
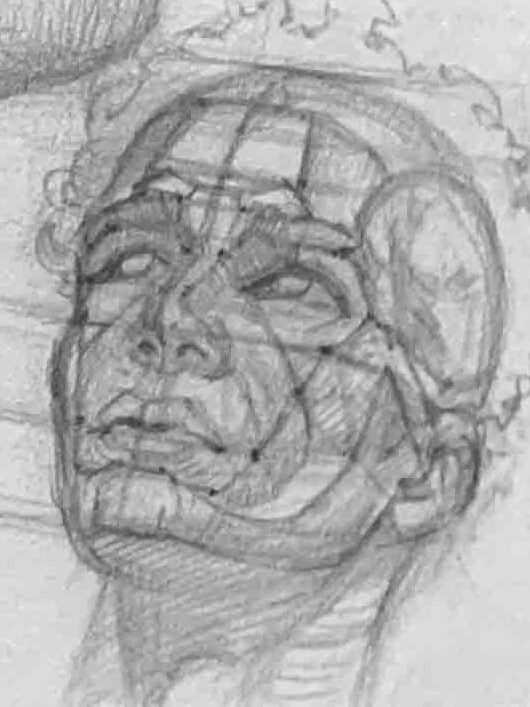
- Eye position is lower:In adult faces, the eyes typically align with the midline (1/2 line) of the entire head, whereas in children, the eyes are positioned slightly below this midline.
- Feature distribution:
- Nasal bridge is shorter and flatter.Cheekbones are less prominent, giving the face a rounder appearance.
- Underdeveloped jaw, making the chin smaller and rounder.
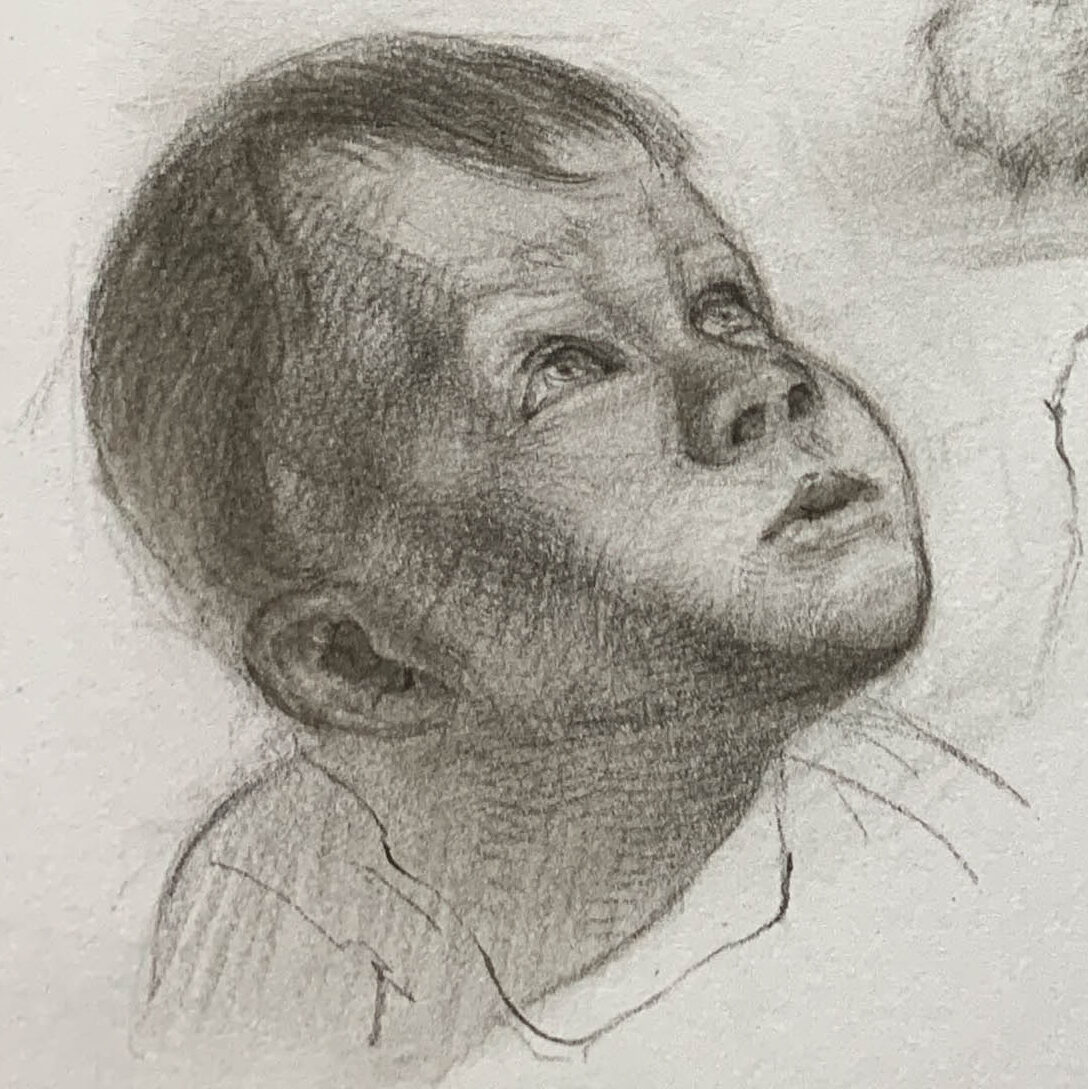
● Skin and muscles::
A child’s skin is smoother, with no prominent muscle lines or wrinkles.
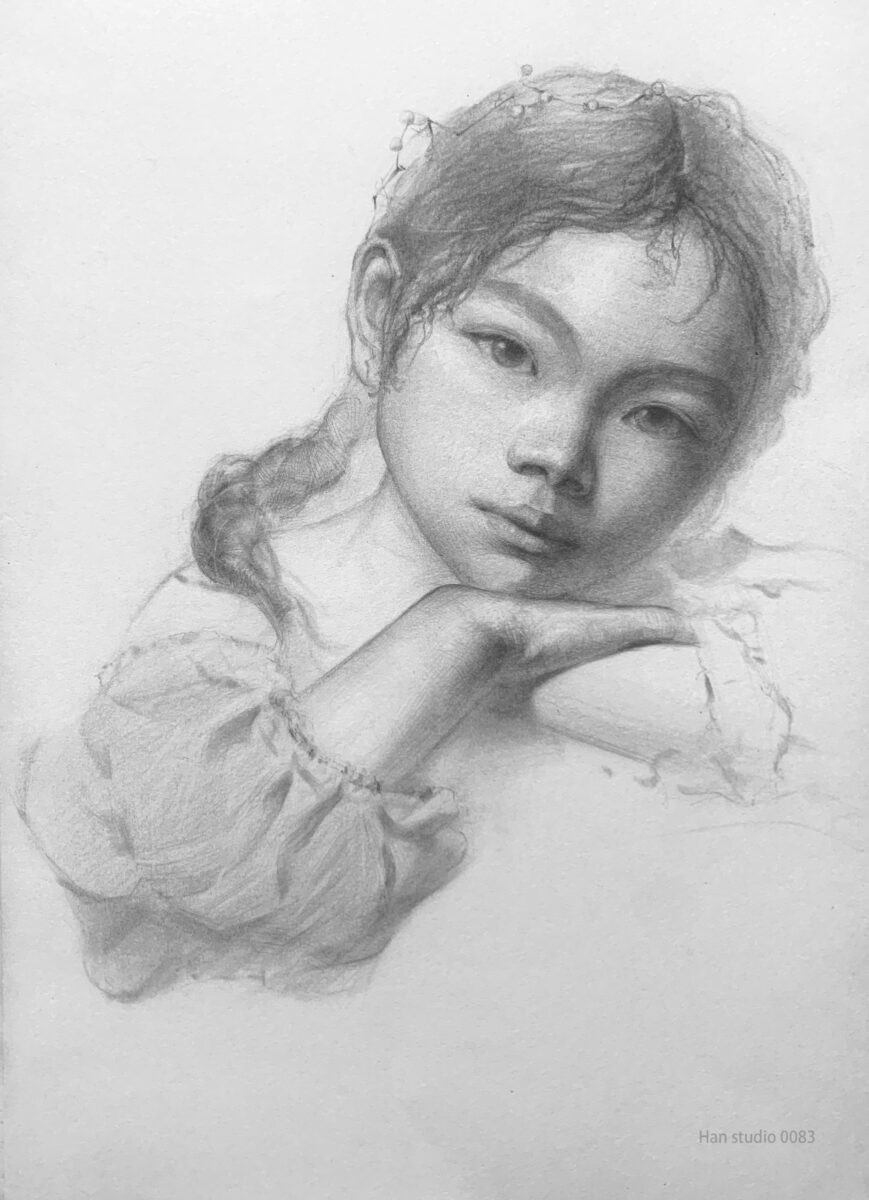
Less contrast in light and shadow variations compared to adults.
Elderly Head Characteristics
As people age, the head structure undergoes several key changes:
● Bone structure changes:
The skull’s overall structure becomes more defined, especially in the cheekbones and jaw angles.
Eye sockets appear deeper due to loss of subcutaneous fat, making the eyes seem more sunken.
The jawbone undergoes osteoporosis, becoming smaller and slightly receding, which alters the mouth's contour.
2-1. Skin and Wrinkles:
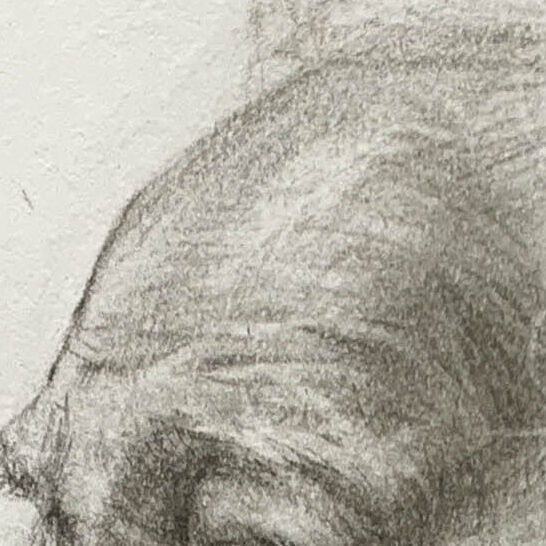
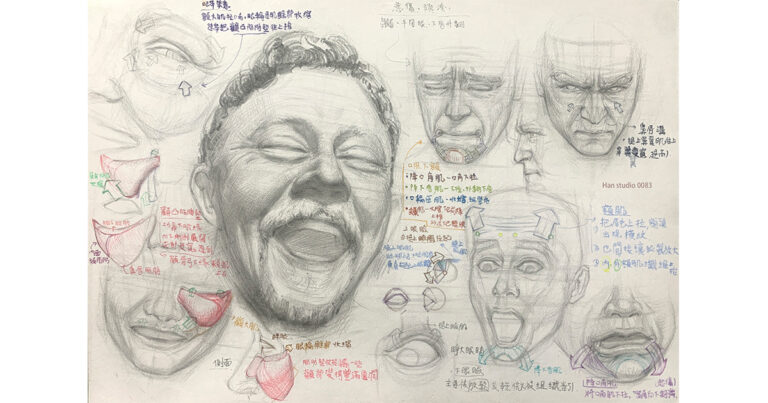
● Forehead wrinkles:Horizontal lines become more pronounced due to facial muscle movements.
―――――――――――――――――
● Crow’s feet:Fine wrinkles appear around the eyes, deepening with age.
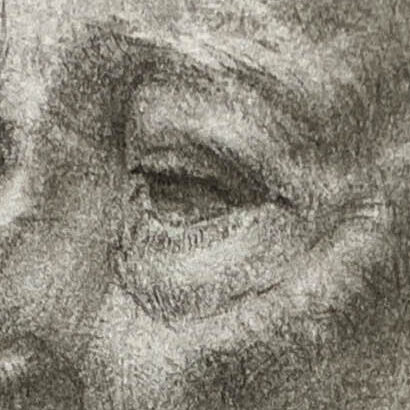
● Nasolabial folds:The lines running from the corners of the mouth to the sides of the nose become deeper, with visible skin sagging.

● Neck wrinkles:Vertical wrinkles form due to loss of skin elasticity.
Light and Volume:
Due to muscle and collagen loss, shadows become more pronounced in an elderly person’s face.
Loose skin folds create additional shadow effects, particularly around the chin and neck.

―――――――――――――――――
How to Shade a Portrait?
The previous sections provided facial structure positioning. Now, we move on to shading. Facial shadows vary depending on the softness, sharpness, and distance of the light source.
Curious about the foundation of portrait proportions and how light and shadow are constructed?
Recommended Reading:
- Dive deeper with our guide to skull structure and basic form analysis.
- How to Sketch Facial Muscles: Capture Realism and Expression
If you're not sure how to shade the face, try starting by simply dividing it into light and shadow areas:
- Light areas – the forehead, the cheekbones (zygomatic arch), and the area around the mouth (orbicularis oris region).
- Shadow areas – the eye sockets, the shadow beneath the nose, and the crease/opening of the mouth.
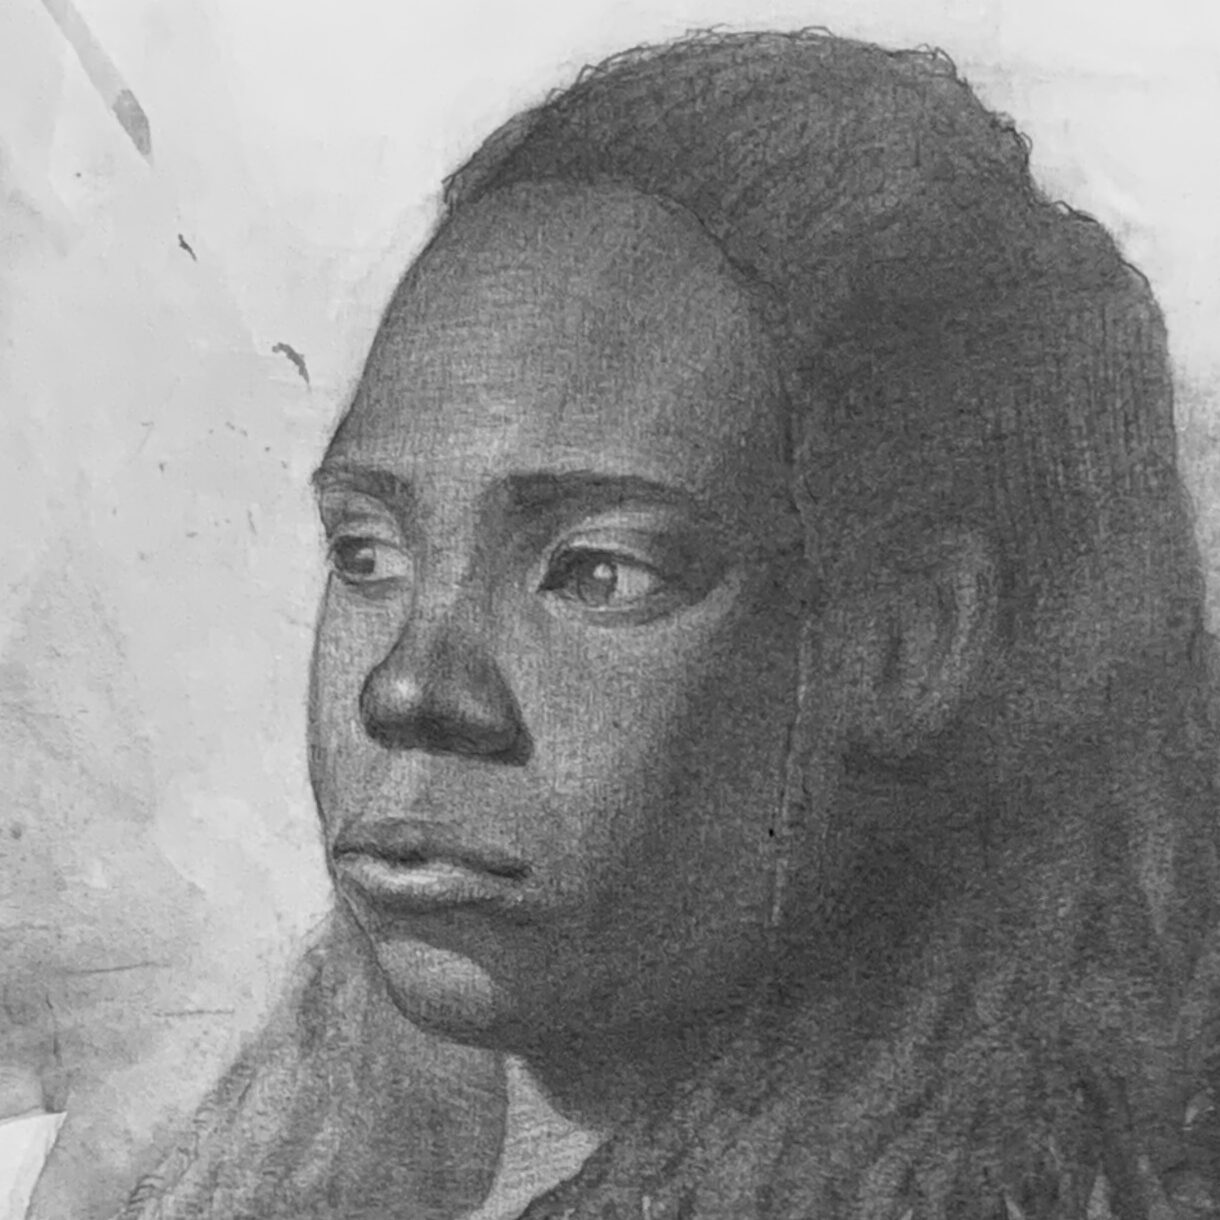
- Observe skin tone: the light and dark baseline values of darker skin will affect the overall value distribution; when the lighting position changes, the light and shadow areas should be adjusted accordingly.
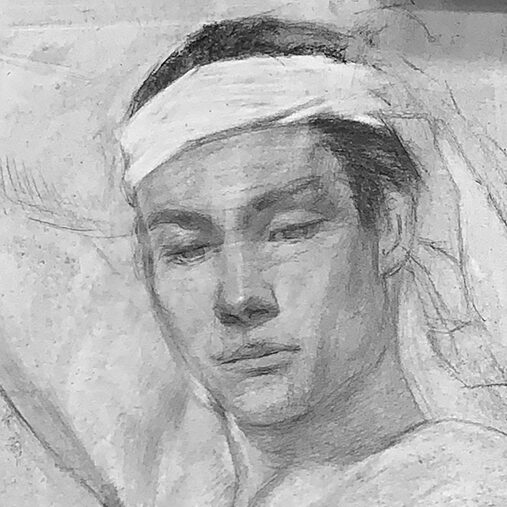
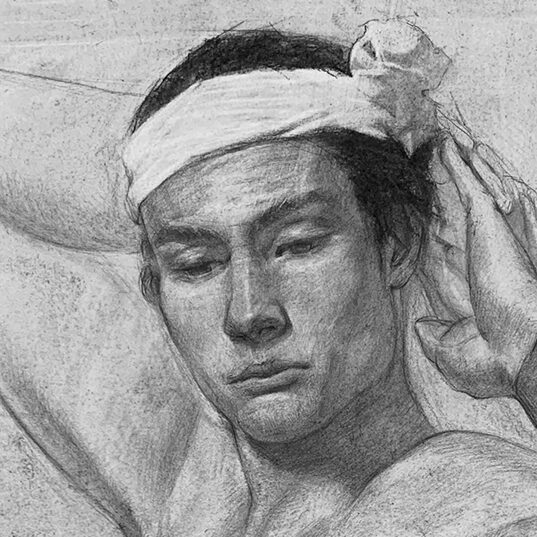
Below are examples using light and dark-skinned models:
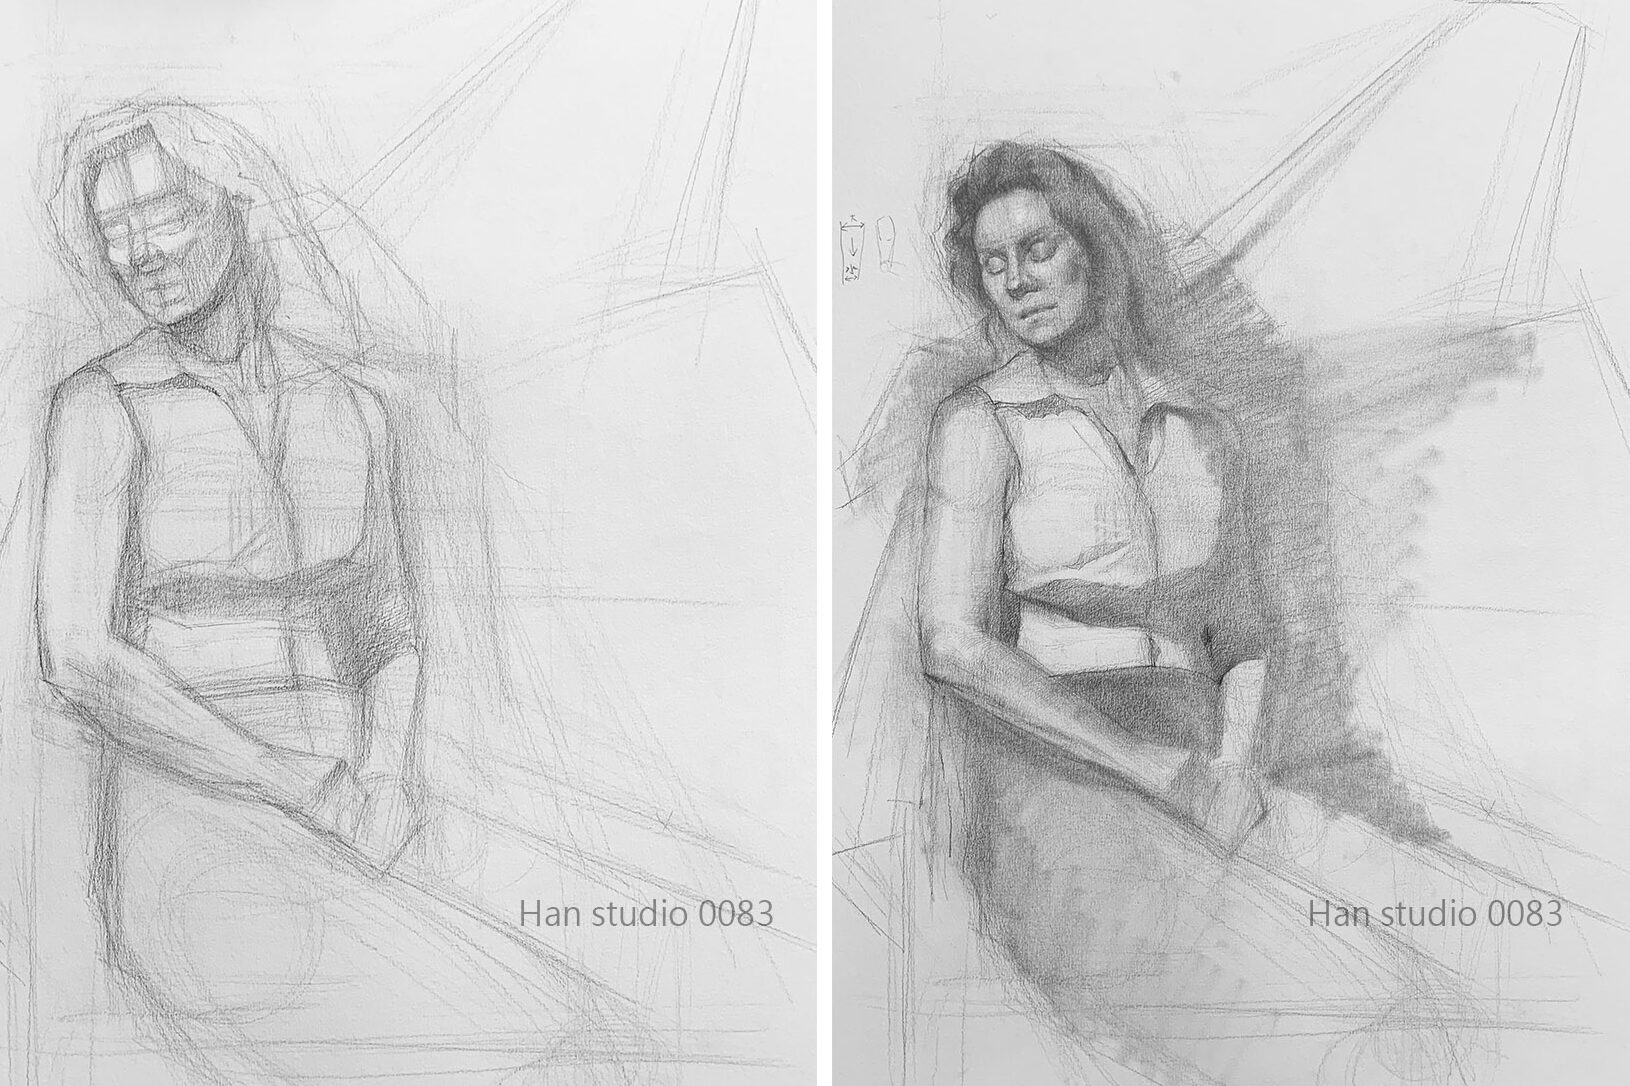
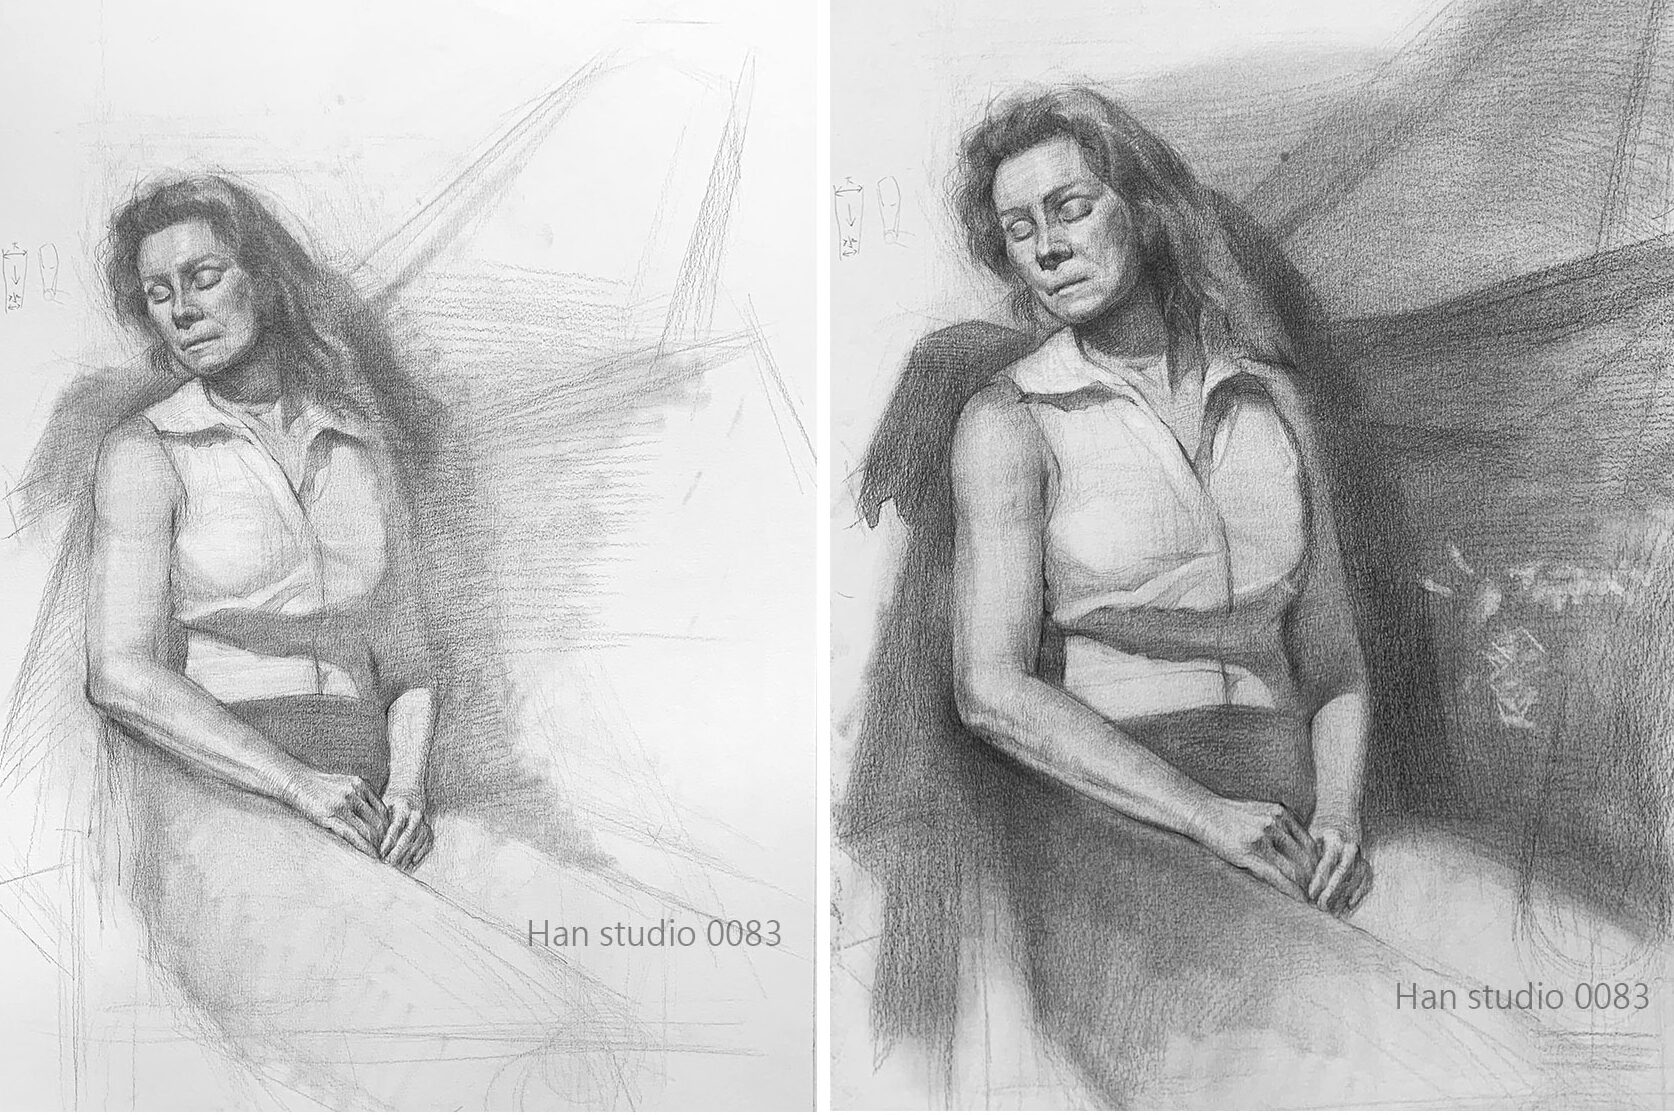

This model has a darker skin tone, so both the highlights and shadows on the face have a generally deeper grayscale value.
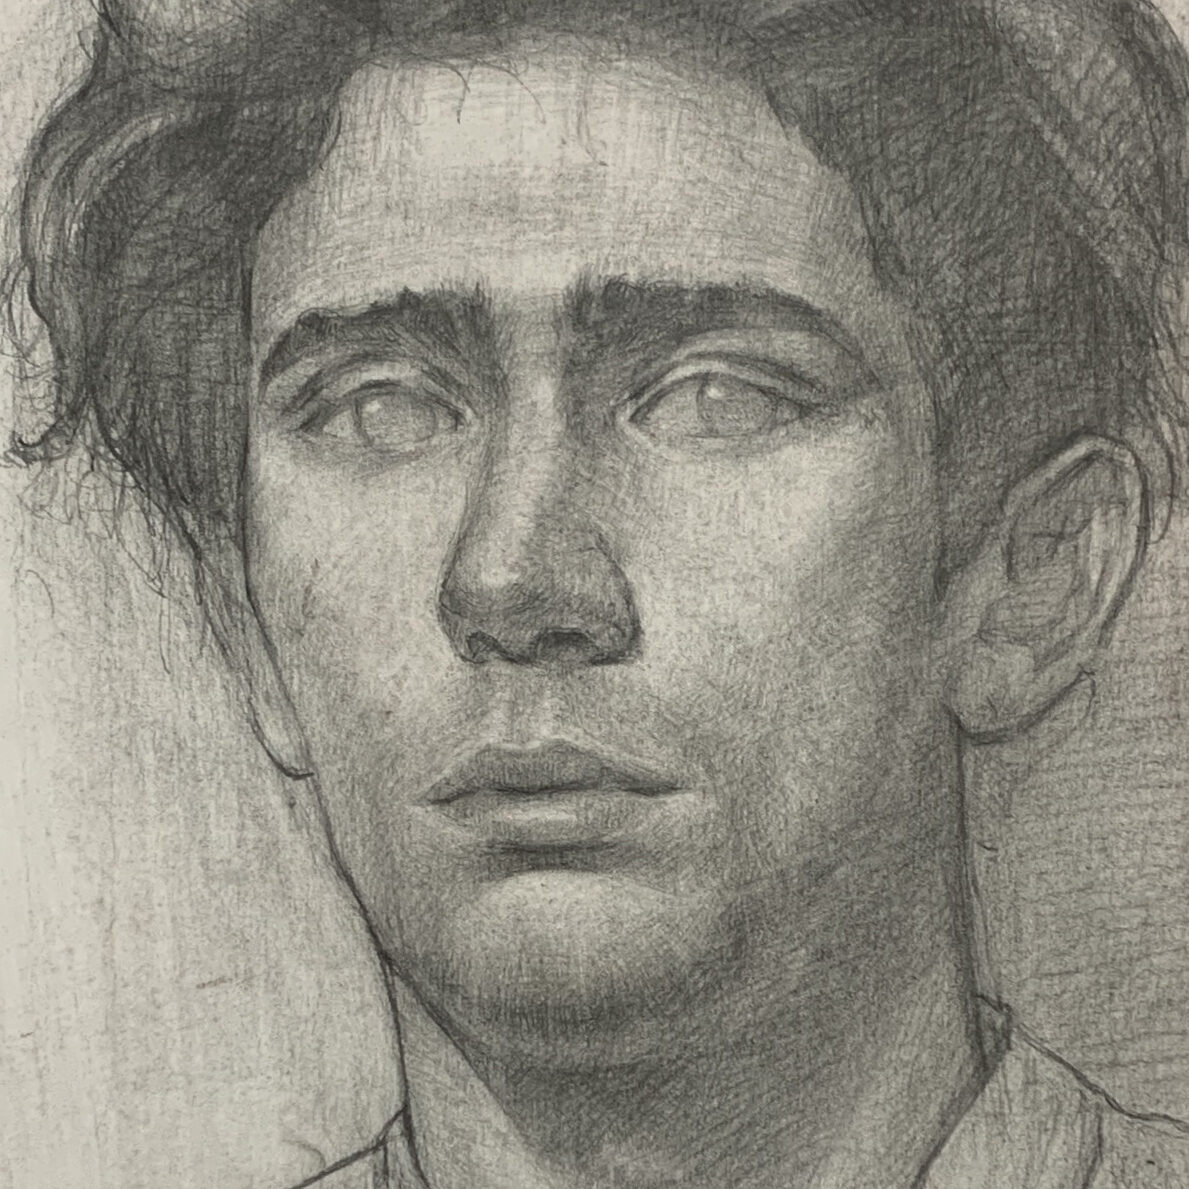
The face can be simply divided into a lit frontal plane and a shadowed side plane, so when shading the face, it is important to consider the overall color of each section.
How to Paint Portraits in Monochrome and Duotone?
After understanding how to use black, white, and gray to create a sense of volume, we’ll now try drawing portraits using one or two colors.
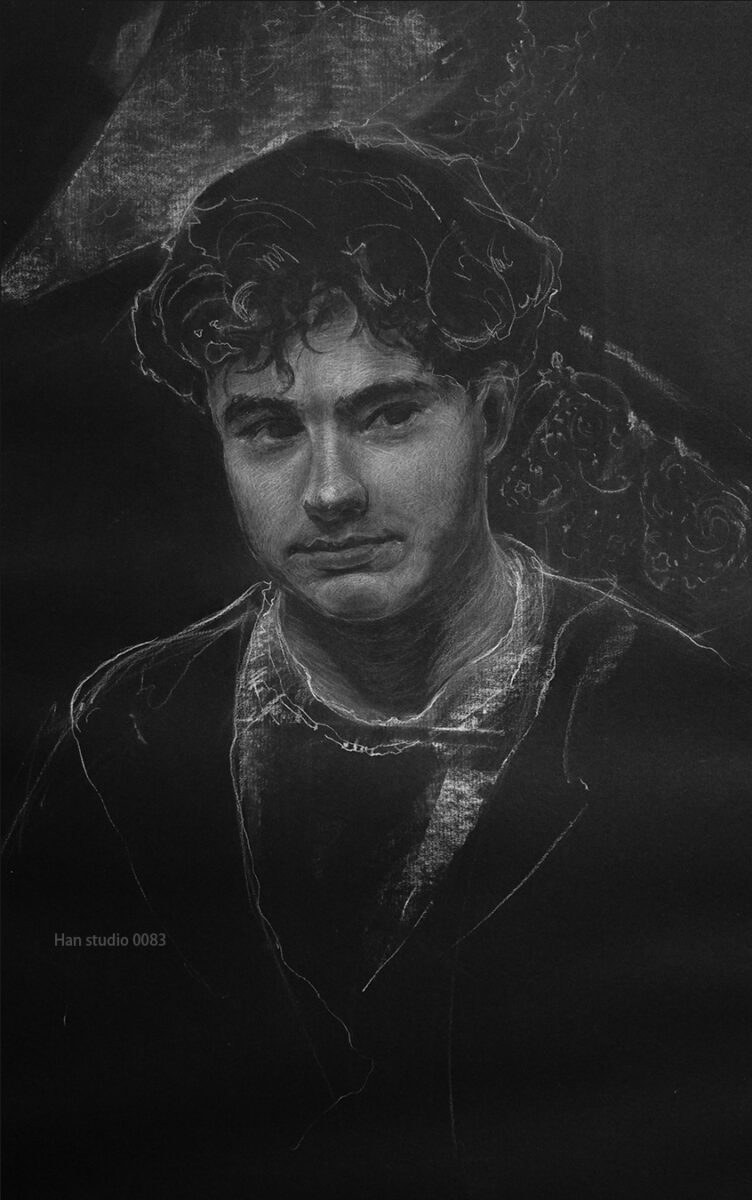
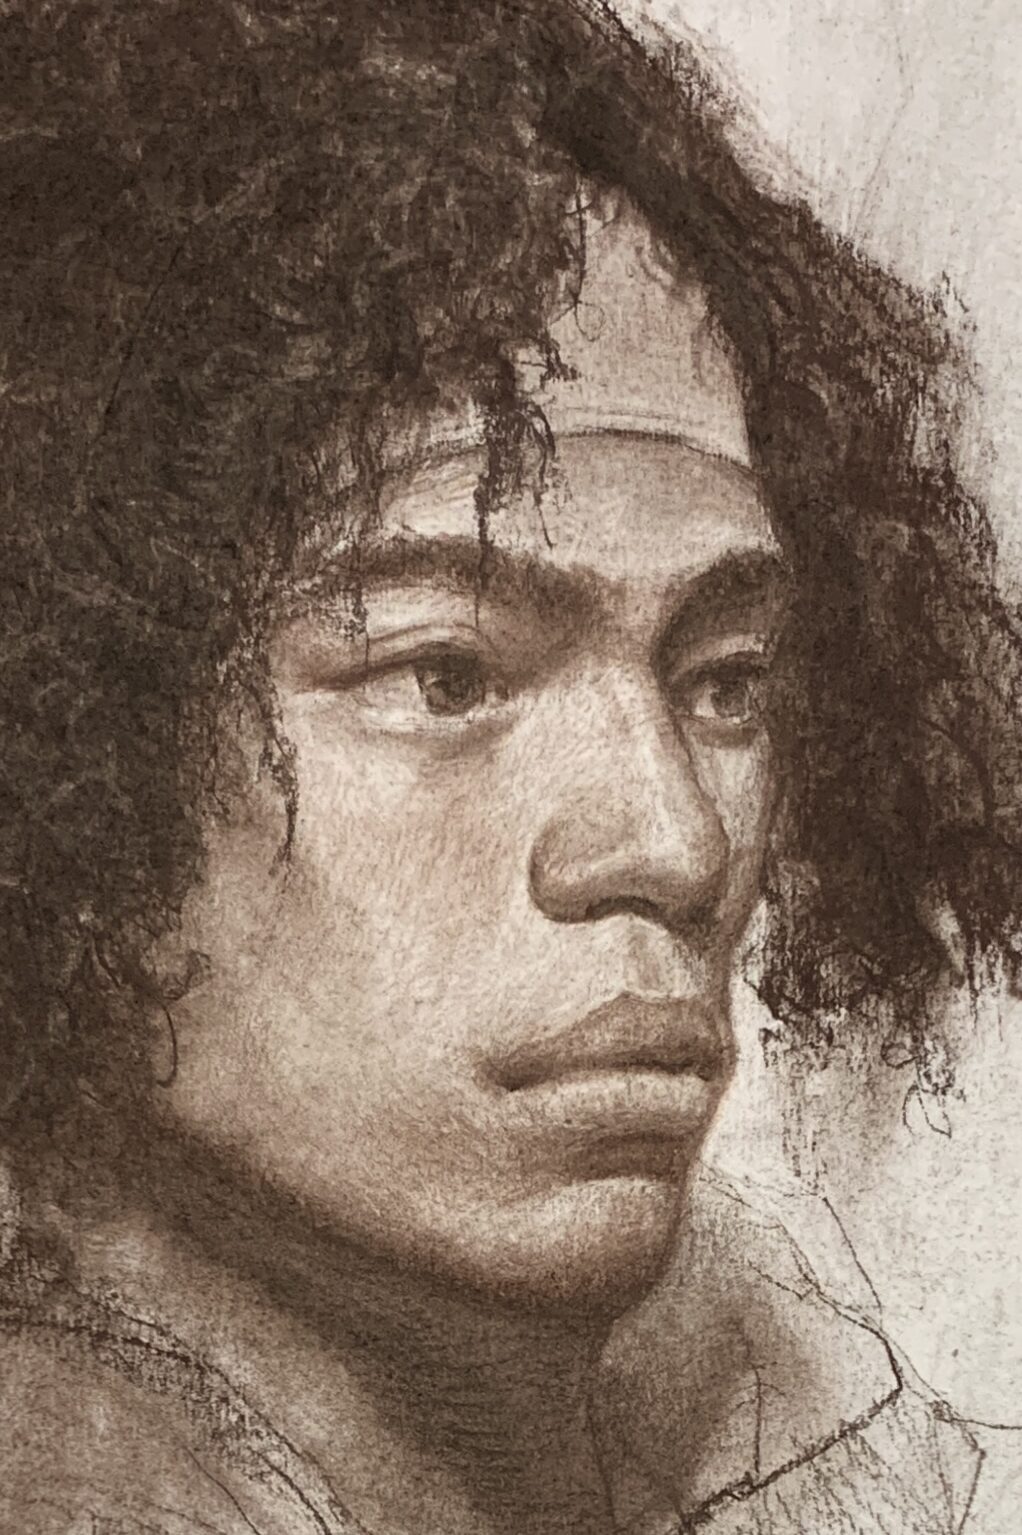
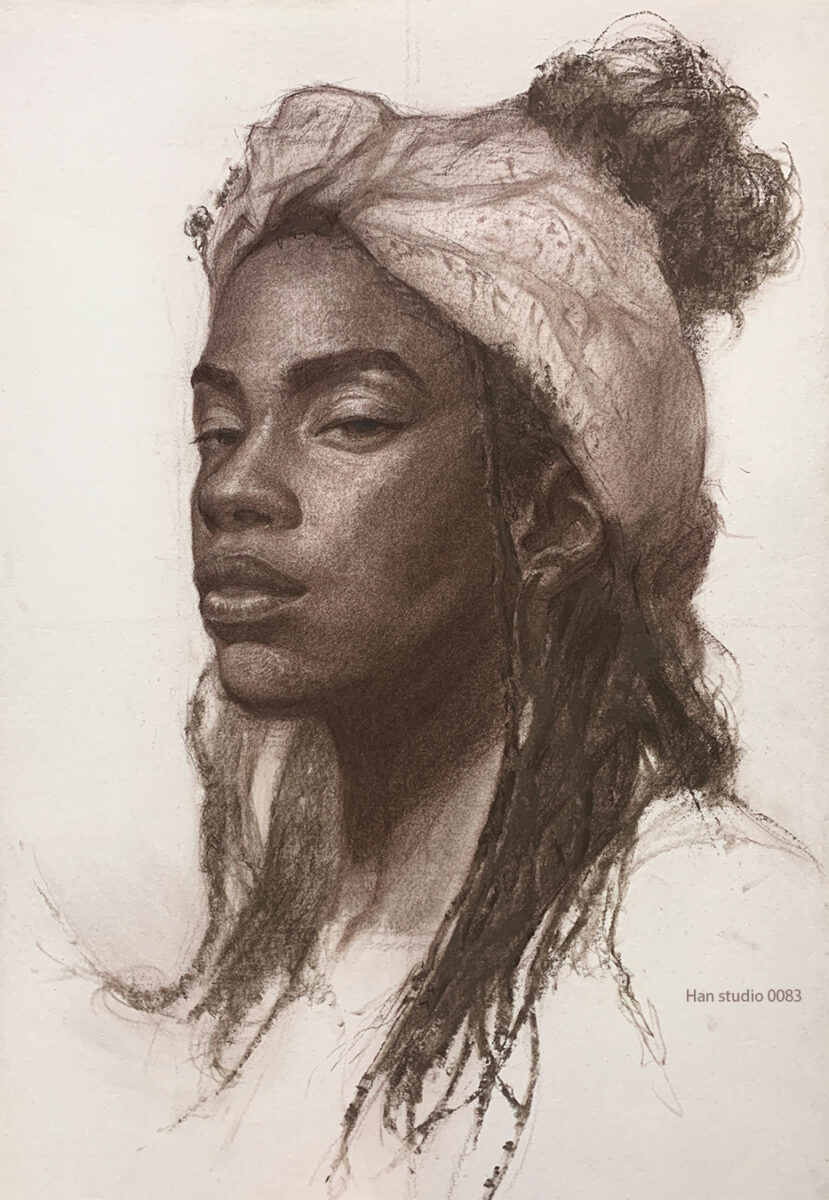
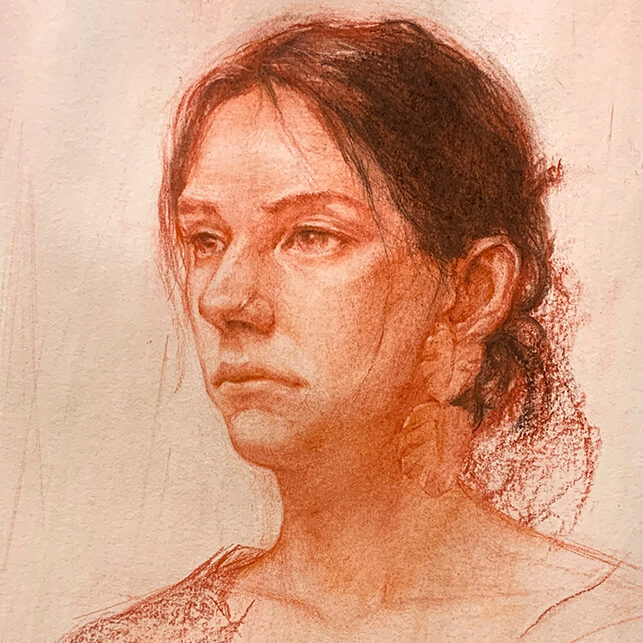
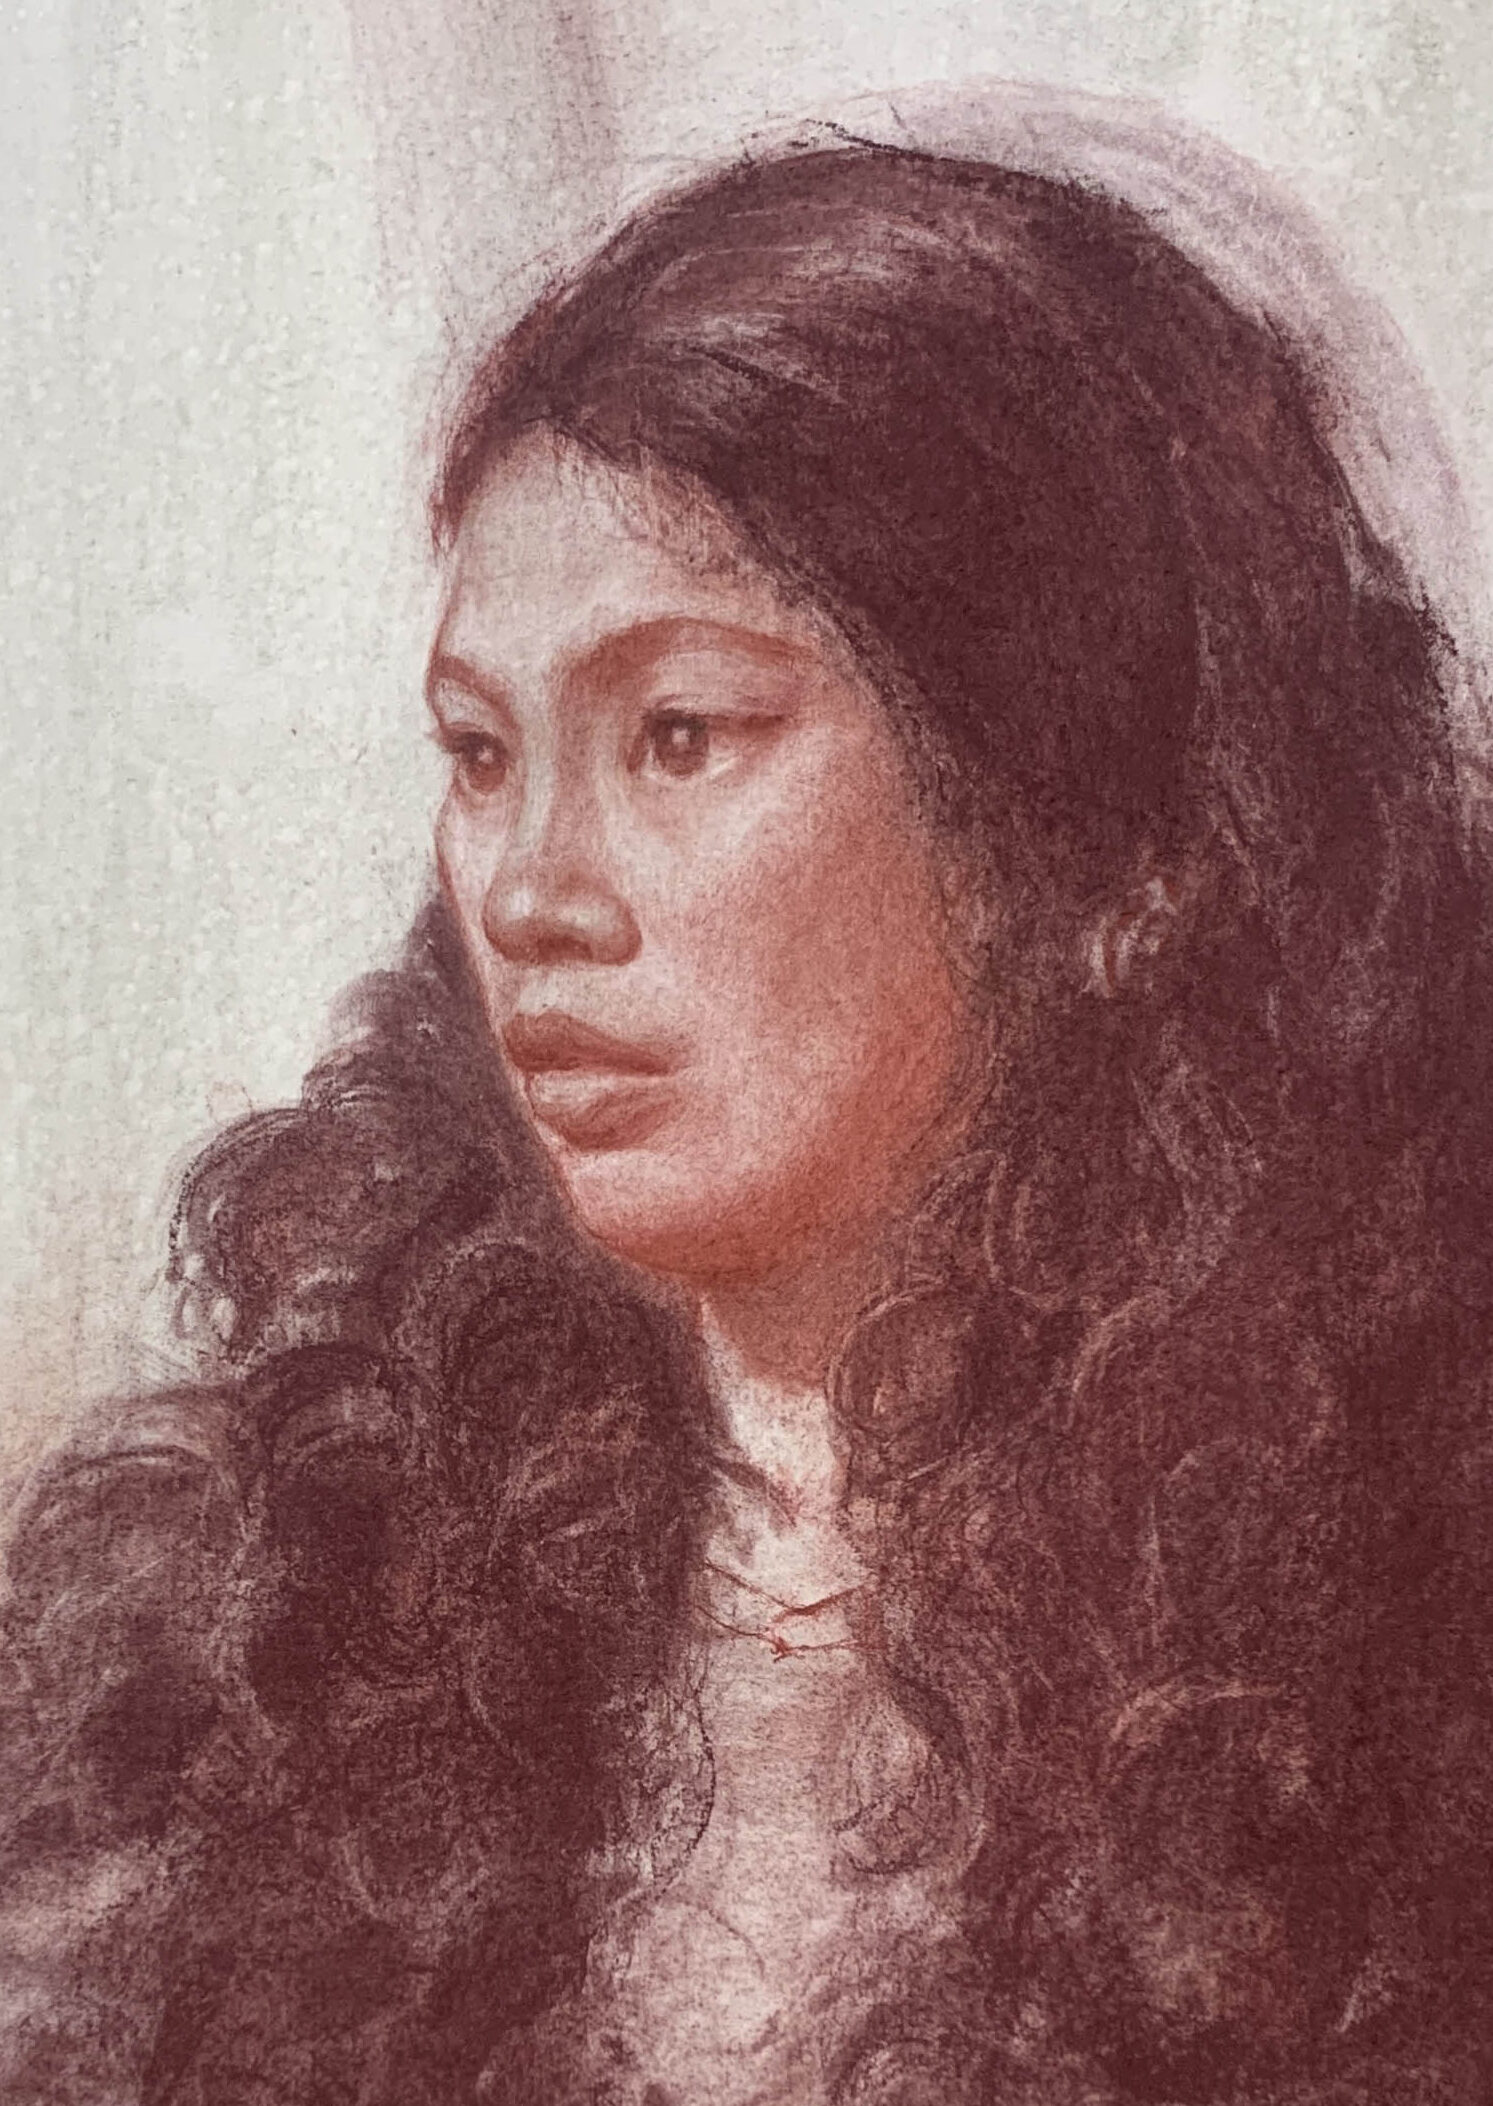
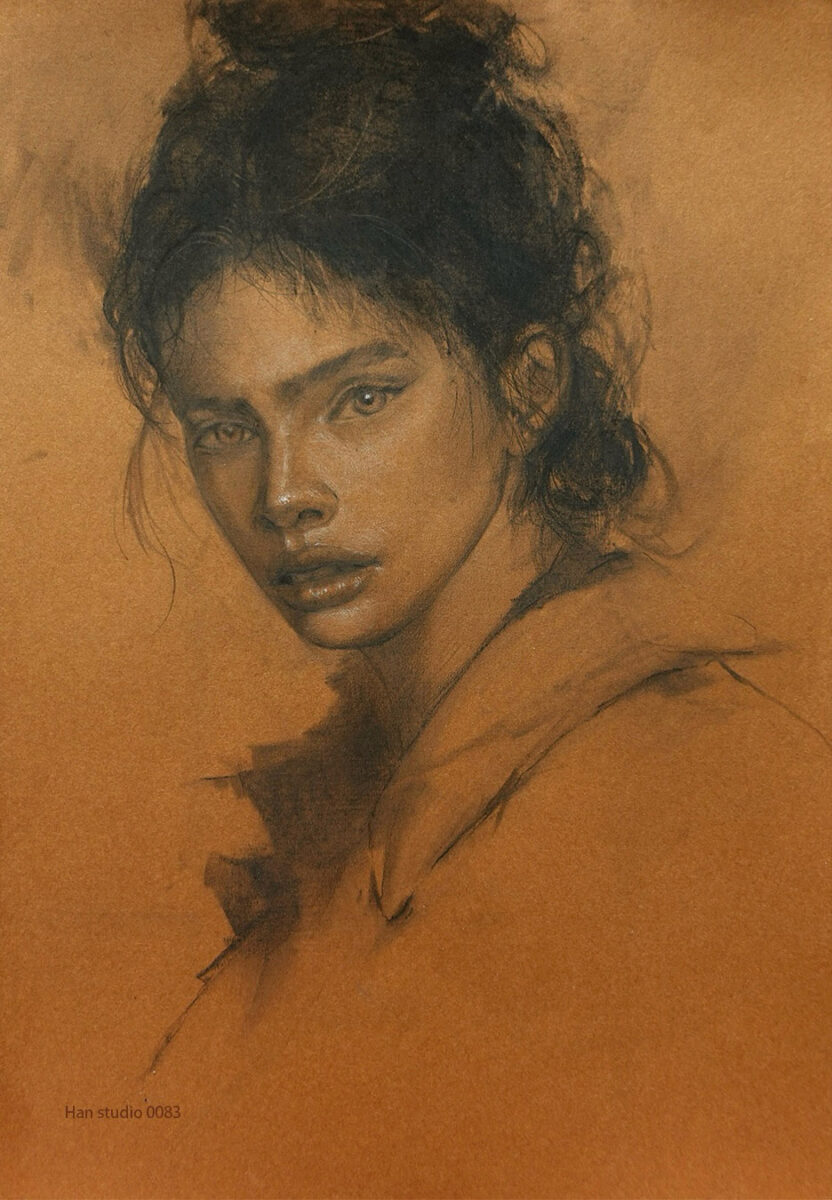
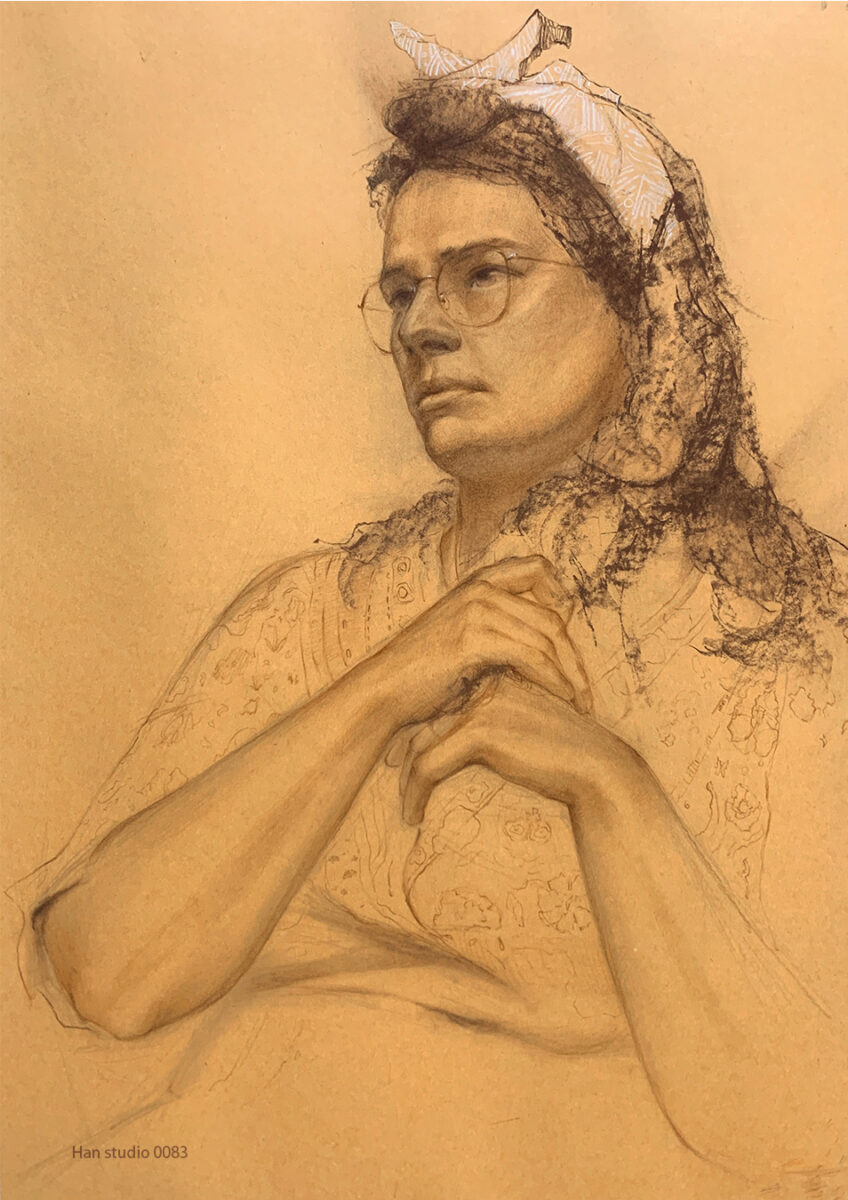
Using toned paper can help simplify the coloring process, allowing us to focus more on shadow structure and designing shape variations.
Extended Portrait Time-lapse Analysis
After establishing the proportions of facial features (timestamp 0:08), add shading to create depth by capturing the contours of the face.
This video uses Procreate for demonstration to enhance understanding. If you'd like to try it yourself, consider using the built-in charcoal brushes!
―――――――――――――――――
If you're interested in learning to draw but don't know where to start, or if you'd like to understand the knowledge behind drawing,
feel free to join my LINE and contact me. In my classes, I organize drawing methods in a clear and structured way.
Click here to learn more about my drawing courses!
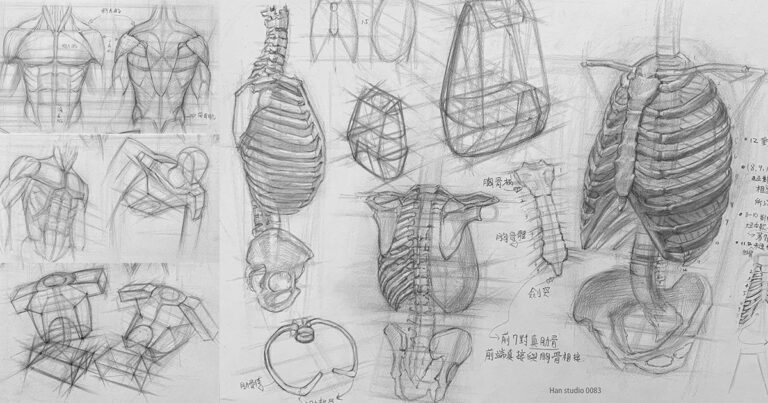
Want to learn how to draw human body parts and understand the key points? Check out the following further reading:
Human Skull Sketch: Learn Anatomy for Accurate Portraits
How to Draw Ears:Simplified Ear Structure and Shading Tips
How to Use Two-Tone Shading: Simple Shadow Techniques
How to Sketch Facial Muscles: Capture Realism and Expression
How to Accurately Master Hand Proportions and Joint Structure
Mastering Nose sketch Structure and Perspective Techniques
Mastering the basic proportions and structure of portrait drawing
Building Up from Simple Contours to Detailed Eye Portraits
Capturing Realism in Lip Drawing: Key Structures and Shading
I hope this structural introduction helps you understand and grasp the key points about the head. If there are any topics or drawing techniques you'd like to explore, feel free to leave a comment or message me. Happy drawing!
Leave a Reply