- log in (to a computer)
- Register
In the process of learning portrait painting, the ear is often overlooked or even skipped.
In fact, although the structure of the ear is not as expressive as the five senses, it has a clear three-dimensional structure.
Learning to observe and dismantle the ear will not only complete your portrait, but will also help you master the accuracy of head tilt and turn.
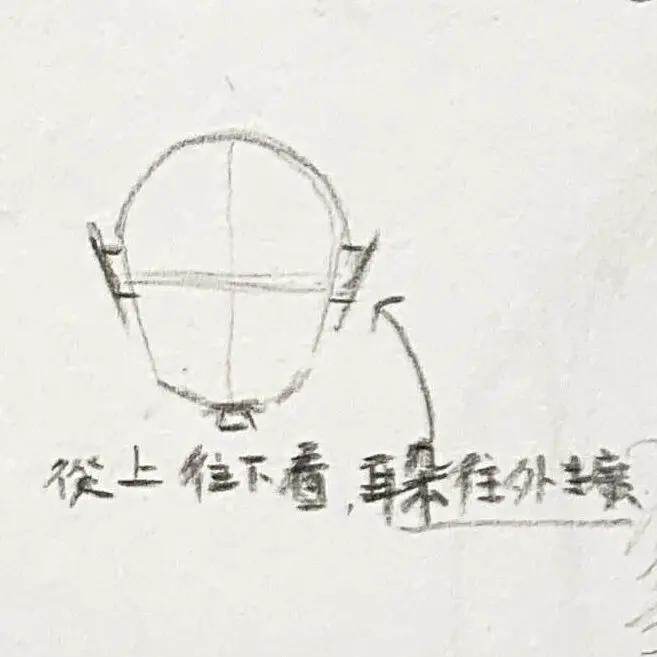
The ear is not randomly attached to the side of the head, it has a general reference point (the position is more or less different from person to person):
| Benchmarking | Description |
|---|---|
| upper bound | Approximately flush with the upper edge of the eyebrow or corner of the eye |
| lower bound | Approximately flush with the wing or base of the nose |
| Front and Rear Position | The ears are not attached to the face, but are embedded in the concave surface of the temporal bone and are slightly tilted back about 15° to 20°. |
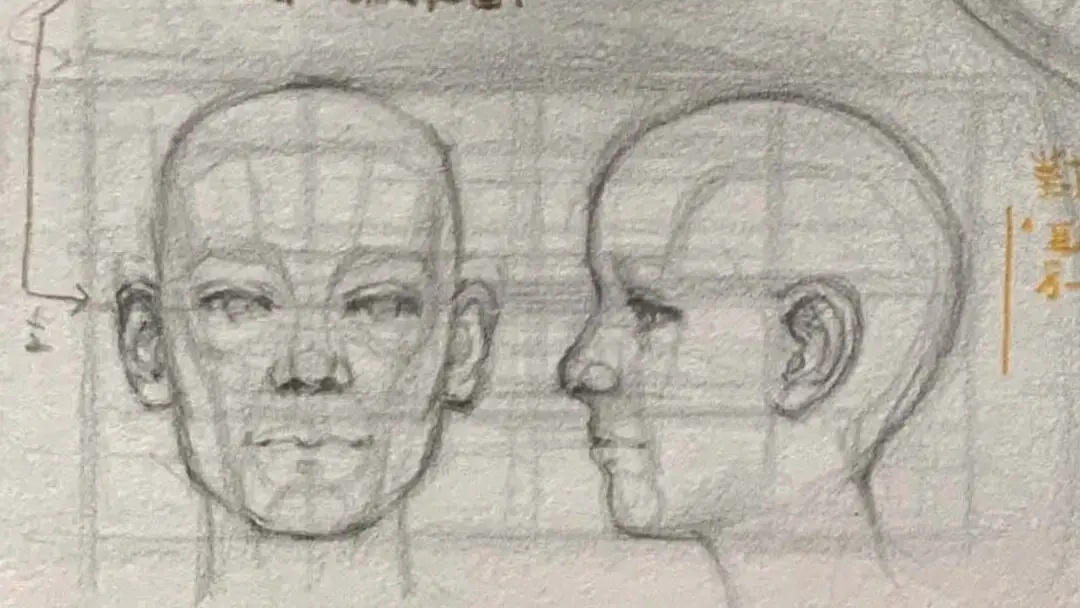
📍 Key Observations
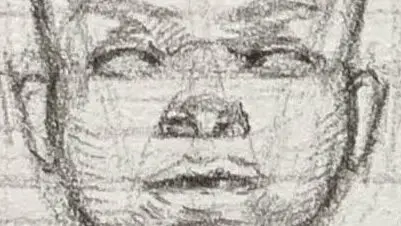
In the frontal plane, the ears are positioned in front of and behind the chin, which corresponds to the "posterior turning point of the lower jaw", which is an important line for the head space to turn.
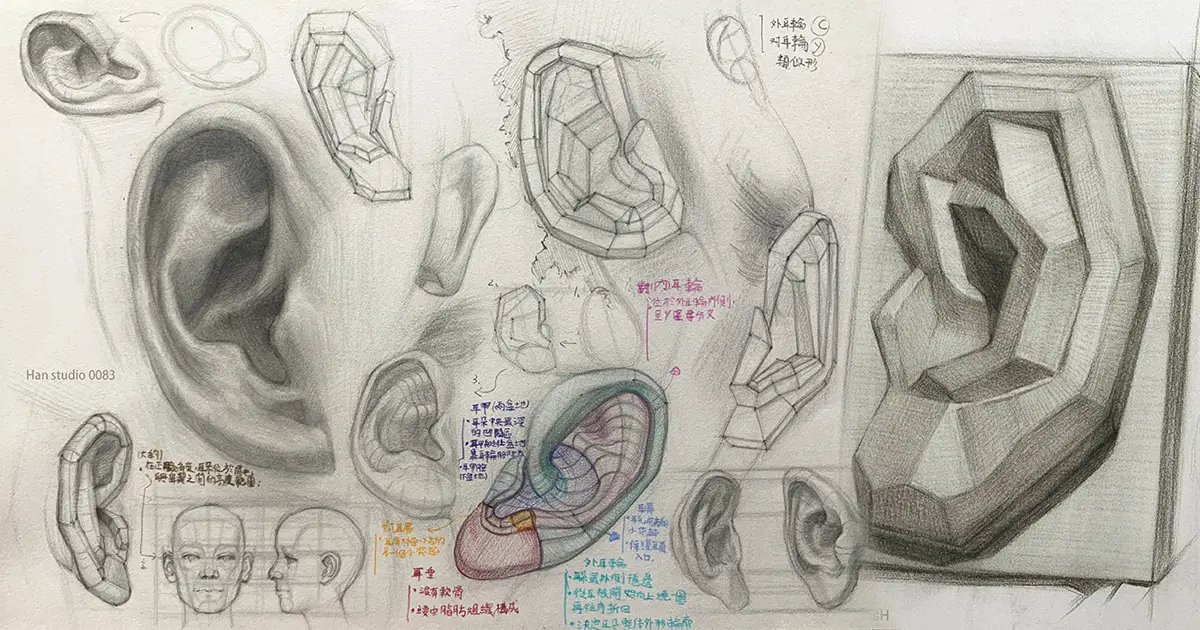
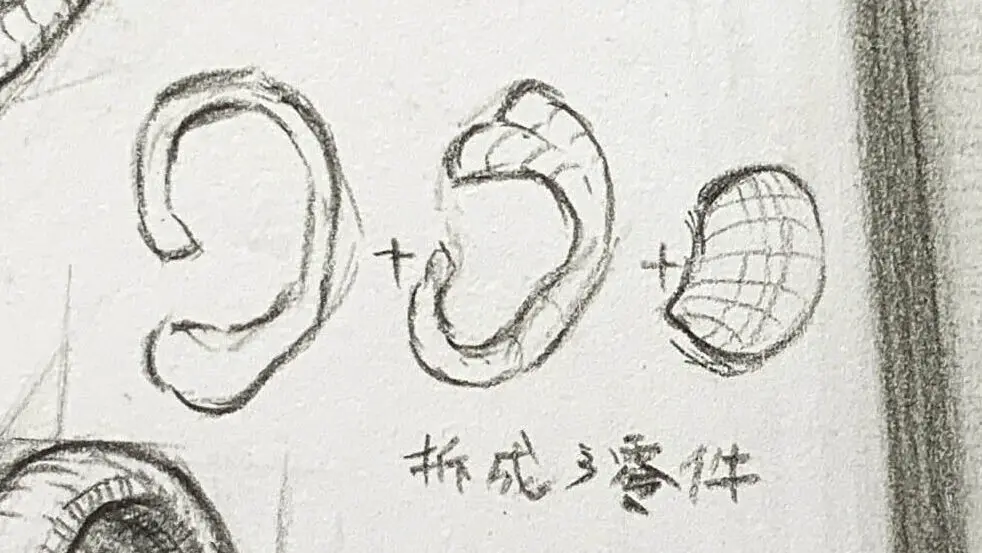
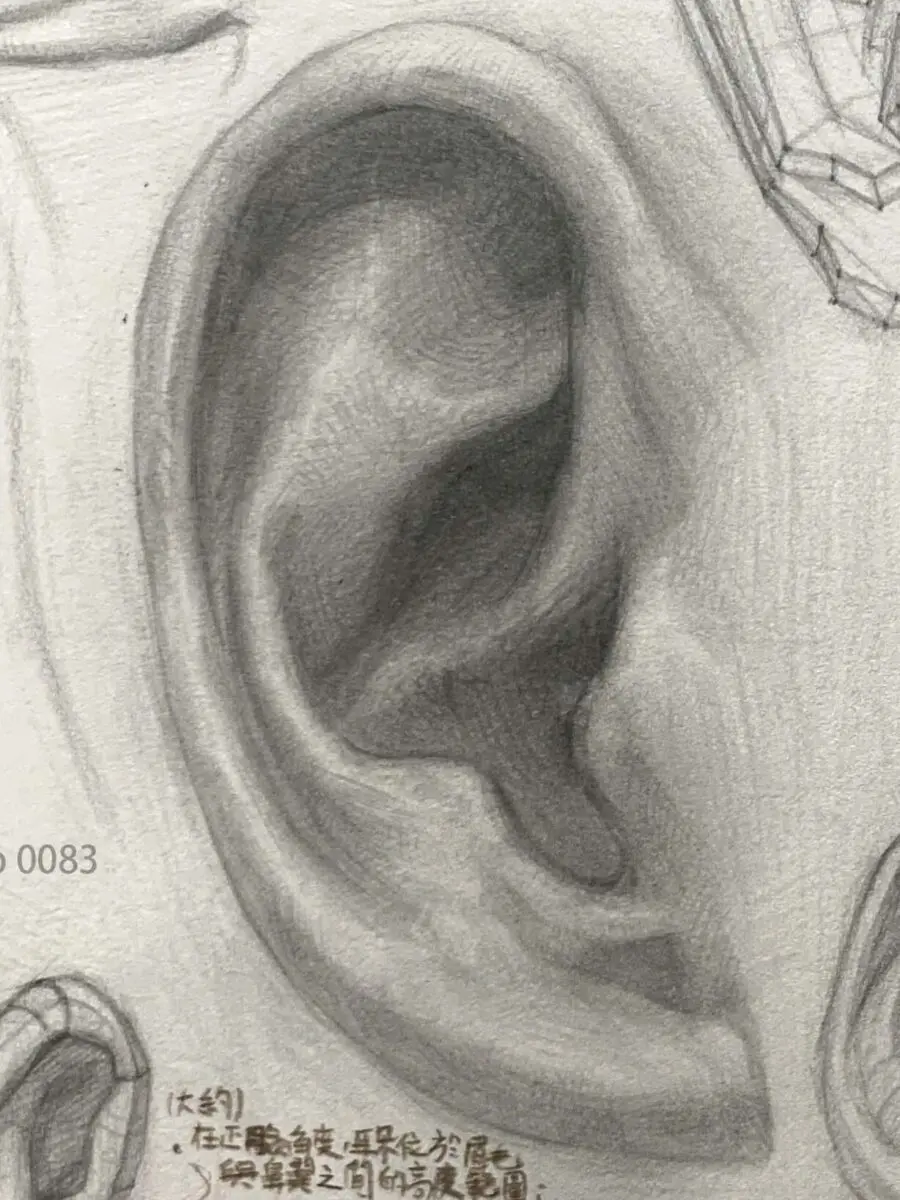
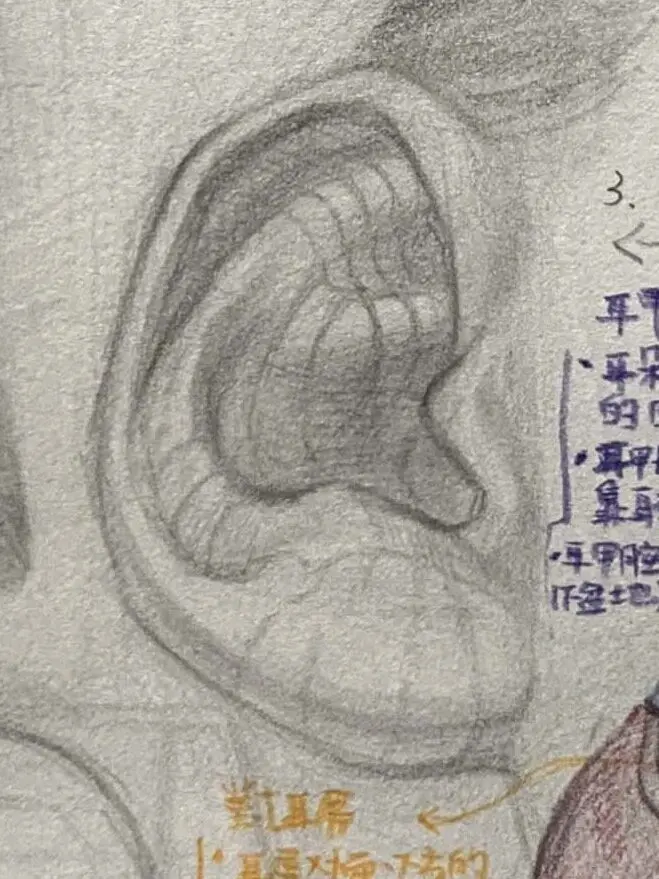
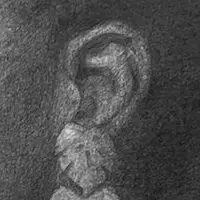
Below I have broken down the ear into three parts to help us recognize the characteristics of the shape.
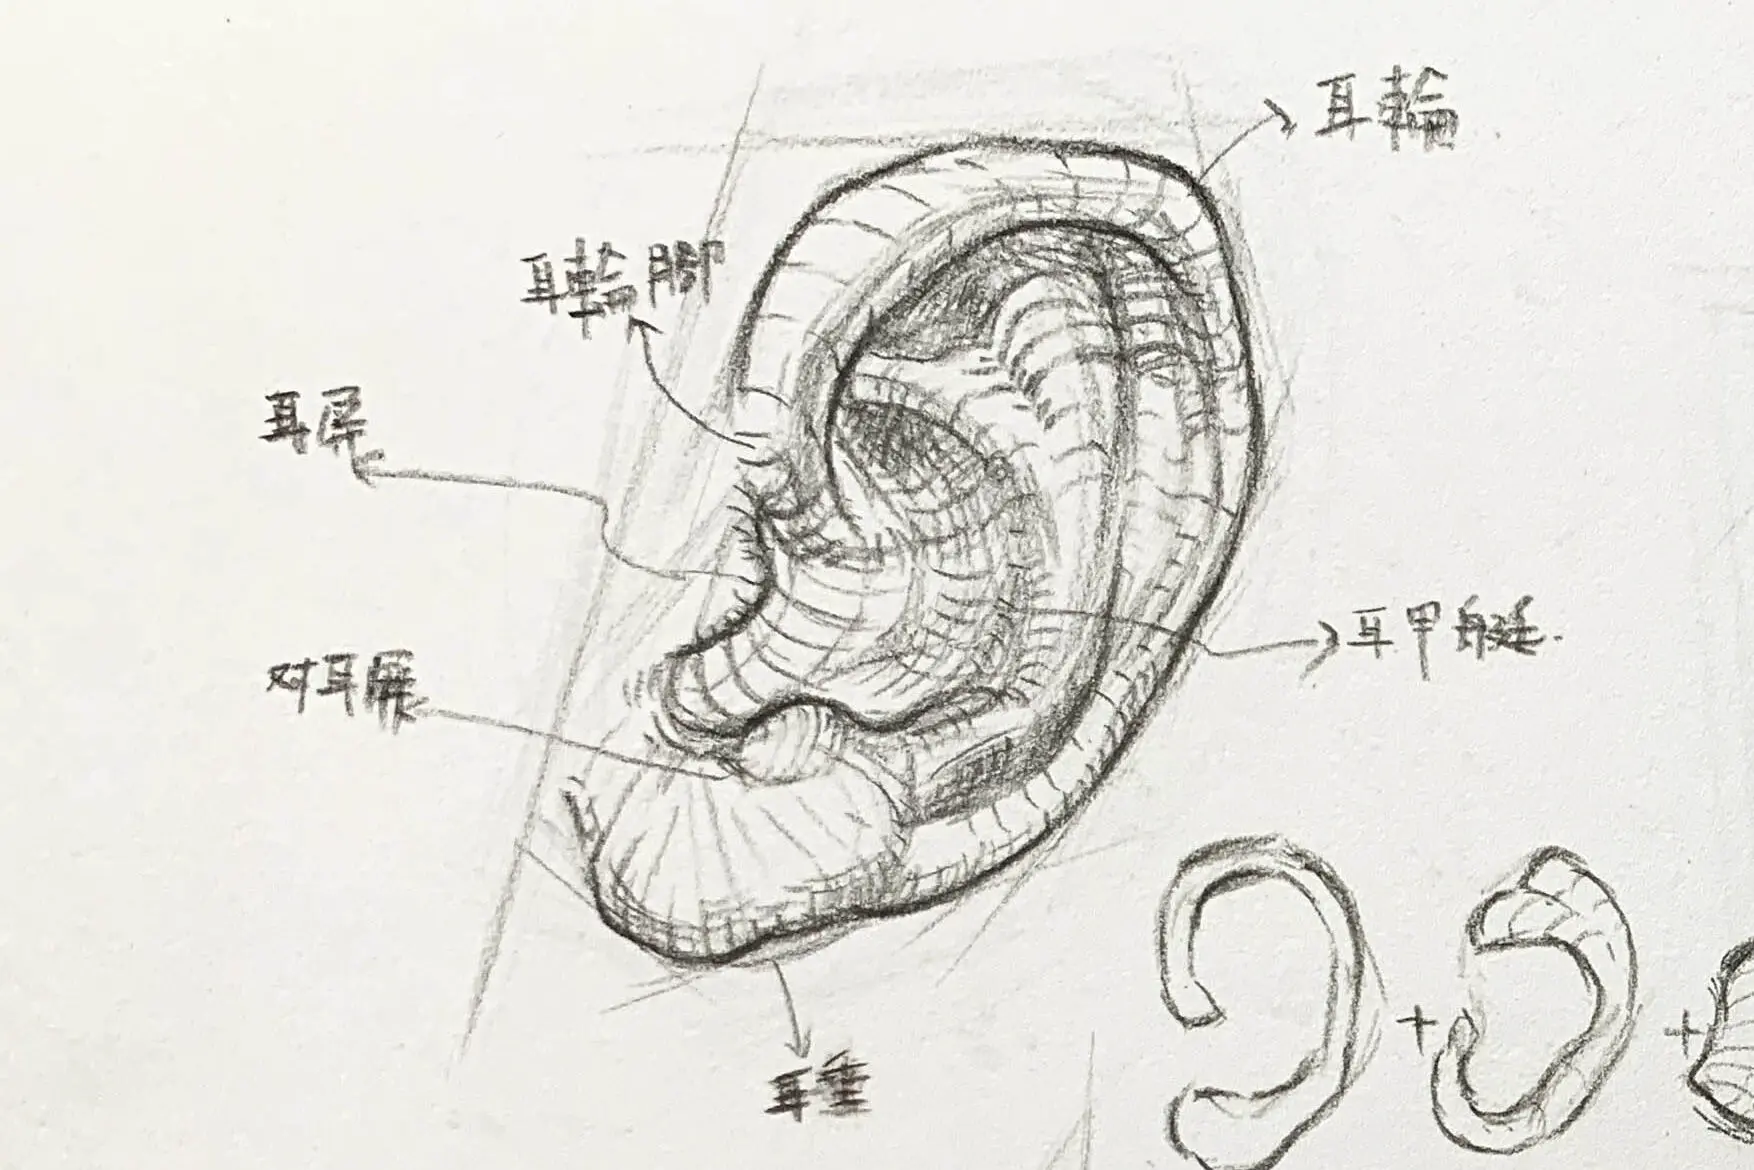
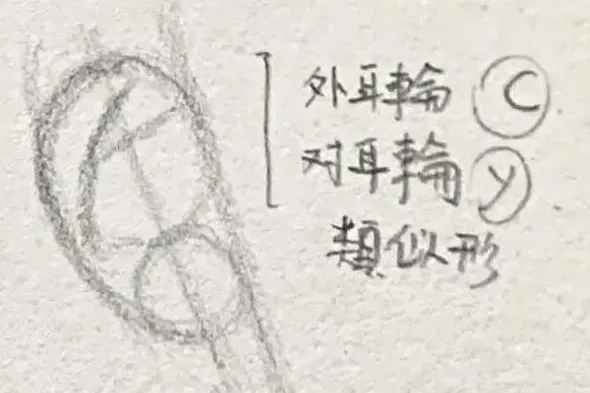
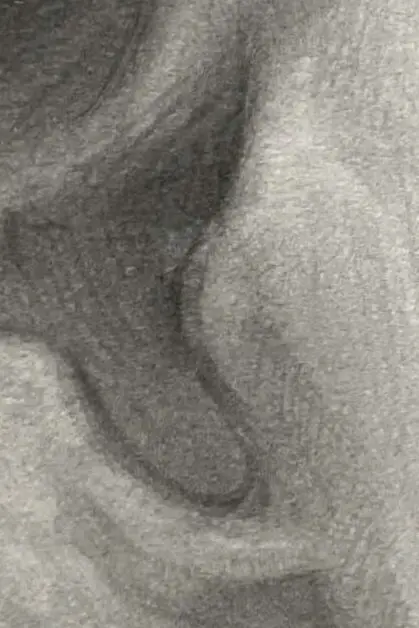
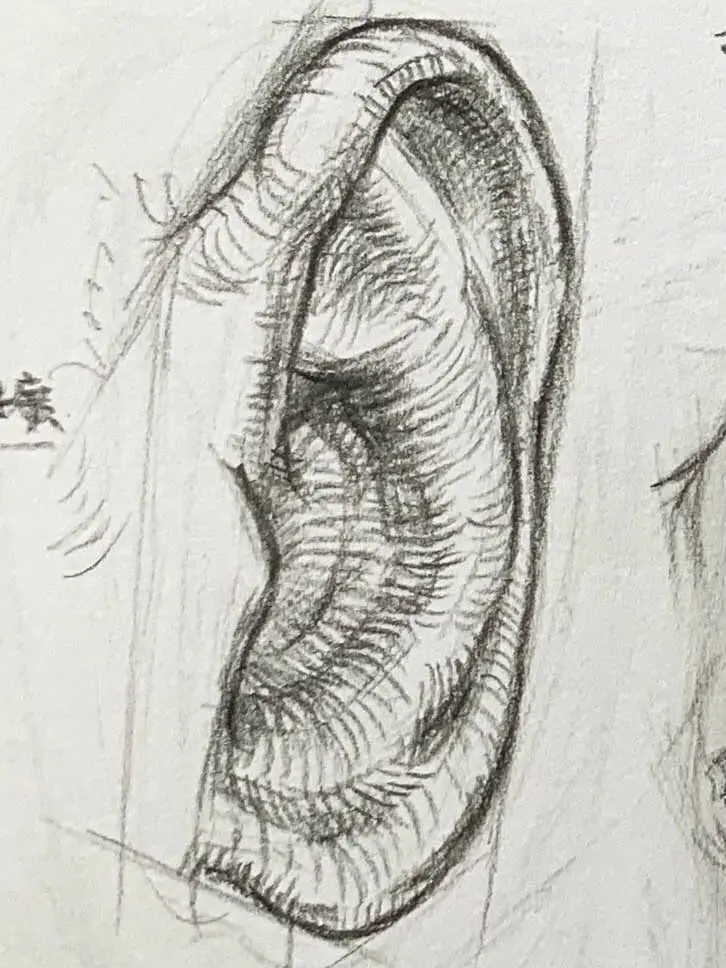
Our ears, also called auricles, are made up of.
The most prominent part of the outer ring of the ear, which curves around the entire ear.
The earwheel is the outer contour line, you need to pay attention to its curvature changes, and because of the changes in the shadow generated by the turn.

The corresponding elevated portion of the inner earwheel, similar in shape to a Y, usually divides into upper and lower branches that support the structure of the ear.
placement:
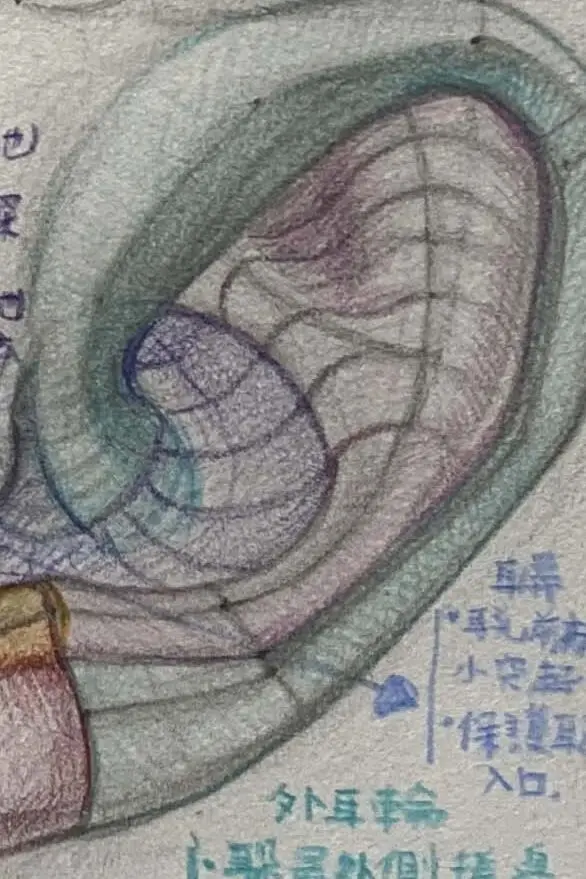
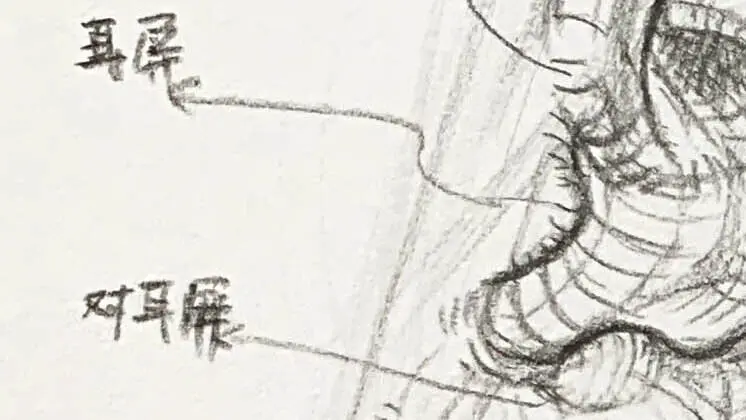
The ear screen is located in front of the ear hole (external auditory canal), close to the side of the cheek. It is a small protrusion in front of the ear canal that protects the ear canal.
From the side, it's just right.Cover the earhole entrancePart of the.
shape:
A small Triangular or semilunar cartilaginous processes,
Slightly thicker leading edge, rounded outer edges, top edge withFor Ear Screens A small curved depression is formed, which is called the Cutting in the screen
placement:
在 ear screen 的 Opposite, slightly below,
It is located above the earlobe, on the lateral edge of the auricular cavity.
shape:
One.Small oval or triangular cartilaginous projections,
It is slightly tilted forward and upward, forming a "V-shaped notch" with the ear screen.
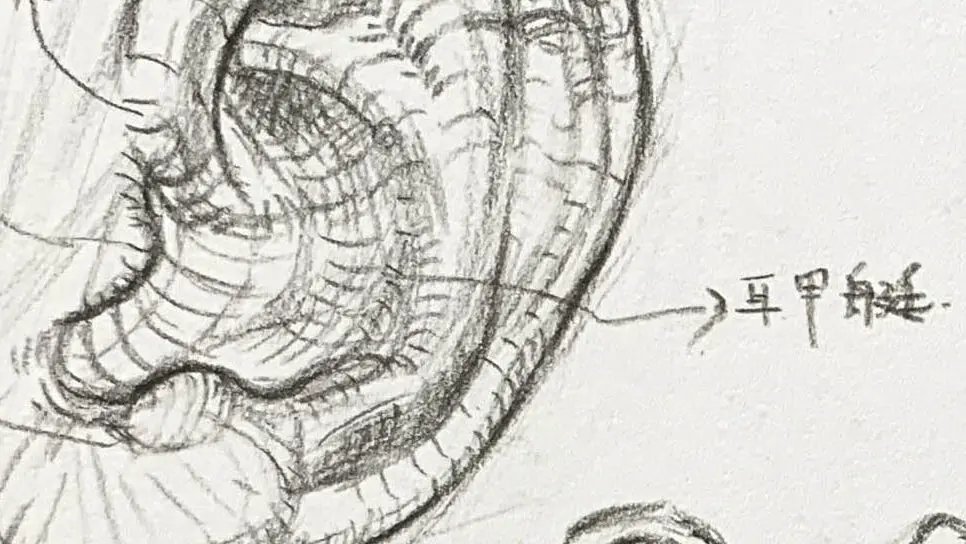
Function.
The concave part of the inner ear, between the earwheel and the opposite earwheel, which helps to guide sound into the ear canal. It is similar to the shape of a ground satellite, the bowl.
placement: The lowermost part of the ear, below the opposite ear screen.
Organization:
Attachment: with the head attached to theforefront of the chinIt is the junction of the earwheel and the skin on the side of the neck.
| angle of vision | Characteristics and presentation |
|---|---|
| positively | Earlobes fit almost underneath the sides of the face; glossy and soft. |
| side | It has a semi-oval droop with smooth edges. It forms a soft arc with the line of the chin. |
| three-quarter angle | The earlobes have a "light oval" shape, which is the natural conclusion of the earwheel. |

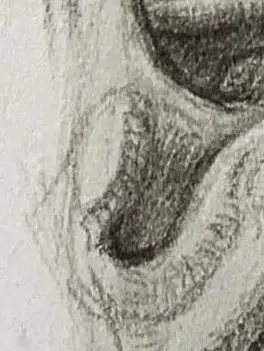
The soft part at the bottom of the ear, without cartilage, is usually rounded.
The thickness and shape of earlobes vary from person to person.

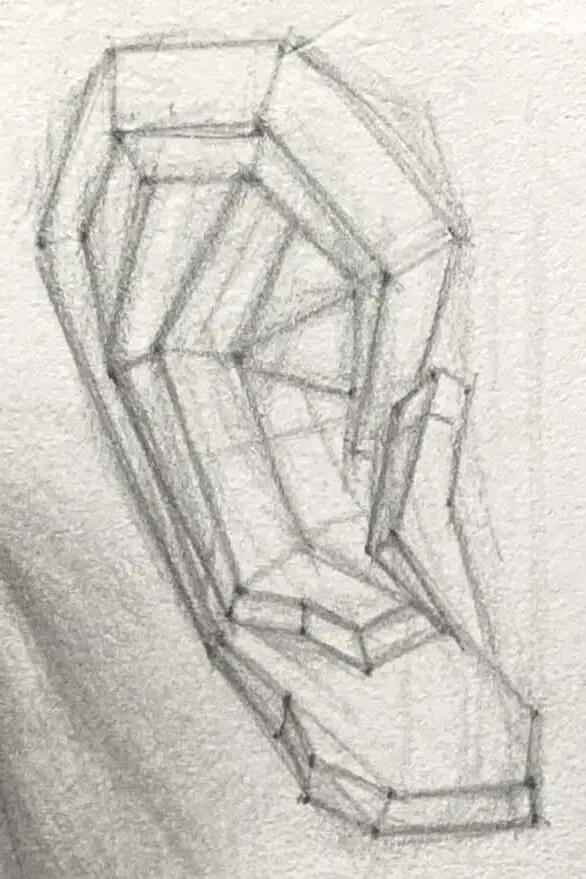
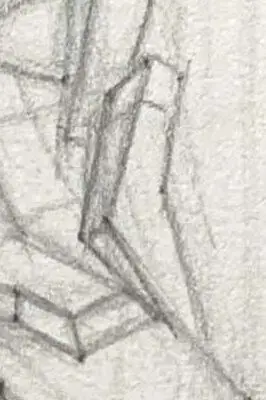
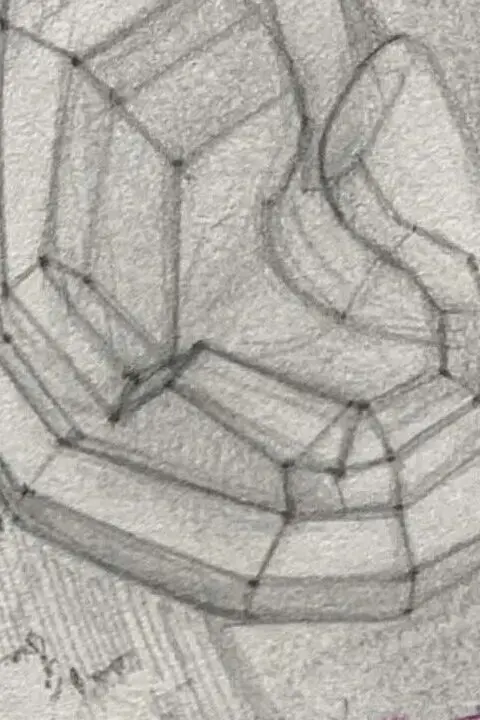
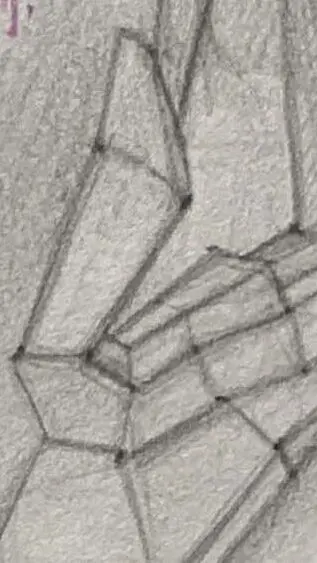
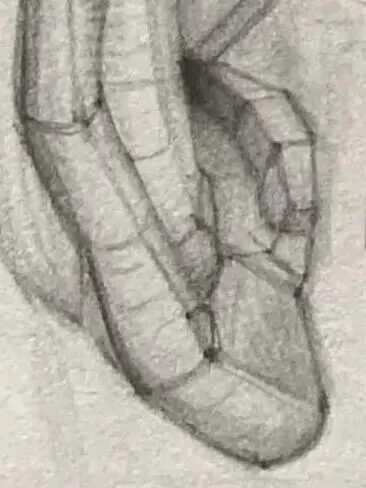
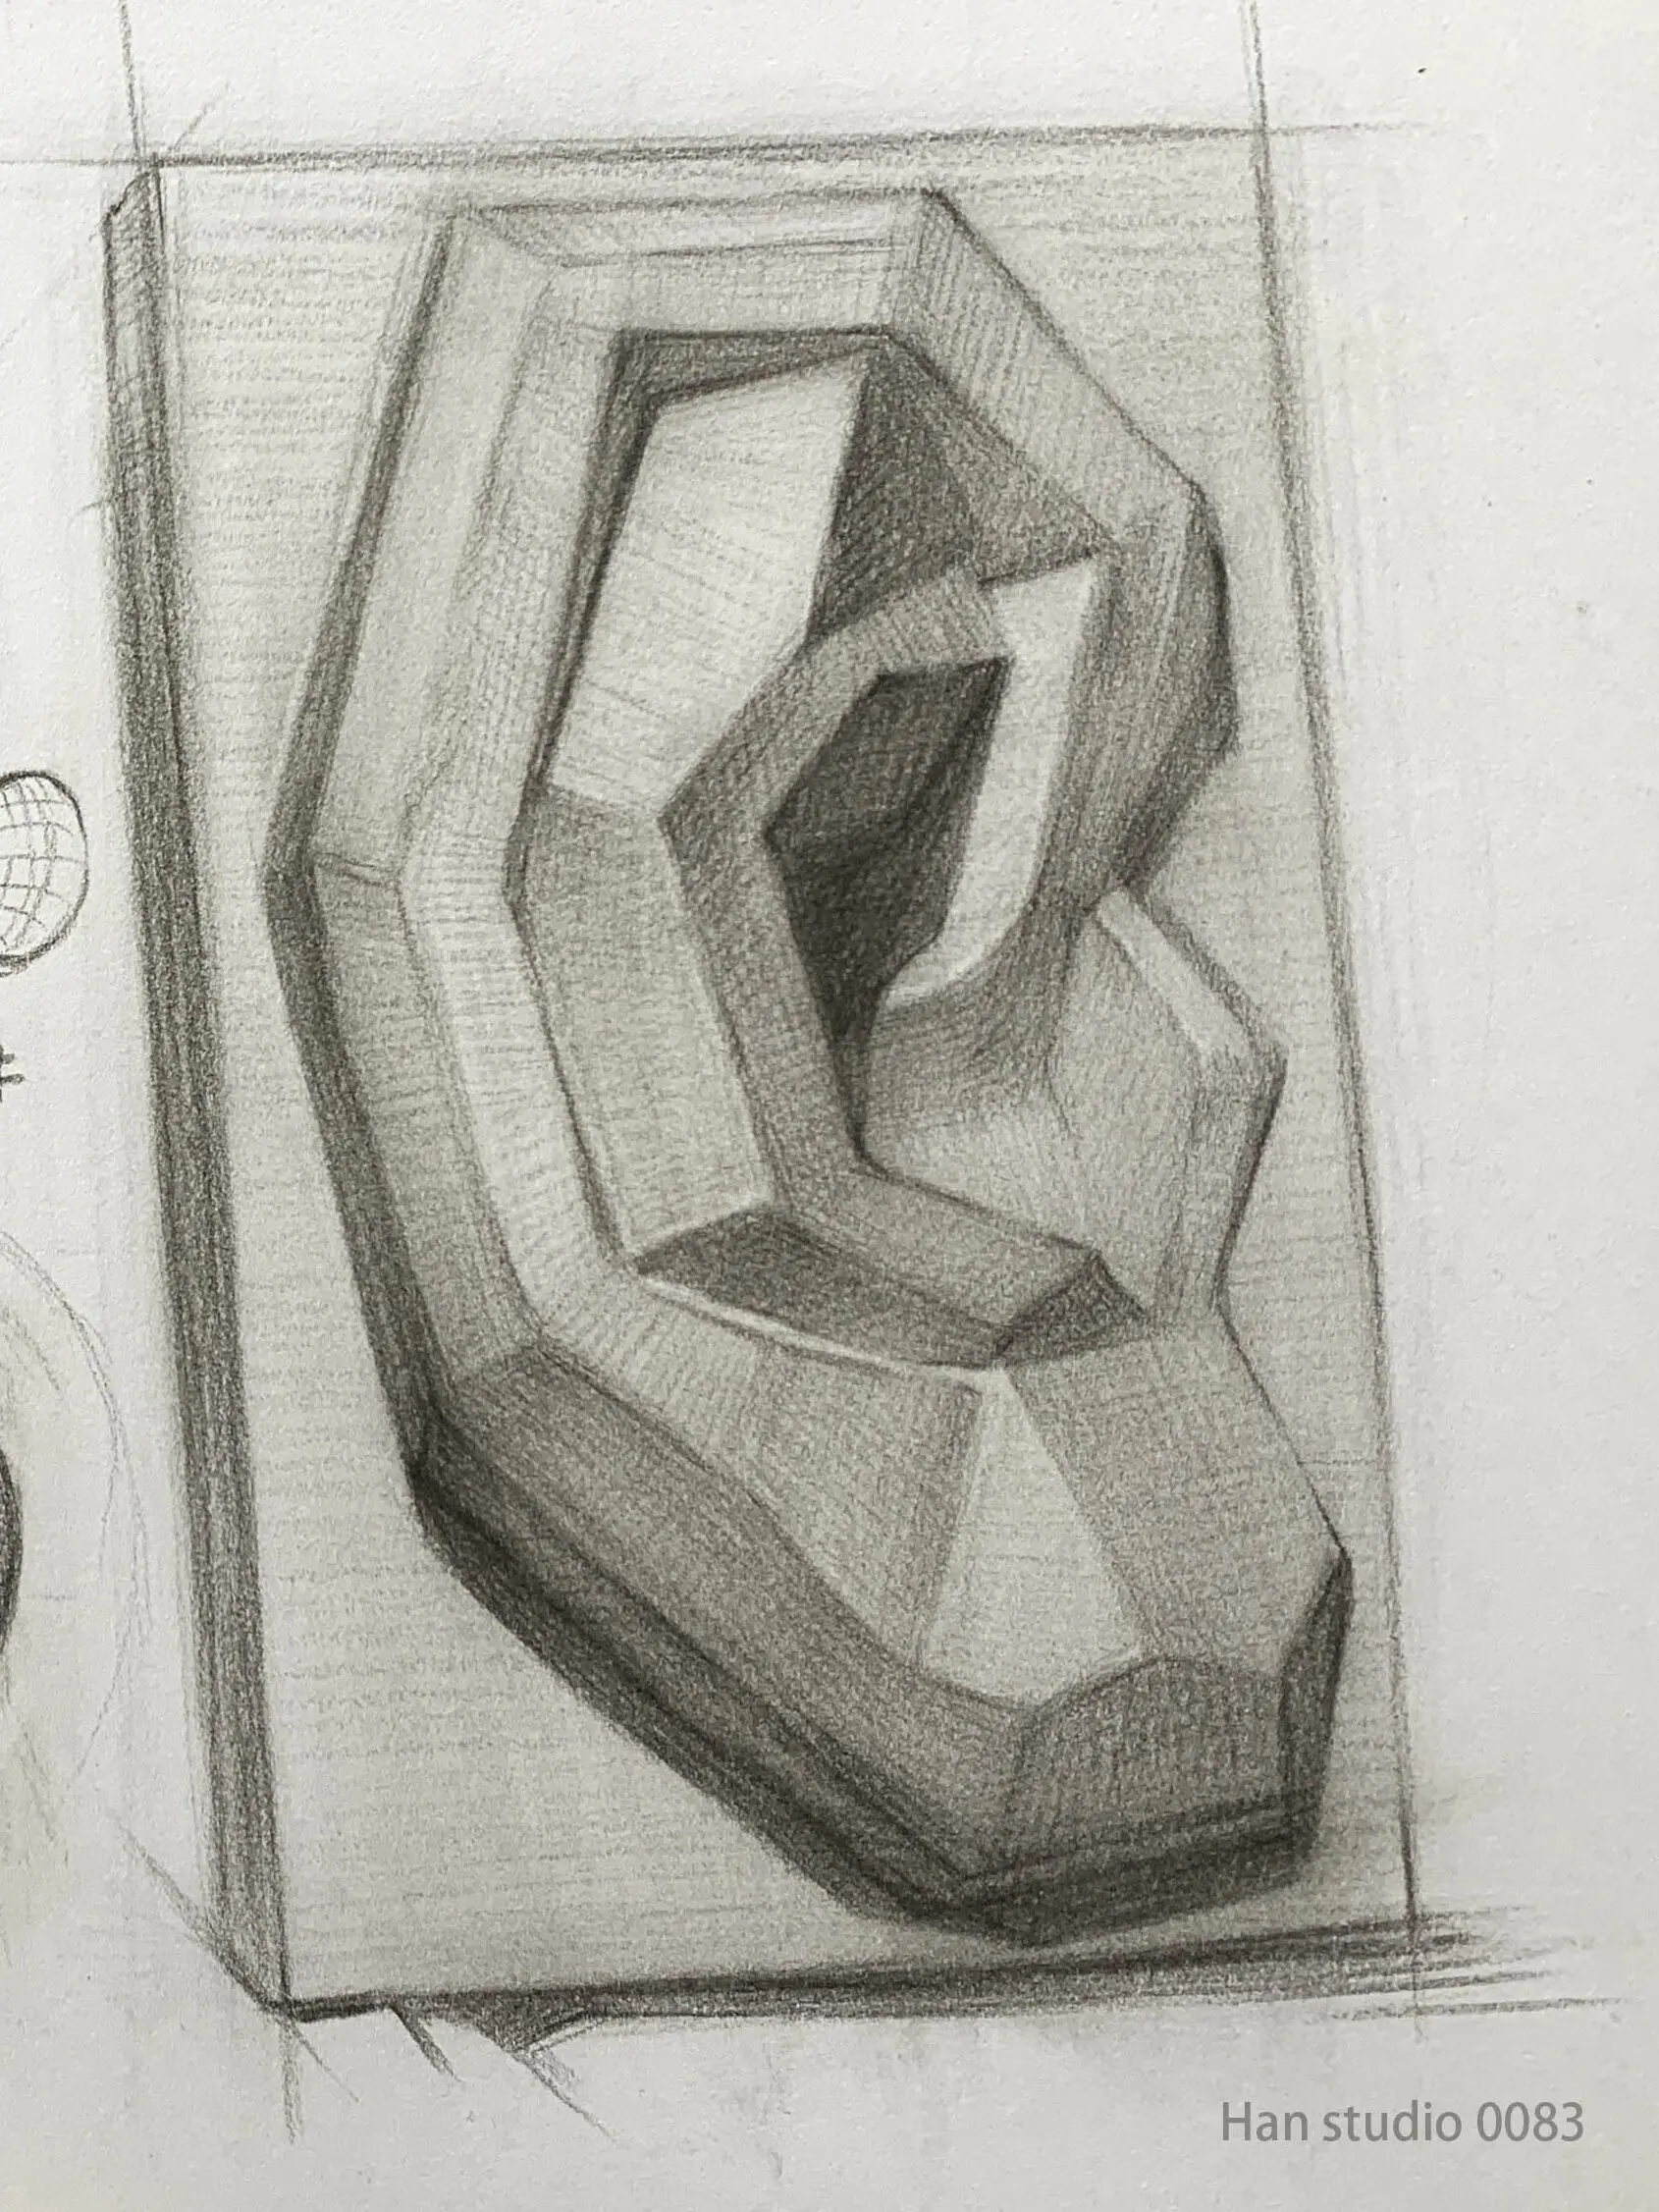
The rightmost ear corner plaster provides simplified curved back corner surfaces to help us can understand the change in area of the part.
Therefore, it is recommended that before drawing the actual figure's ear, you can observe it from the corner gesso as a starting point.
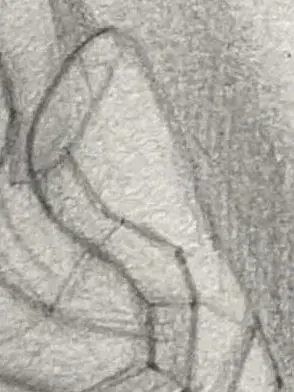
Start by sketching the general shape of the ear using simple geometric shapes such as circles and ovals, and draw the position and features of the earwheel, the opposite earwheel, the ear screen, and the earlobe.
You can also use rectangles to help you draw different angles, and you can reduce the ears to geometric shapes, so we can use rectangles to help us draw different angles of the ears.
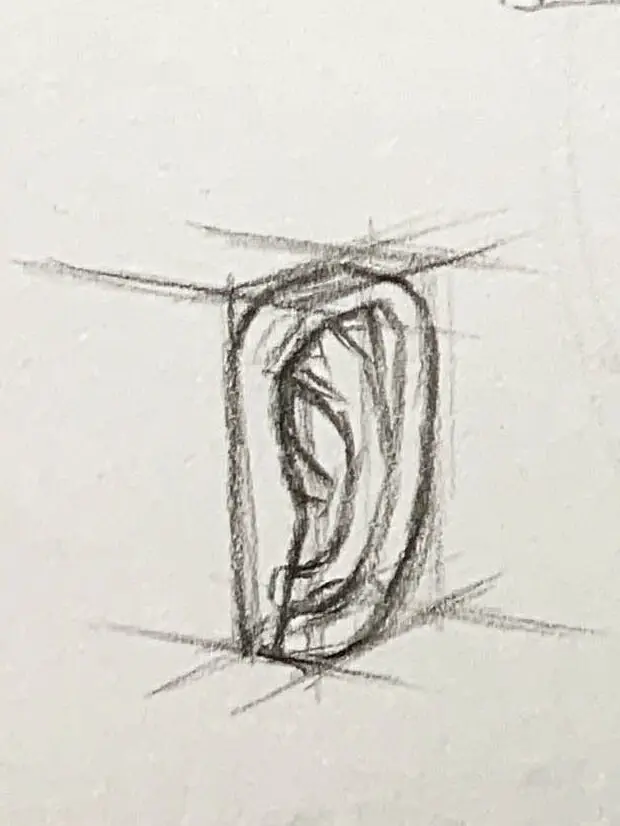
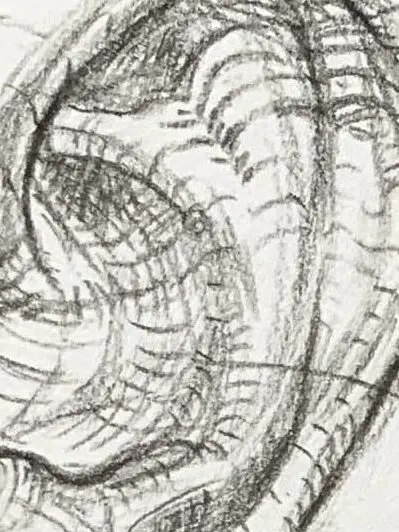
After drawing the contours, you can add the structural lines of the ears, noting the changes in elevation created by the undulations between the earwheel and the opposite earwheel.
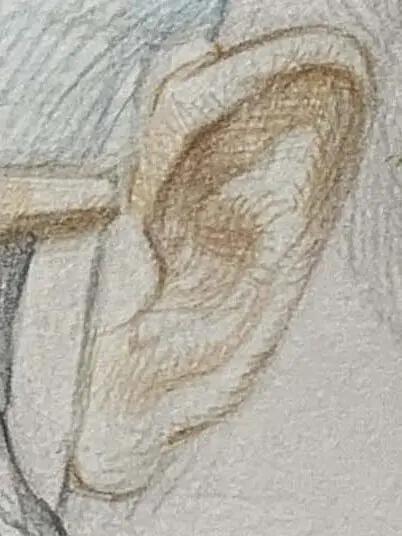
Use shading to enhance the concavity and convexity of the ear, especially at the junction of the earwheel, the opposite earwheel and the shape of the ear screen.
Observe the changes brought about by the small area of shadow.

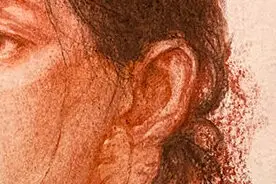
positively: With only a small portion of the ear exposed, the earwheel becomes the most visible contour line.
side: The ears are fully exposed, which is the best angle for learning the structure.
Semi-sloping 45 degrees: The ears will be slightly compressed, but the direction of the earwheel and the bead of the ear will still be recognizable.
Elevation and pitch angles: The ears are clearly misaligned due to the tilt of the head, and the key to determining this is to observe the direction of the intersection of the earwheel and the opposite earwheel.
I hope this introduction can help you understand the structure of the ear, if there are any subjects you would like to see or painting methods you would like to know, please feel free to leave a message or private message me, I wish you a happy painting!
If you want to learn to draw, but don't know how to start, or are interested in understanding what drawing is all about.
Welcome to join line Contact meIn my classroom, I organize the way I learn to draw in a clear and organized way.
Click here to learn more about the Painting Program
Introduction to Arm Painting: Detailed Analysis of Skeletal Simplification and Movement Mechanisms
How to Use Two-Tone Shading: Simple Shadow Techniques
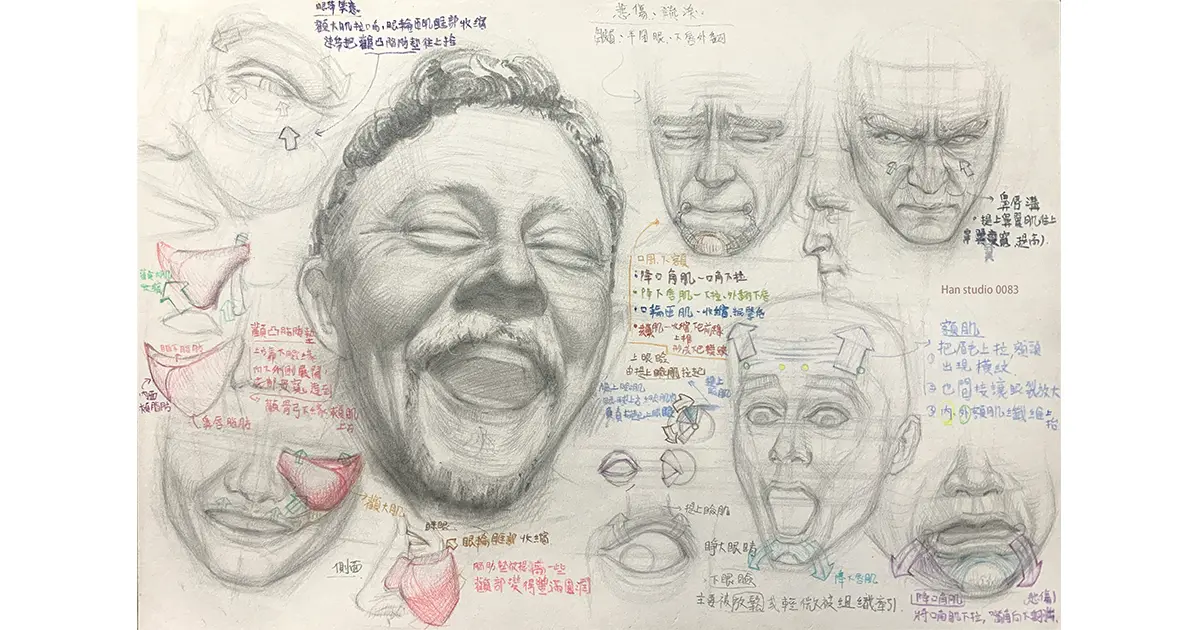
Facial Muscle Structure Analysis: Enhancing the Stereoscopic Sense of Figure Sketching
How to Draw Japanese Masks: Practical Techniques for Simplifying Shape and Proportional Perspective
How to accurately grasp the proportions of the hand and sketch the structure of the joints.
From Simple Contours to Detail: Mastering the Sketching of Eyes
Capturing Realism in Lip Drawing: Key Structures and Shading
Portrait Sketching Tips: Three Keys to Understanding Head Structure
Mastering the basic proportions and structure of portrait drawing