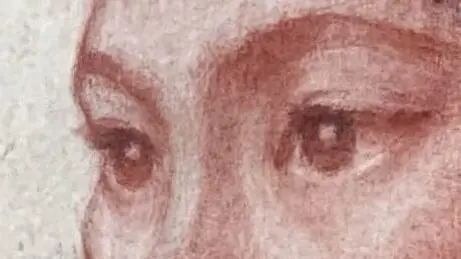
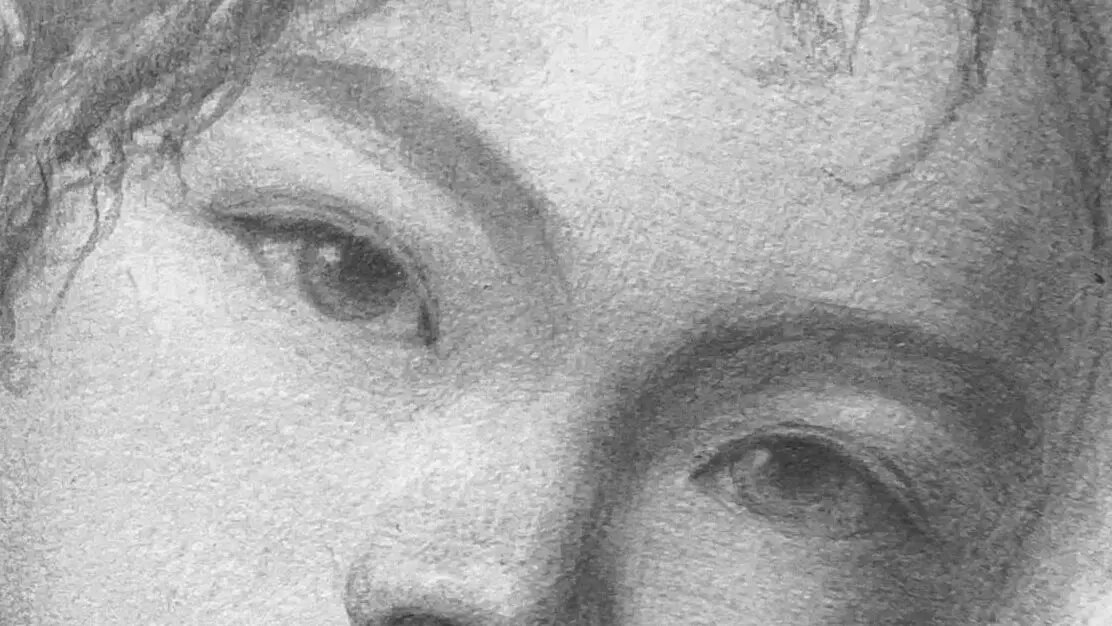
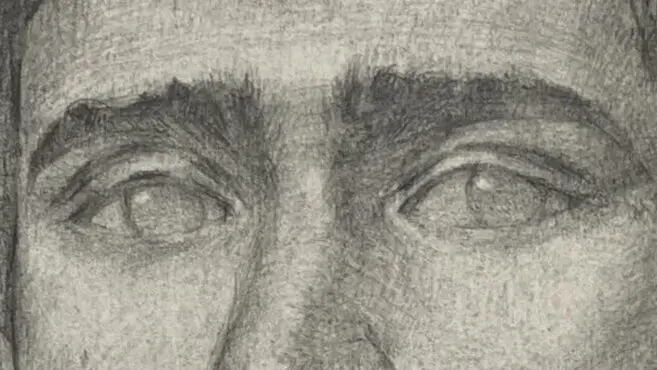
Eyes are one of the focal points that attract attention in portraits.
Many beginners are accustomed to painting the eyes directly as "round almonds", but neglect the thickness of the eyelids, the corner of the eye transition and changes in light and shadow, resulting in fewer changes in the eyes and less sense of three-dimensionality. If you want to draw a vivid eye, it is recommended to understand its structural level first.
The position and proportion of the eyes in the face
five-eye proportion (in astrology):
The front of the face can be roughly divided into five equal parts, one for each eye, with the distance between the eyes being about the width of one eye.
Relationship to other parts of the face:
The eyes are located in the area just above the horizontal line in the center of the head, with the brow bone supporting the upper edge of the bone and the cheekbones providing a three-dimensional turn underneath.
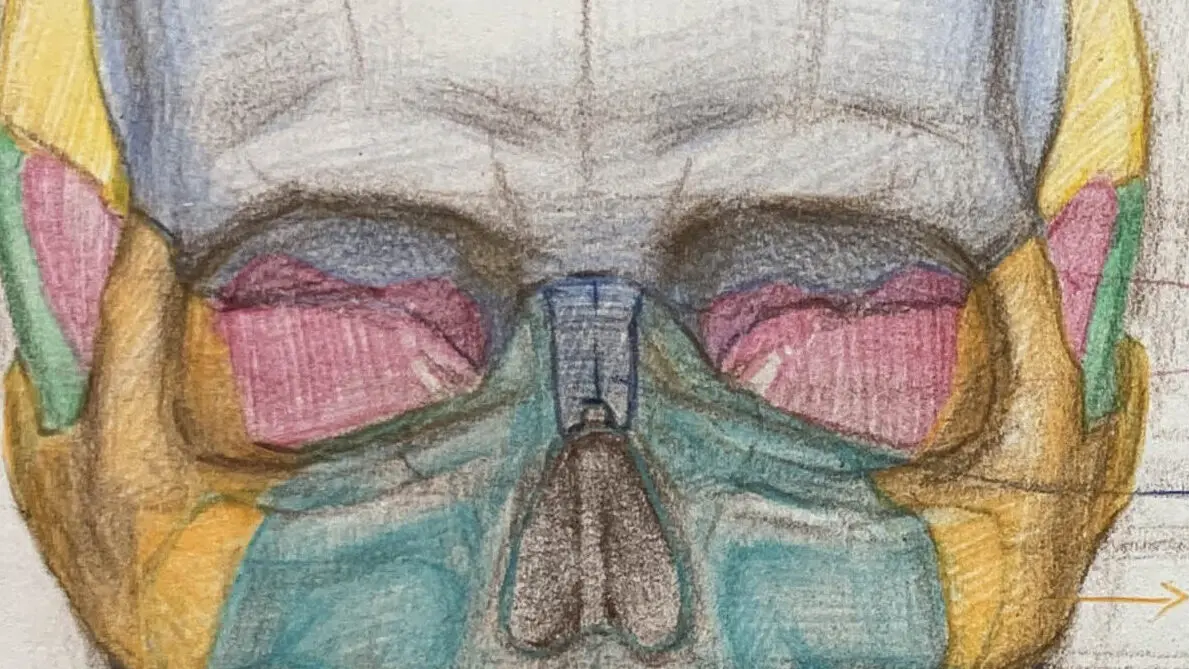
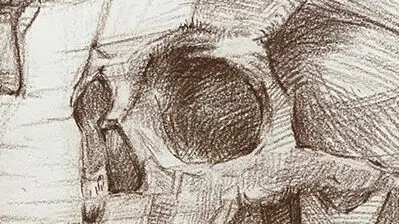
Orbital cavity:
Understanding the orbital position of the skeletal depression is key to establishing the perspective angle of the eye.
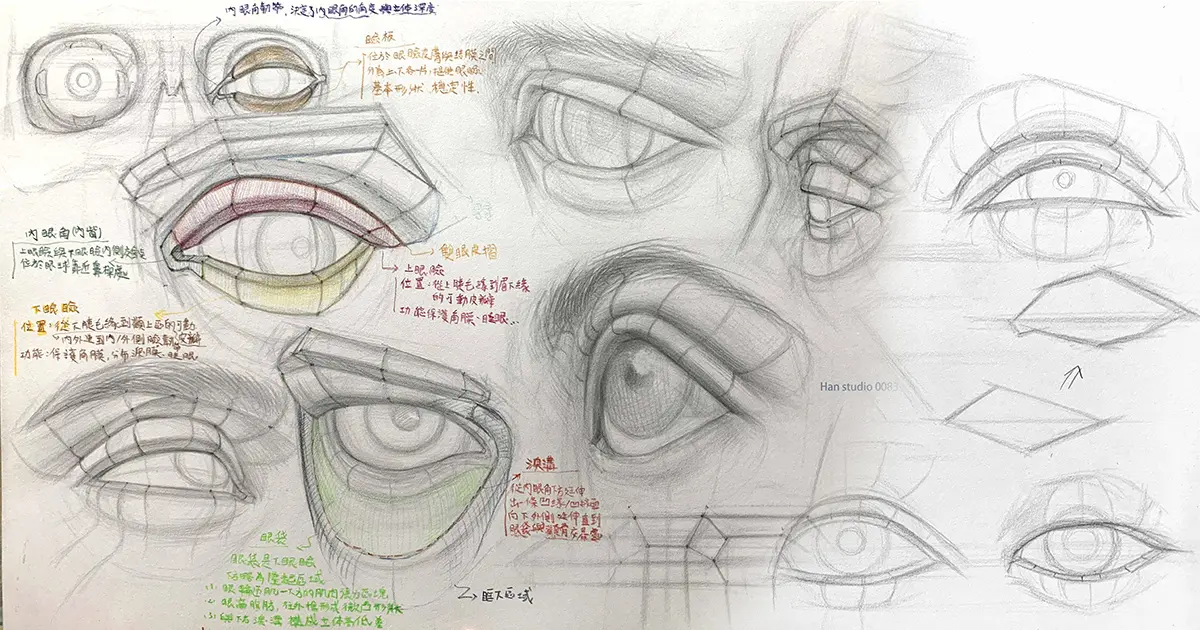
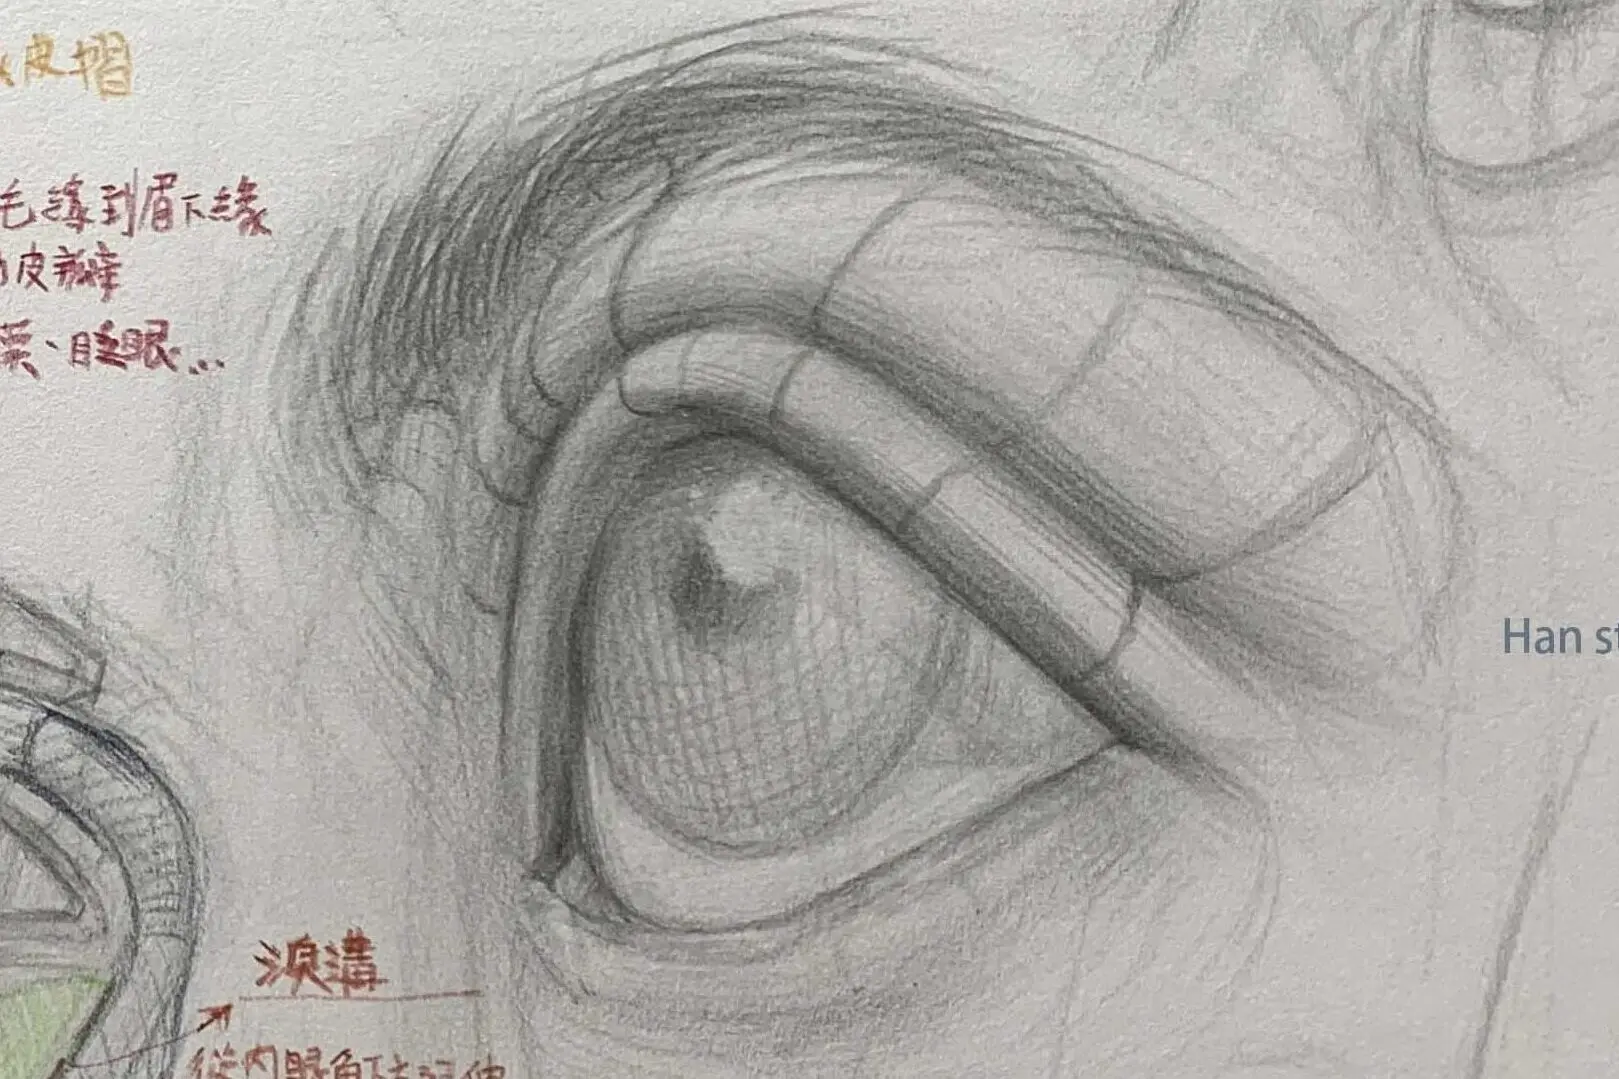
The main structure of eye painting
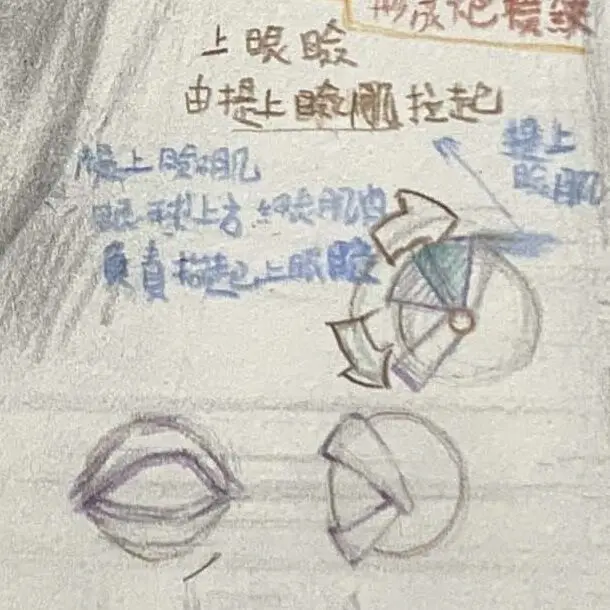
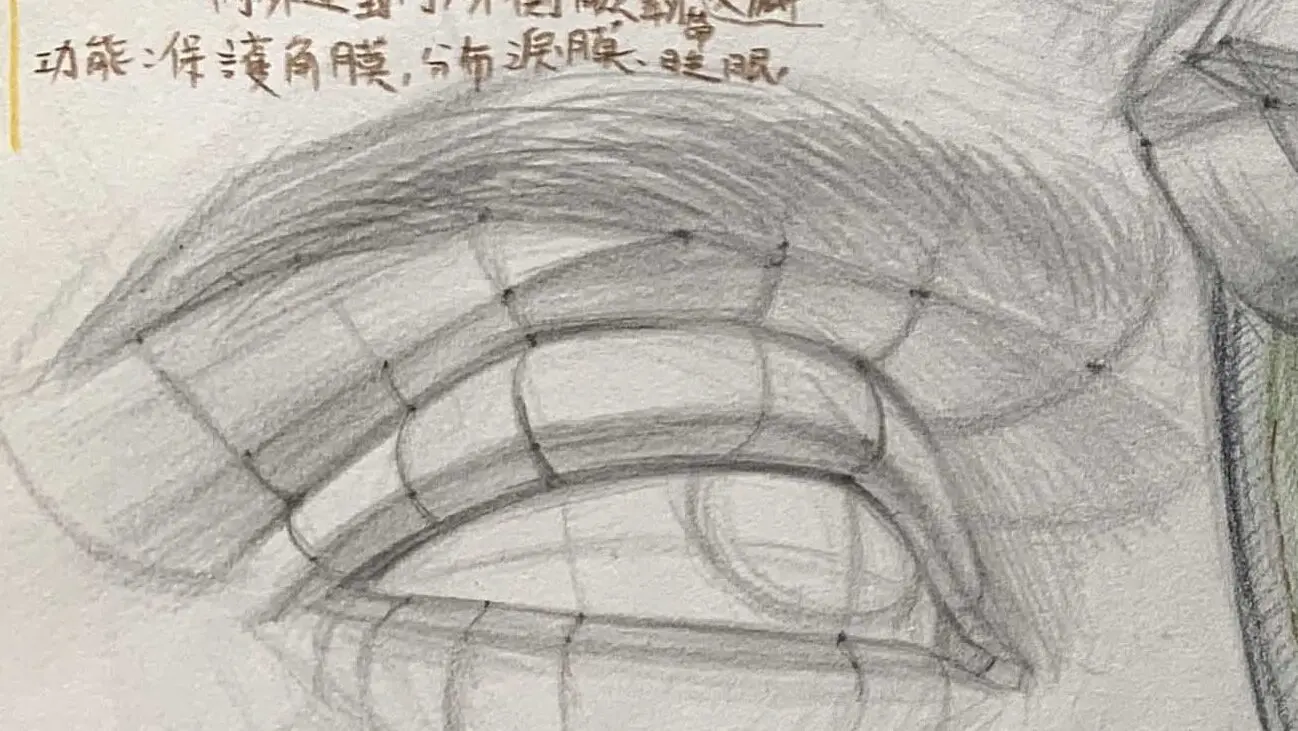
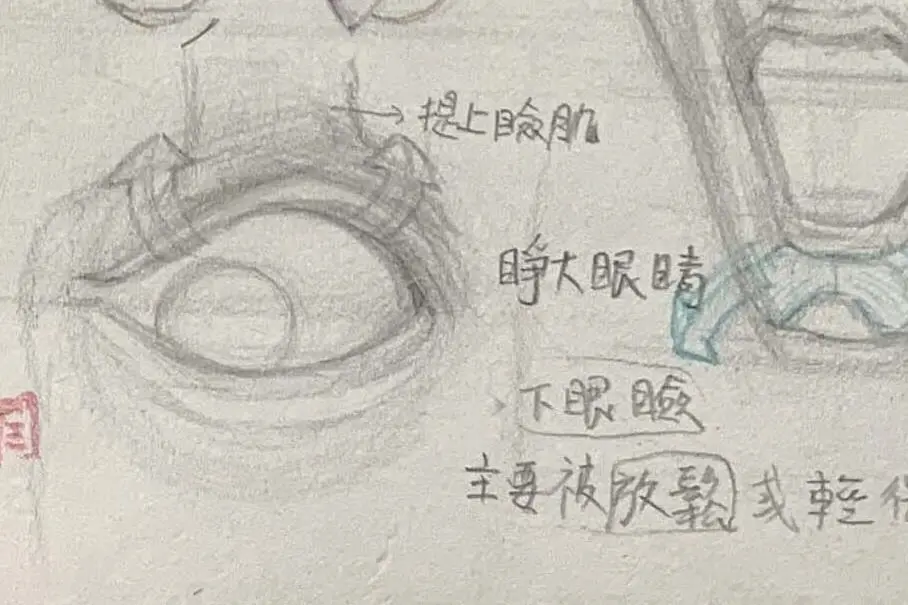
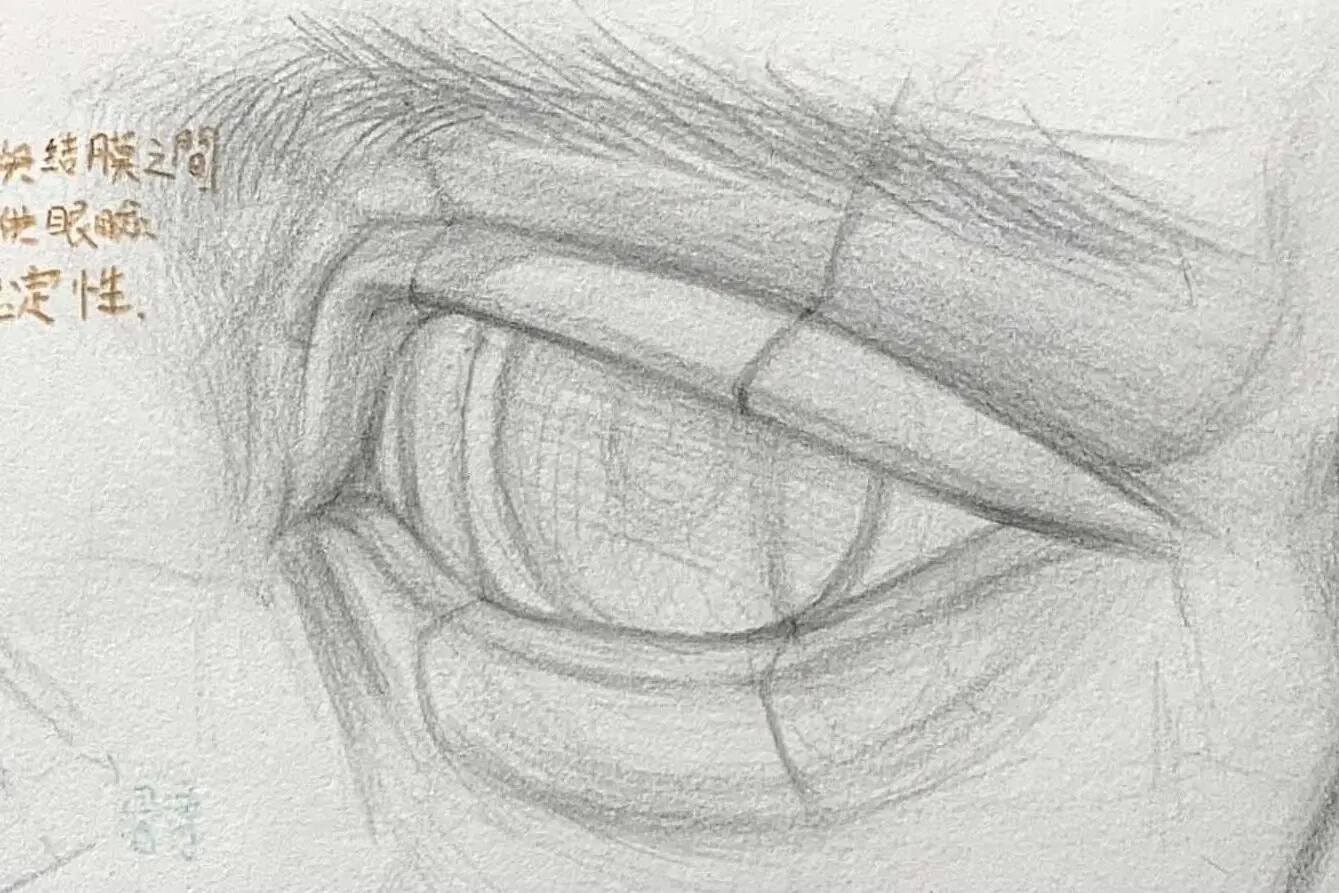
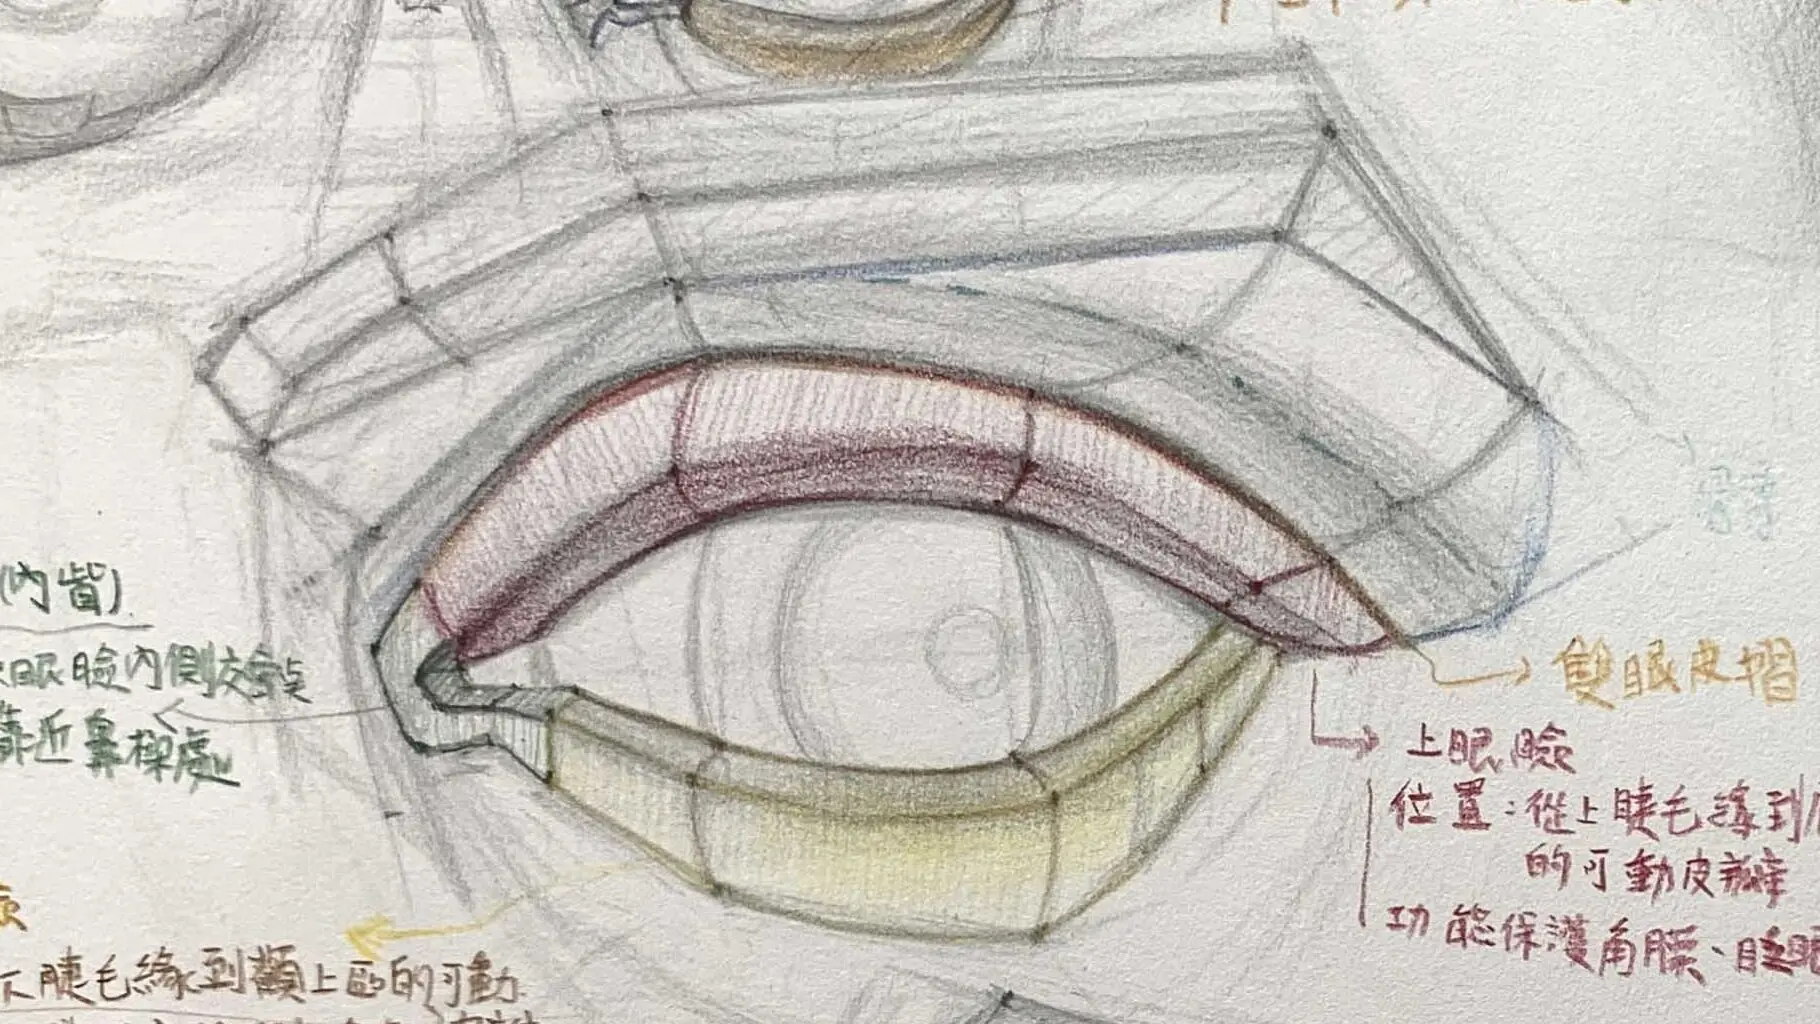
Upper Eyelid (Eyelid) Structures
The upper eyelid margin is the junction between the upper and lower eyelids and the eyeball, and determines the contour of the eye.
The upper eyelid is thick and curved, and is very active.
The upper eyelid is supported by the eyelid plate, and the levator muscle controls its opening and closing. It is the most dynamic part of the eye.
Anatomical Functions:Shielding and protecting the eyeballs
Observe the highlights:
Arc "low inside and high outside
Thickness sensation is obvious, often casting a shadow over the iris
Double eyelid folds are caused by the connection between muscle and skin.
lower eyelid
The lower eyelid plate is small and thin.
The lower eyelid is thin and usually gently curved around the eye.
Anatomical Functions: protects the eyeballs and helps close the eyes
Observations:
There is often a narrow bright border near the lower edge of the iris, creating a watery look to the eye.
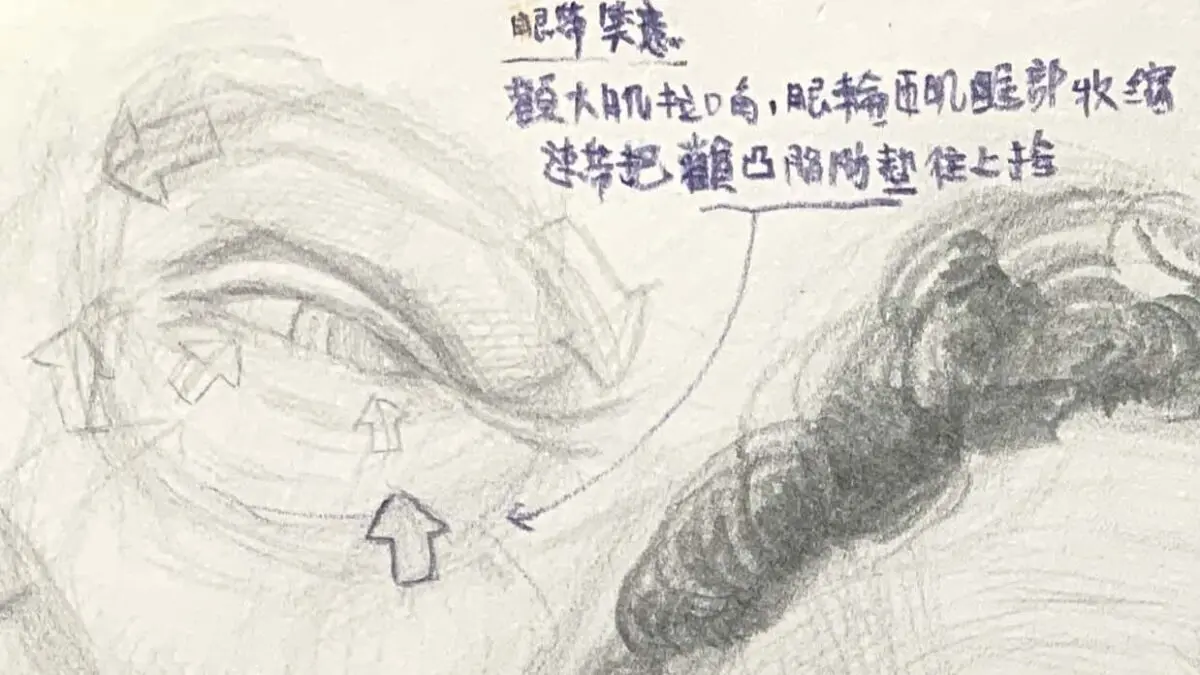
Slightly raised expression, e.g. when smiling.
Perspective and structure are the boring but central parts of sketching.
To help you more quickly translate the knowledge in the text into "hands on"
I put together aEye Structure Tracing Exercise。
You can download and practice directly on your iPad (Procreate) or print.
Instead of groping blindly at a blank sheet of paper, it is better to build up an understanding of the memory in the shortest possible time by demonstrating the structural trajectory.
The upper and lower eyelids (lids) cover part of the eye, and the fat near the eyelids varies among different people.
Orientals have more single eyelids or double eyelids, more eyelid fat, and more rounded eyes.
Oriental people have more eyelid fat, and some of them have double eyelids and single eyelids.
Westerners tend to have double eyelids with less fat in the eyelid, making the eyes look deeper.
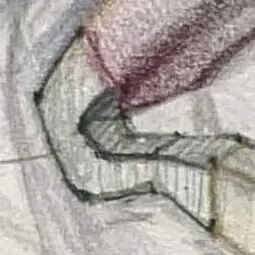
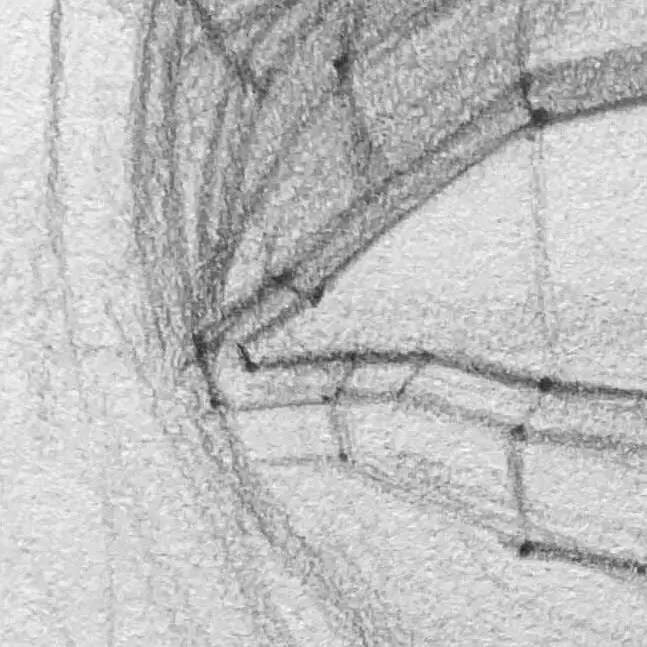
outer corner of the eye
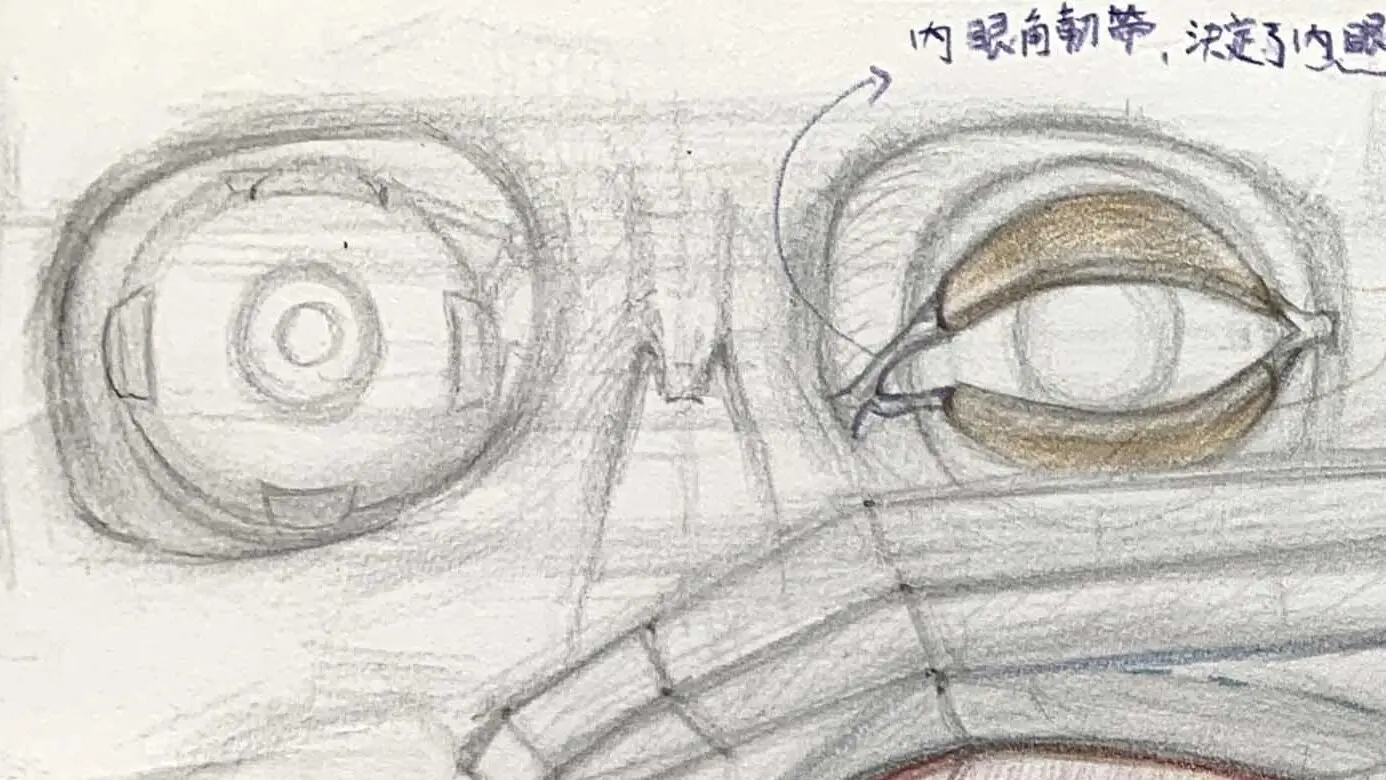
inner corner of the eye(眥):
Contains a small pad of flesh called the lacrimal caruncle, which is responsible for tear drainage. Avoid drawing at an acute angle.
The temples are often located at the lowest point of the eye and have a pronounced turn and fold in the skin.
outer corner of the eye:
The meeting point of the upper and lower eyelids, which is sharp and slightly higher than the inner corner of the eye, determines the inclination of the eye.
The corners of the outer corners of the eyes (temples) are slightly higher or lower, depending on the individual, which determines the tilt of the eyes.
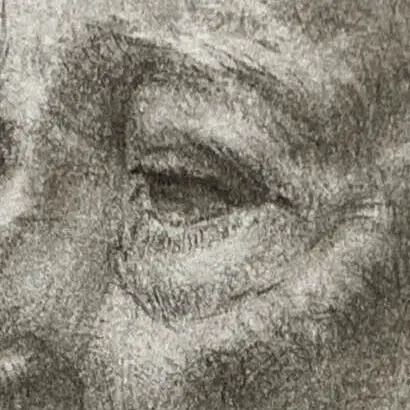
Periocular structures
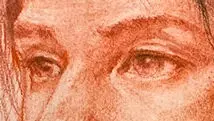
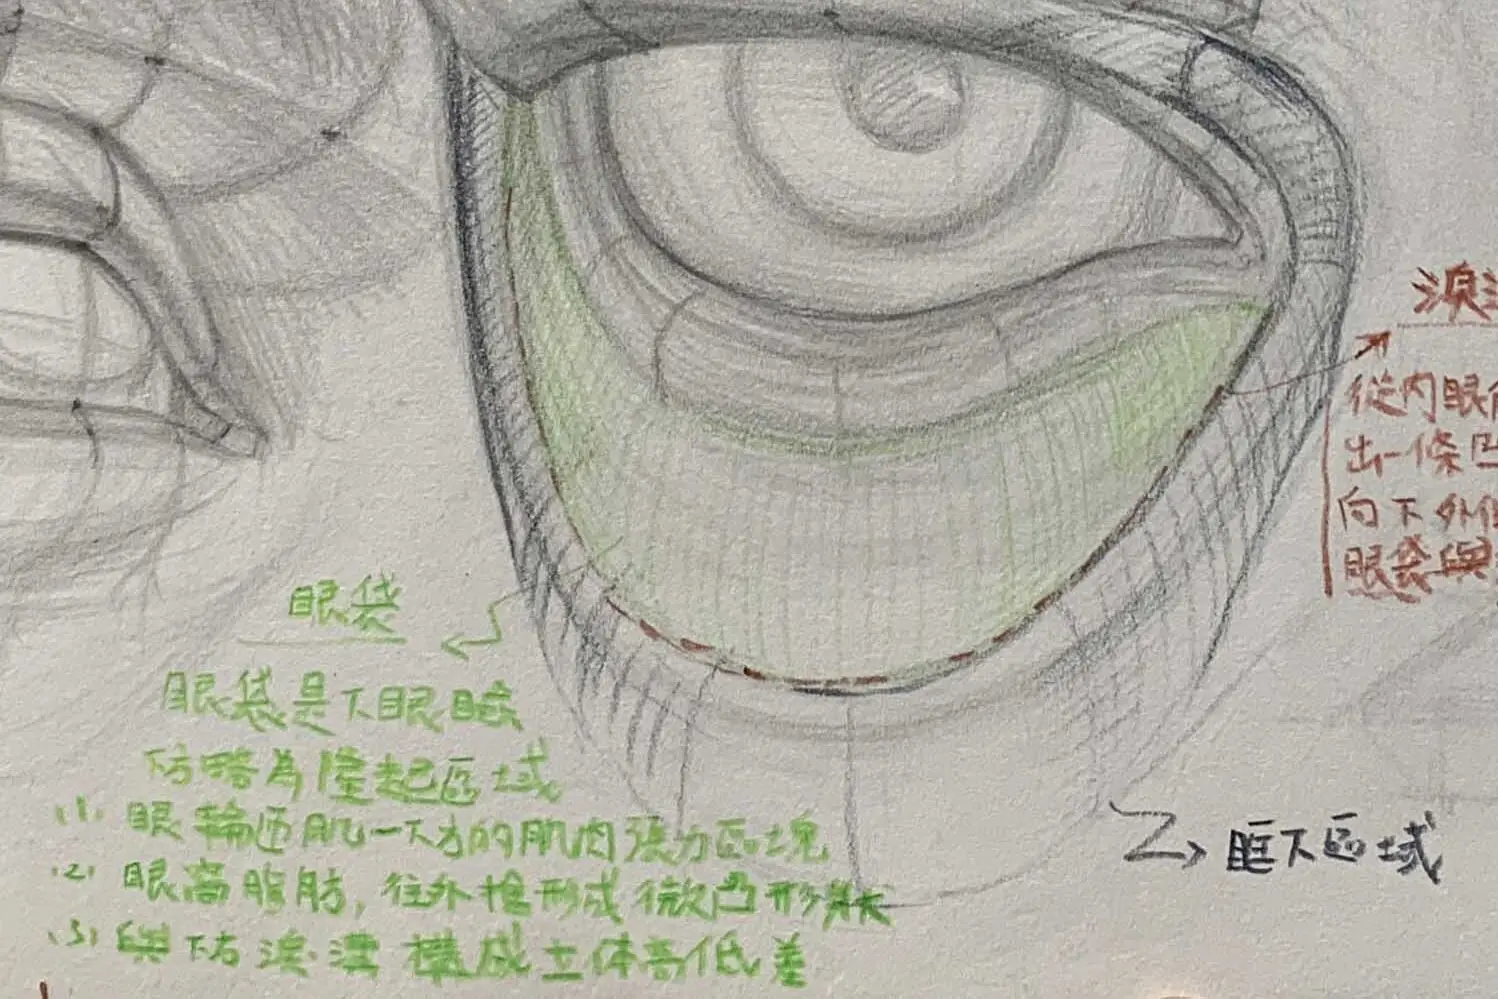
bags under the eyes:
The result of subcutaneous fat and muscle laxity, which becomes more pronounced with age. Drawing is shaped by light and dark rather than framed by lines.
bags under the eyesIt appears at the lower edge of the lower eyelid and is formed by the natural prolapse of soft tissue.
tear duct:
The hollows that extend from the inner corners of the eyes, separating the bags from the cheeks, are an important detail that expresses tiredness.
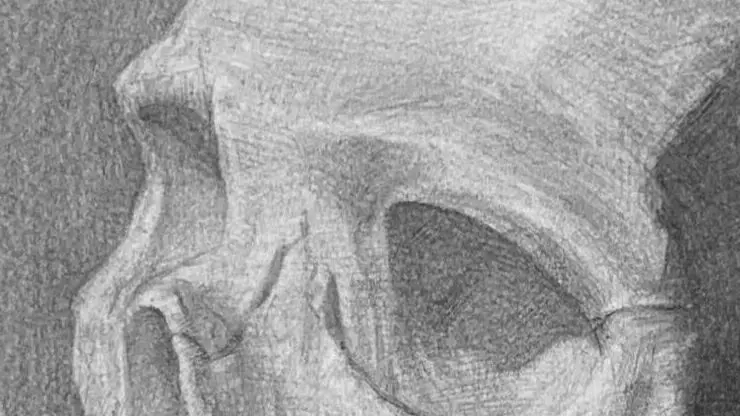
Transition between arch and upper eyelid:
The brow bone is the "roof" of the eye and affects the depth of the eye.
brow bone(Arch)
It is the protuberance formed by the frontal bone at the upper edge of the eye socket.
Men are usually thicker and have "harder, straighter" looking eyebrows; women are smoother and softer.
The base height of the eyebrows is roughly determined by this bone.
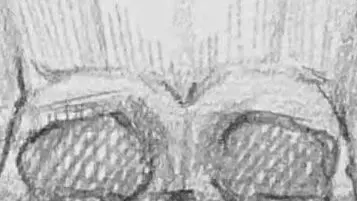
orbital bone
Refers to the entire orbital border, including the upper edge (brow bone), lower edge (zygomatic bone), and medial and lateral sides.
It doesn't affect the "up and down height" of the eyebrows themselves, but it does affect the sense of distance between the eyes and the eyebrows (the depth or shallowness of the arch).
The frontal bone (brow bone + supraorbital rim) determines the undulation and width of the eyebrows.
For a more in-depth look at the structures associated with the skull, read this article I wrote aboutSkull Articles
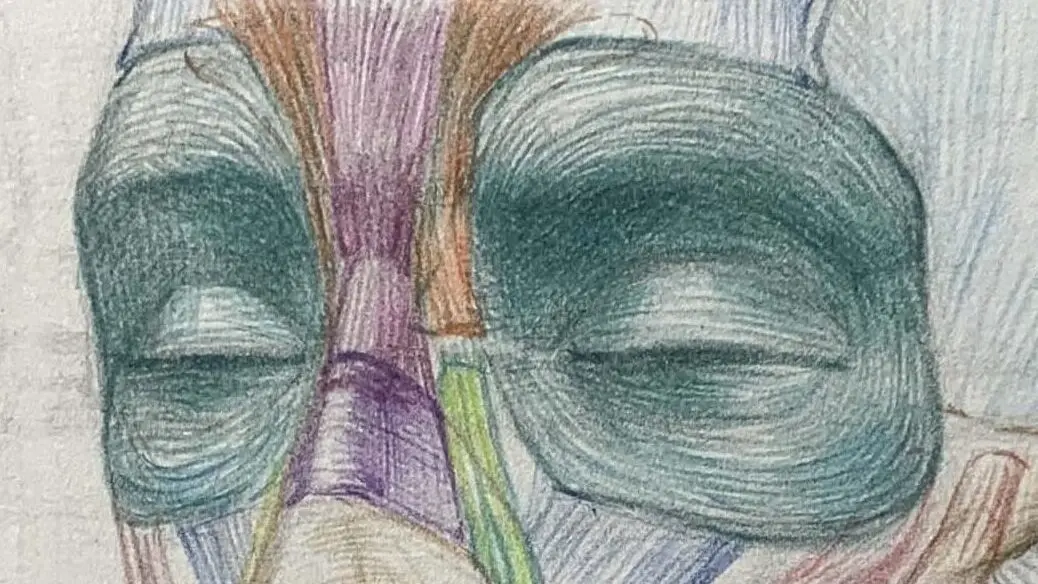
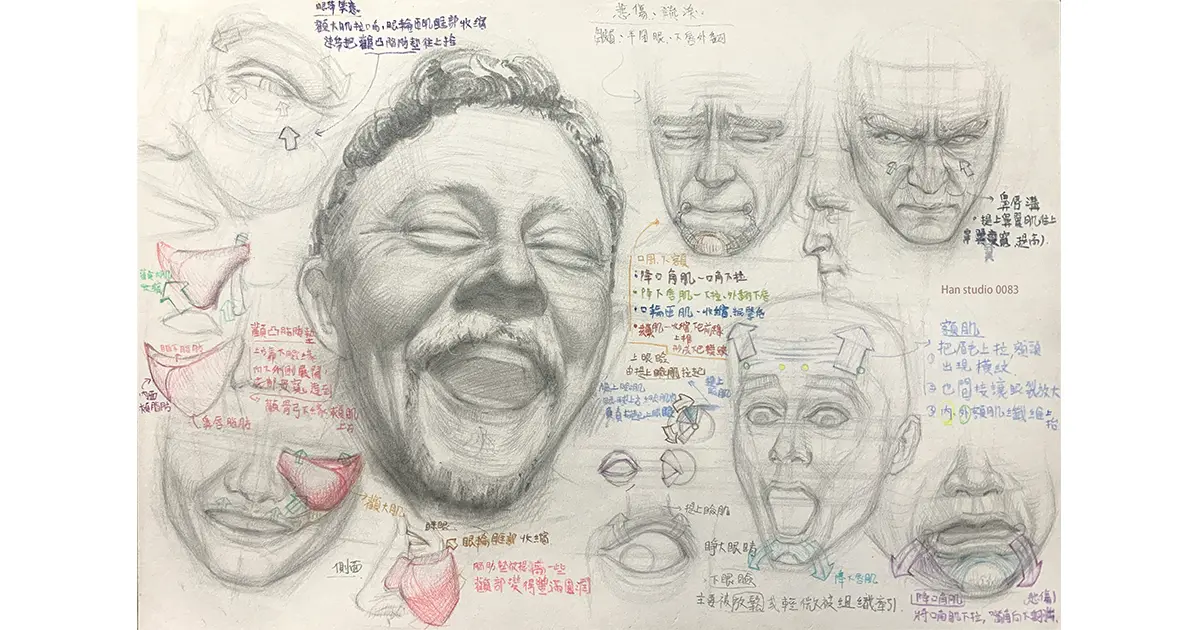
Muscle structure around the eyes
Understanding the musculature around the eyes is essential to achieving a natural look, wrinkles or dynamic expressions:
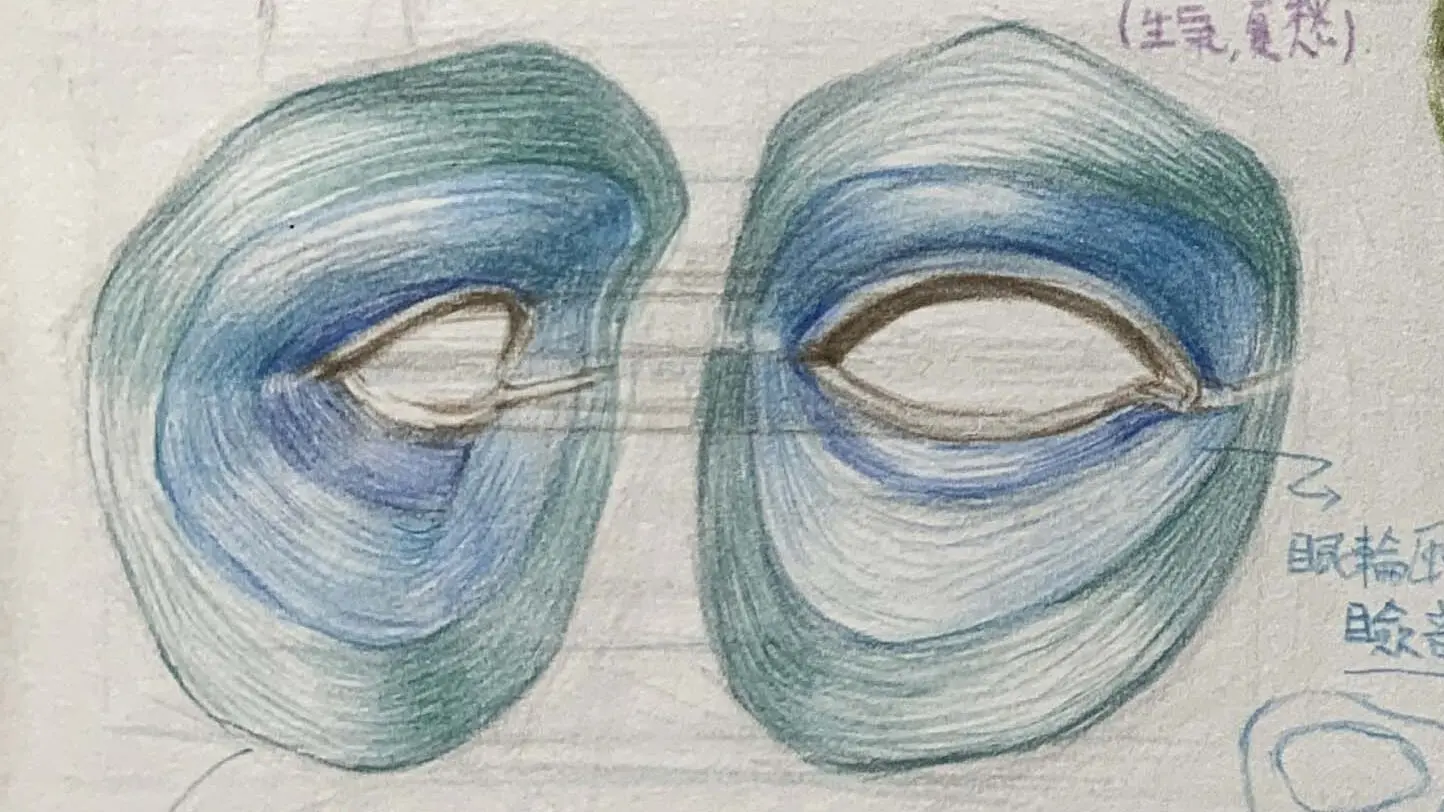
orbicularis oculi muscle (anatomy)
When drawing eyes, you can add "direction of muscle tension" outside the structural line to help understanding and shaping.
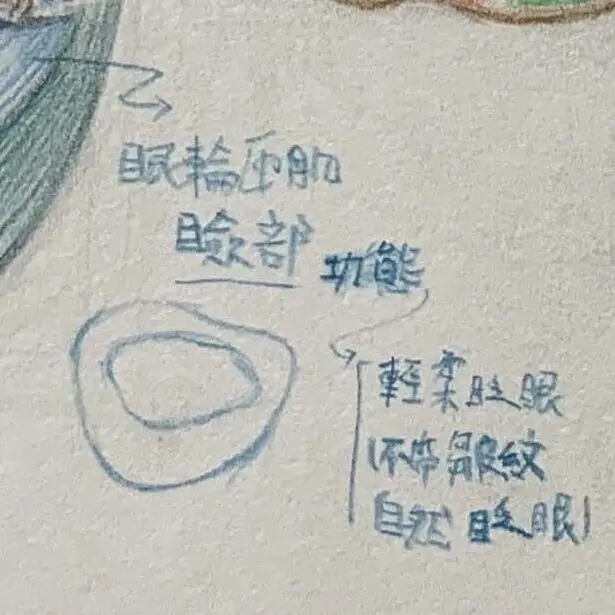
orbicularis oculi muscle (anatomy)eyelid
Controls the opening of the upper and lower eyelids, with the muscle fibers oriented horizontally, like an oval circle around the eye.
It is the main controlling muscle group for daily blinking and smiling eye-type changes.
It is located between the upper/lower eyelid skin and the eyeball and affects the subtle deformation of the eyelid margin.
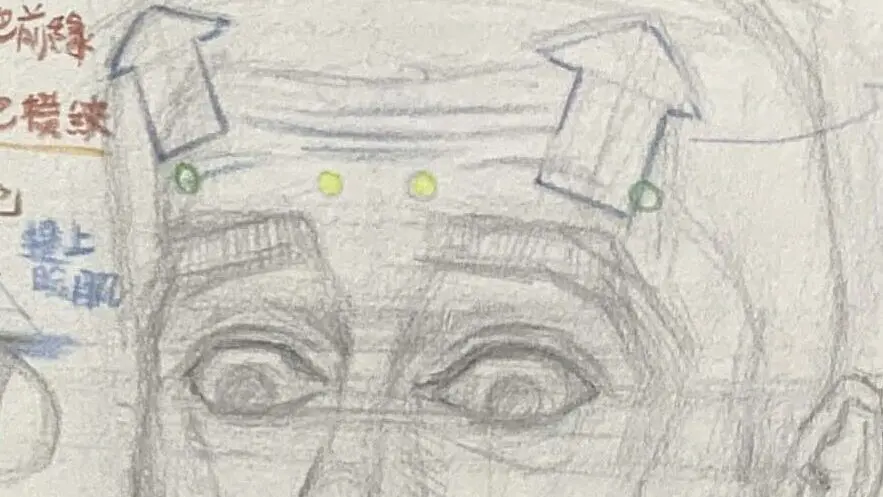
orbicularis oculi muscle (anatomy)cabinets
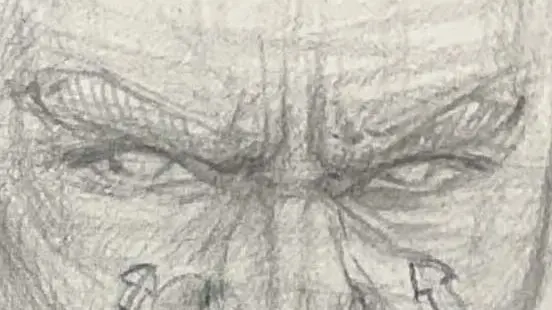
It surrounds the entire outer rim of the eye socket and is responsible for more drastic eye closure, such as squeezing the eye forcefully.
The screen performance will bring down the inner eyebrows and deepen the wrinkles at the corners of the eyes.
Functional Description:
The orbicularis oculi muscle, the frowning muscle and the brow lifting muscle are involved with each other, and are the core of the muscle group that should not be neglected in the expression drawing of the face.
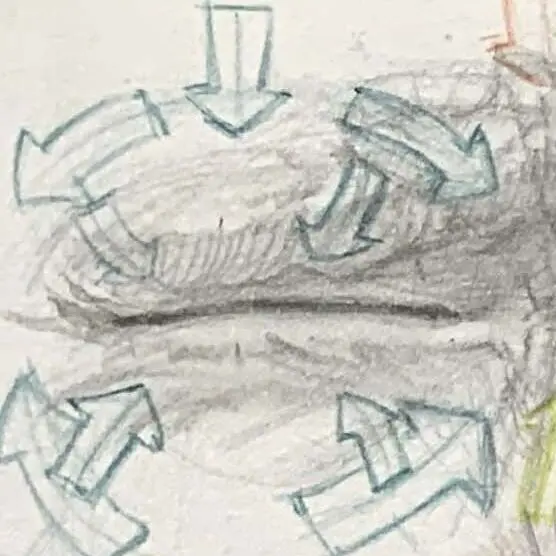
Emoticons & Animations
Eyelids are not fixed lines, but change dramatically with expression:
Surprise Emoji
→ Upper eyelid lifts dramatically, enlarging the eyes
Smile (smiling, laughing)
→ Lower eyelid lifting, more pronounced eye bag squeezing
Squinting, opening, and frowning affect eyelid tension and contouring, and the brow drives the supraorbital muscles.
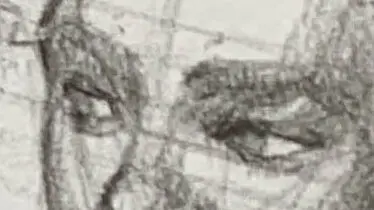
Geometric facet analysis can be used to observe the distribution of light and shadow in different directions in the orbital turn.
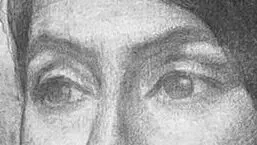
Changes in the eyes from different angles
when looking up:
The upper eyelid covers more of the iris and the brow bone is prominent; the lower eyelid becomes clearer and more pronounced.
When looking down:
The upper eyelid is stretched, the lower eyelid may be obscured, and the iris is oval.
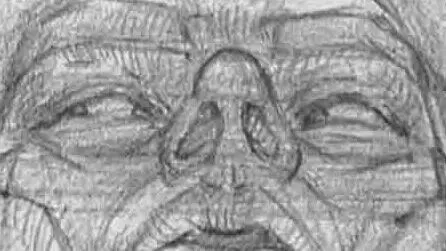
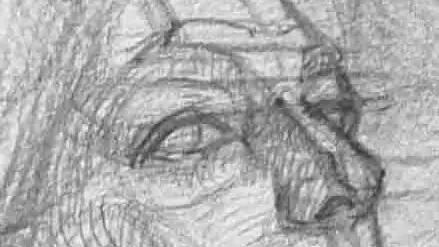
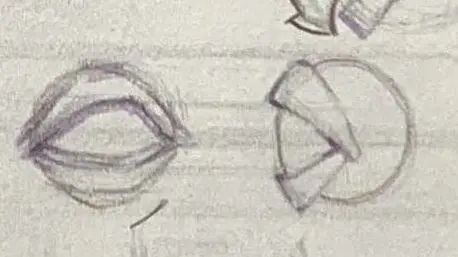
Side Angle
Eye contour: It is a semi-circular shape covering the inner corner of the eye, with the inner corner of the eye (caruncle) protruding most prominently.
Upper eyelid lines: It slides down in an S-shape, projecting forward from the arch of the eyebrow before closing in at the corner of the eye.
Lower eyelid: It becomes smooth and close to the curved surface of the face.
Eyebrow junction with supraorbital tuberosity It becomes prominent on the side and is an important node in the front profile of the head.
Orbital contour: In the lateral view, there is a clear depression with a well-defined undulation of the surrounding bone.
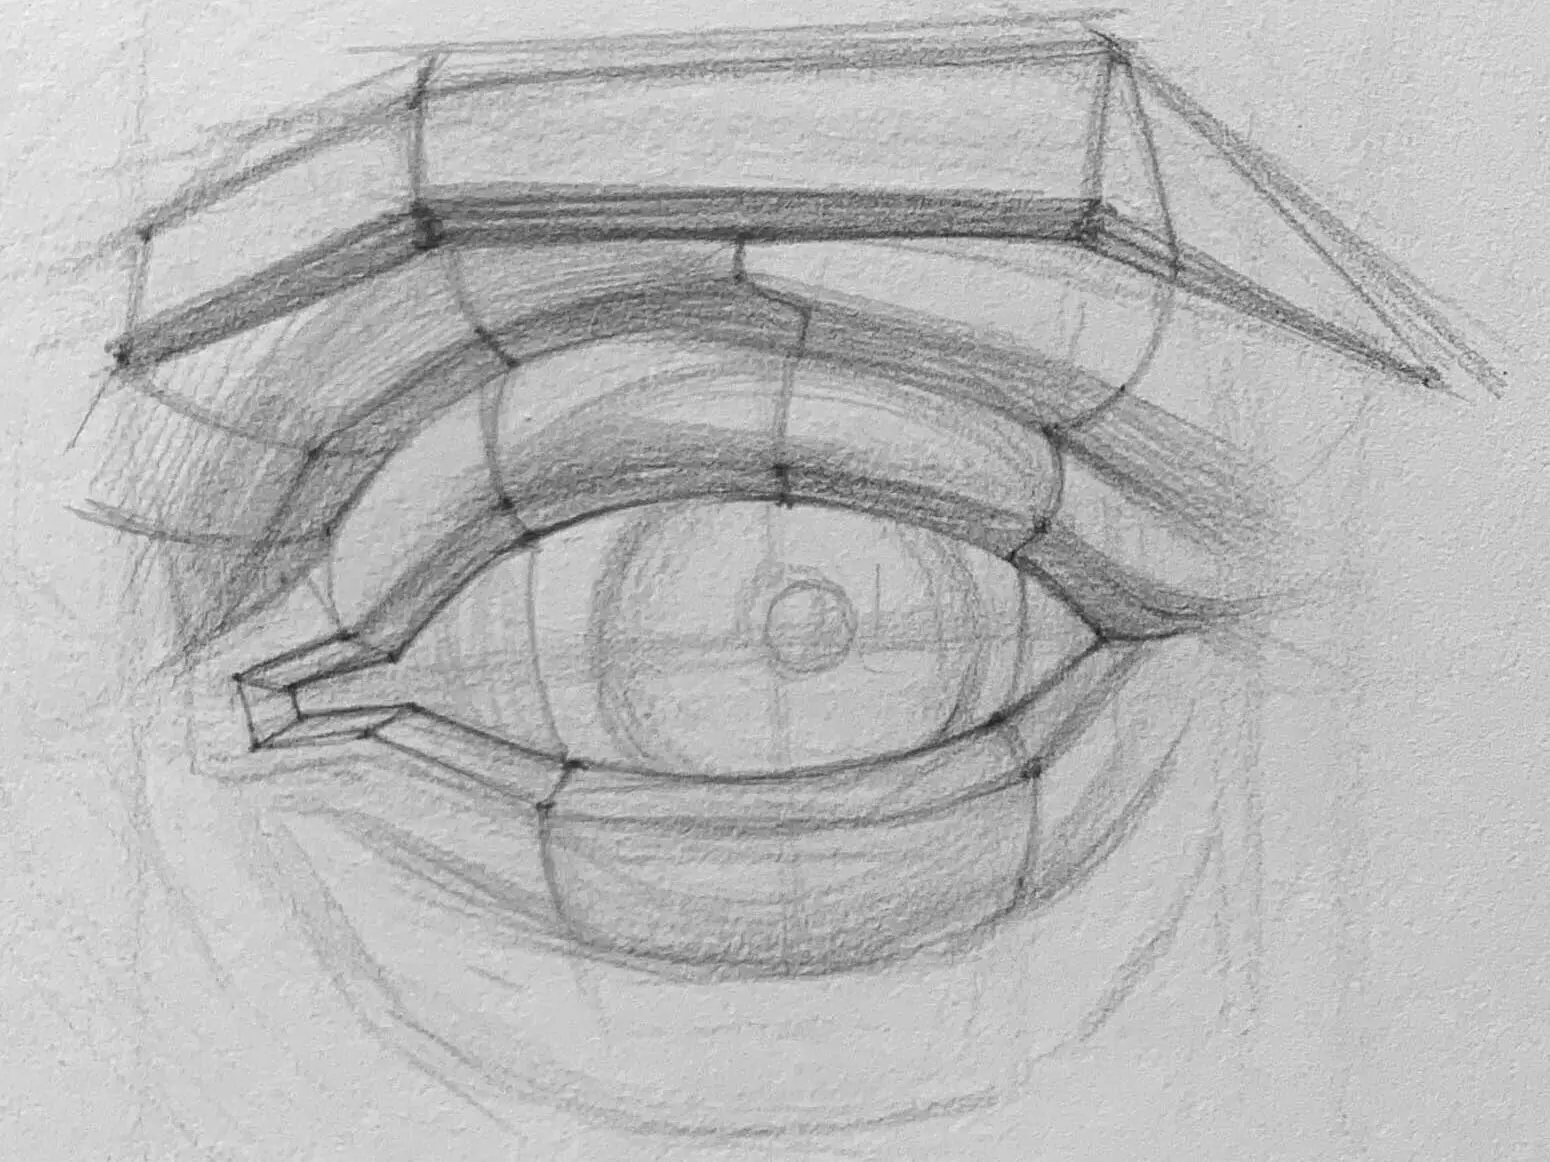
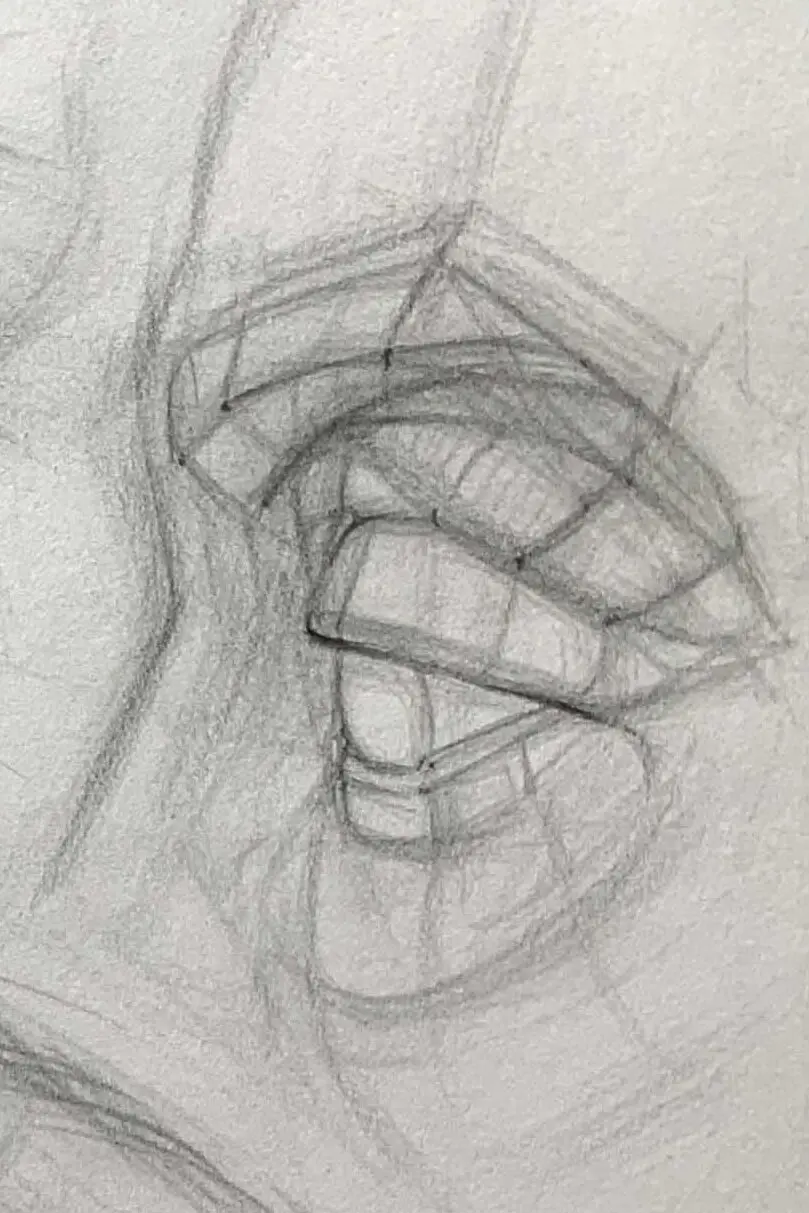
Specific methods of eye painting:
The eye is a sphere, and all eyelid structures cover the surface of the sphere. The arch of the eyebrow and the orbital border determine the depth of the eye.
Eye Shape Reminder:
When drawing eyes, first create the "eyeball sphere" and then cover the eyelids as if they were curtains, instead of outlining almonds, or arcs directly.
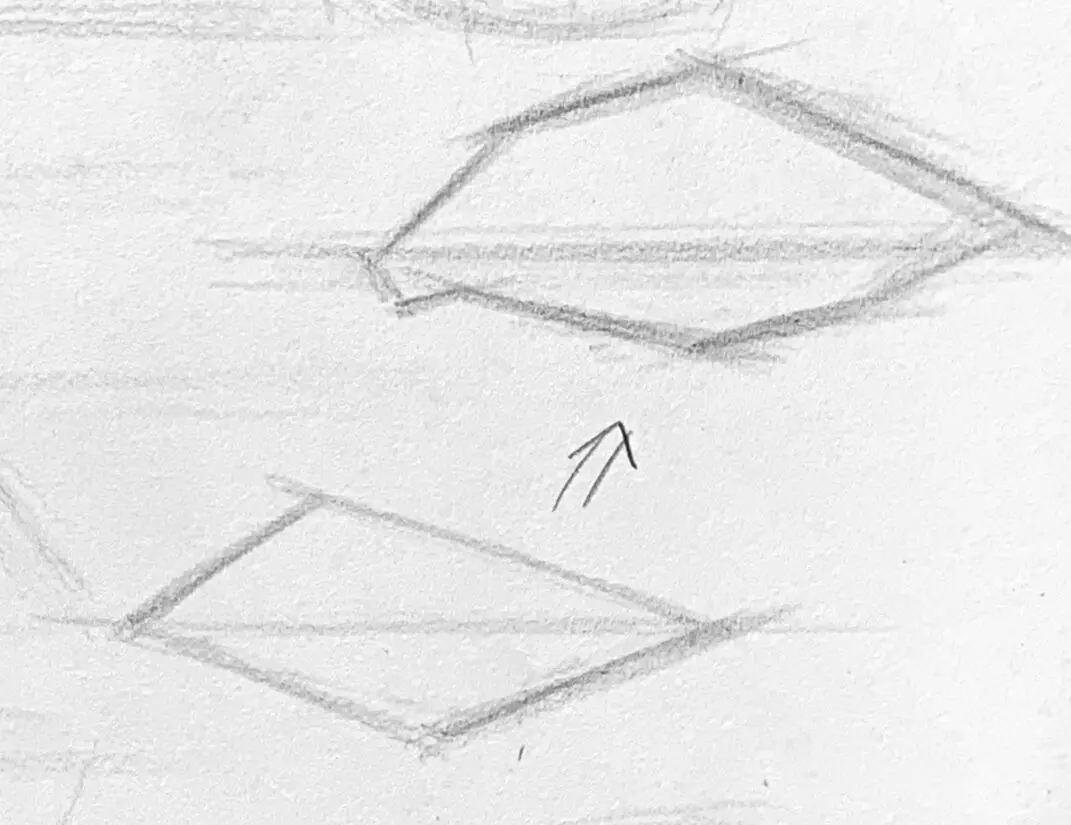
The outer contour of the eye is diamond-like, with the inner corner of the eye pointed and slightly drooping, and the outer corner of the eye relatively rounded.
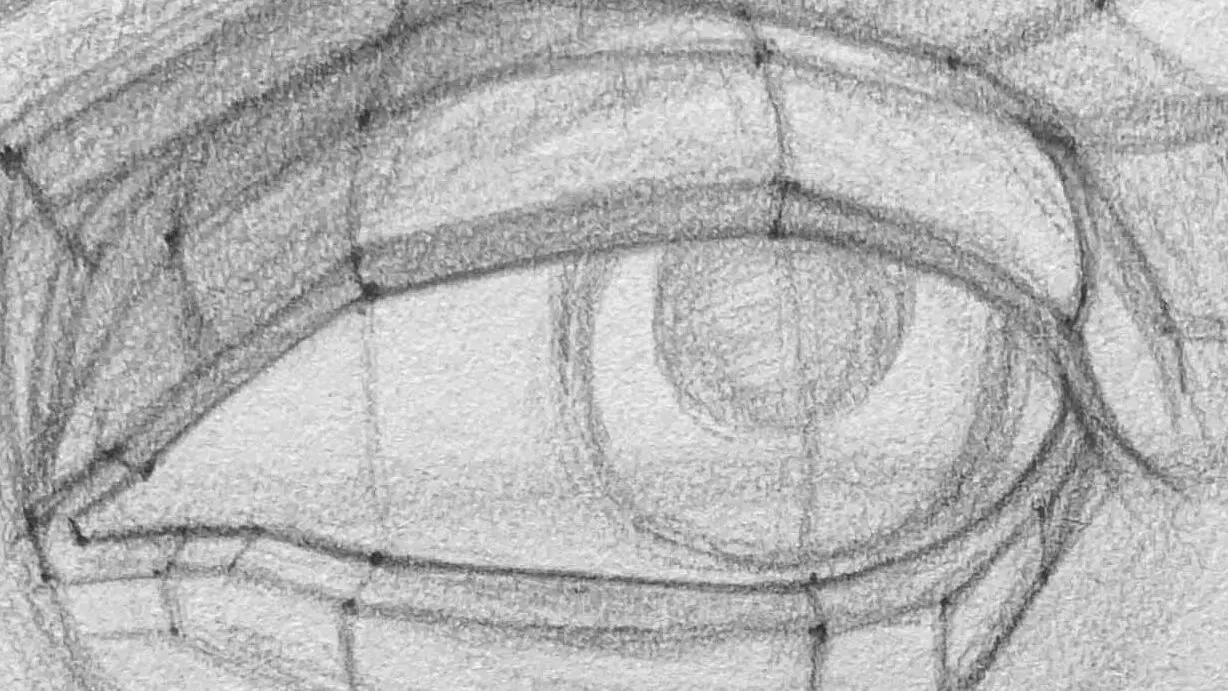
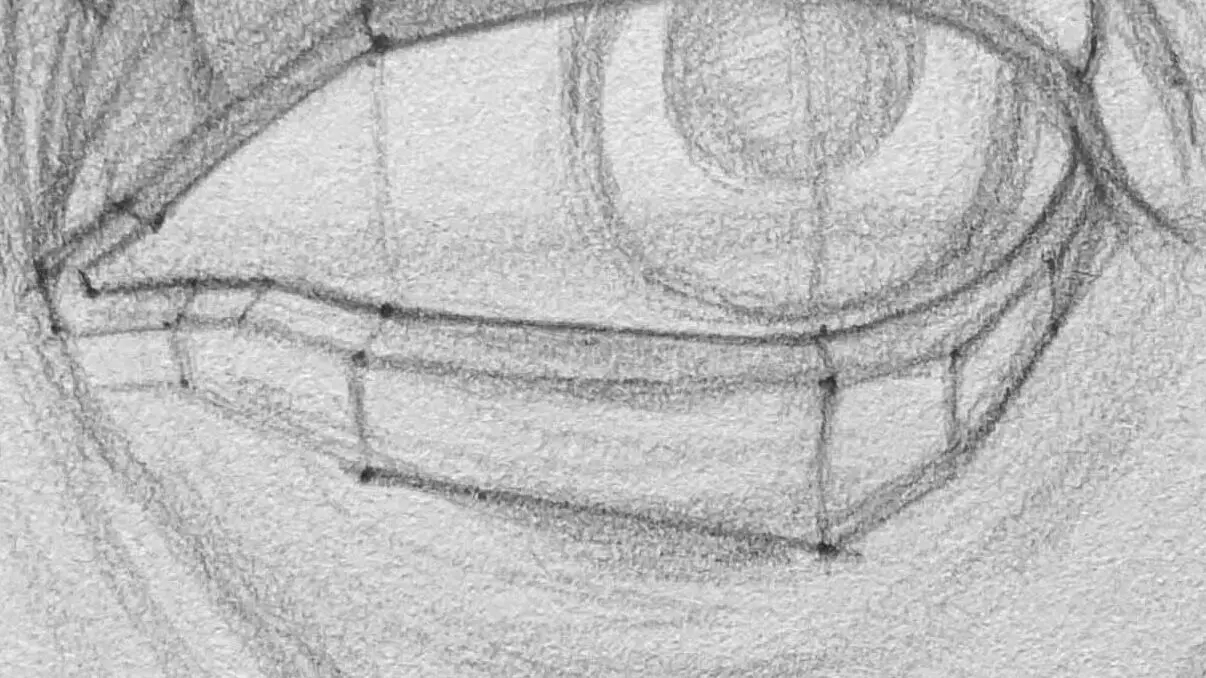
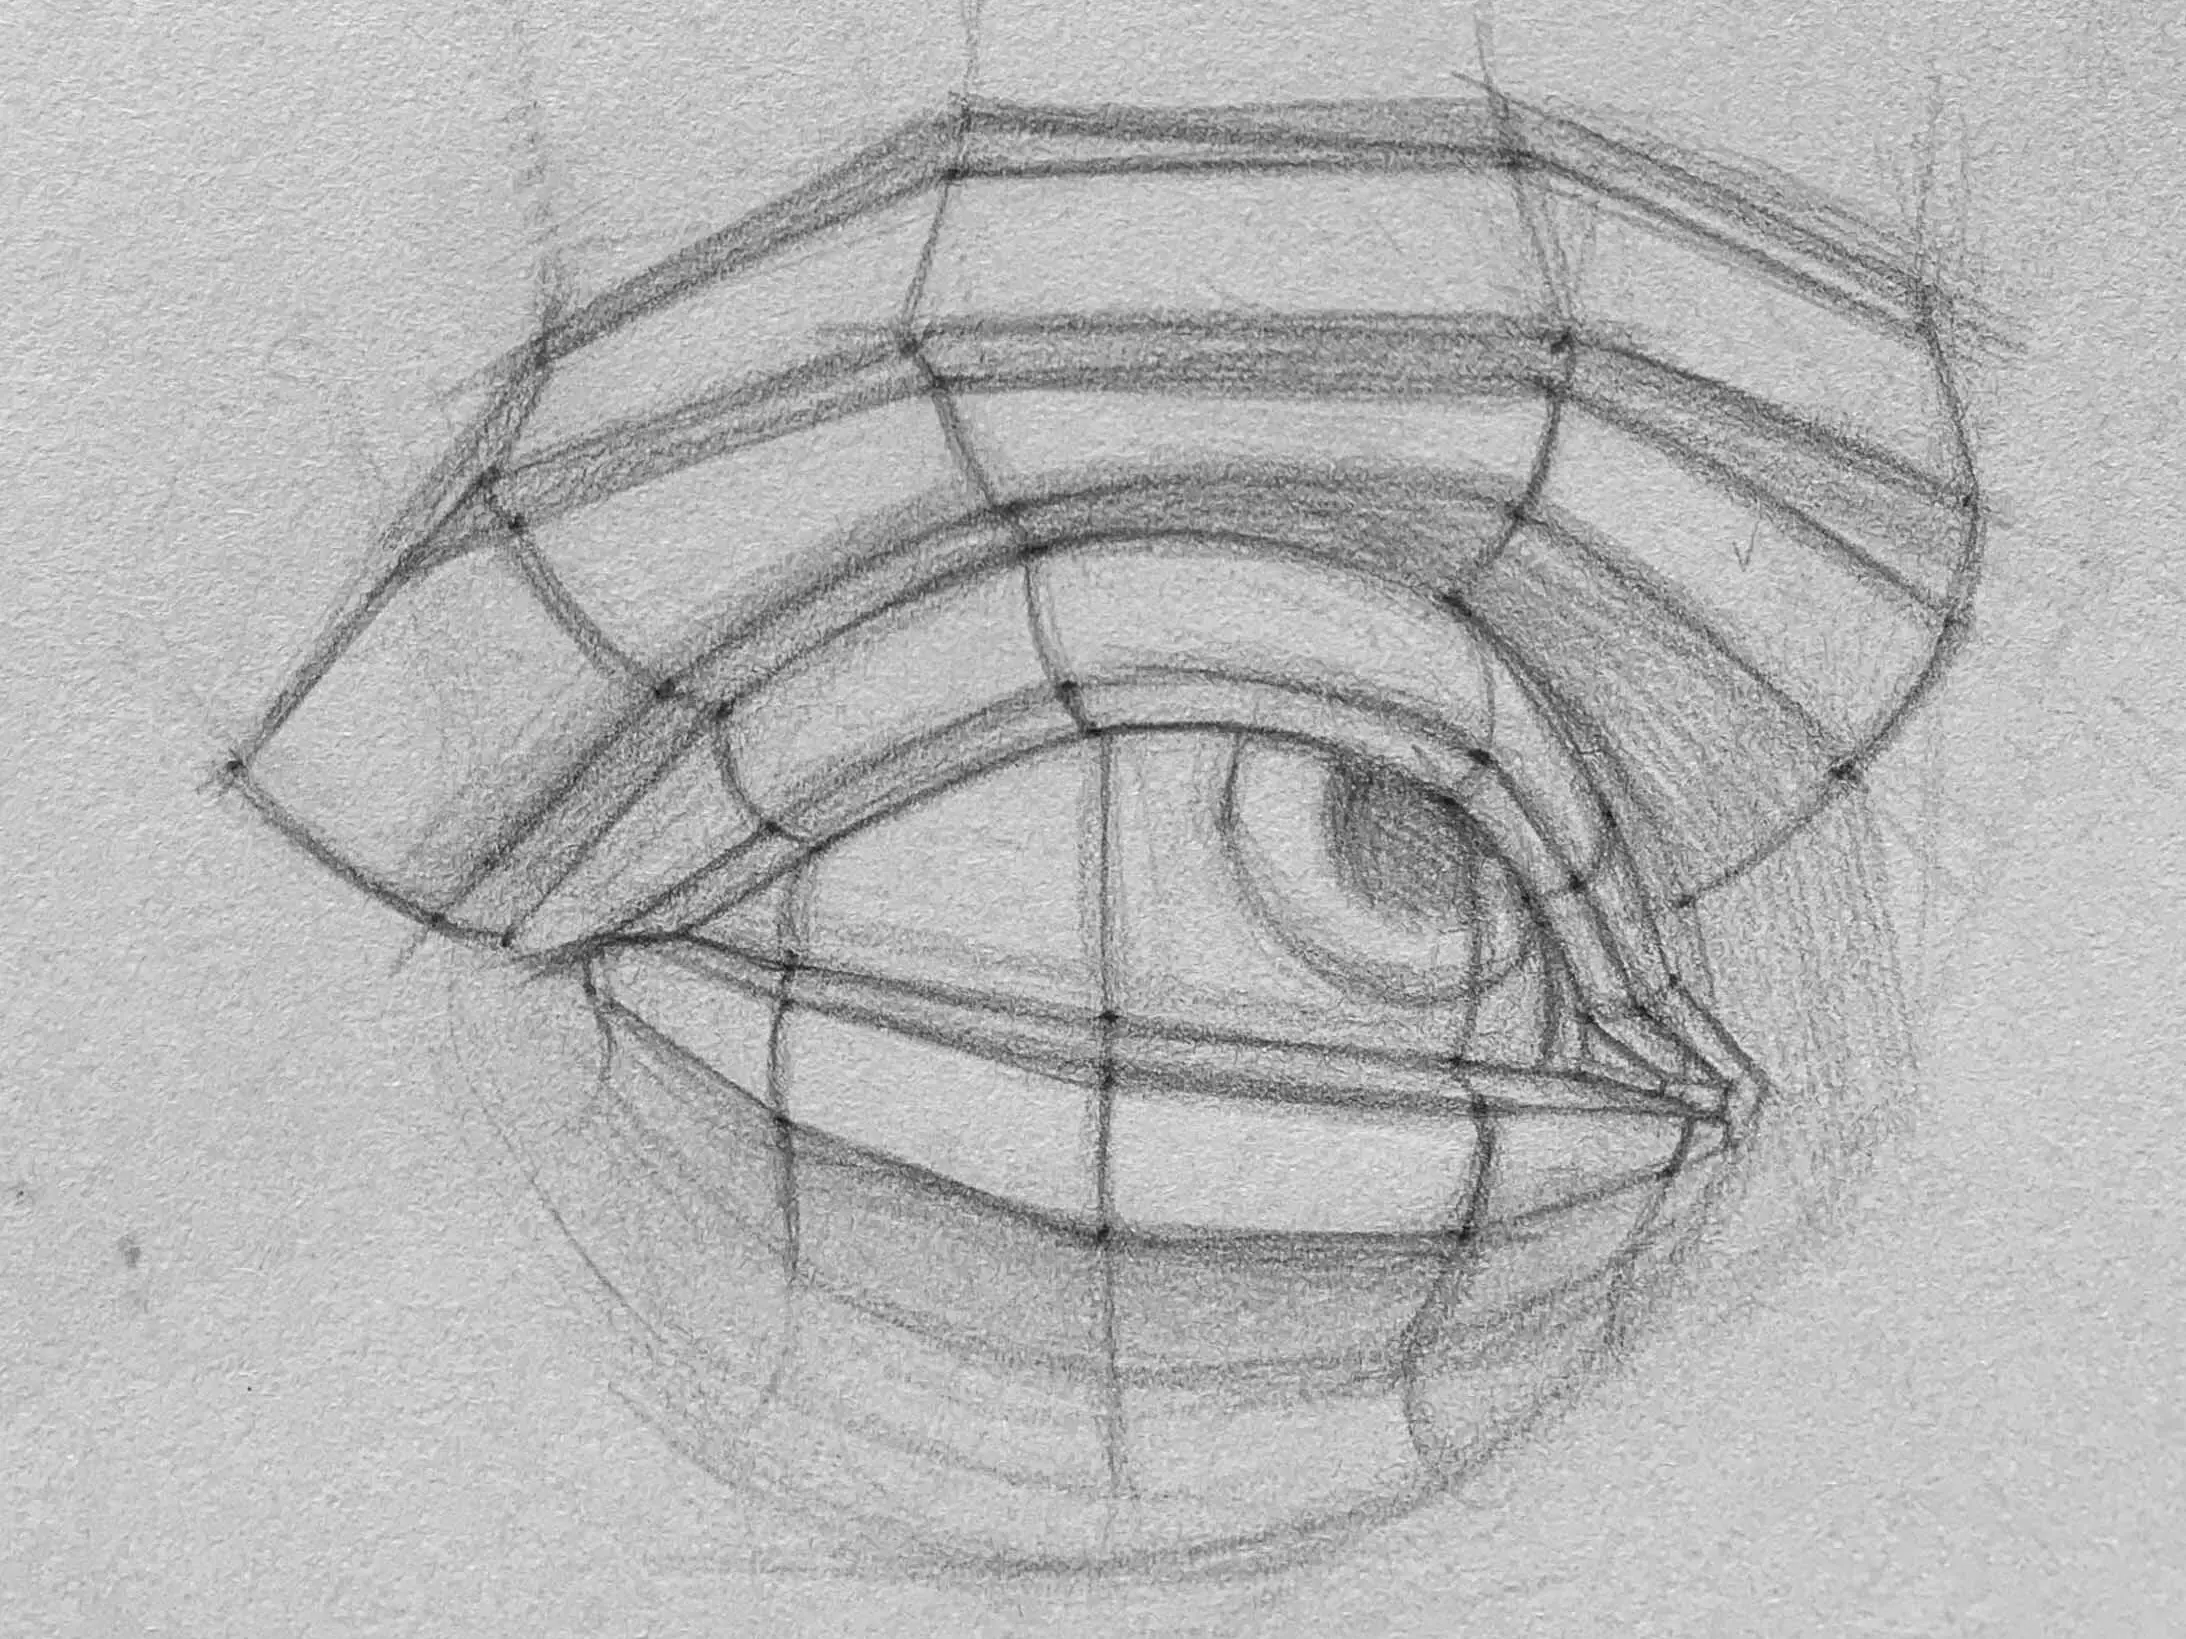
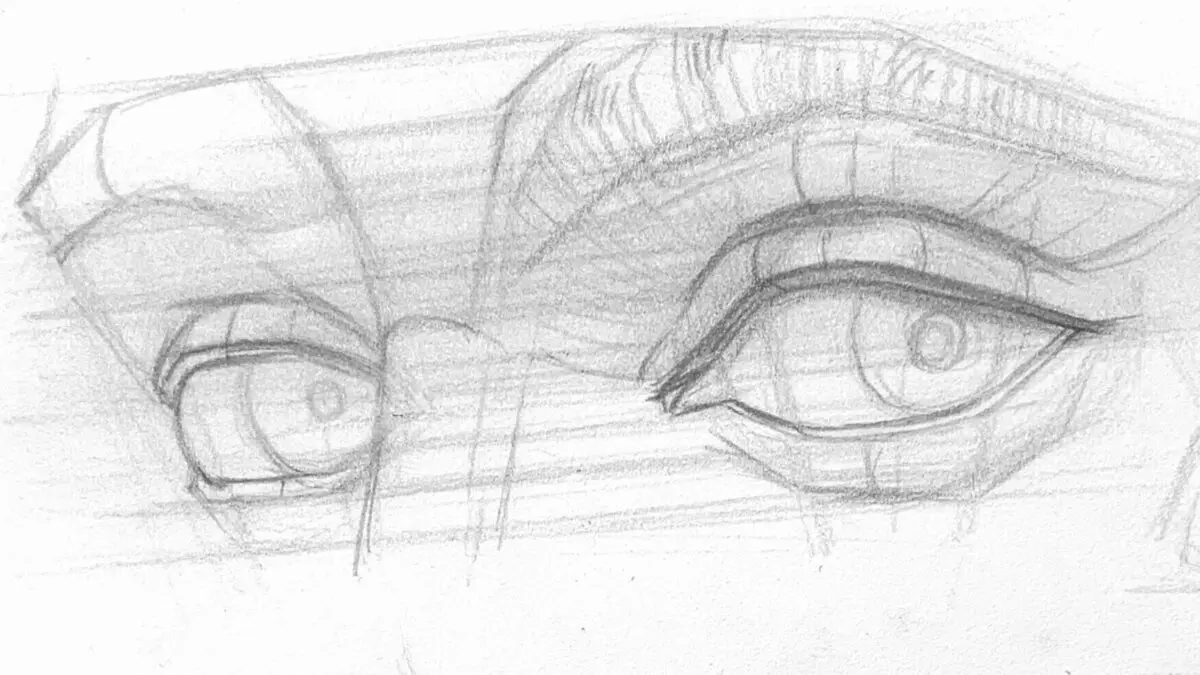
1. Observe reference drawings, objects, and the beginning of the drawing:
Look closely at the shape and proportions of the eye and use light lines to outline the simple geometry of the eye.
Pay attention to the turning points of the shape, which are related to the changes in shape, and the simplified straight lines that help to draw the outer contour.
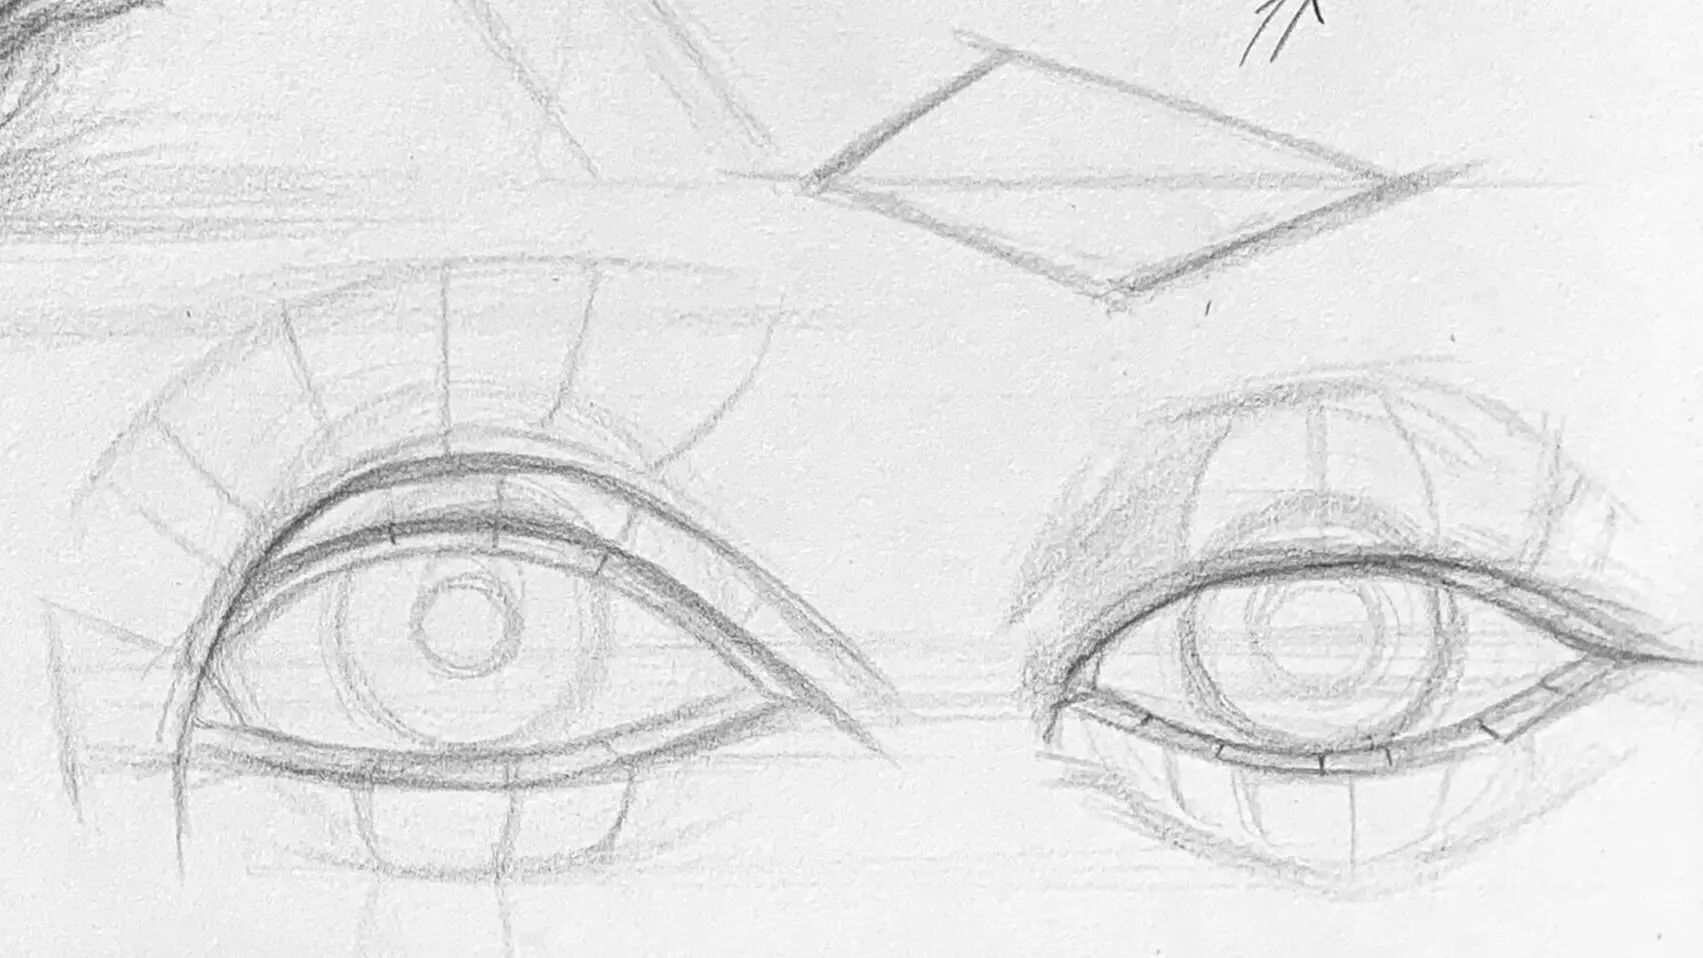
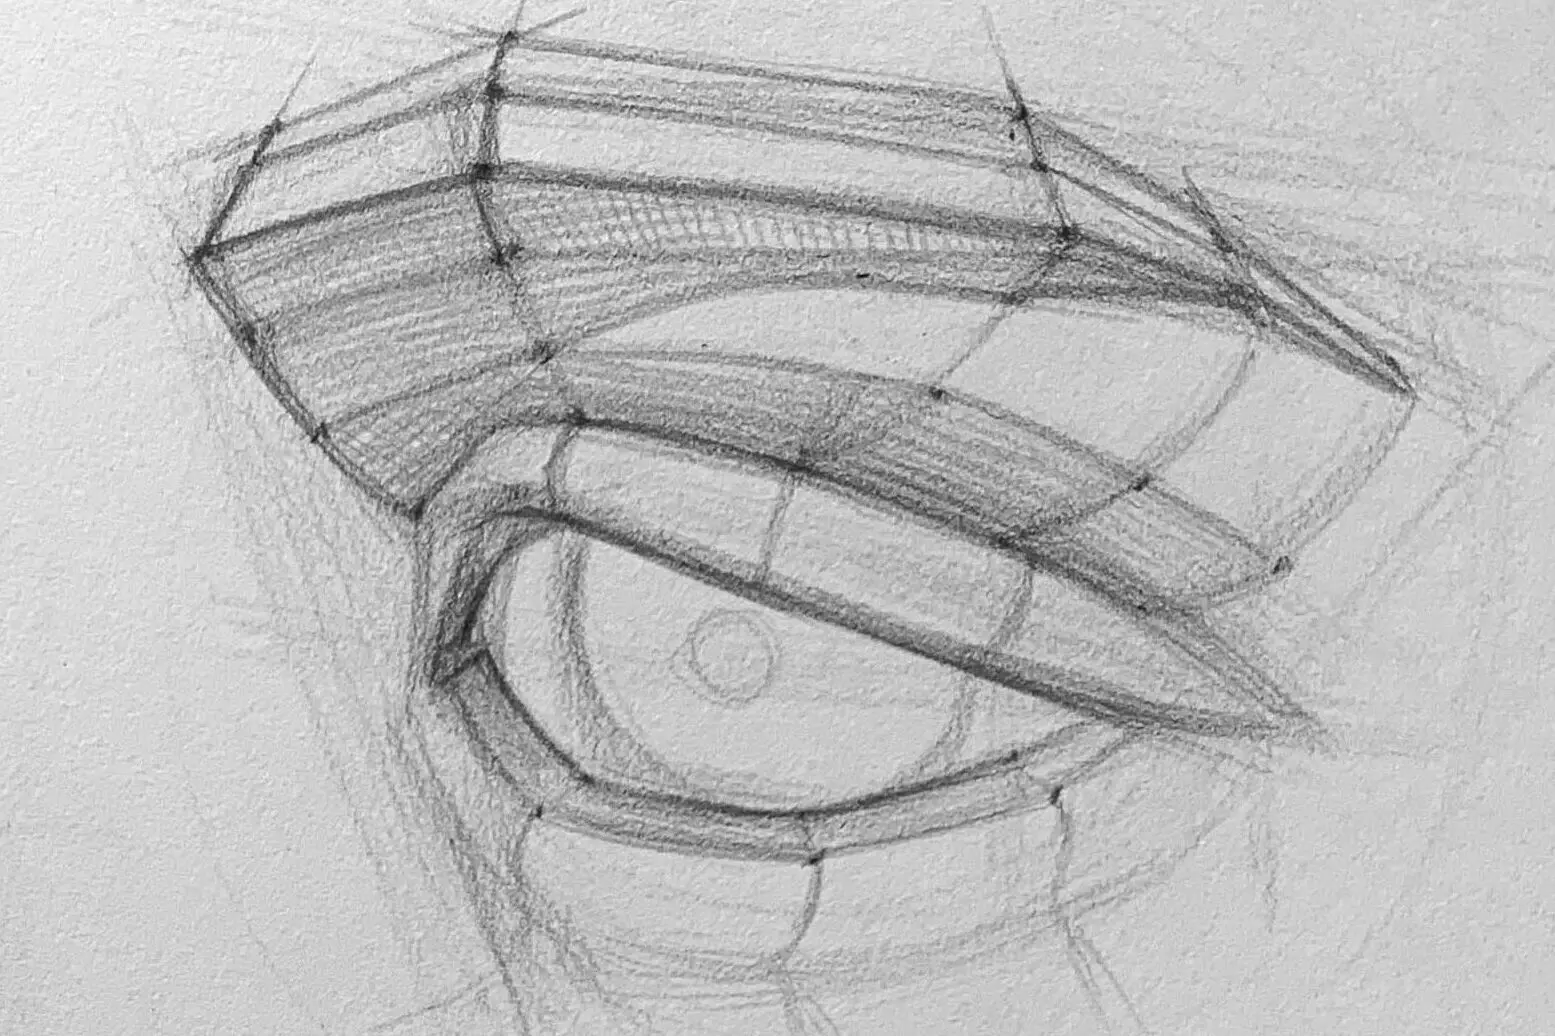
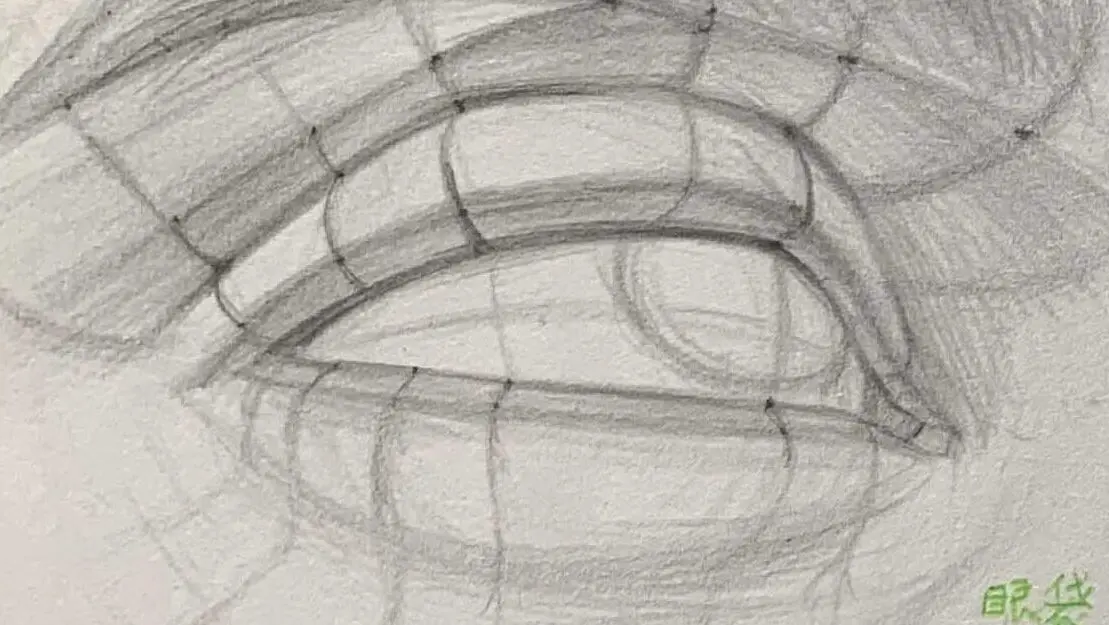
2. Undulation around the eyes.
It can be simplified to different sizes of surfaces, and understanding that they resemble geometric shapes of different lengths helps to grasp shape changes.
Each turn of the face creates a change in lightness, so understanding the structural points will help us see more clearly what the shadows are creating when we color.
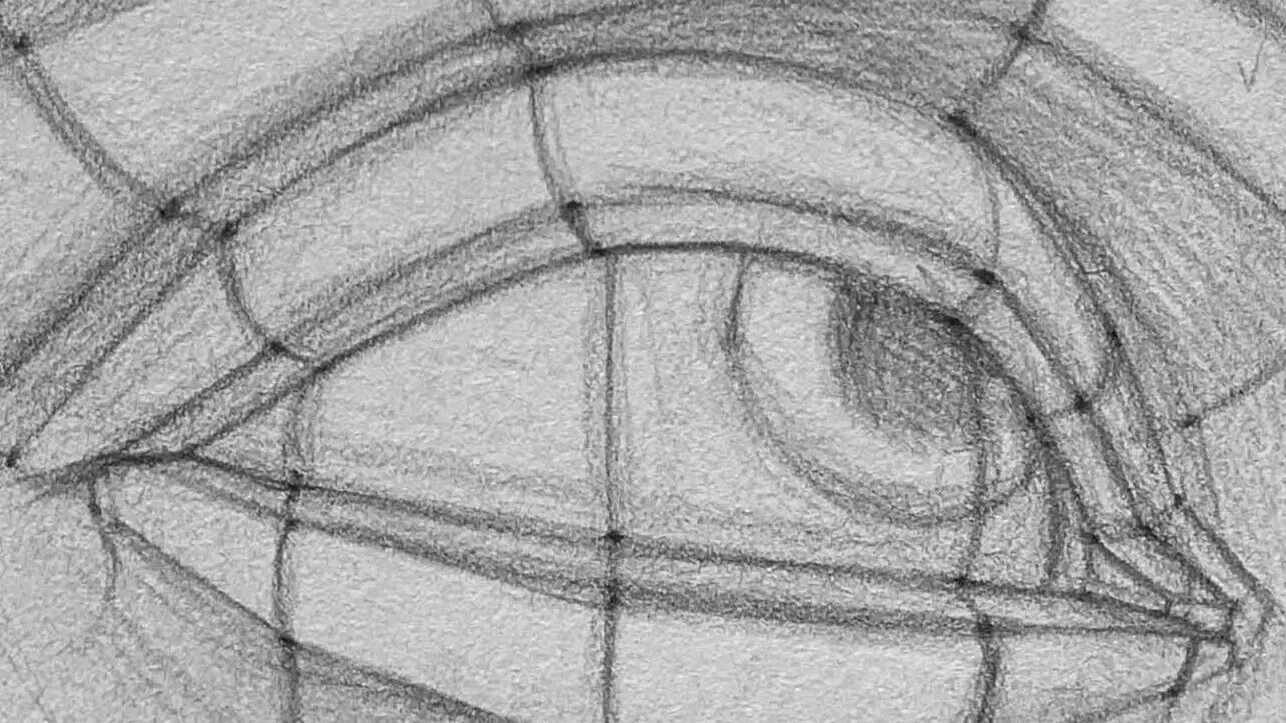
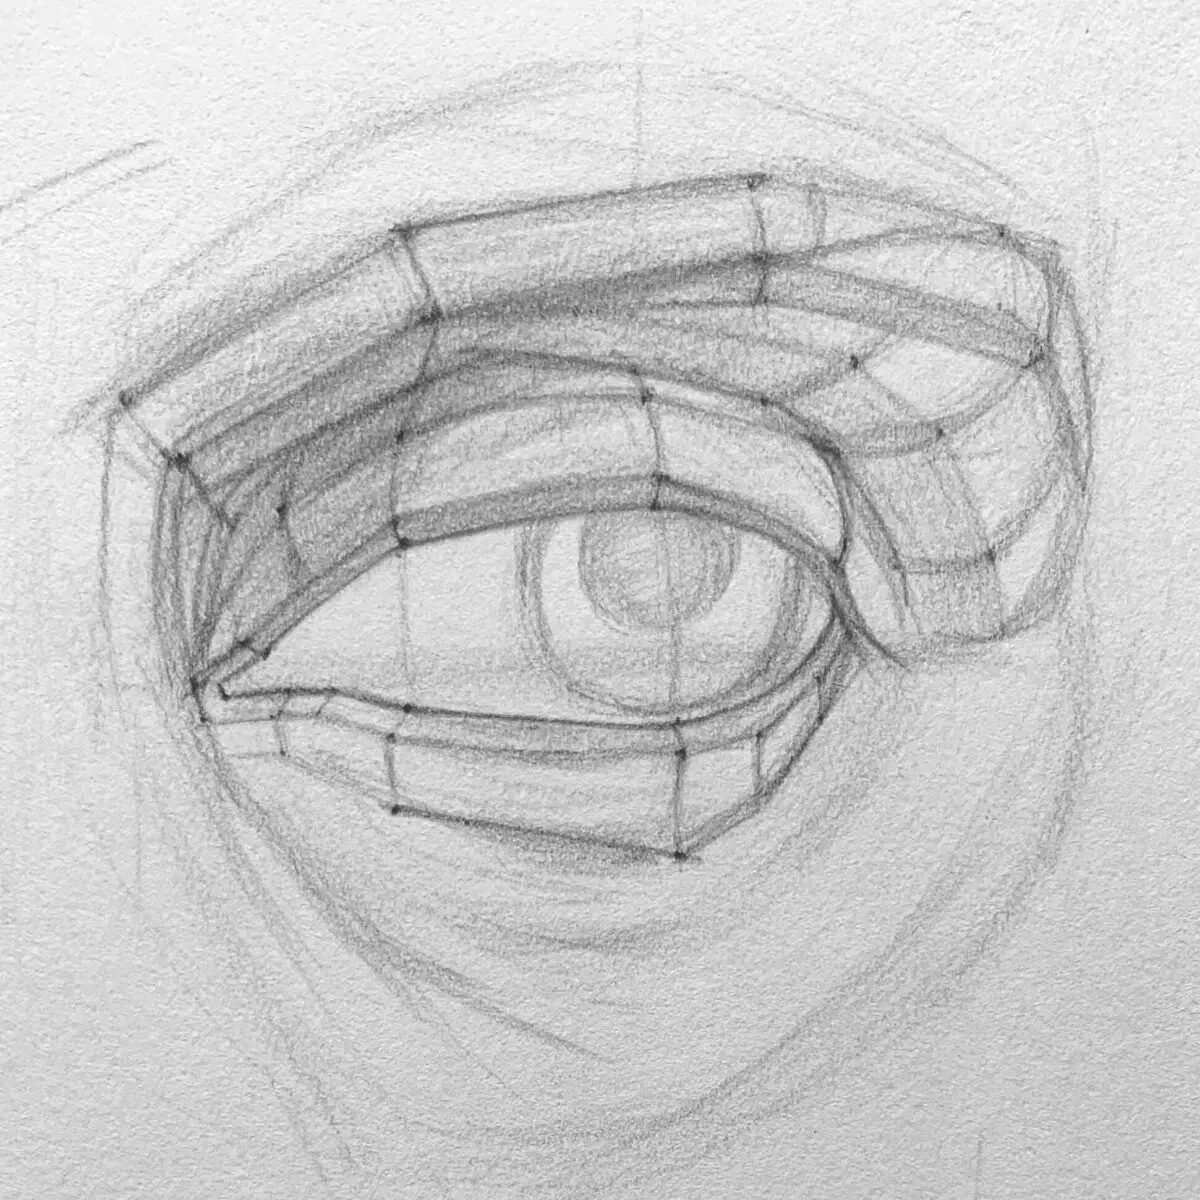
3. Gradually add details of the eyelids, pupils, etc.
Pay attention to the lightness of the lines, the front and back of the lines, and the thickness of the lines.
Clearer or wider lines can be used in these positions.
Double Eyelid Depression
Location of the upper and lower eyelid slits
Upper and lower eyelid junction
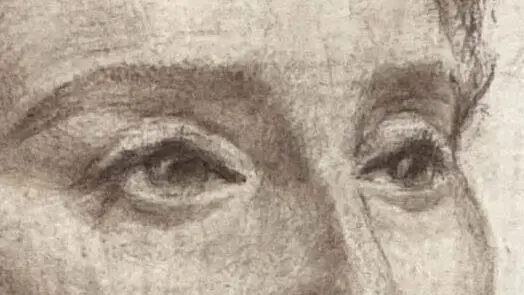
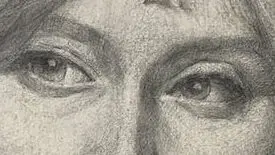
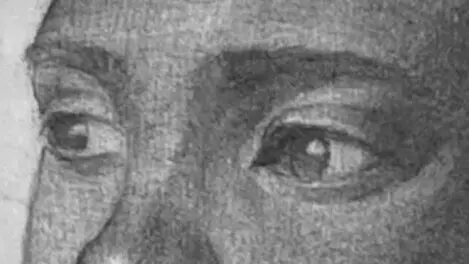
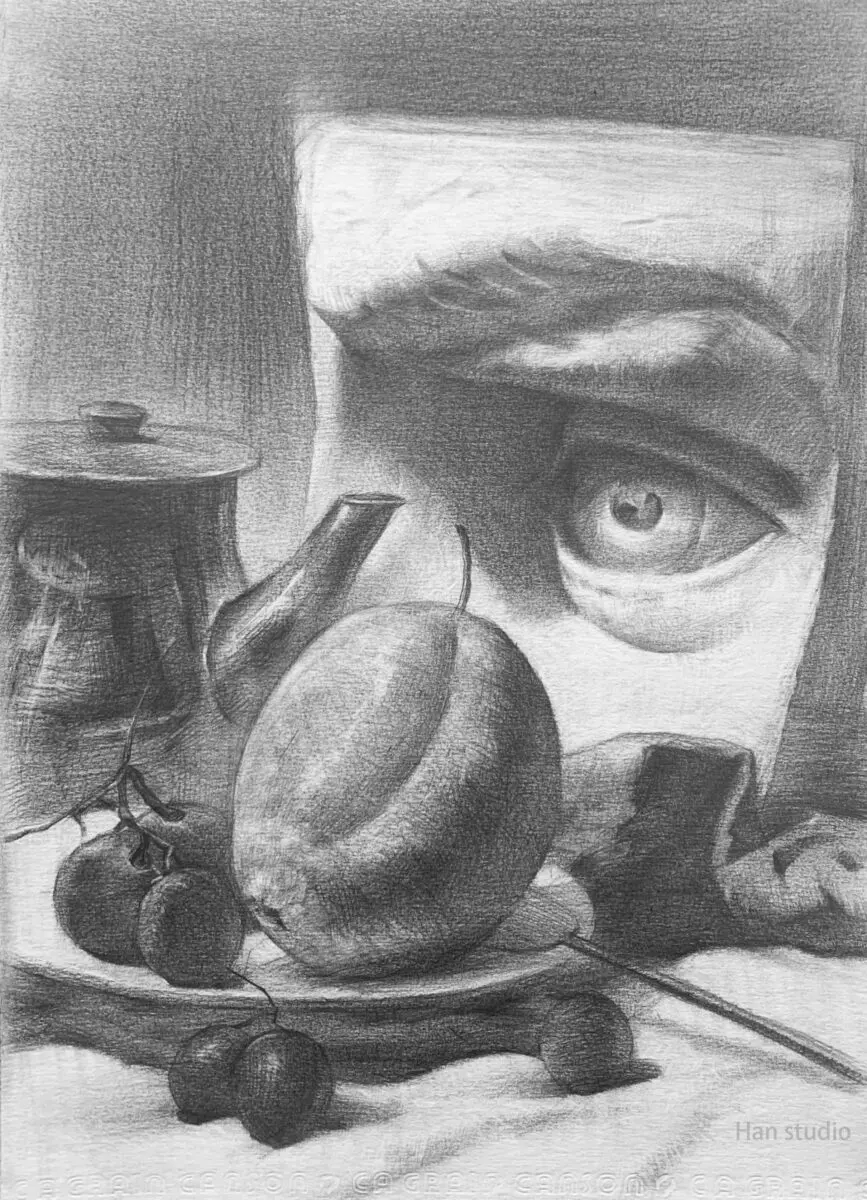
Eye Painting Stereoscopic and Lighting Processing
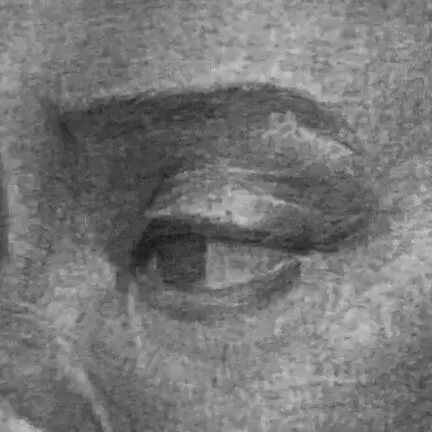
Direction of light source and light/dark relationship:
The brow bone, upper eyelids, eye bags, tear troughs, and eyeballs all create different shadows depending on the direction of the light.
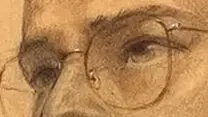
highlight position:
Mirror reflections on the eye are an important cue for the sense of sphere; note the position in relation to the light source.
Graying of the whites of the eyes:
Not pure white, need to adjust the brightness color scale according to the sphere orientation and ambient light.
Suggestions for Lining Exercises:
Starting from the junction of the sphere and the eyelid, you can practice the transition between oblique and curved surfaces.
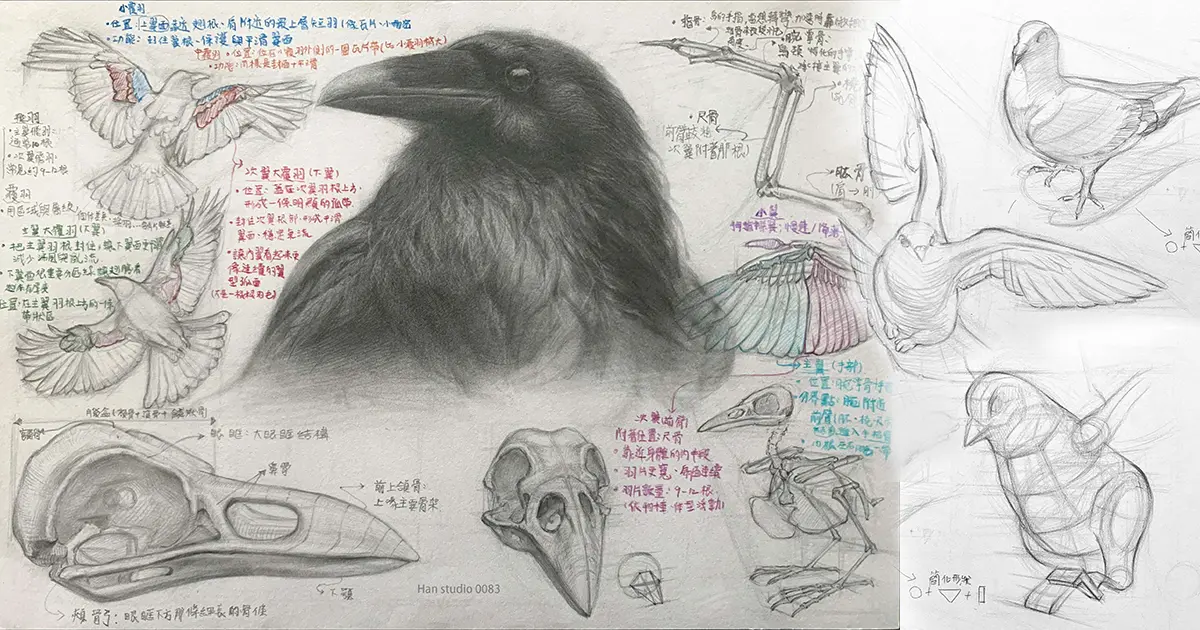
Want to learn how to draw human parts and what to know? Read more
I hope this step-by-step description can help you recognize and understand eye painting, if there are any subjects you want to see or painting methods you want to know, welcome to leave a message or private message me, wish you happy painting!
If you want to learn to draw, but don't know how to start, or are interested in understanding what drawing is all about.