- 登入
- 註冊
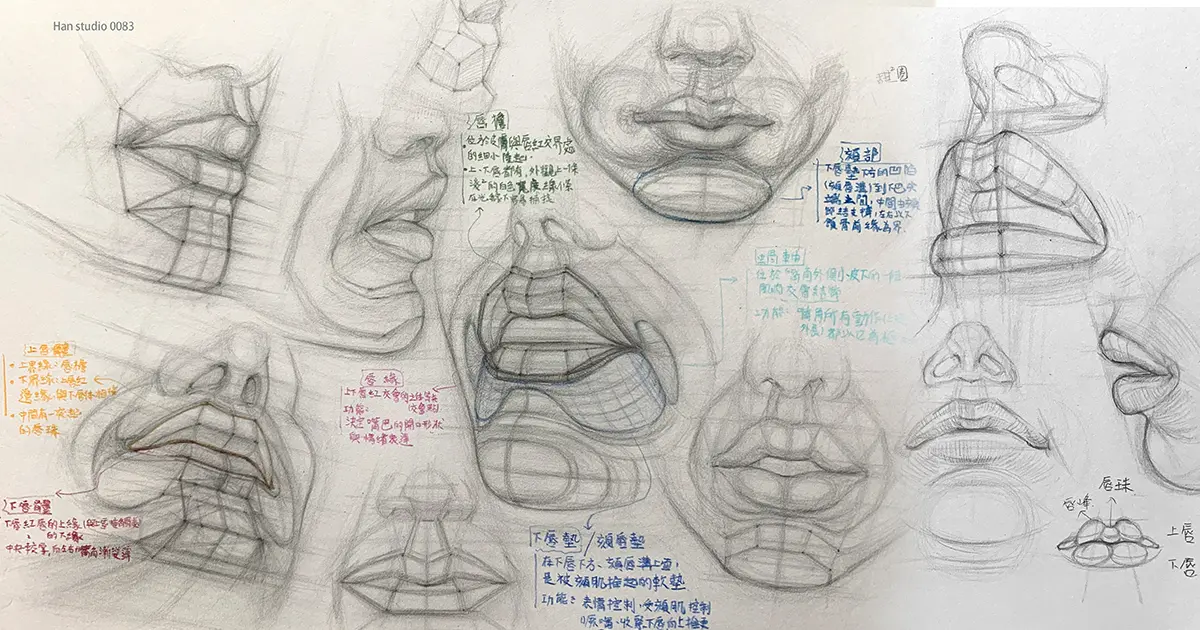
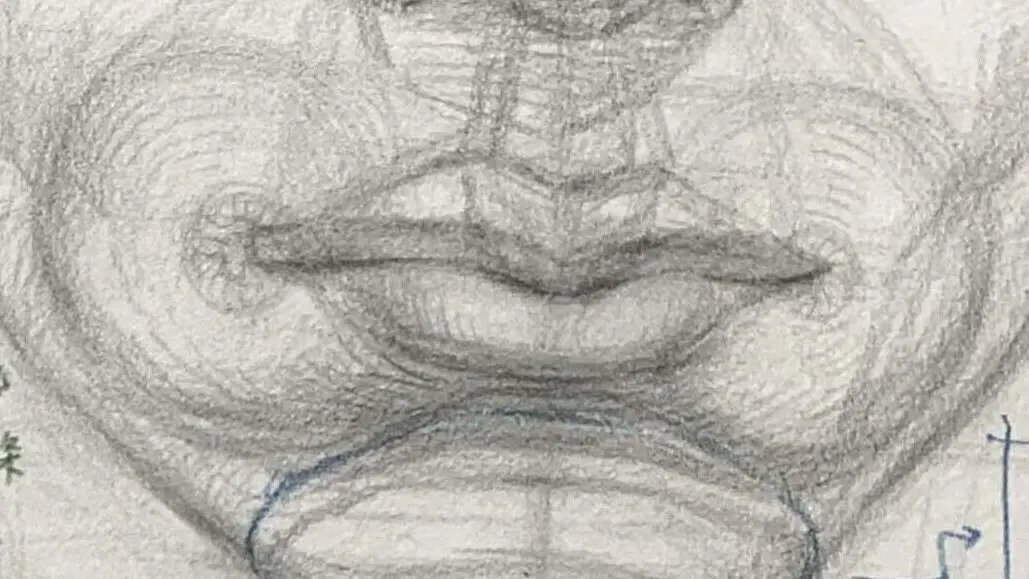
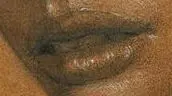
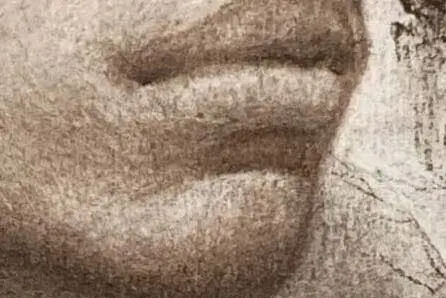
I was curious about the undulation of the muscles around my lips during the sketching process, so I organized the relevant structures and how to draw them.
By mastering the "structural pivot point" of the mouth, you can make your lips naturally three-dimensional and full of character.


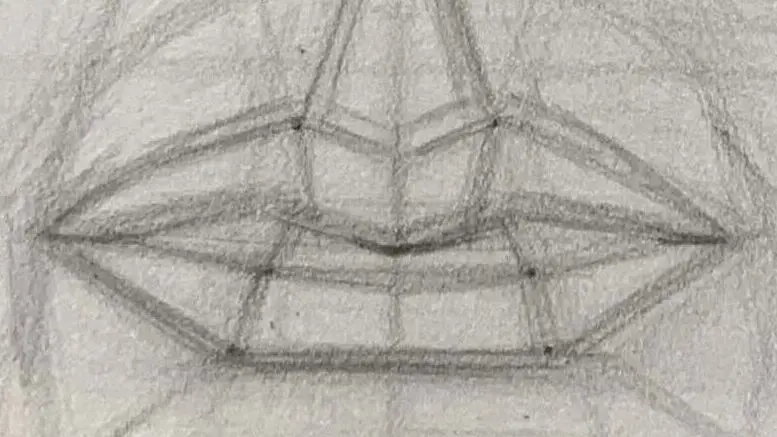
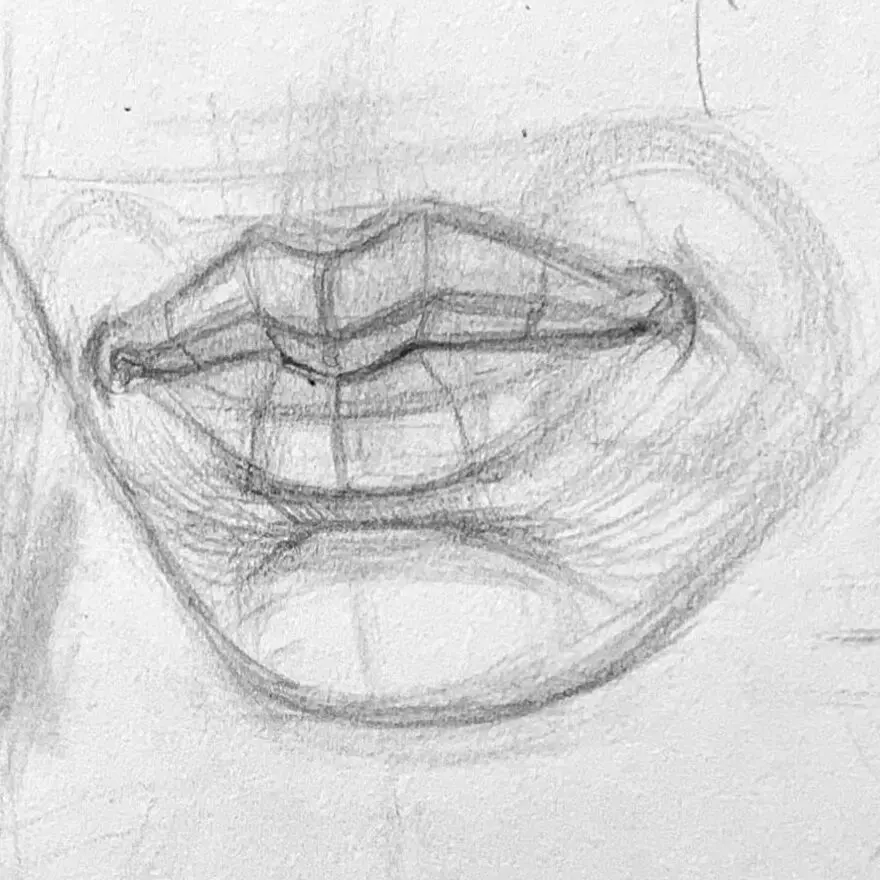
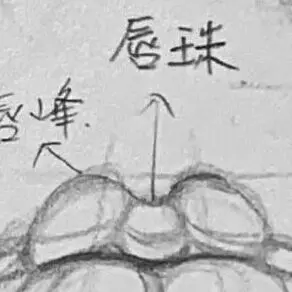
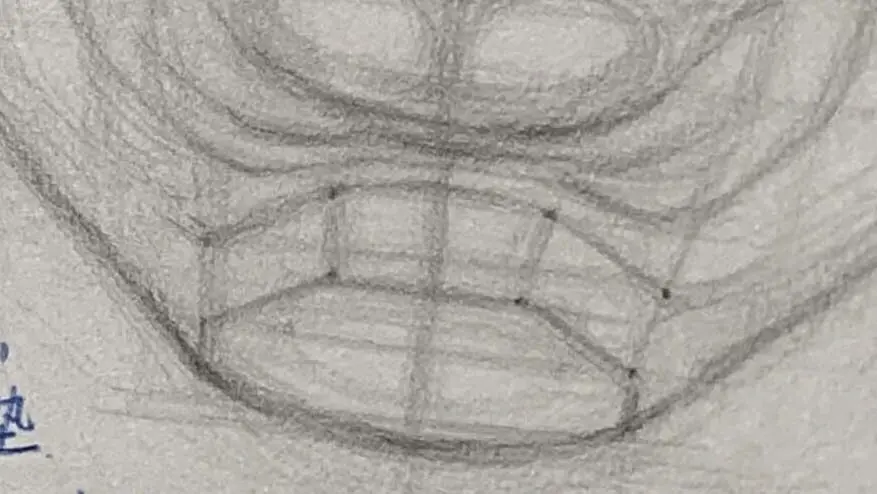
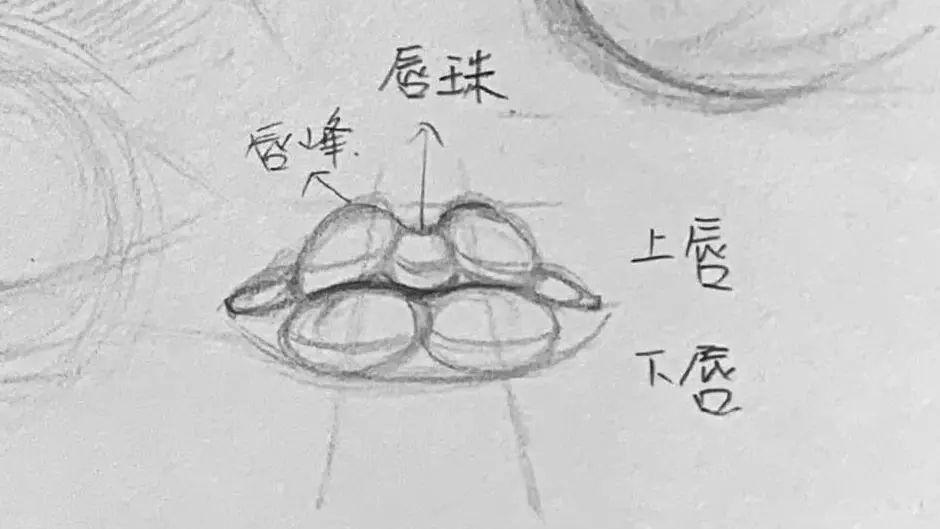
Includes lip bulb (center point), lip pier (small left and right arches), lip peak (high point of upper edge)
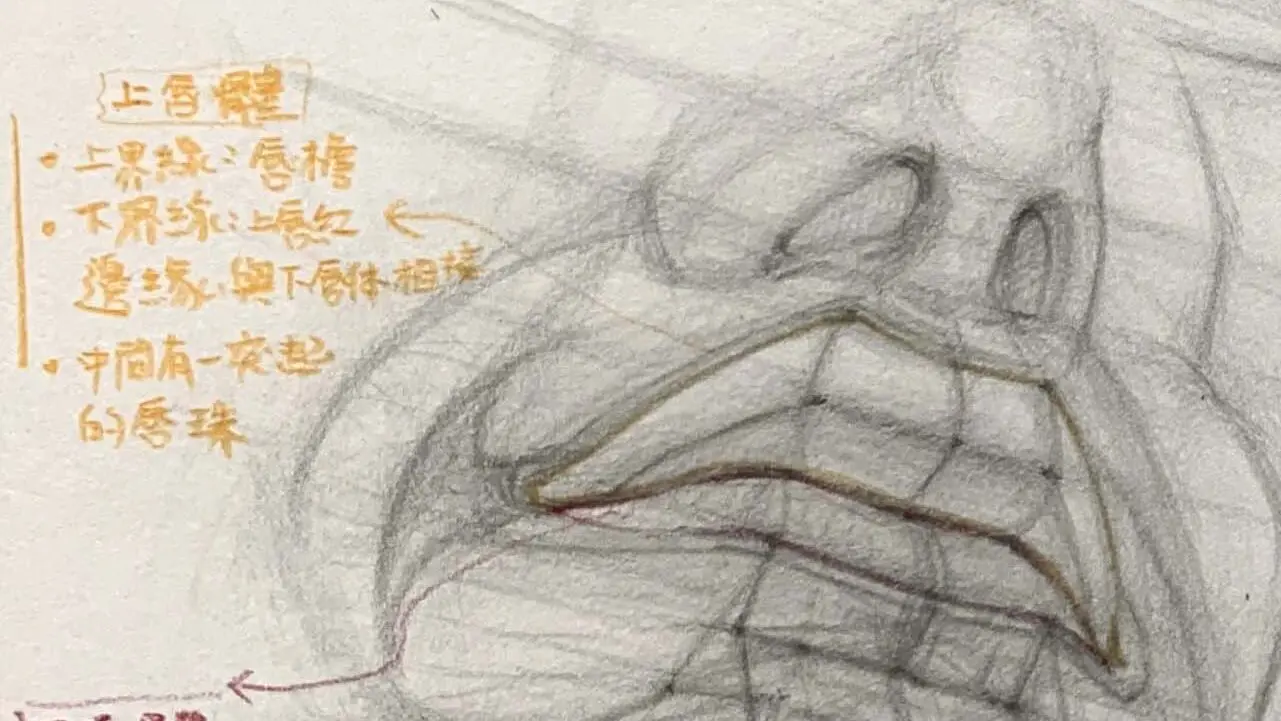
It can be interpreted as "the thickness of the upper lip red body".
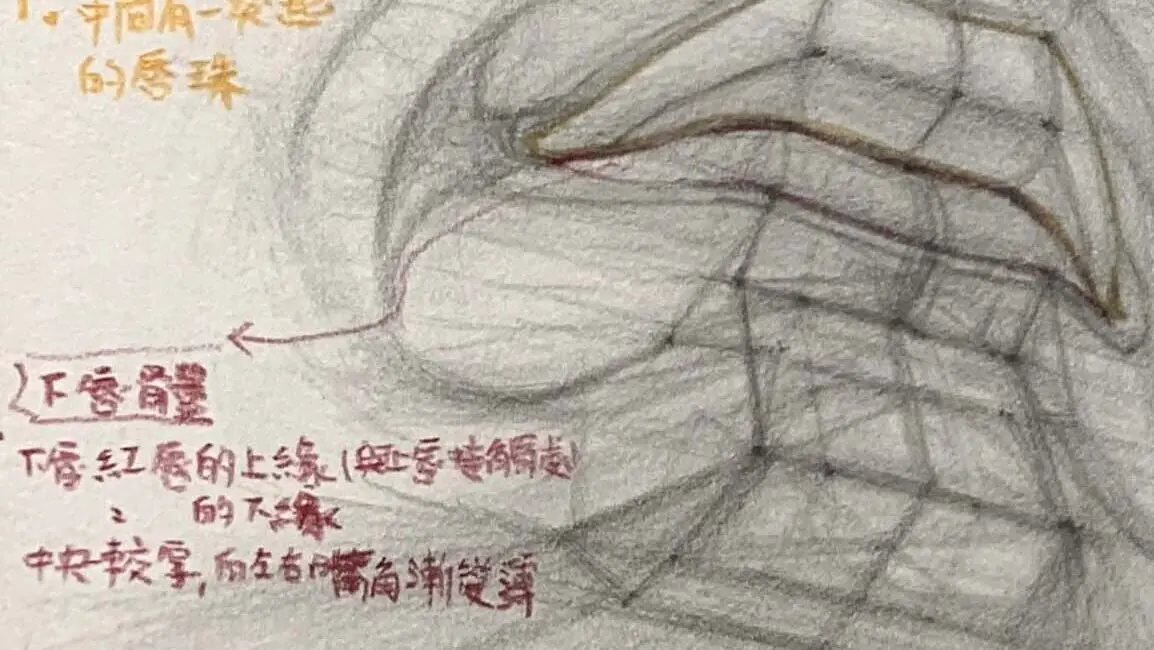
The center is the thickest and most anteriorly thrown, and the sides converge towards the corners of the mouth.
Compared to the upper lip, it is fuller, but it varies a bit, and is usually smoother and rounder, with the most protruding point just below the lip bulge.
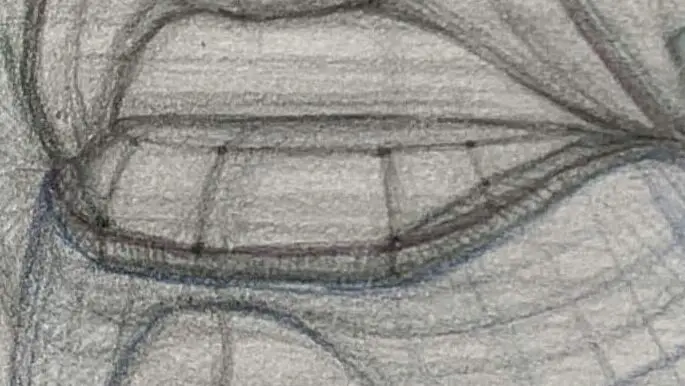
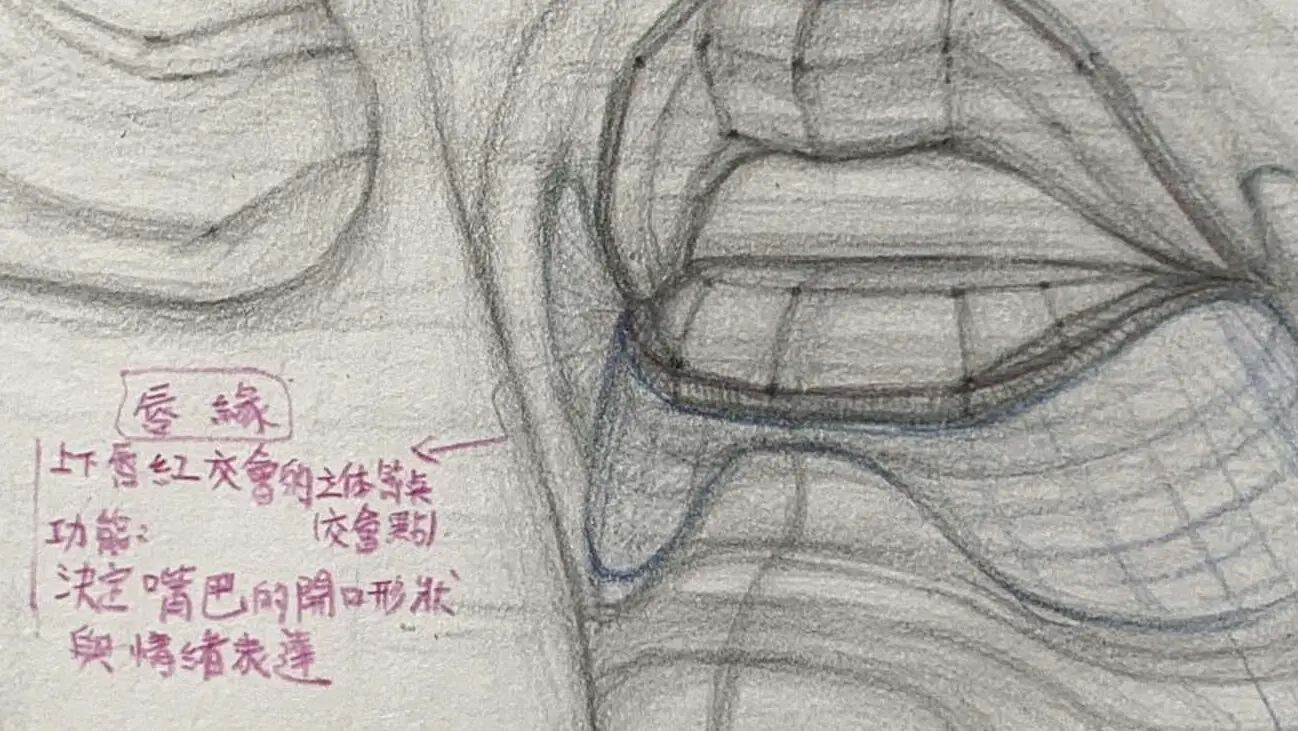
A turning point where the lips converge, dark spots and wrinkles are common.
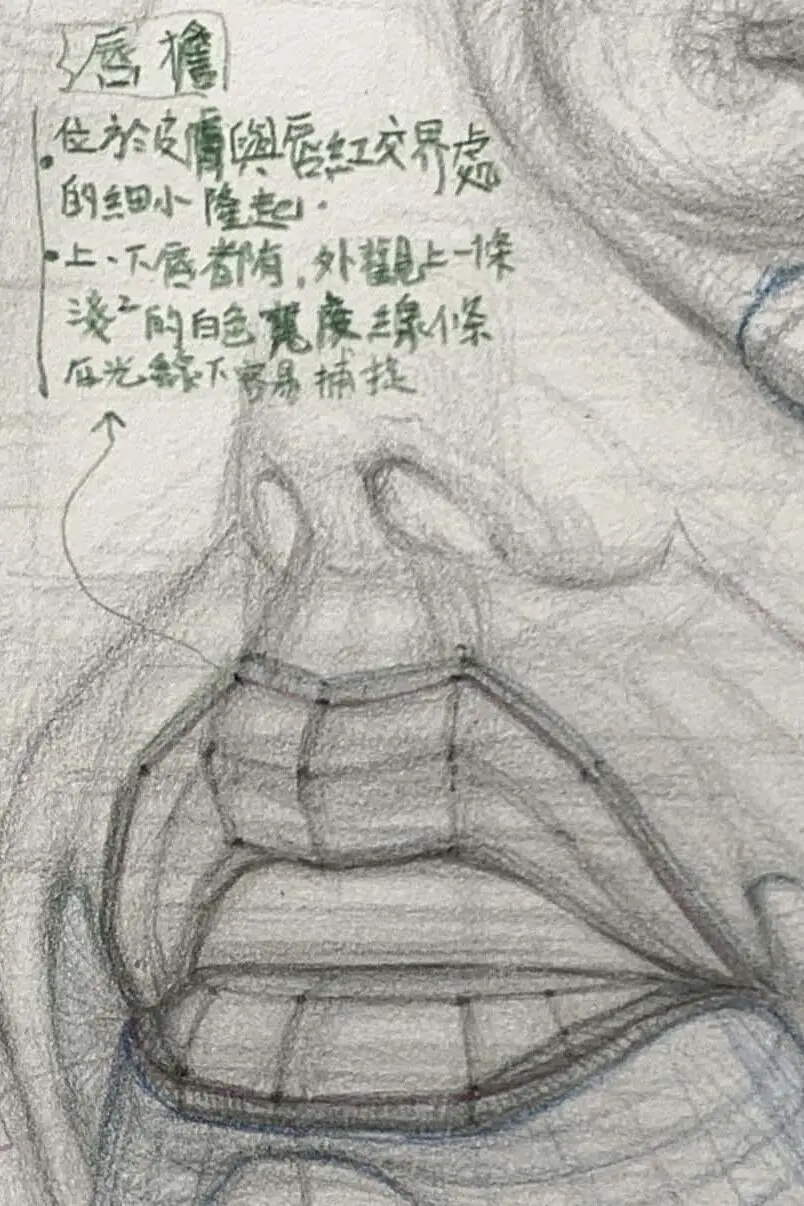
Skin between the base of the nose and the red border of the upper lip, affecting the arch of the upper lip
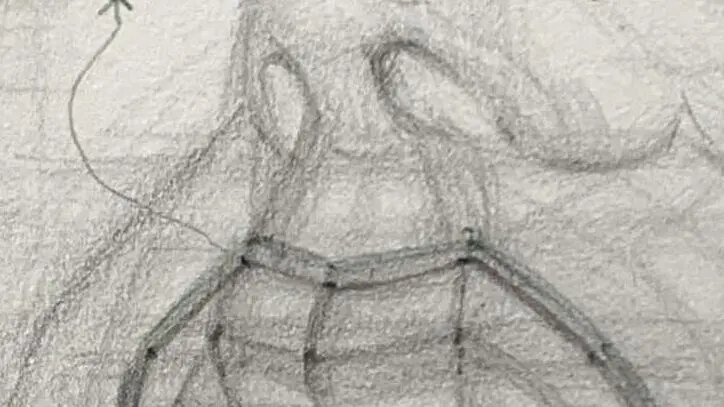
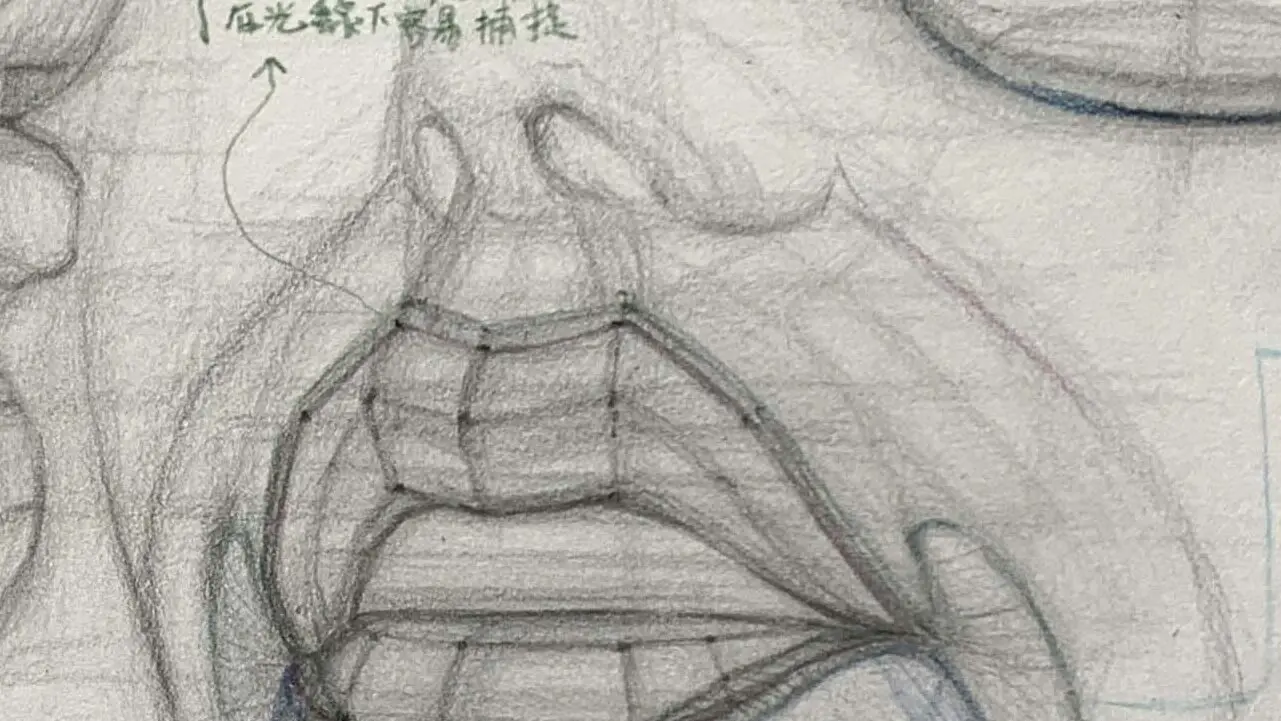
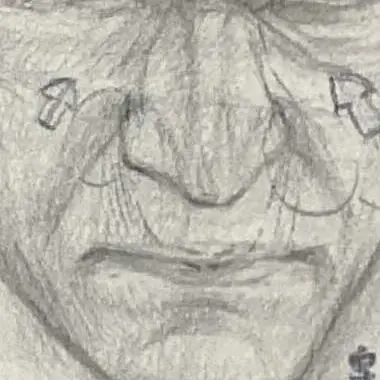
alveolar ridge: Two slight bulging lines extending down from the lower part of the nasal columella.
Shadow of lower lip and chin demarcation
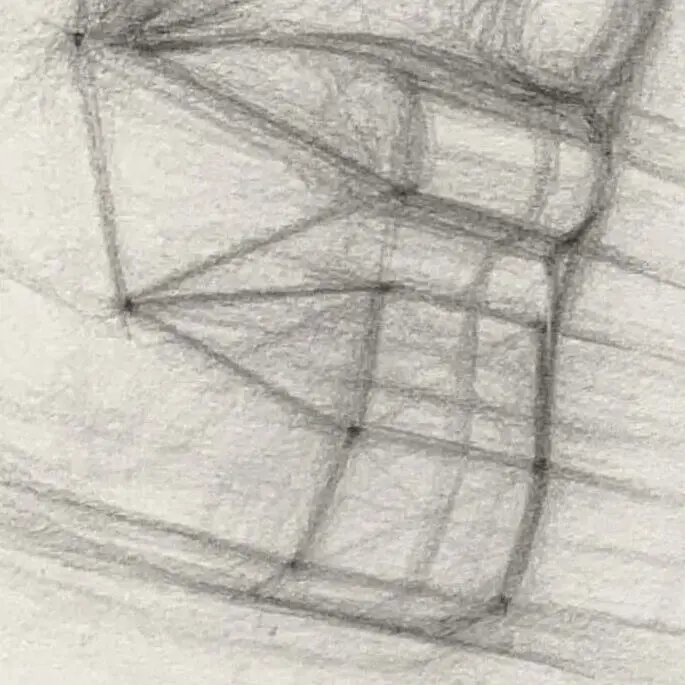
The key to lip contouring is not in the stroke, but in mastering the following pivots:
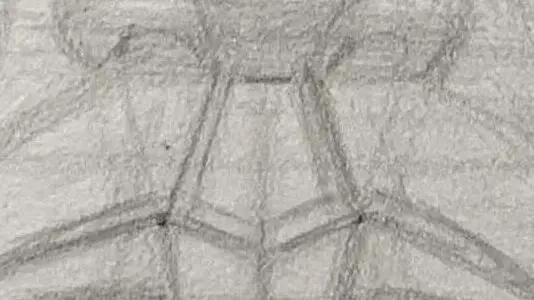
The small paraboloid in the center of the upper lip is the brightest point of illumination.
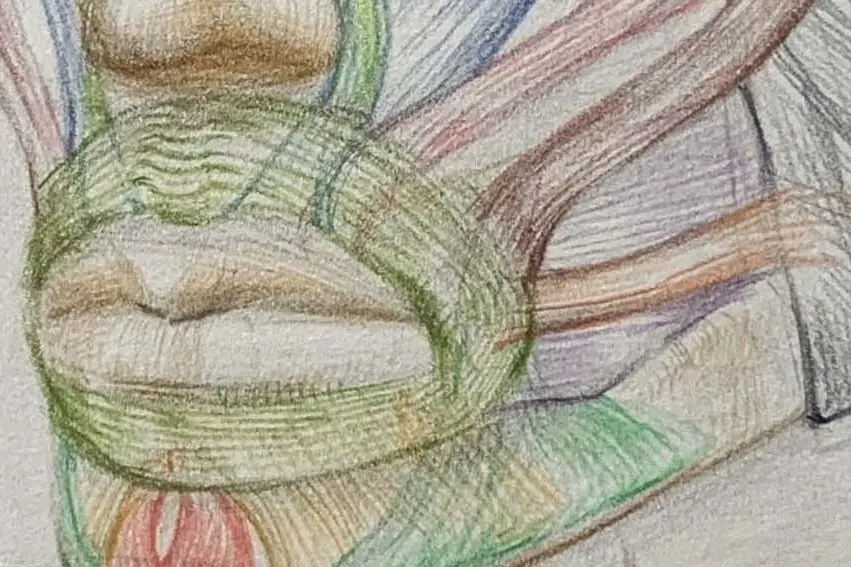
Deep: Yes Orbicularis oculi, smile muscles, levator ani, descenser ani, cheek muscles It is a "pivot point" where several muscle fibers are interwoven under the skin.
Turning line between lower lip and chin
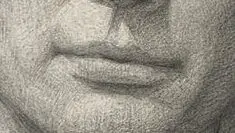
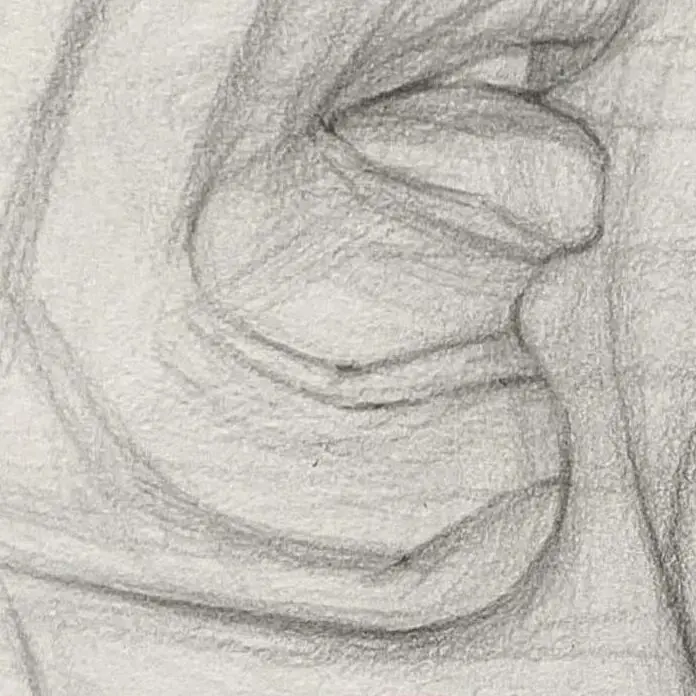
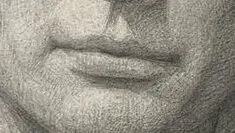
Jogging BoardIt is the "natural concave line between the lower lip and the chin", which is defined by thePoor tension at the junction of the orbicularis oculi and chin muscles.Formation.
It allows the mouth and chin to be separated, creating a three-dimensional turn, and is an important basis for realizing the structure of the mouth in portraits.
Power junction of the lower lip and chin muscles
Differential thickness of the fat layer
Thicker fat in the lower lip area and thinner chin area → a visual turnaround occurs.

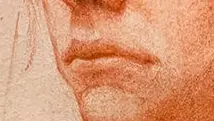
It slides from the side of the nose to just below the outer corners of the mouth, and is the main shadowing edge of the outer frame of the upper lip.
From the outside of the nose → downward diagonally → to the corner of the mouth
An important source of volume that supports the thickness of the lips
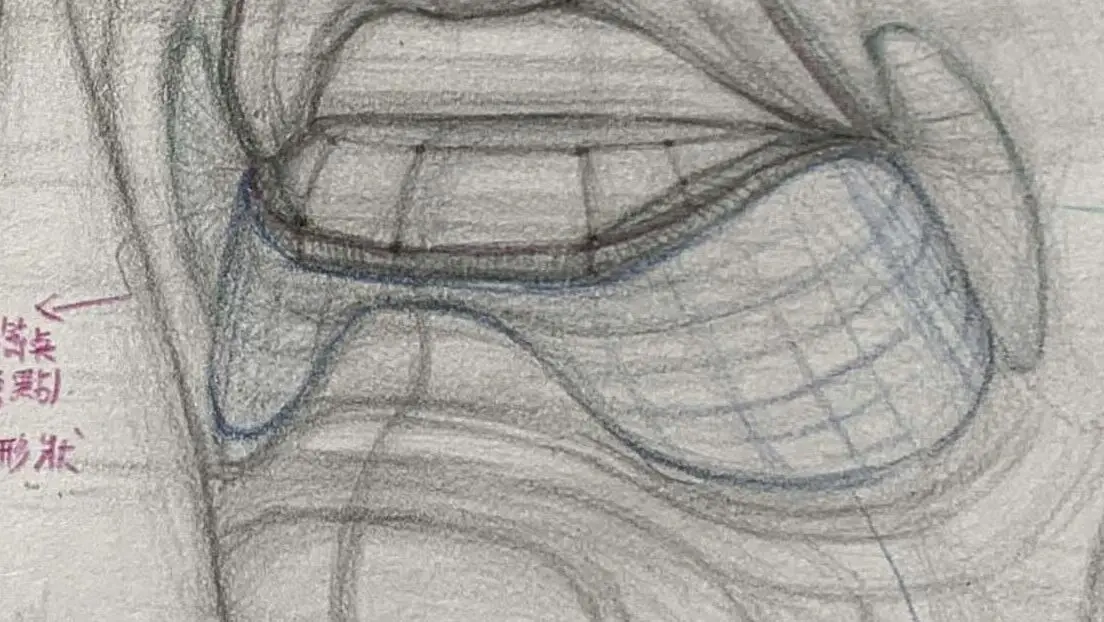
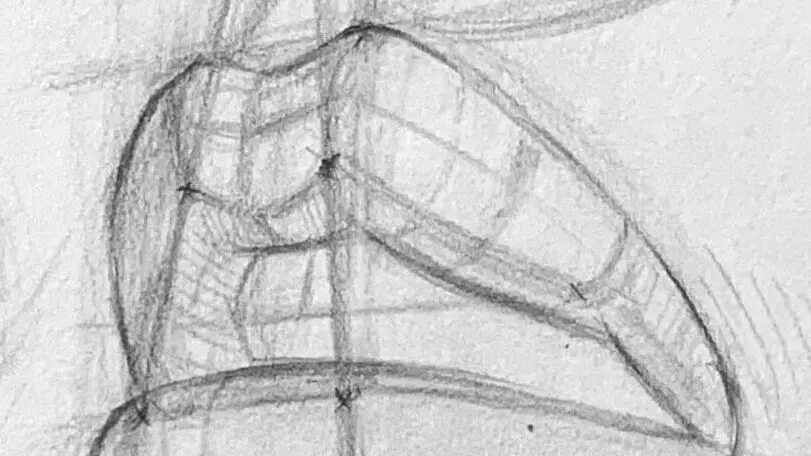
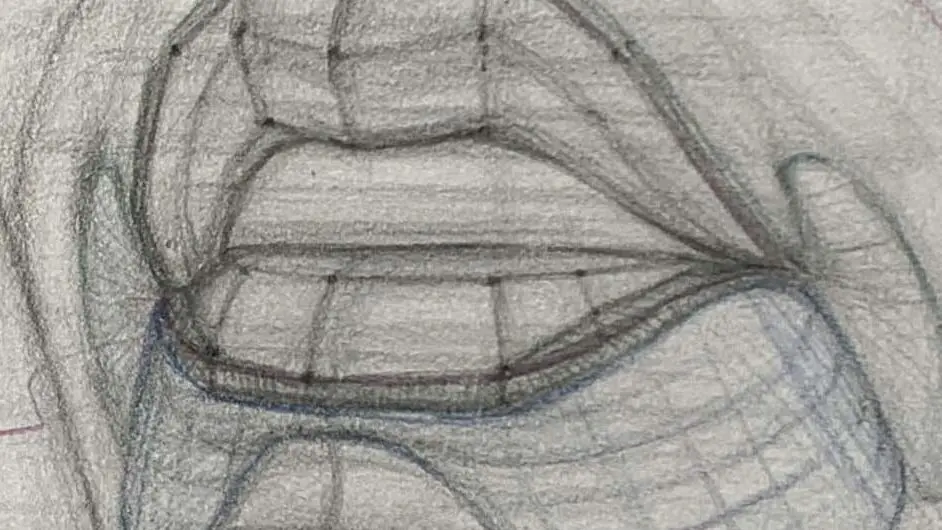
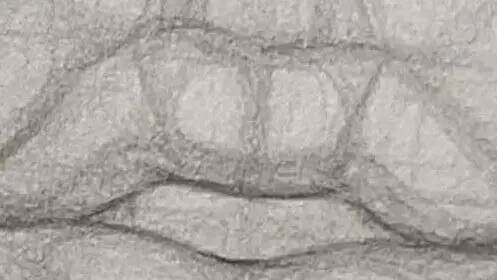
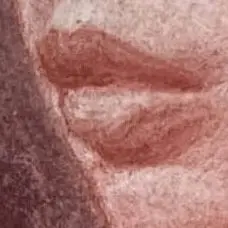
We can also divide the upper and lower lips into inner and outer layers, with the outer layer being the lighted side and the inner layer being the part that turns into the dark side. The boundary line between the inner and outer layers can be seen in the small figure in the center, a line that follows the undulation of the lip structure.
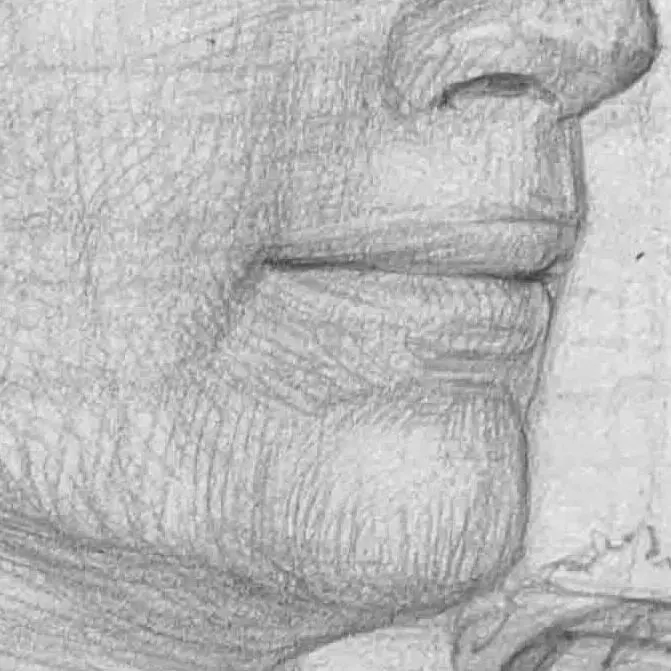
Facing downward → mostly in shadow, only the beads of the lips are brightened with lip piers
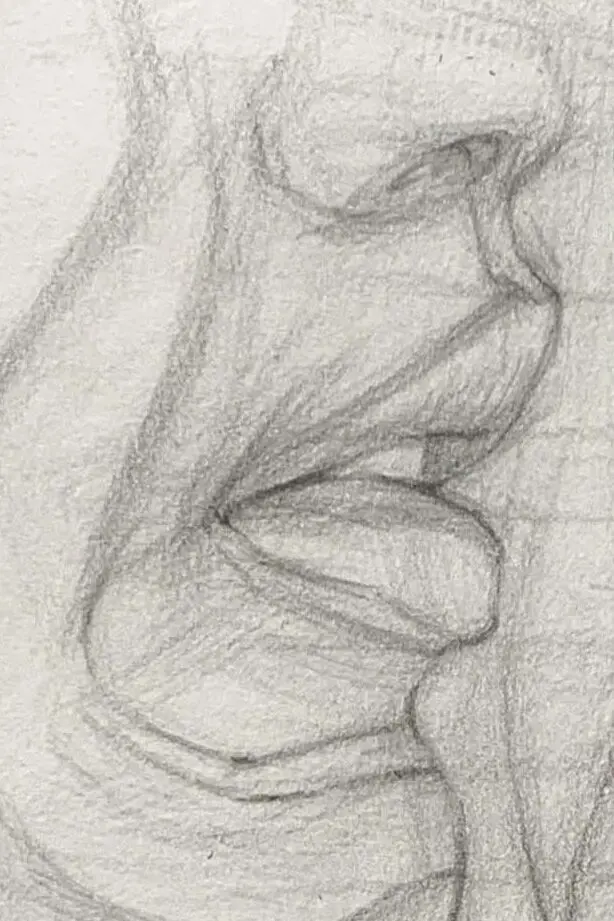
It is easier to see the turn of the face more clearly by observing the turn of the shape through the angular lips.
Transitions affect the shape and intensity of shadows.
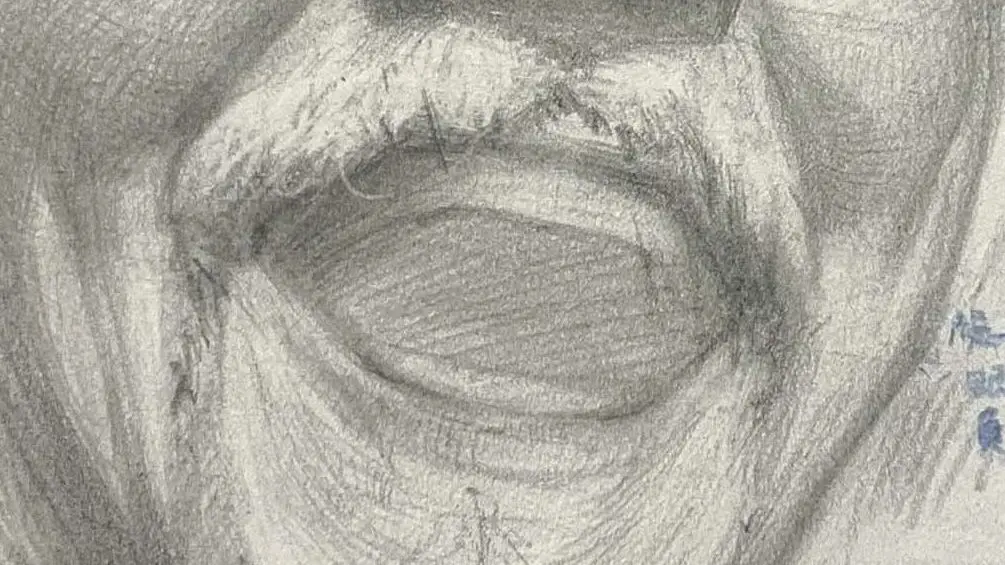
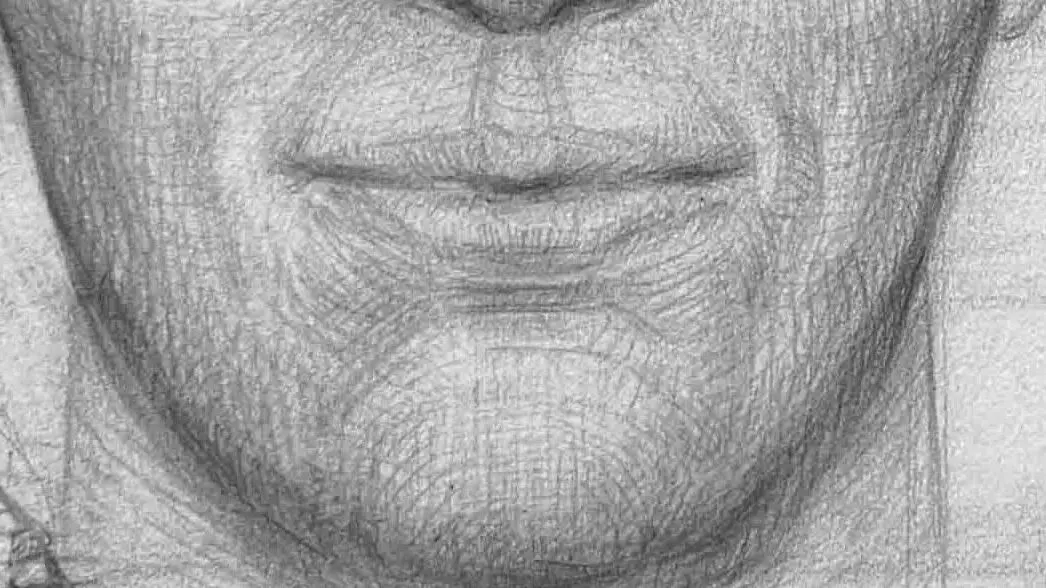
Forward facing → Center throws out the most light, lower edge has a bright band due to the chin return.
The outer border inside the lips creates a fine line of shine and moisturizing sensation.
The deepest depressions and dark spots are concentrated
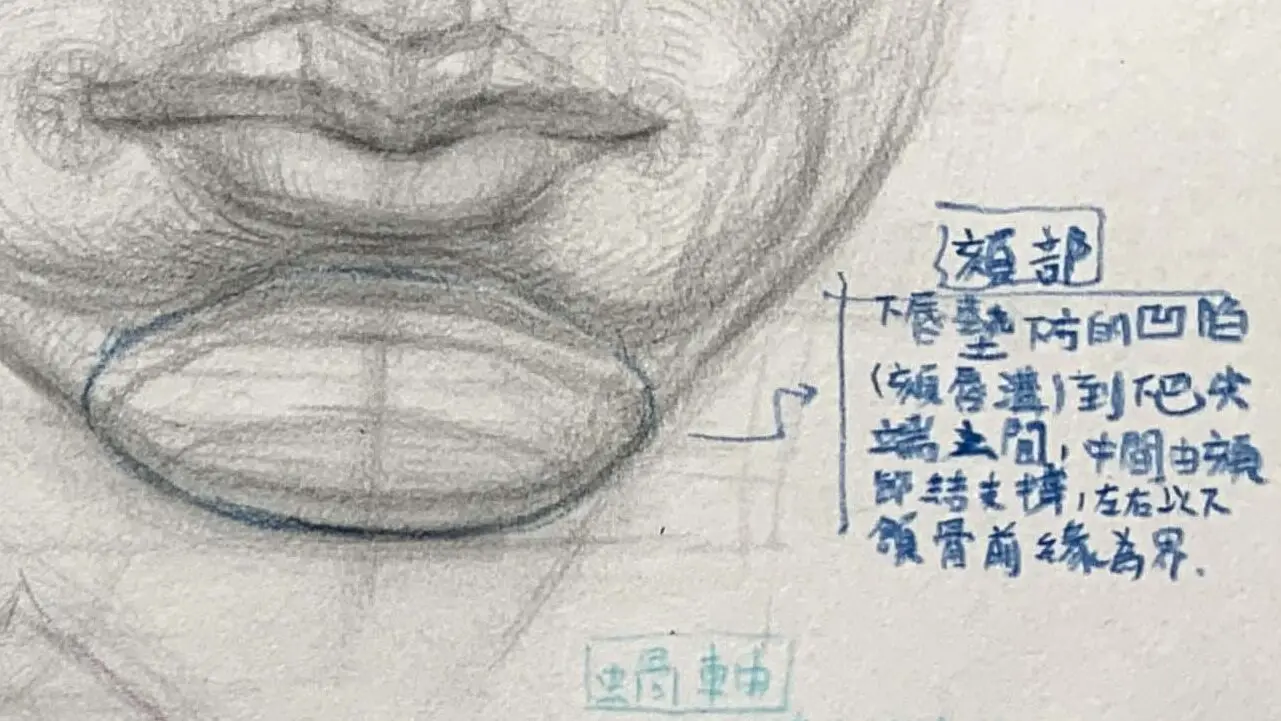
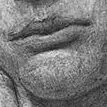
it isBetween the lower lip and chin (chin)The indentation (the projection of the lower lip) of the mouth gives a natural demarcation between the mouth and the chin.
Located:Below the lower lip node (the most convex point of the lower lip)The chin is located between the chin and the most prominent point of the chin.
Appearance: a soft horizontal concave line on both the front and side view.
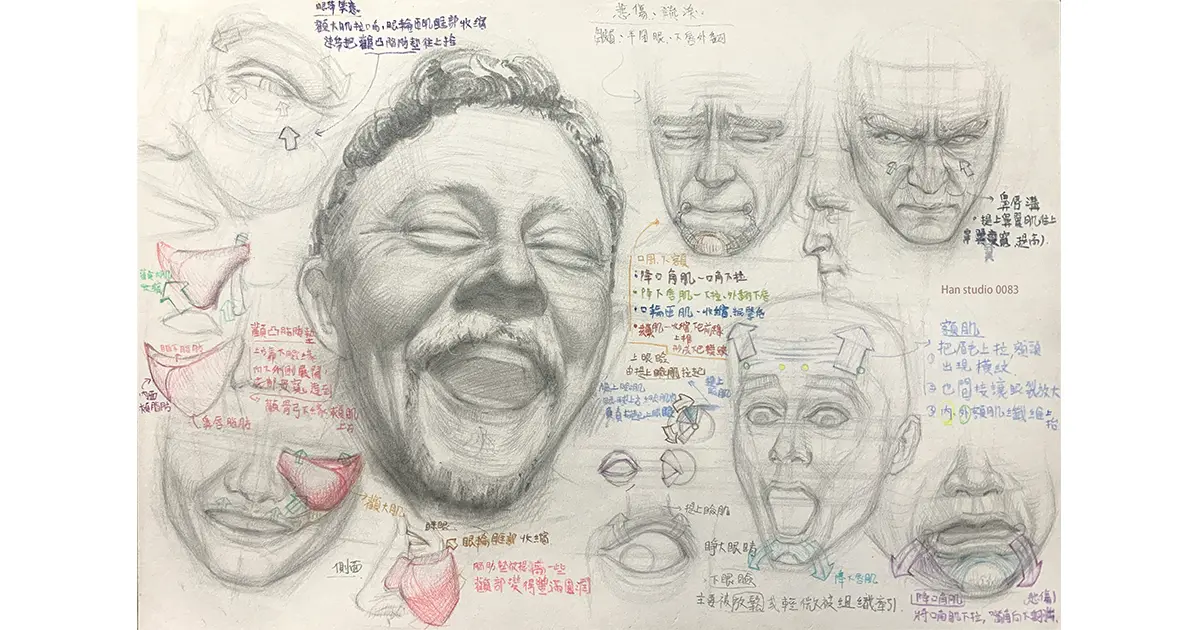
👉 Think of it as "an oval ring of muscle", with the peripheral muscles acting as the strings that pull the rubber band around the ring.
For a more detailed understanding of the undulation and position of the muscles around the mouth, check out this article. Facial Muscle Focus Organizer
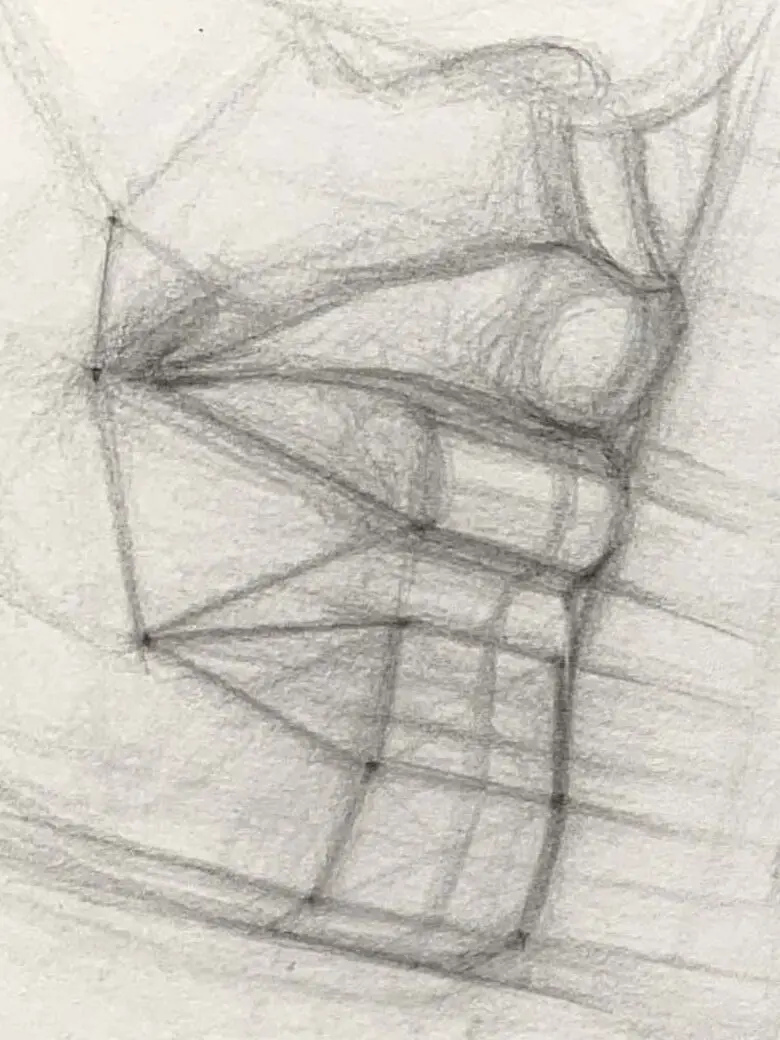
We have simplified the shape of the beads and lips into circles and ovals.
Pay attention to the size relationship between each other and draw the contours of the upper and lower lips, making sure that the center lines of the lips are aligned.
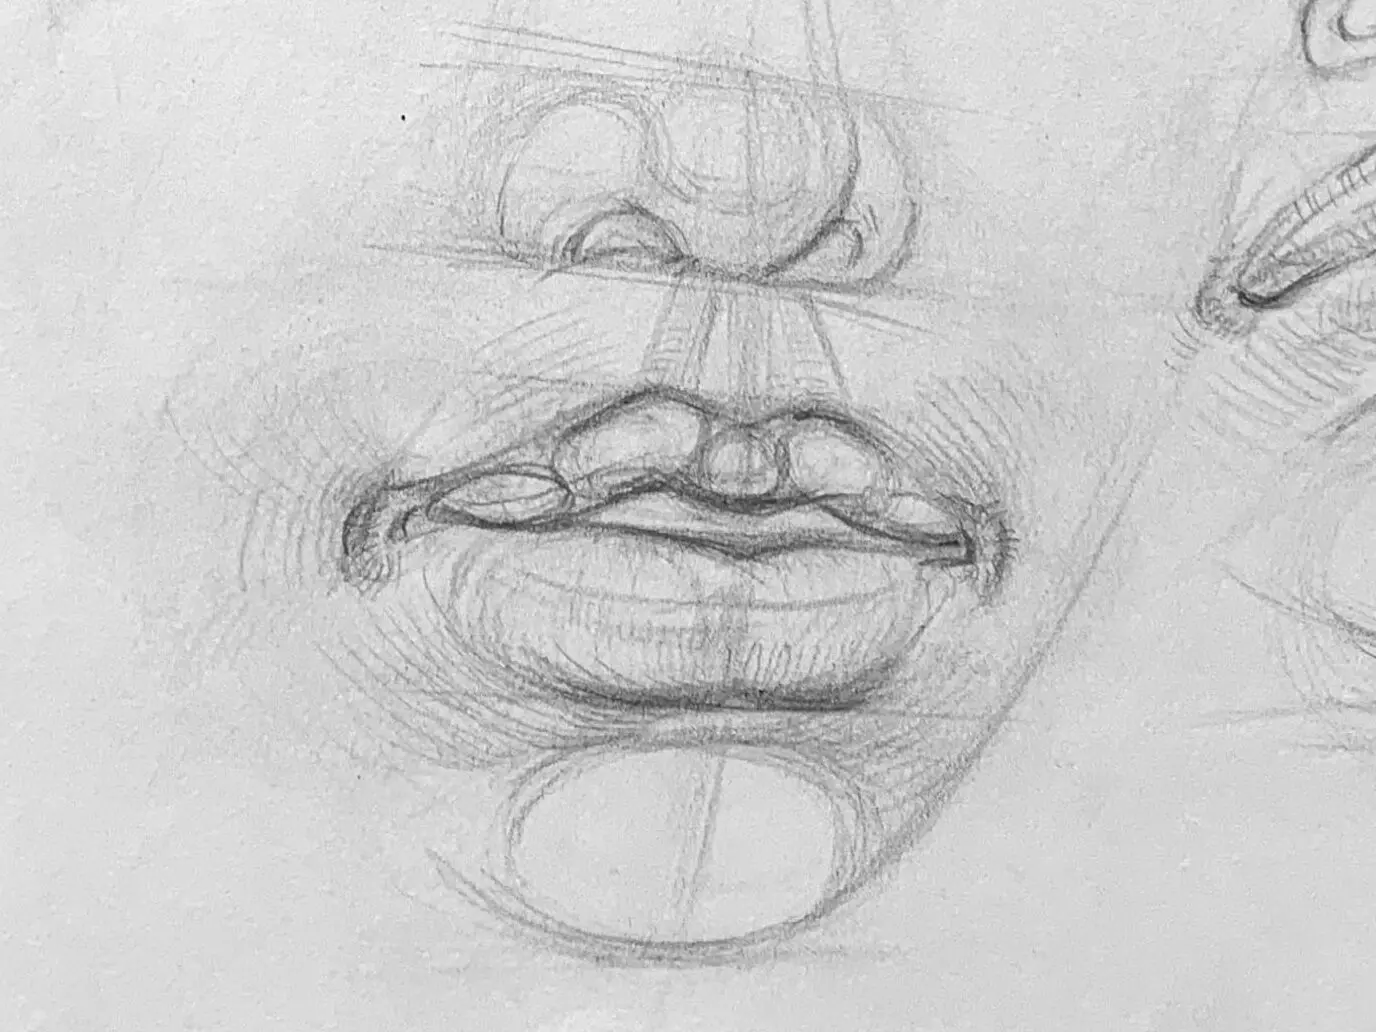
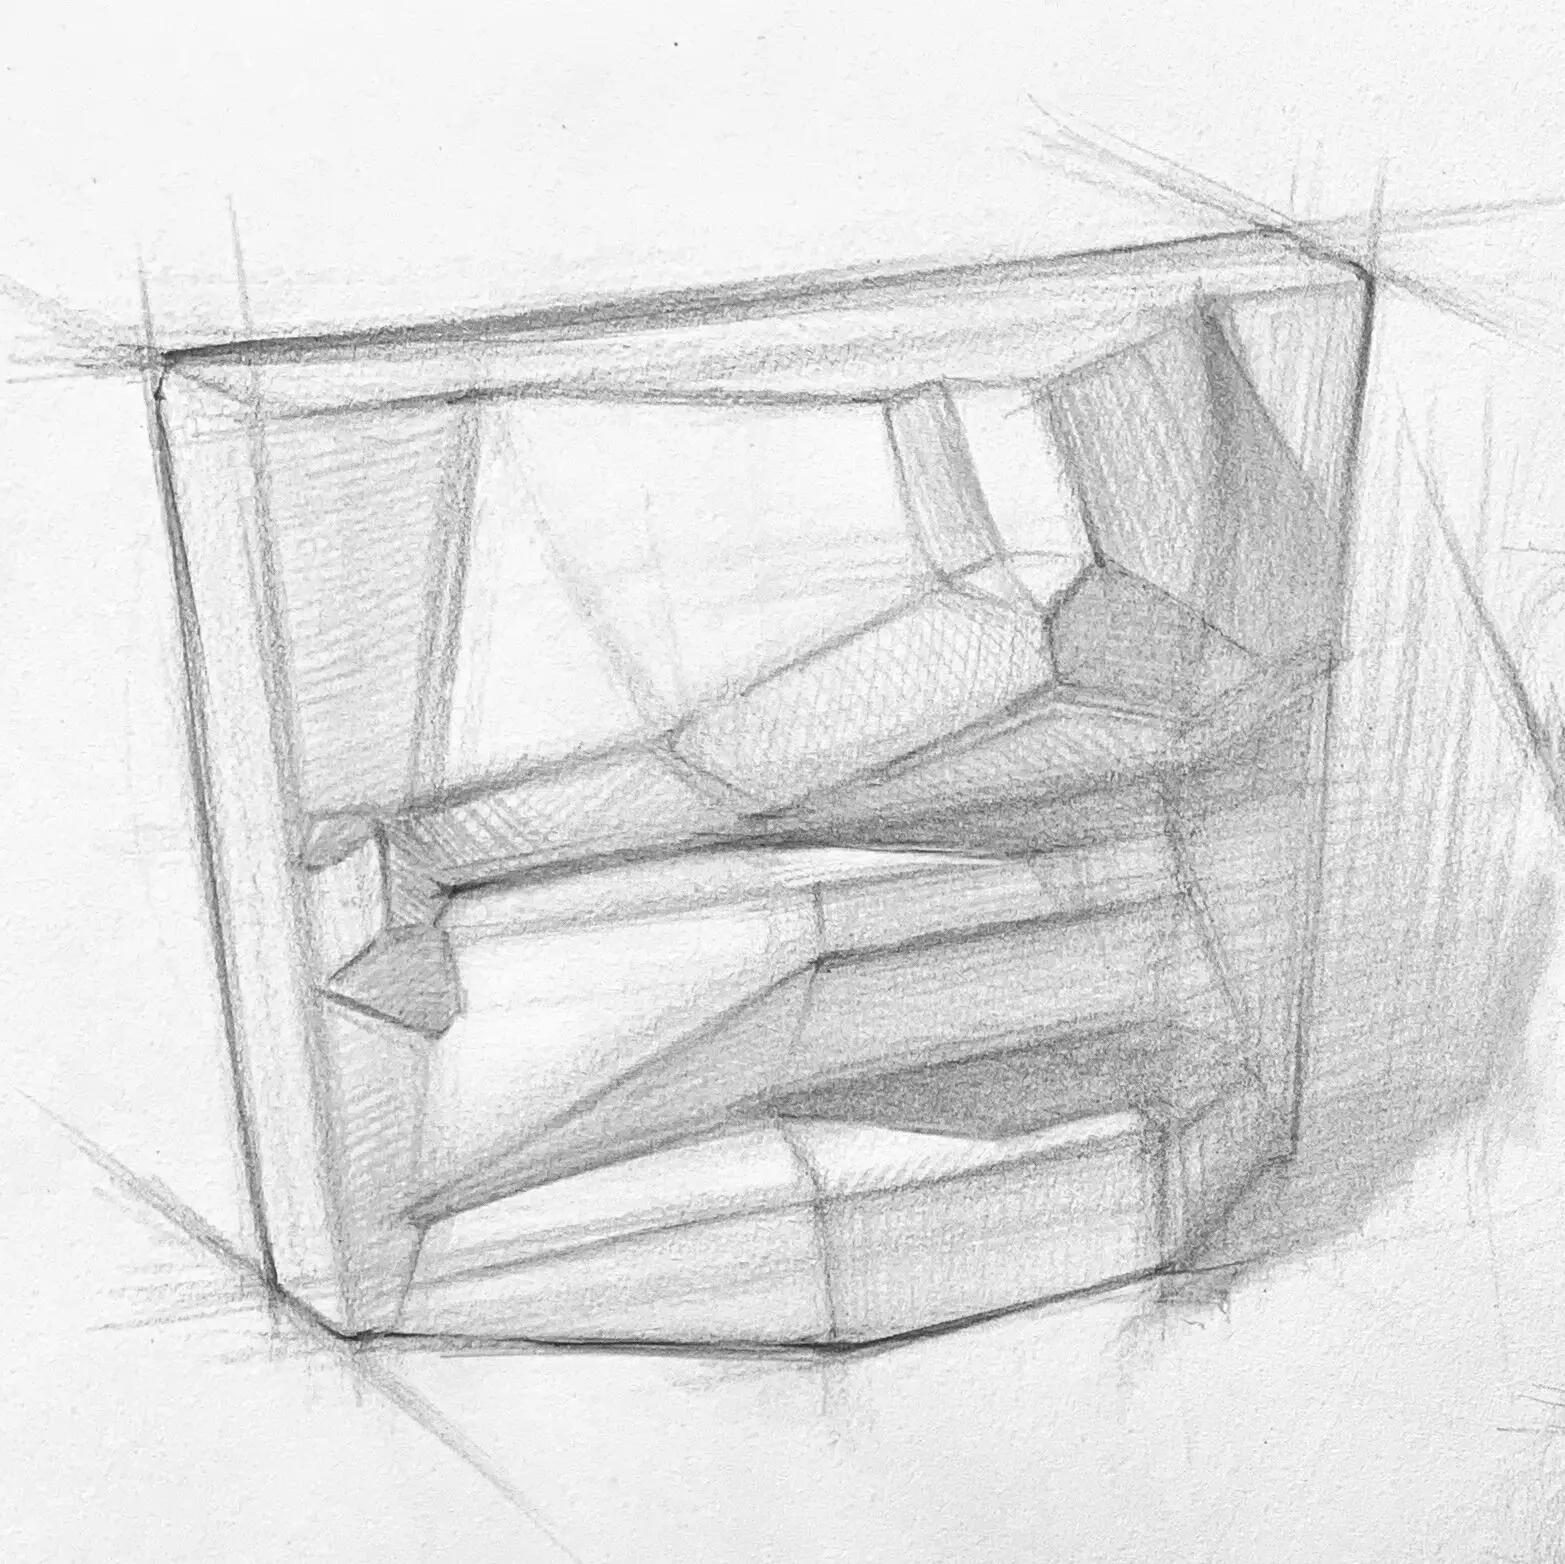
After the shape is completed, details such as the undulations on the lips are refined, and finally shadows are added to show the three-dimensionality of the lips.
After drawing the lips, use a soft line to show the muscles around the lips.
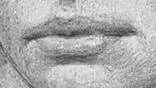
The mouth is not a simple line, but a three-dimensional structure made up of "pivots" and "blocks".
As long as you understand the key points of the lip bead, lip pier, corner of the mouth, and chin-lip groove, and observe the changes in the rhythm of light and shadow, you will be able to draw the lips with naturalness and thickness, making the character more realistic and expressive.
I hope this introduction can help you recognize and understand the knowledge of lips, if there are any subjects you want to see or painting methods you want to know, welcome to leave a message or private message me, I wish you a happy painting!
If you want to learn to draw, but don't know how to start, or are interested in understanding what drawing is all about.
Welcome to join line Contact meIn my classroom, I organize the way I learn to draw in a clear and organized way.
Click here to learn more about the Painting Program
Introduction to Arm Painting: Detailed Analysis of Skeletal Simplification and Movement Mechanisms
How to Draw Ears:Simplified Ear Structure and Shading Tips
How to Use Two-Tone Shading: Simple Shadow Techniques
Facial Muscle Structure Analysis: Enhancing the Stereoscopic Sense of Figure Sketching
How to accurately grasp the proportions of the hand and sketch the structure of the joints.
Mastering Nose Structure and Perspective: A Basic Analysis of Painting Still Life Compositions
Portrait Sketching Tips: Three Keys to Understanding Head Structure
From Simple Contours to Detail: Mastering the Sketch of the Eye