- 登入
- 註冊
Continuing last week's extension of the skull structure.
I often wonder where to start when I'm sketching a portrait.
Wanting to know the shape of the shadow and the hidden structure behind it, I started to organize information about the structure and muscles of the portrait.
If you have the same confusion, or are interested in understanding the skull, read on!
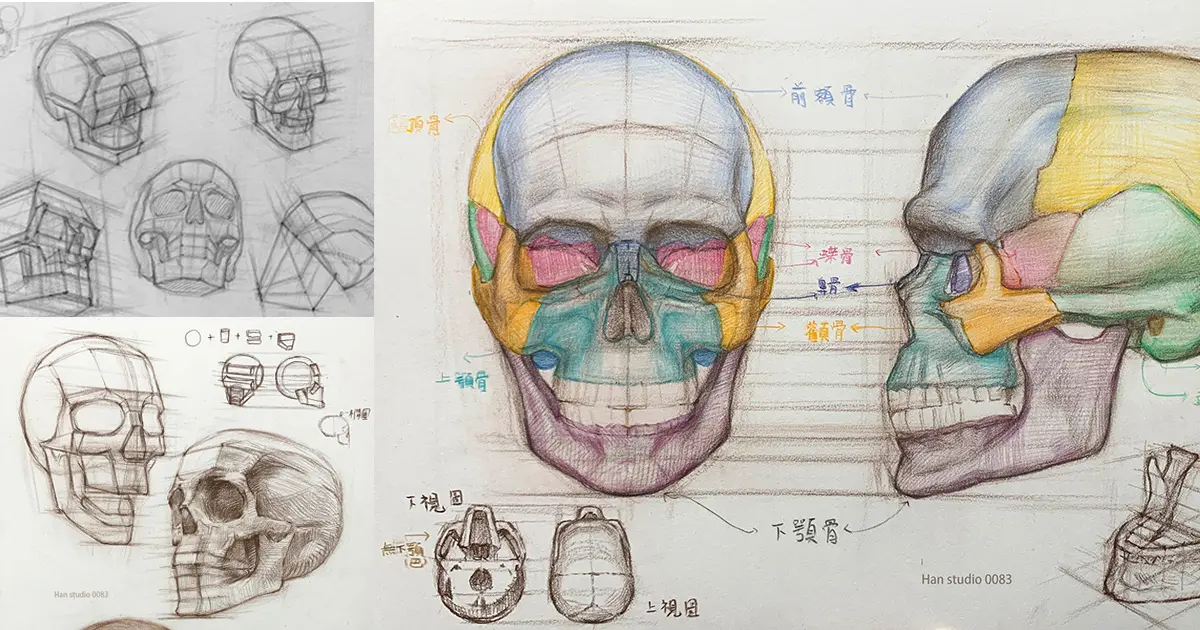
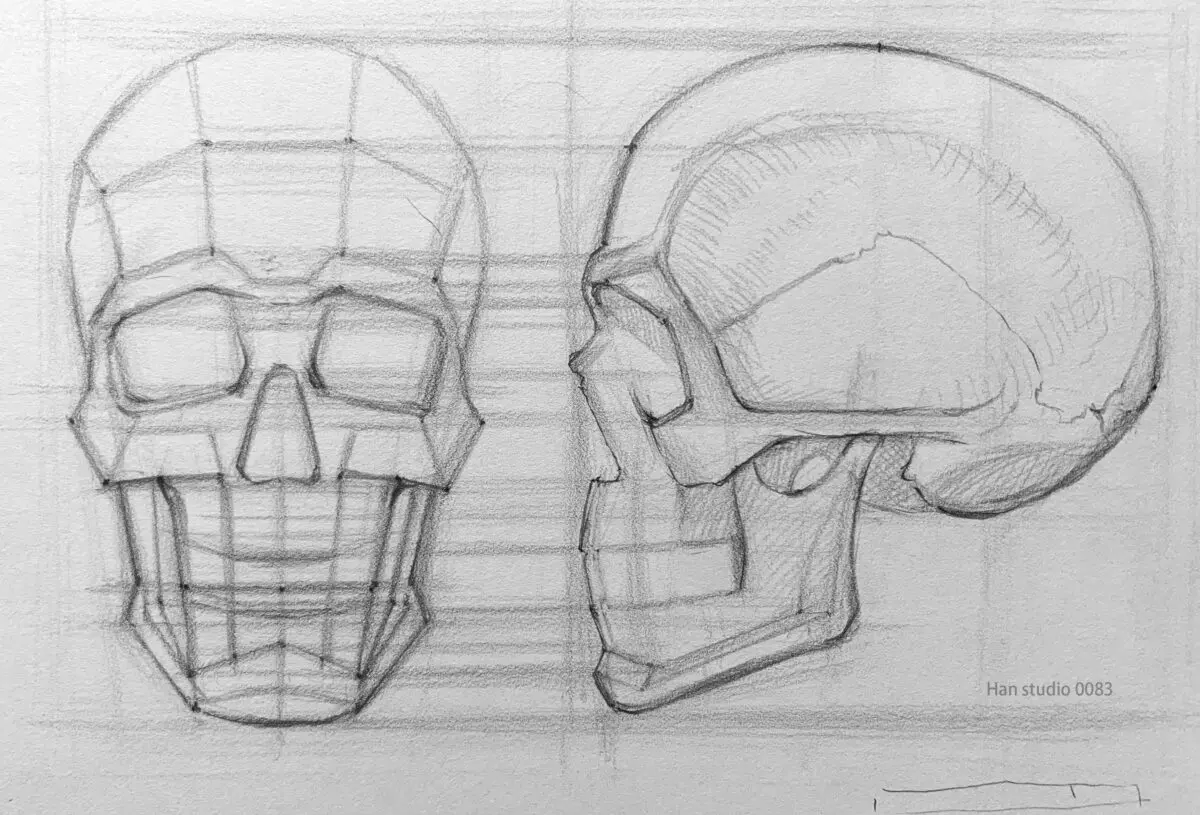
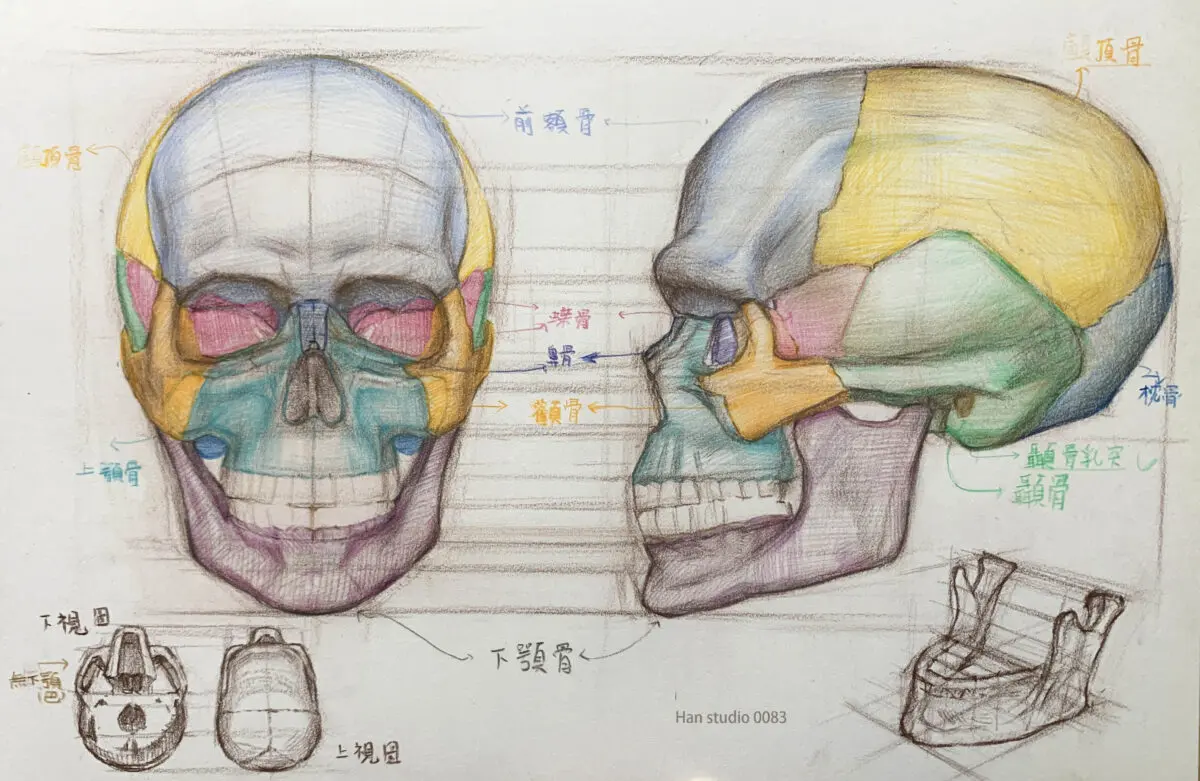
The skull is the skeletal foundation of the human head, and understanding the structure of the skull can help us to.
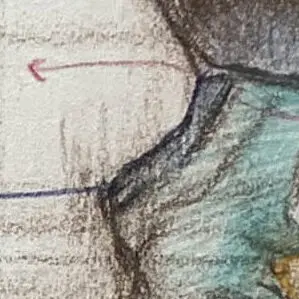
It is located on the forehead and supports the forehead and the upper part of the eye socket.
Observe the relationship between the frontal bone and the eye sockets, especially the curvature of the frontal bone.


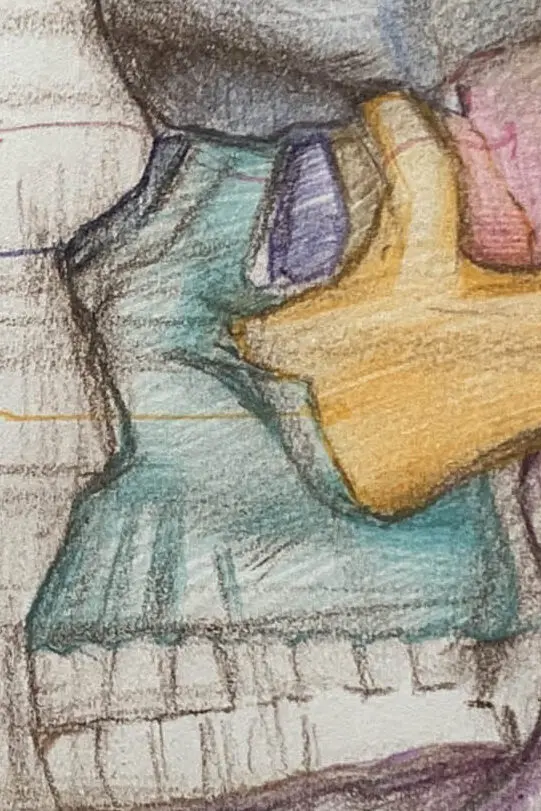
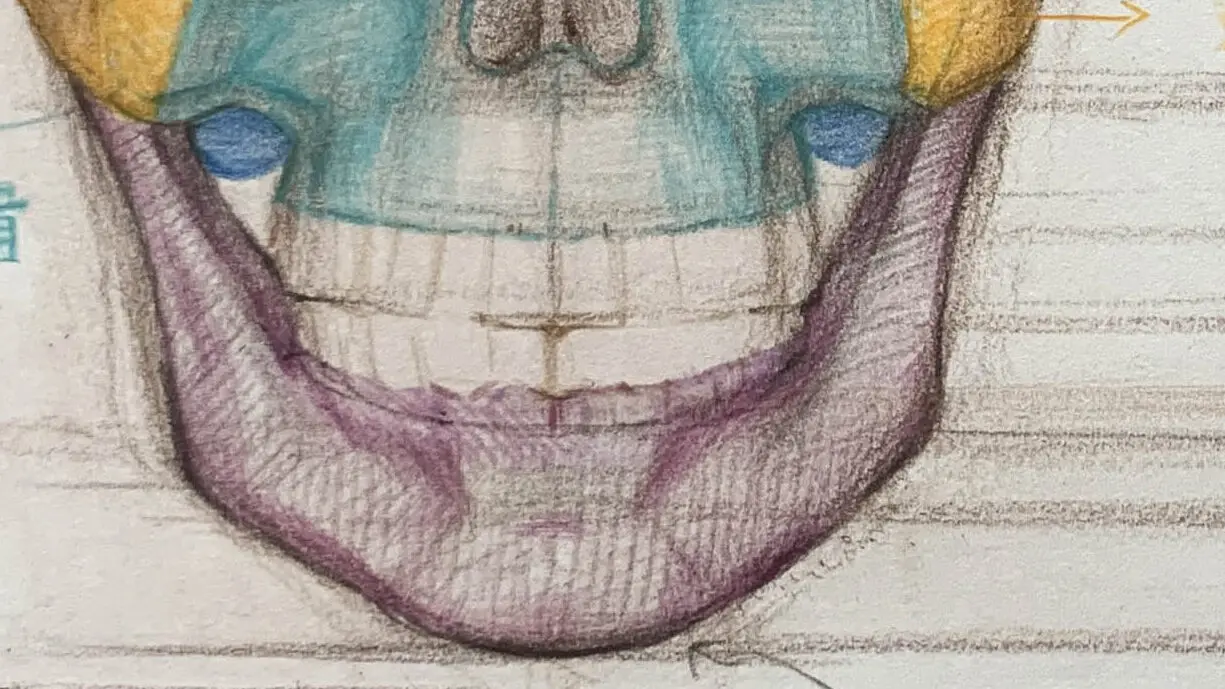
It is located on both sides of the face, forming the cheeks and connecting the frontal bone to the maxillary bone.
Notice how the cheekbone changes shape and position in the frontal and lateral contours.
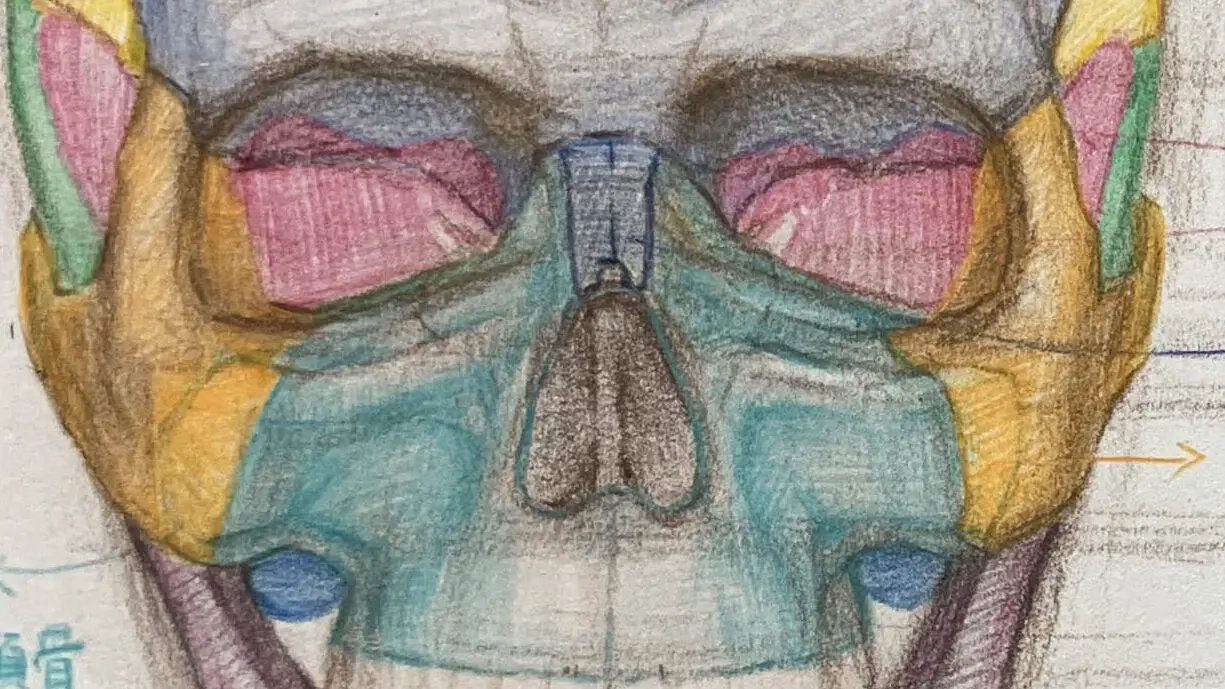
Supports the upper teeth and the bottom of the nasal cavity.
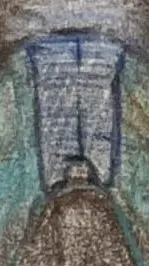
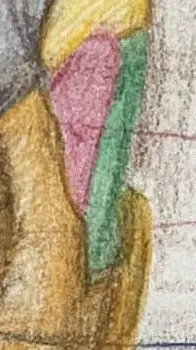
A small, narrow bone that sits at the bridge of the nose.
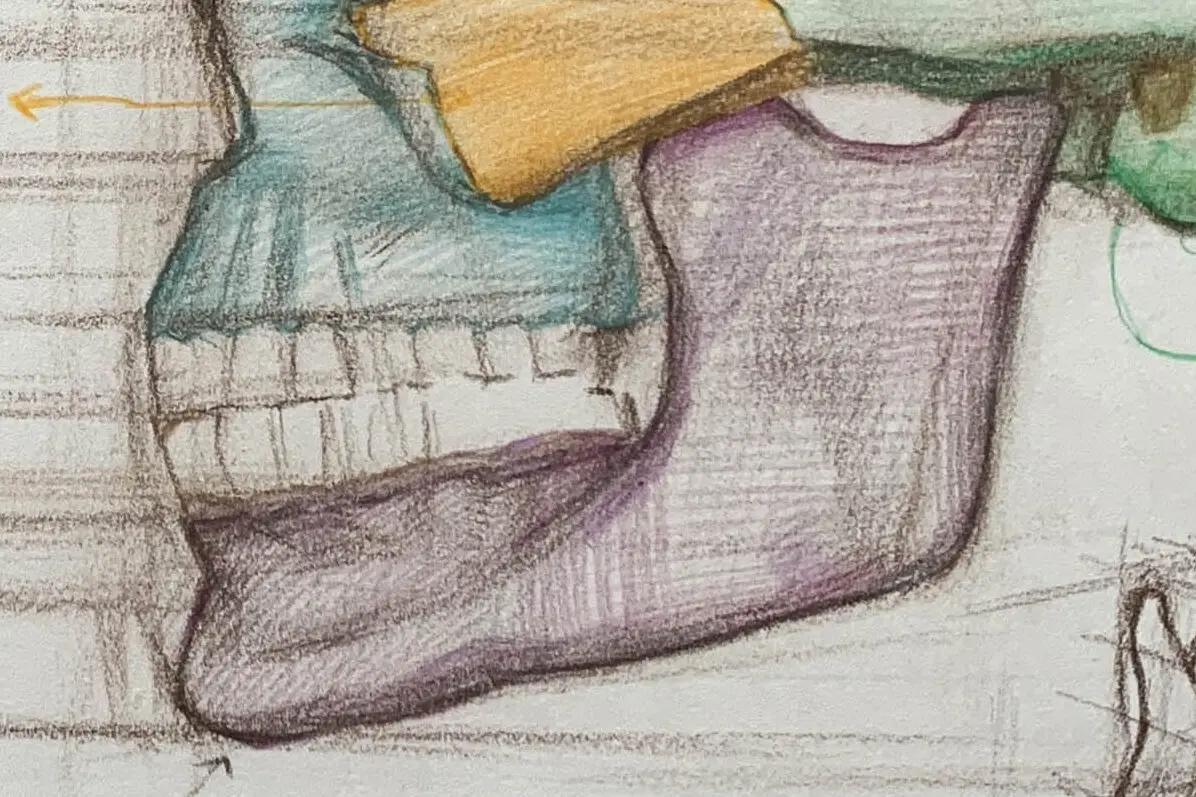
The movable part of the skull that forms the shape of the jaw and the chewing function.
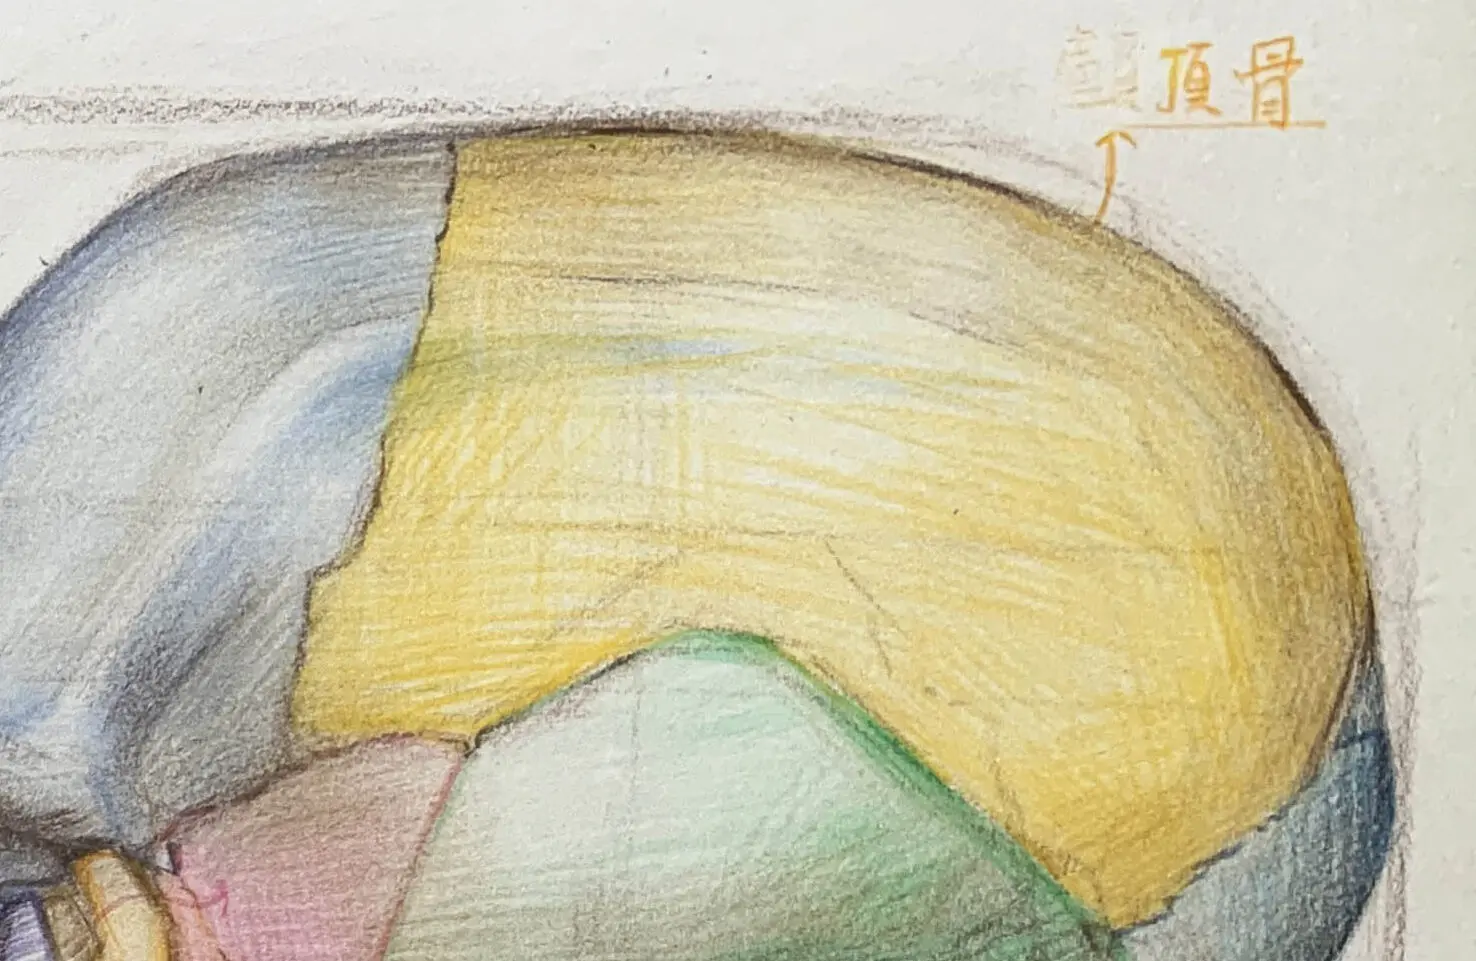
The top and sides of the head protect the sides and upper part of the brain.

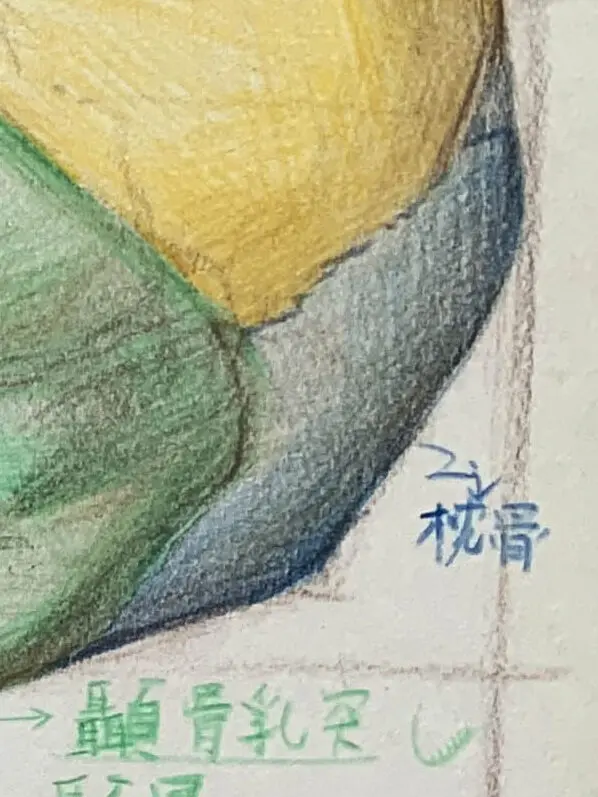
It is located at the back of the head and protects the back of the brain. Note the relationship between the position of the occipital bone and the mandible.
Located above the ear, it contains the hearing-related bony part (external auditory canal).
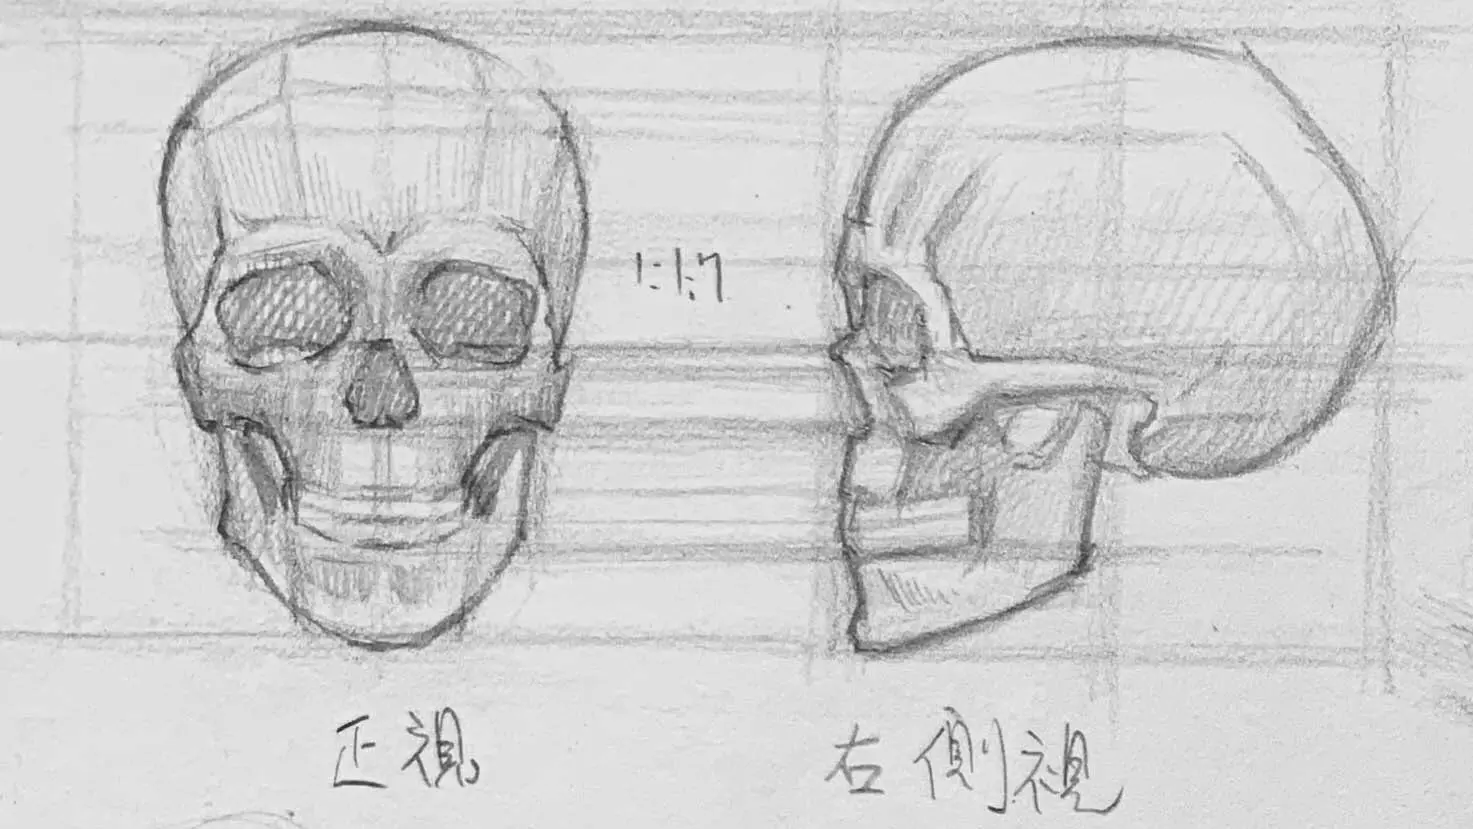
Objectives: Establishing Basic Skull Proportion Awareness and Perspective Sense
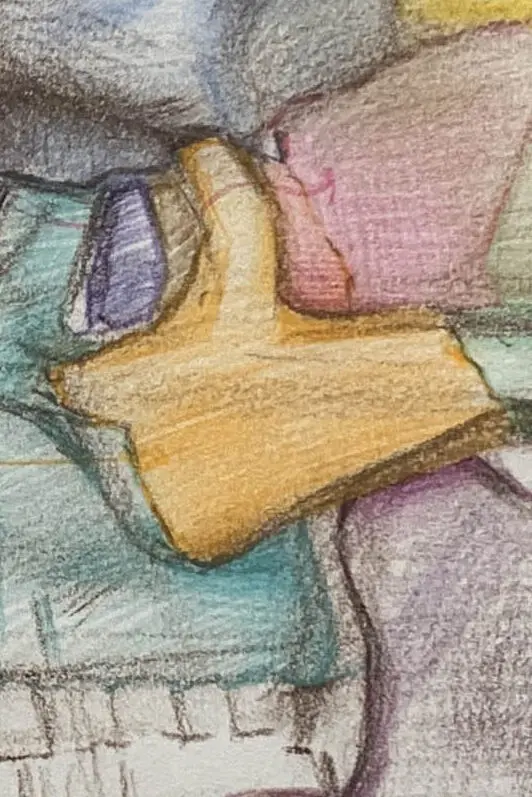
The lower edge is slightly prominent (the upper edge of the cheekbone) and the upper edge connects to the frontal bone.
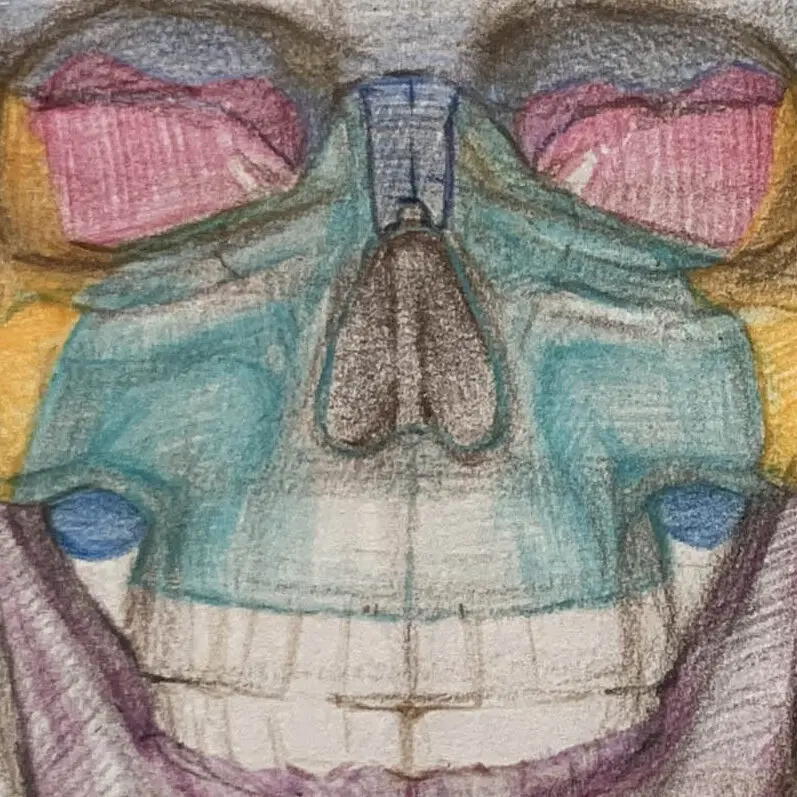
1. In terms of light and shadow, the eye socket is one of the deepest dark areas.
2. It shows irregular depressions on all sides, which are located approximately above the midline of the skull.
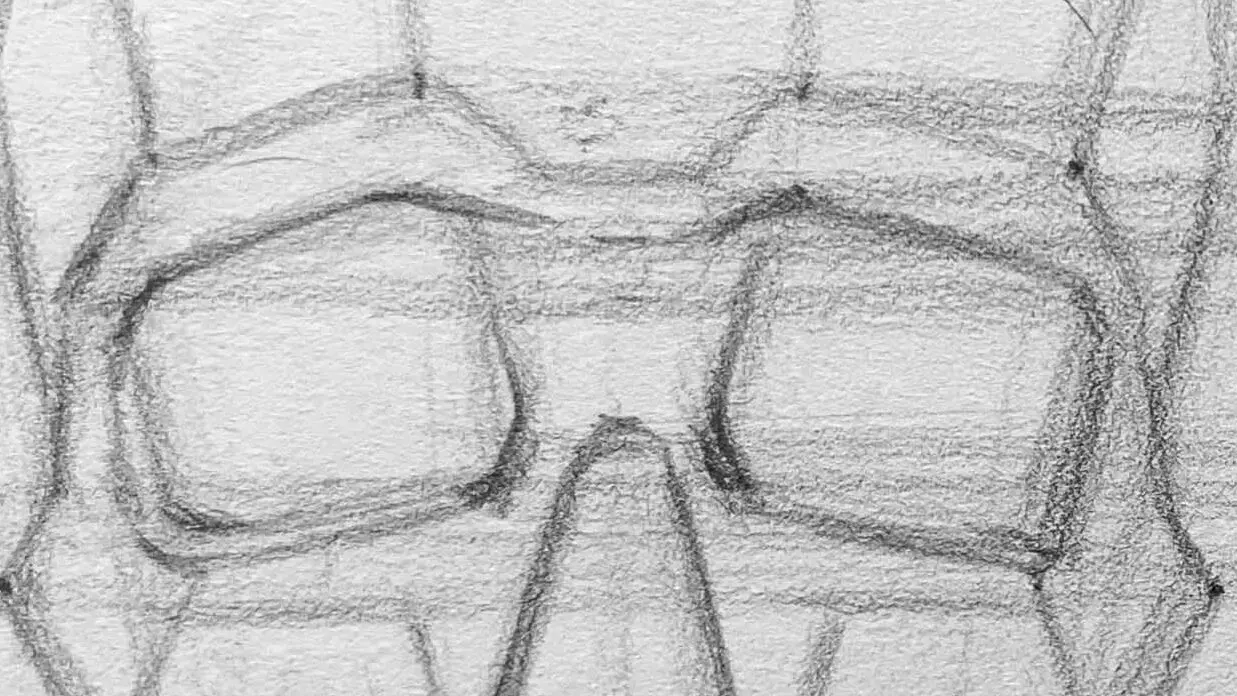
3. as one of the benchmarks for the positioning of the five senses.The line between the two eyes is about the width of one eye。
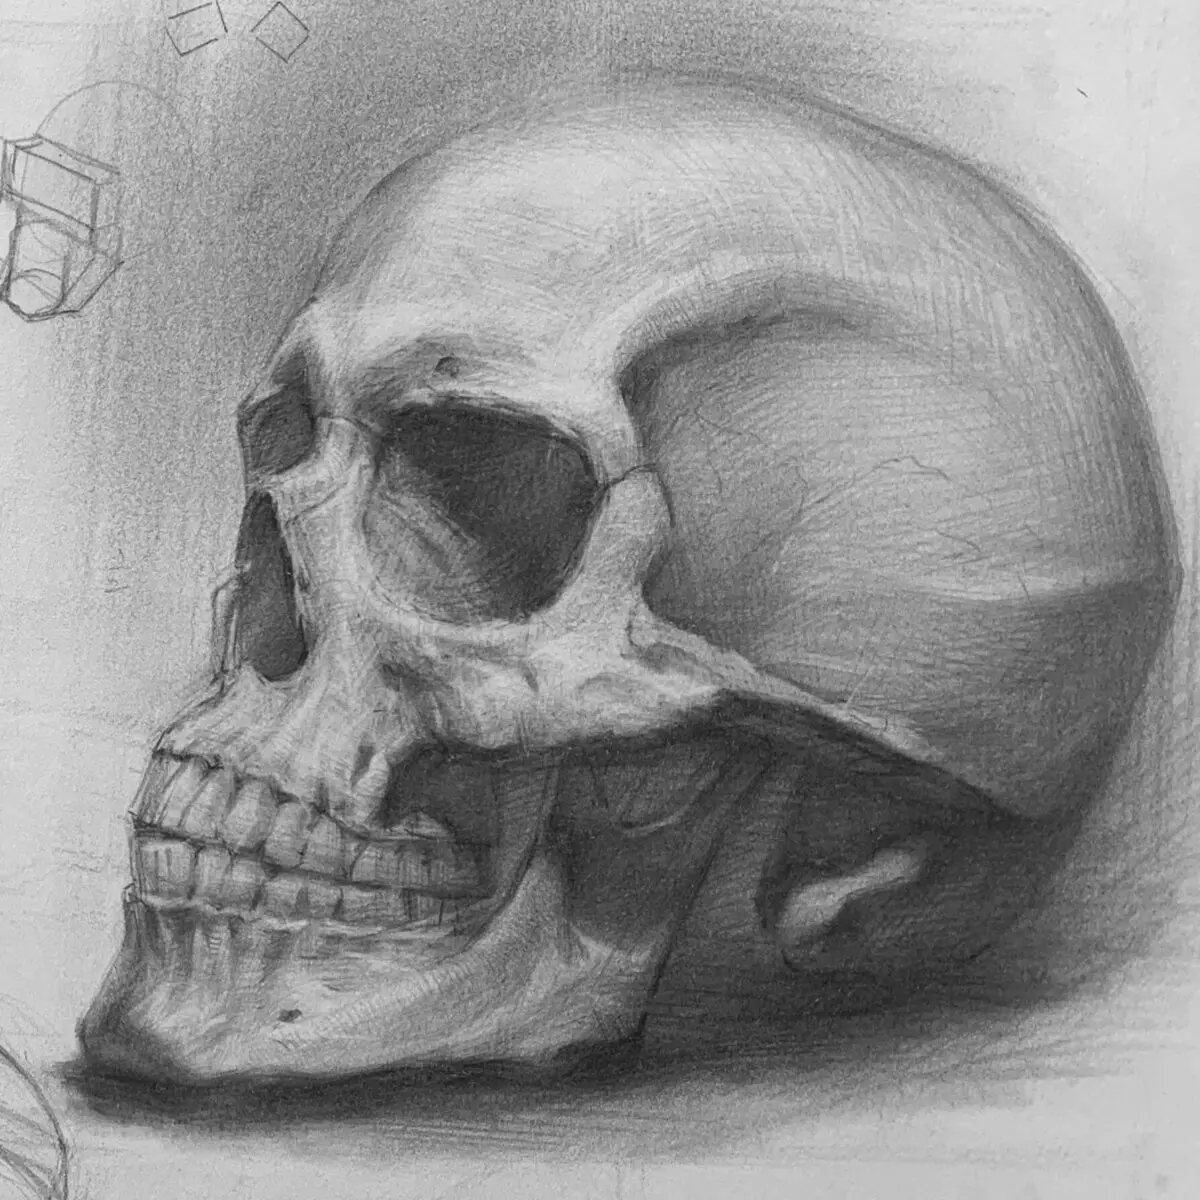
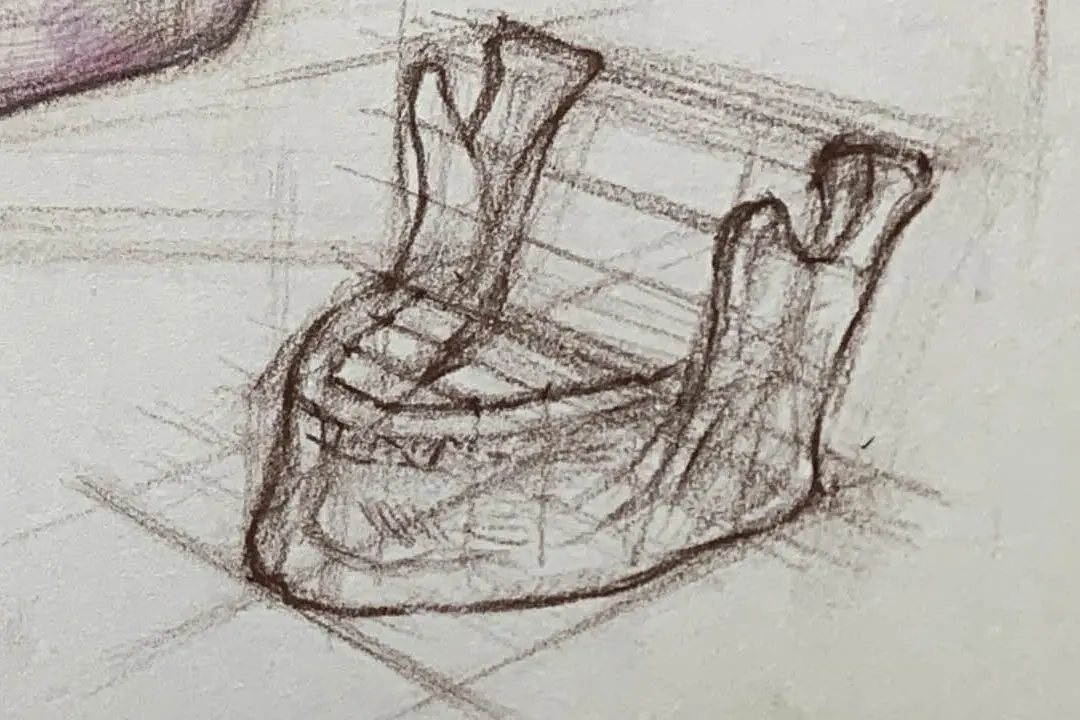
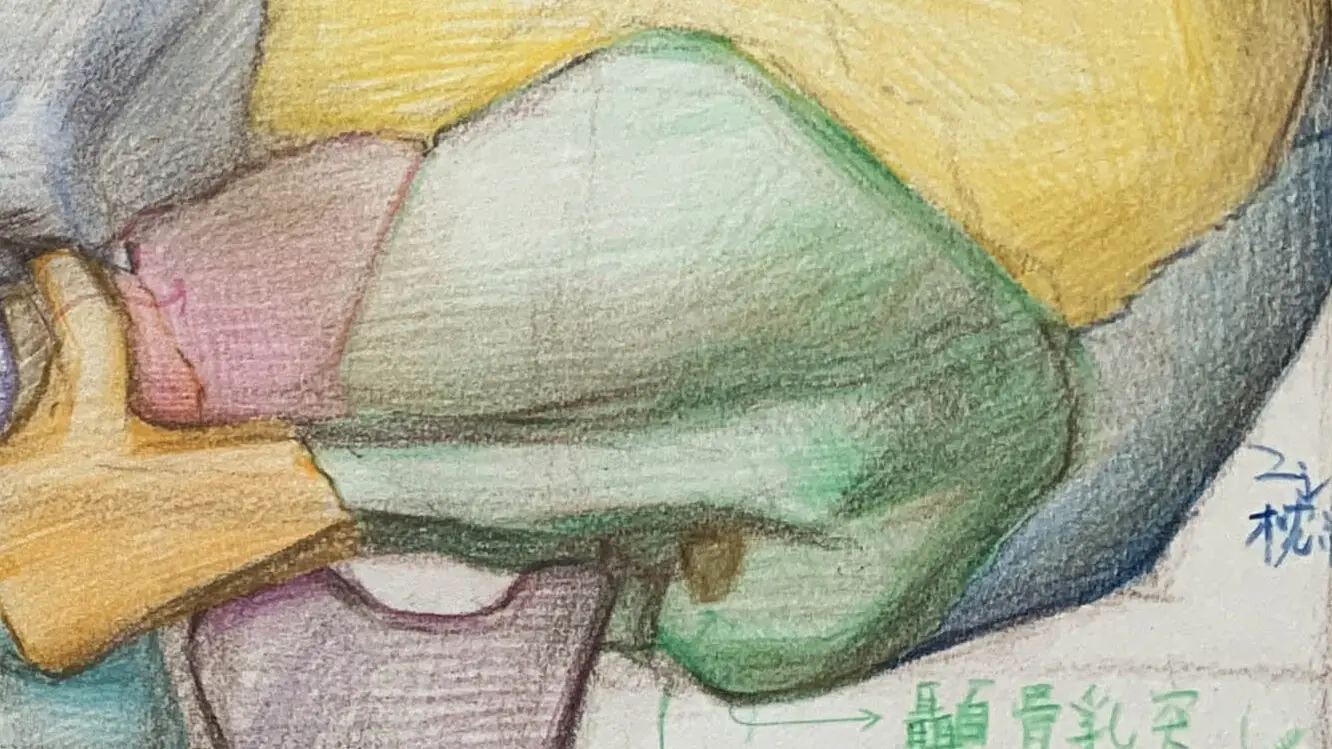
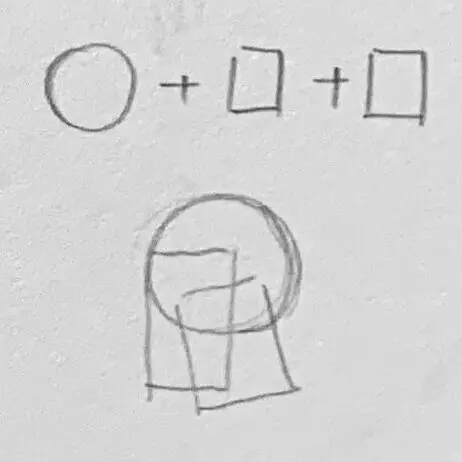
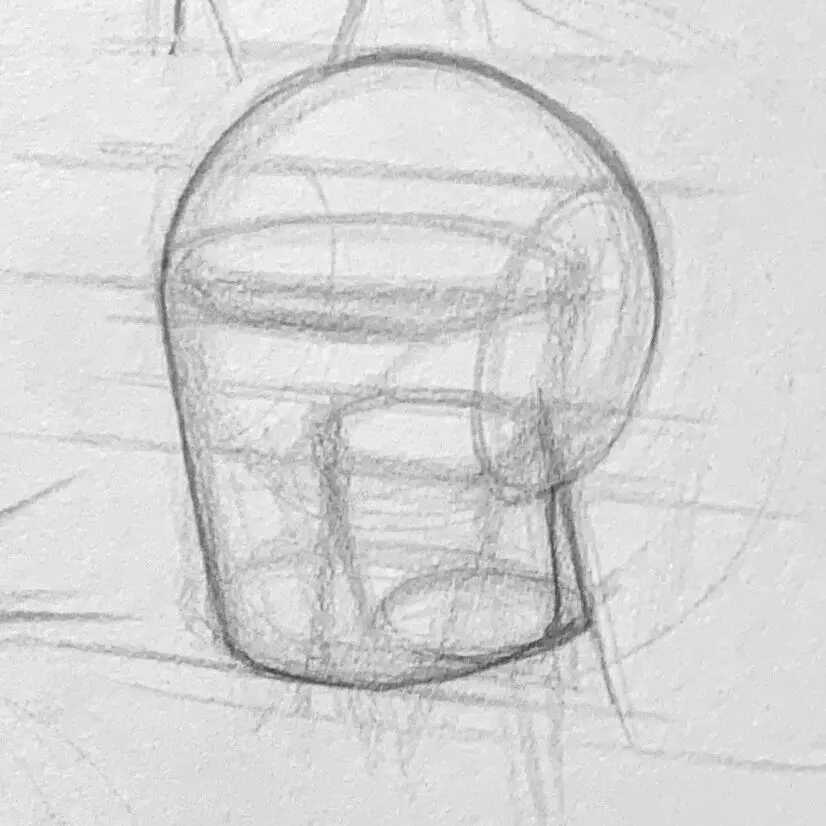
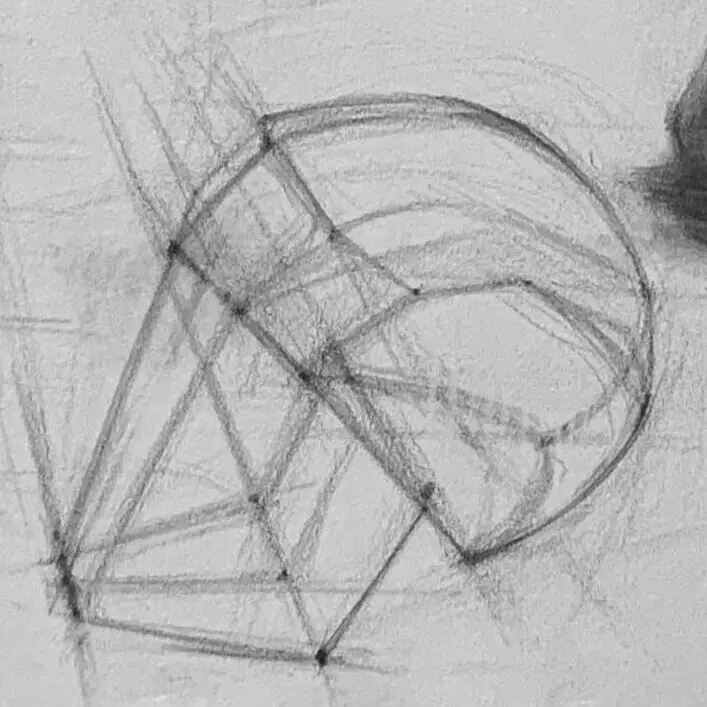
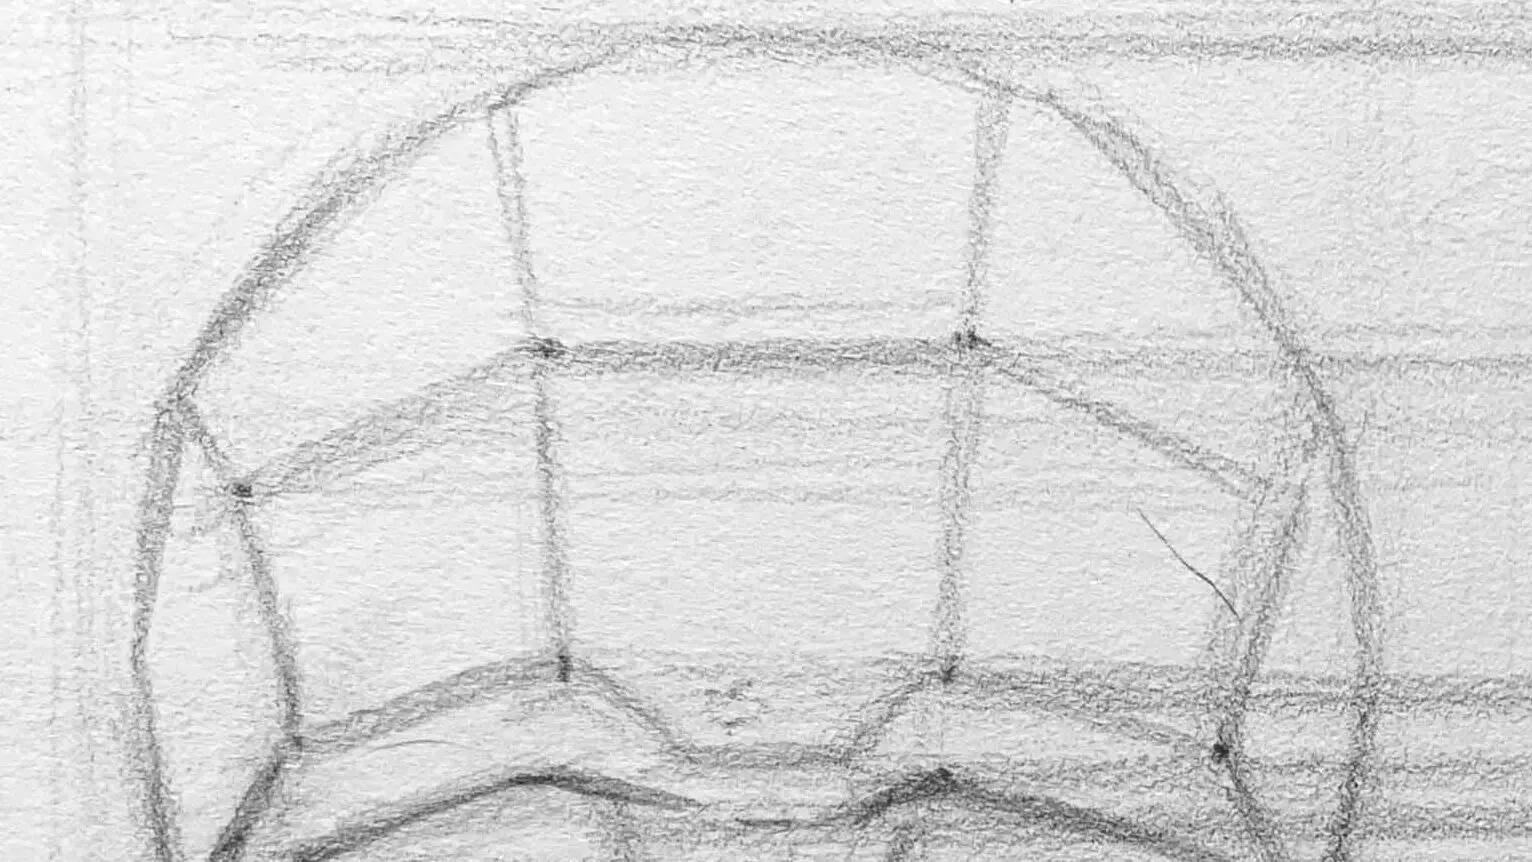
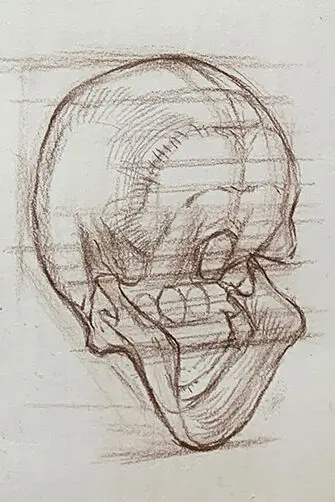
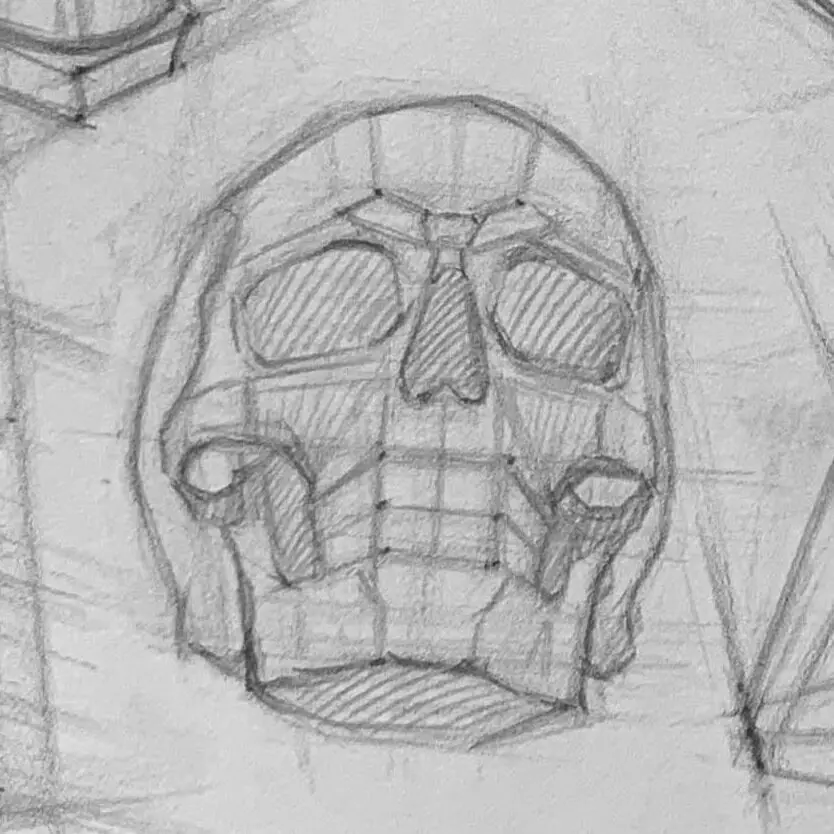
The following illustration is a simplified method of skull, from round, rectangular several simple similar shapes, each part as a part of the assembly, pay attention to the characteristics of the parts parts.
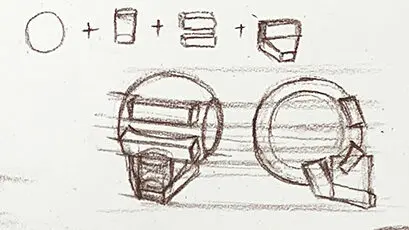
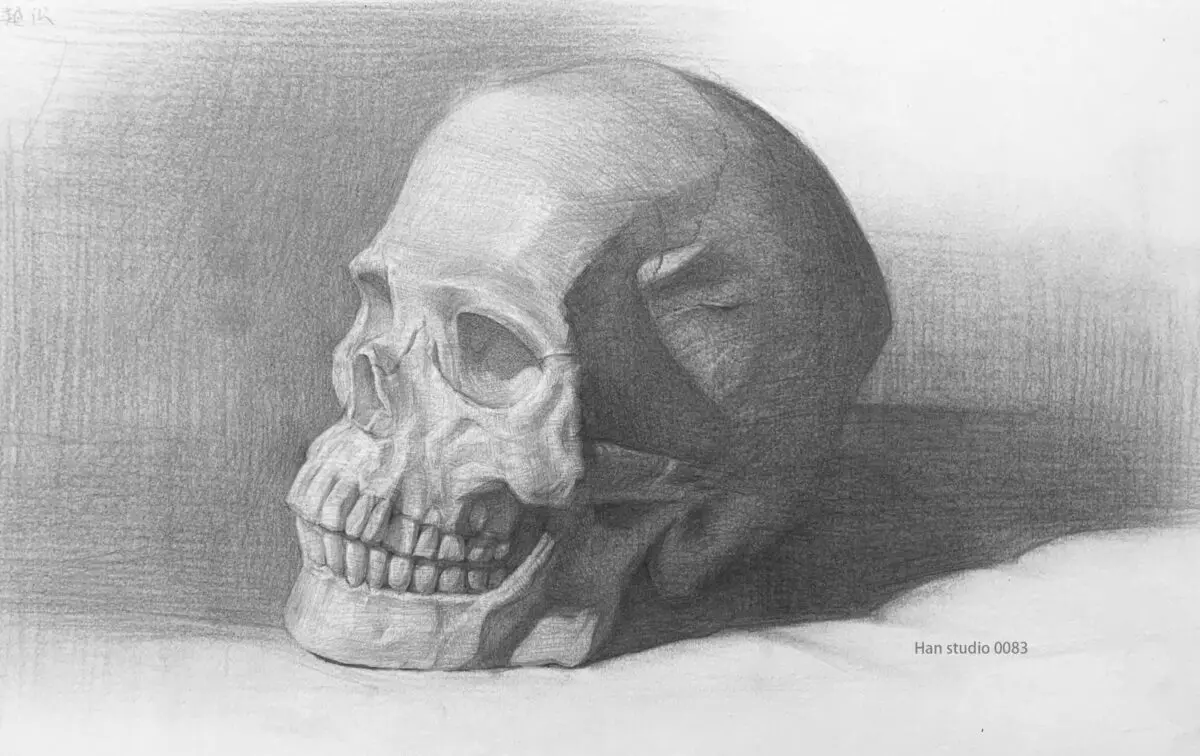
It is easy to get caught up in realistic details when painting skulls. It is recommended to break down the skull into geometrical blocks to grasp the volume, light and shadow.
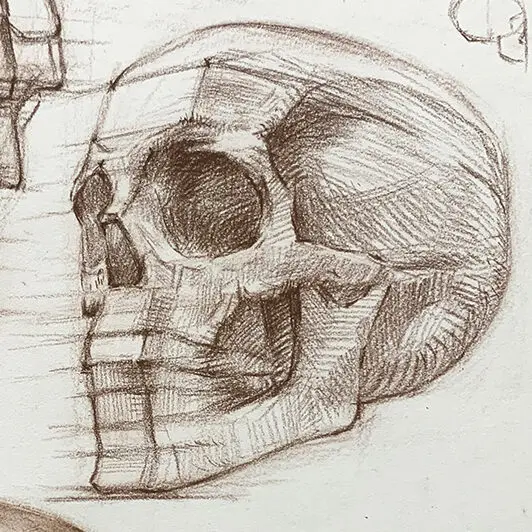
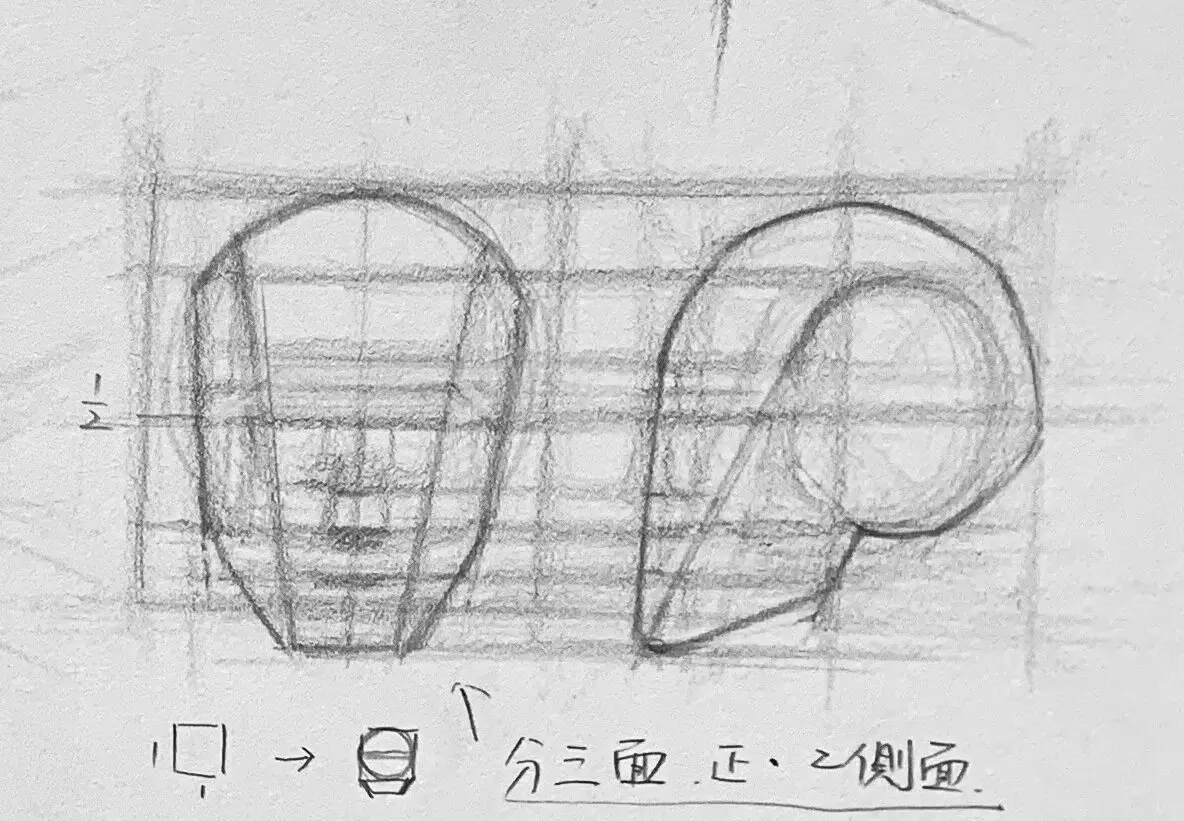
In the lower panels, the skull is broken down into straight lines and surfaces, which helps to clearly represent the transitions and the intersections of light and dark.

The light creates shadows according to the turn of the forehead.
Our forehead can be simplified and understood as three different sides, divided into 1 frontal and 2 lateral.
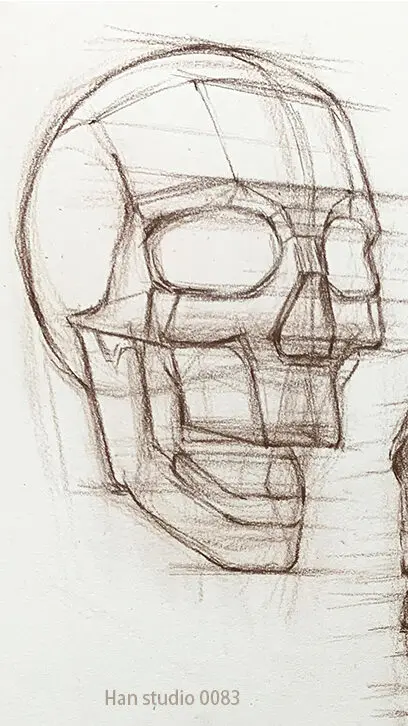
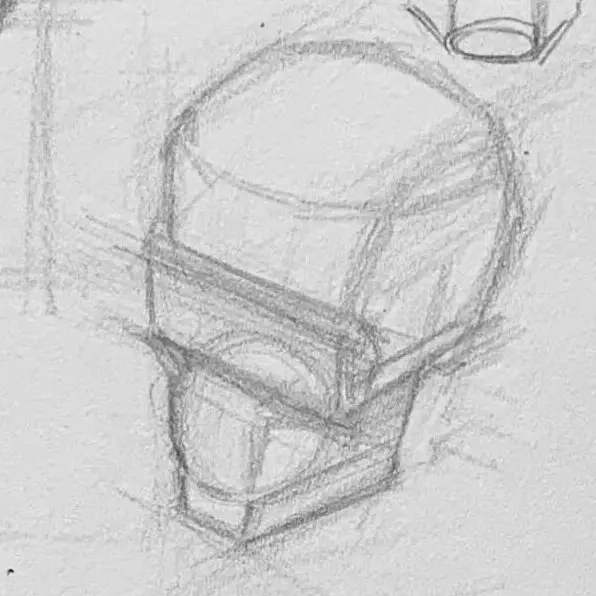
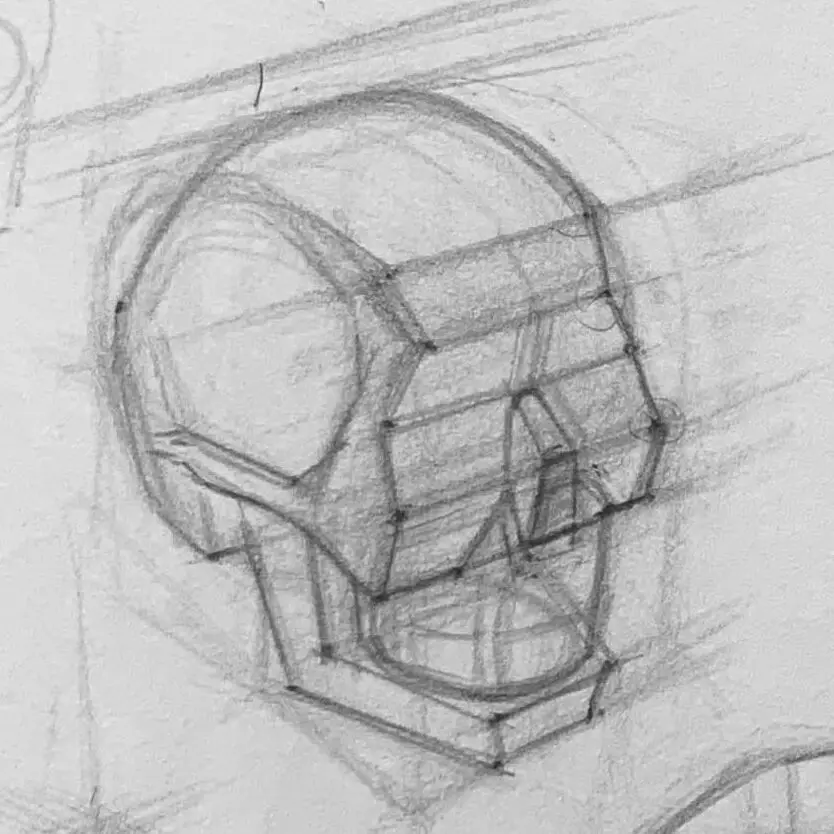
In addition to the basic front and side view angles, the turning angle helps us to train the spatial sense of the object and the stability of the five senses.
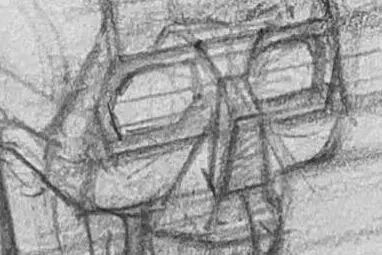
The following image demonstrates the drawing of skull structure from multiple angles, recognizing the changes of zygomatic arch, orbital depression, and mandibular turn in space from different directions.
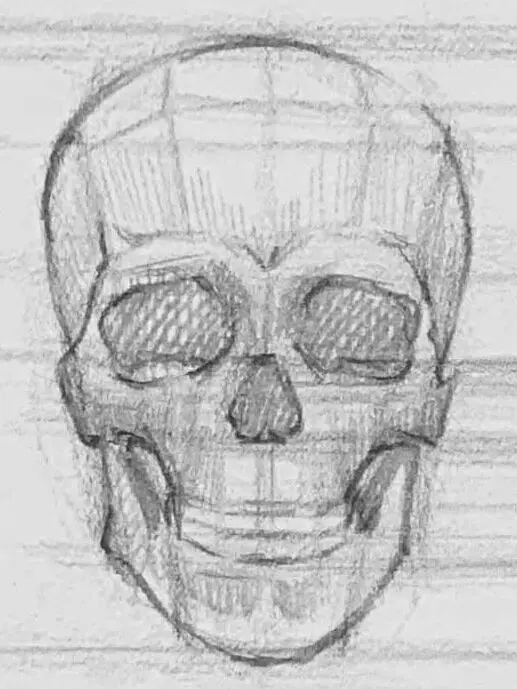
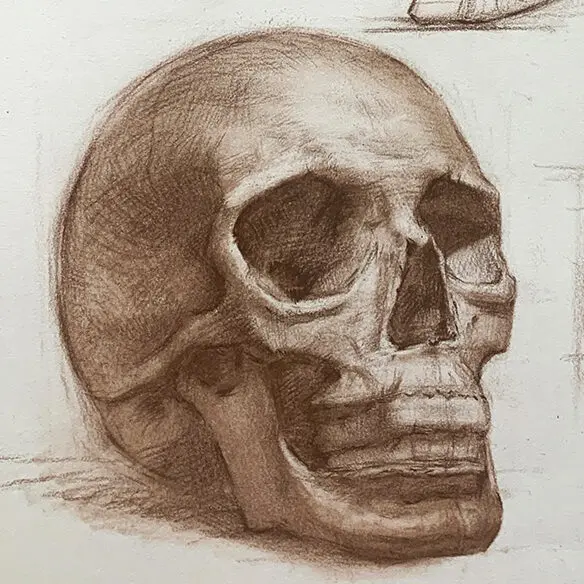
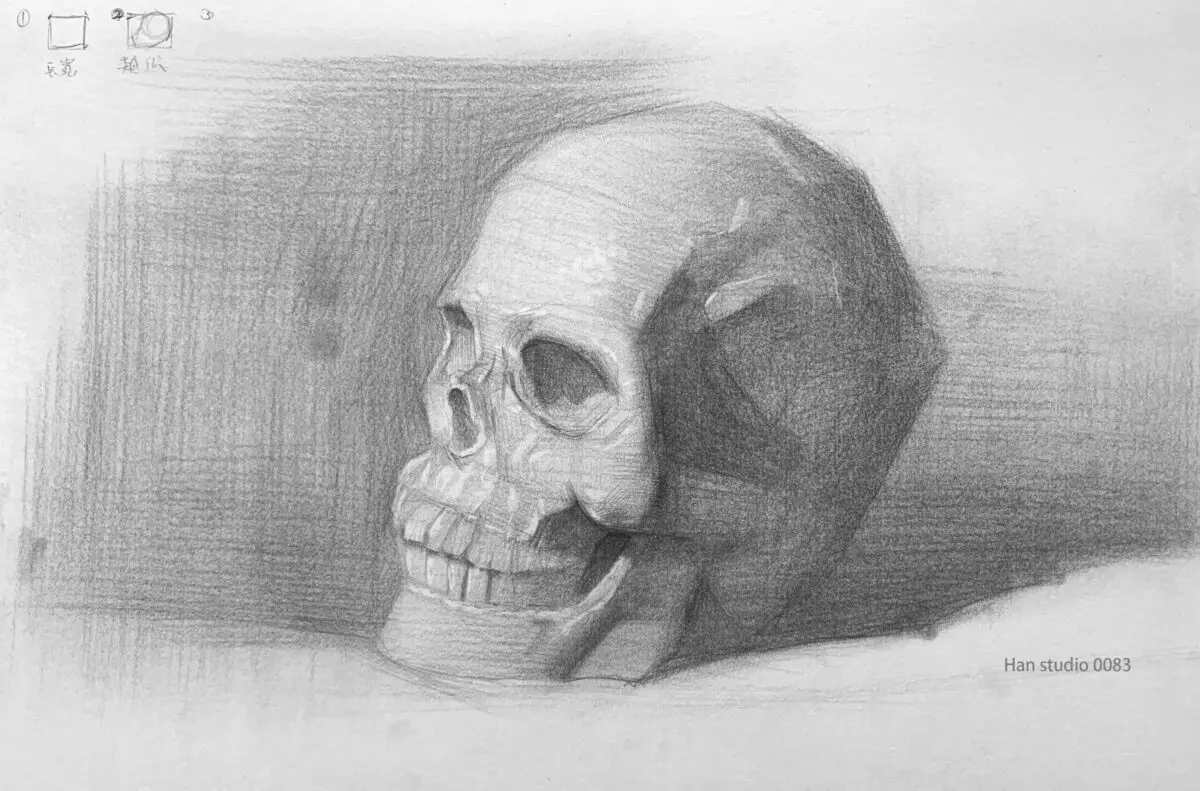
After understanding the skull turn structure mentioned above, let's try to bring what we have learned into the skull shadow.
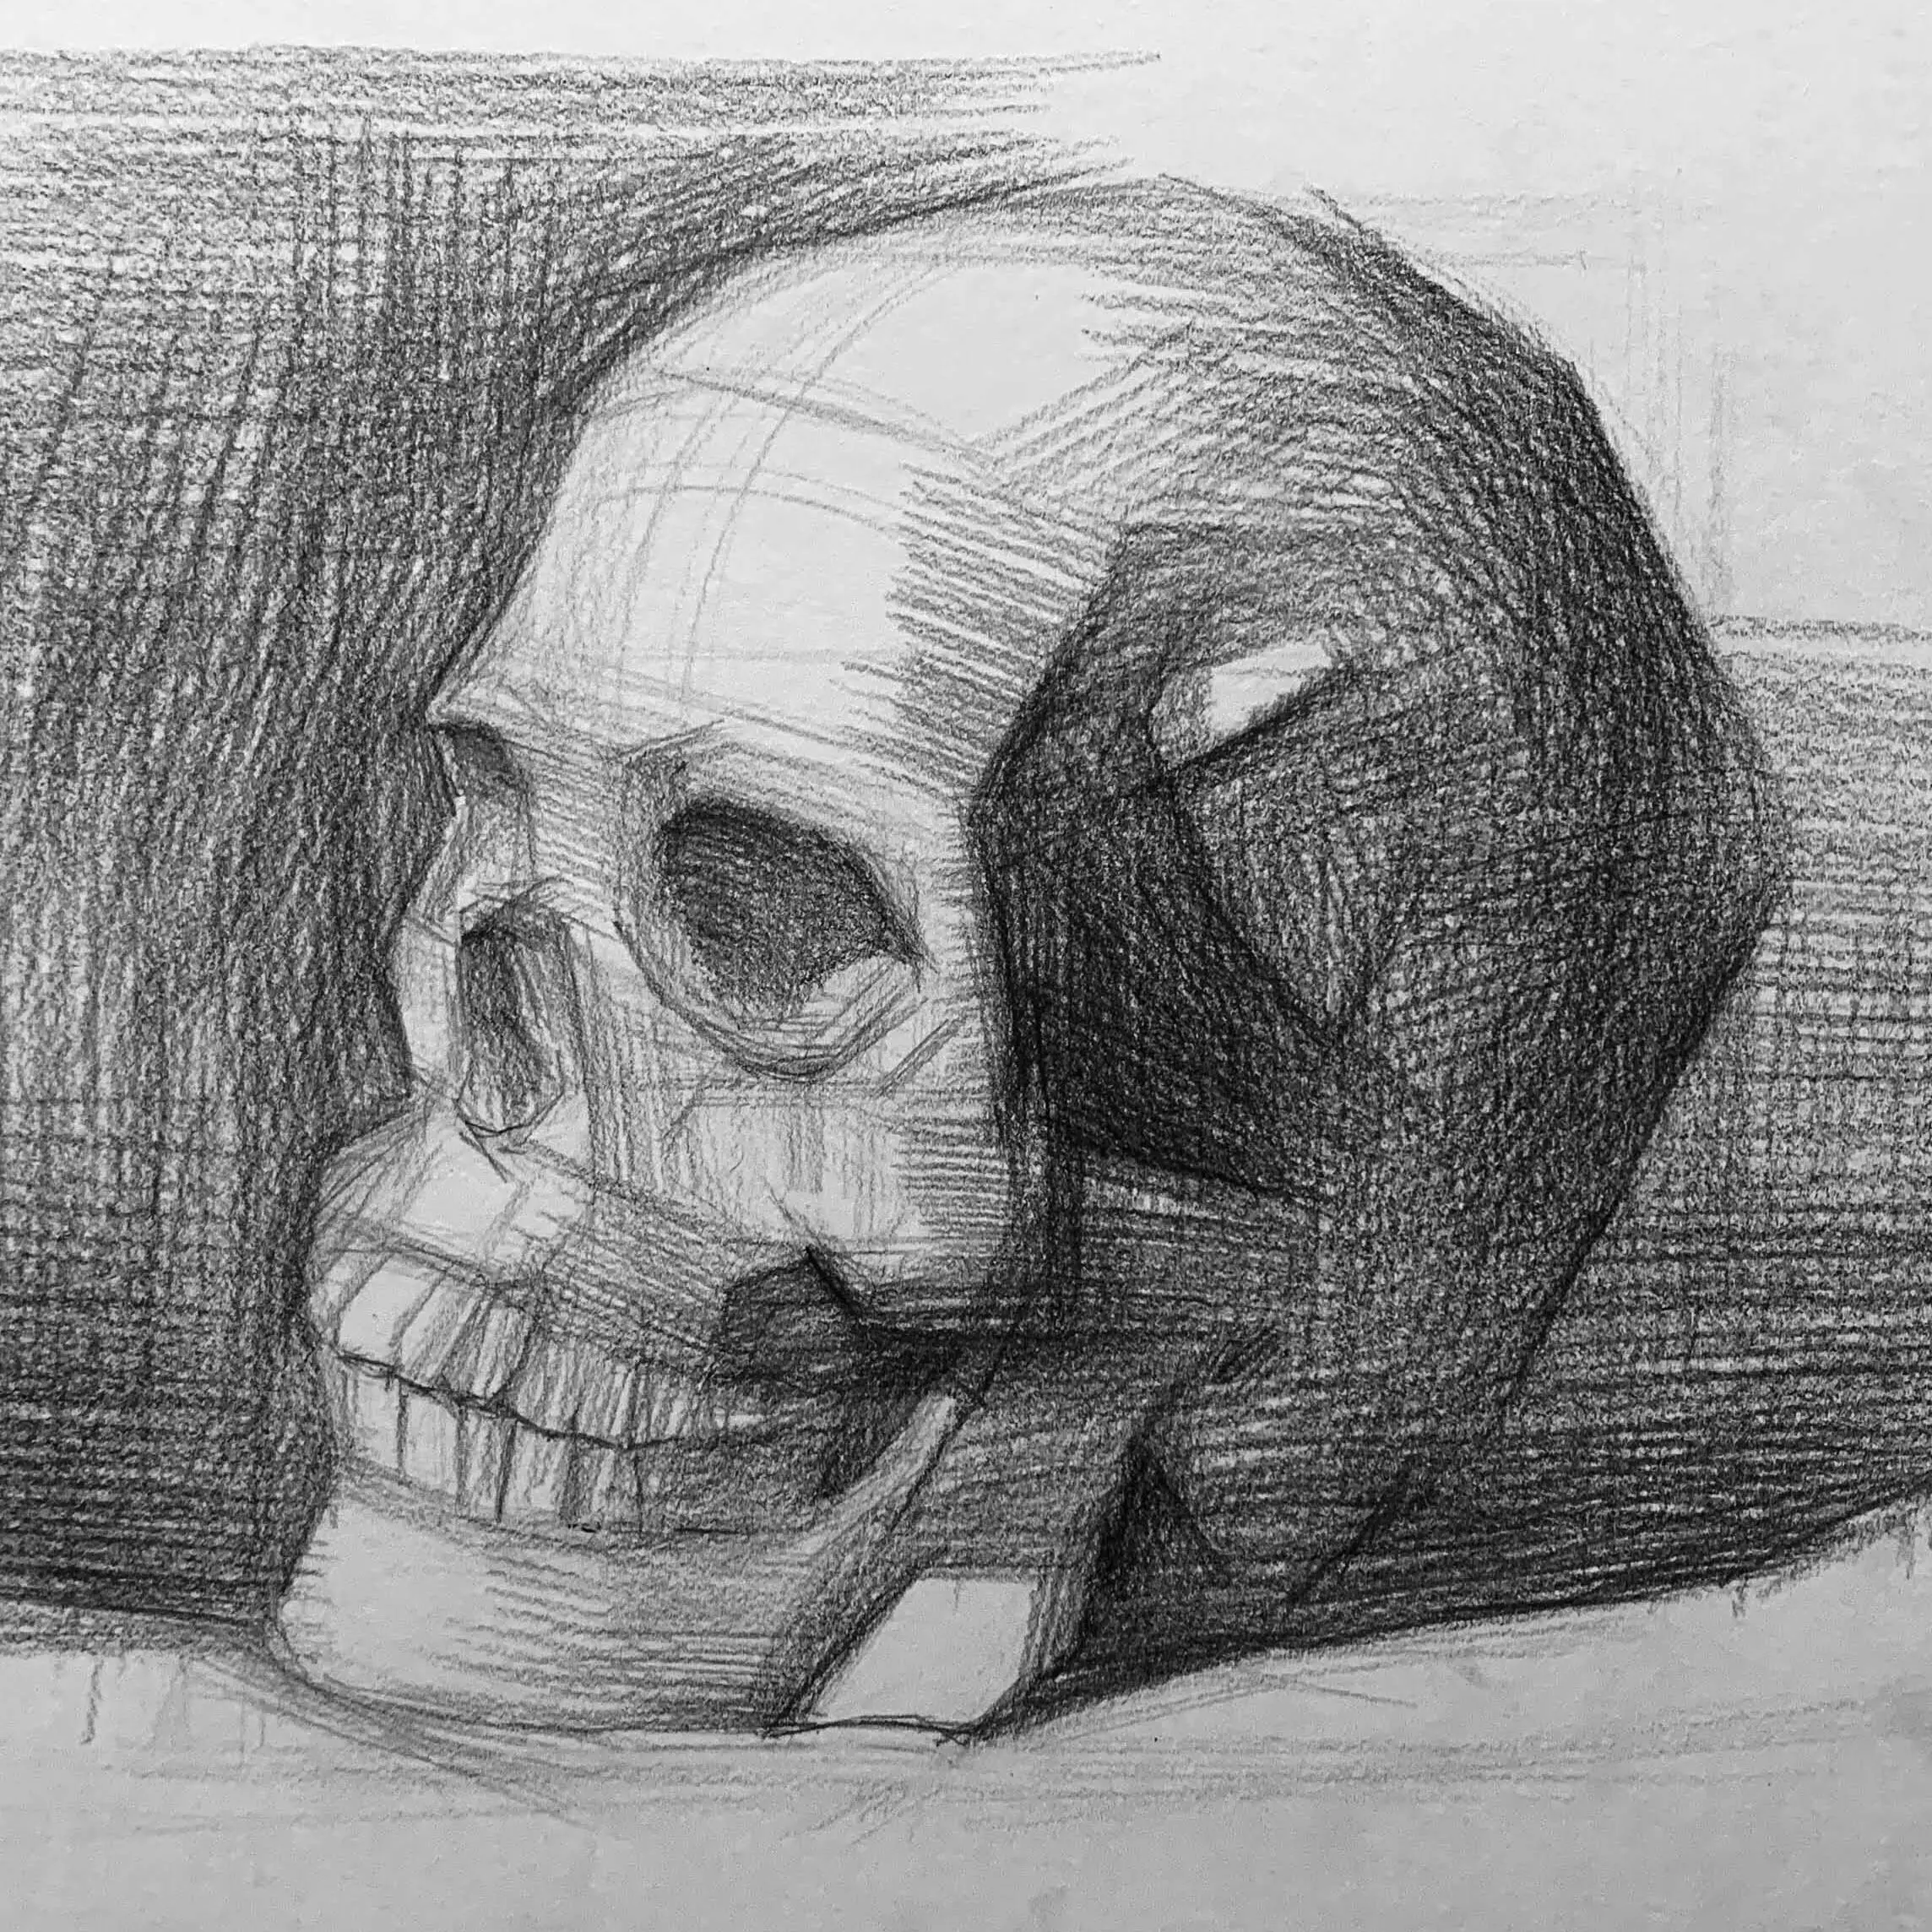
After roughing up the gray scale on the previous sheet, use a pen and paper or toilet paper (blotting tool) to soften the excessive strokes in.
These are the knowledge points about the skull area, do you have any problems or other troubles in drawing portraits?
Please feel free to share any information that you may have missed or want to ask.
If you want to learn to draw, but don't know how to start, or are interested in understanding what drawing is all about.
Welcome to join line Contact meIn my classroom, I organize the way I learn to draw in a clear and organized way.
Click here to learn more about the Painting Program
Introduction to Arm Painting: Detailed Analysis of Skeletal Simplification and Movement Mechanisms
How to accurately grasp the proportions of the hand and sketch the structure of the joints.
How to Draw Ears:Simplified Ear Structure and Shading Tips
How to Use Two-Tone Shading: Simple Shadow Techniques
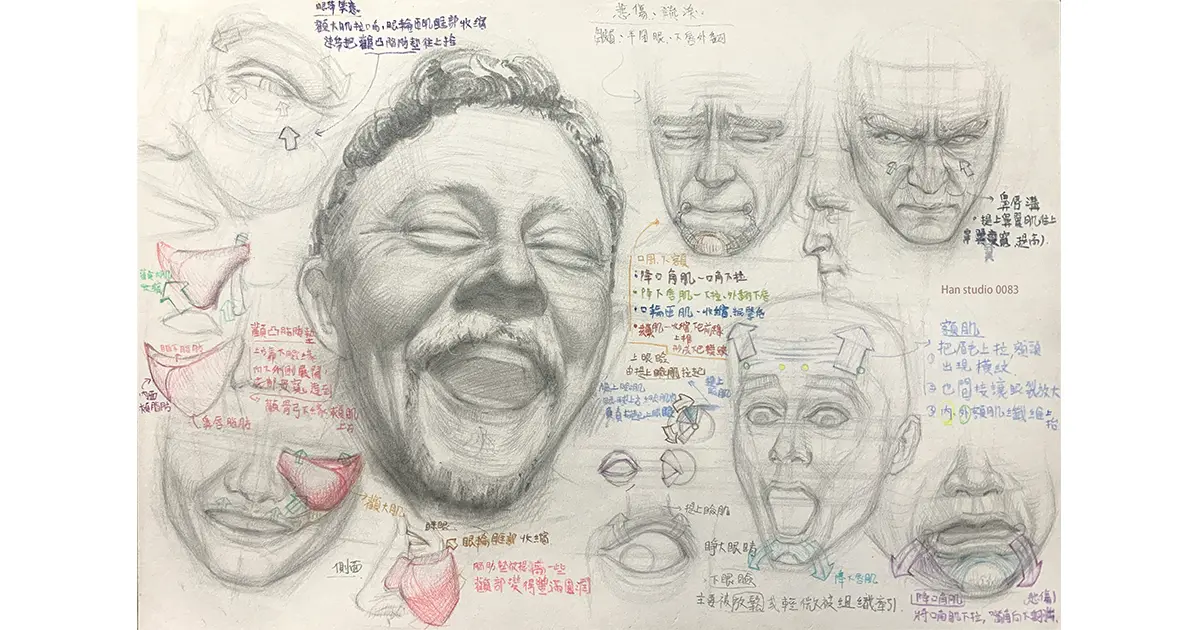
Facial Muscle Structure Analysis: Enhancing the Stereoscopic Sense of Figure Sketching
How to Draw Japanese Masks: Practical Techniques for Simplifying Shape and Proportional Perspective
From Simple Contours to Detail: Mastering the Sketching of Eyes
Capturing Realism in Lip Drawing: Key Structures and Shading
Portrait Sketching Tips: Three Keys to Understanding Head Structure
Mastering the basic proportions and structure of portrait drawing
How to Learn Perspective Painting: From Geometry to Spatiality
Boots Sketch Tutorial: Learn Proportions and Structural Lines
How to Master the Proportions,Shape, and Symmetry of a Teapot
Three Easy Steps to Drawing a Stuffed Duck with a Pencil
Mastering the Shape and Curvature of a Fishing Boat: Sketching Classroom Fishing Boat Drawing Tips
How to Paint the Light and Dark Layers of a Monstera Leaf
How to Paint a Vibrant Yellow Bell Pepper Still Life
How to Paint Translucent Bananas in Watercolor: Color Variations and Chromatic Control Techniques