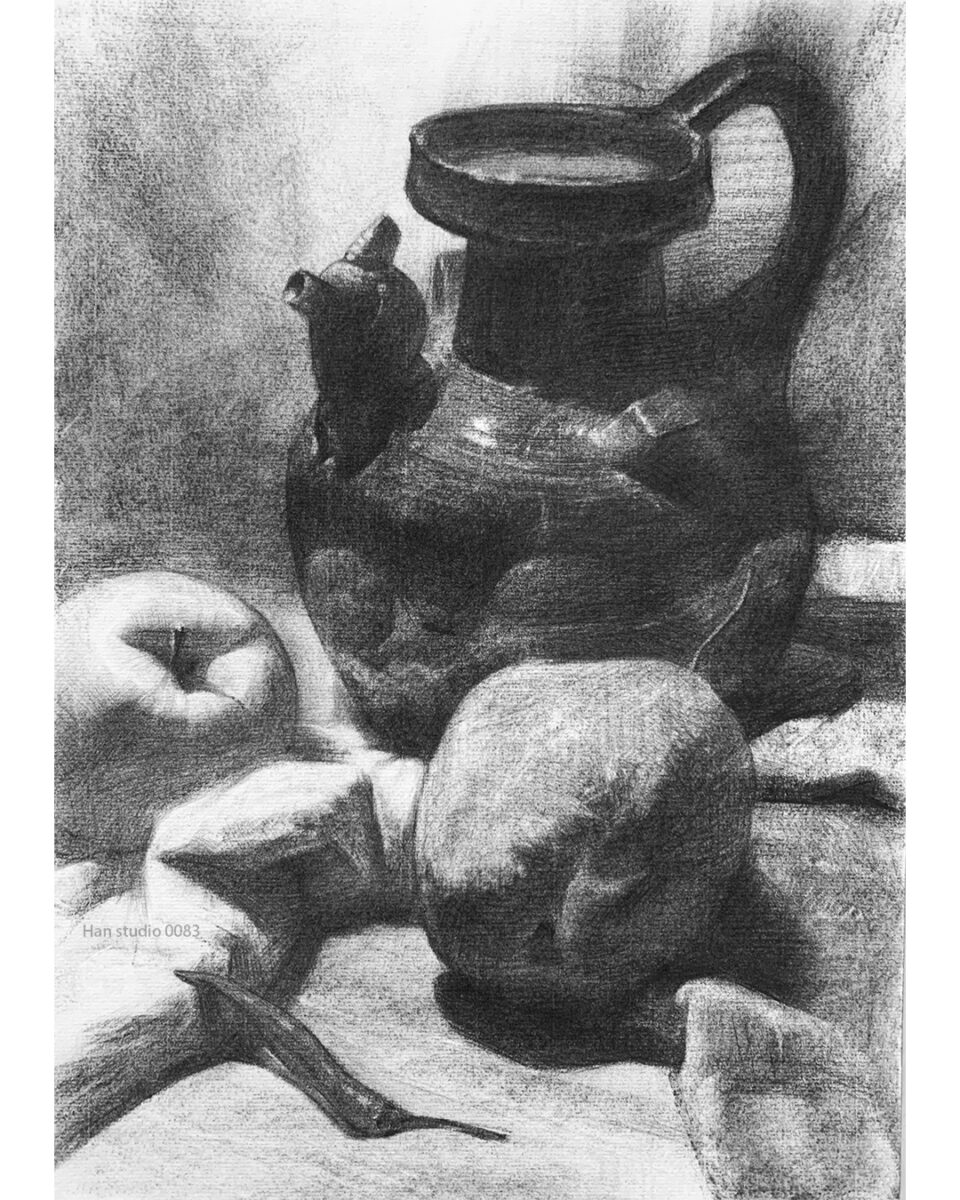
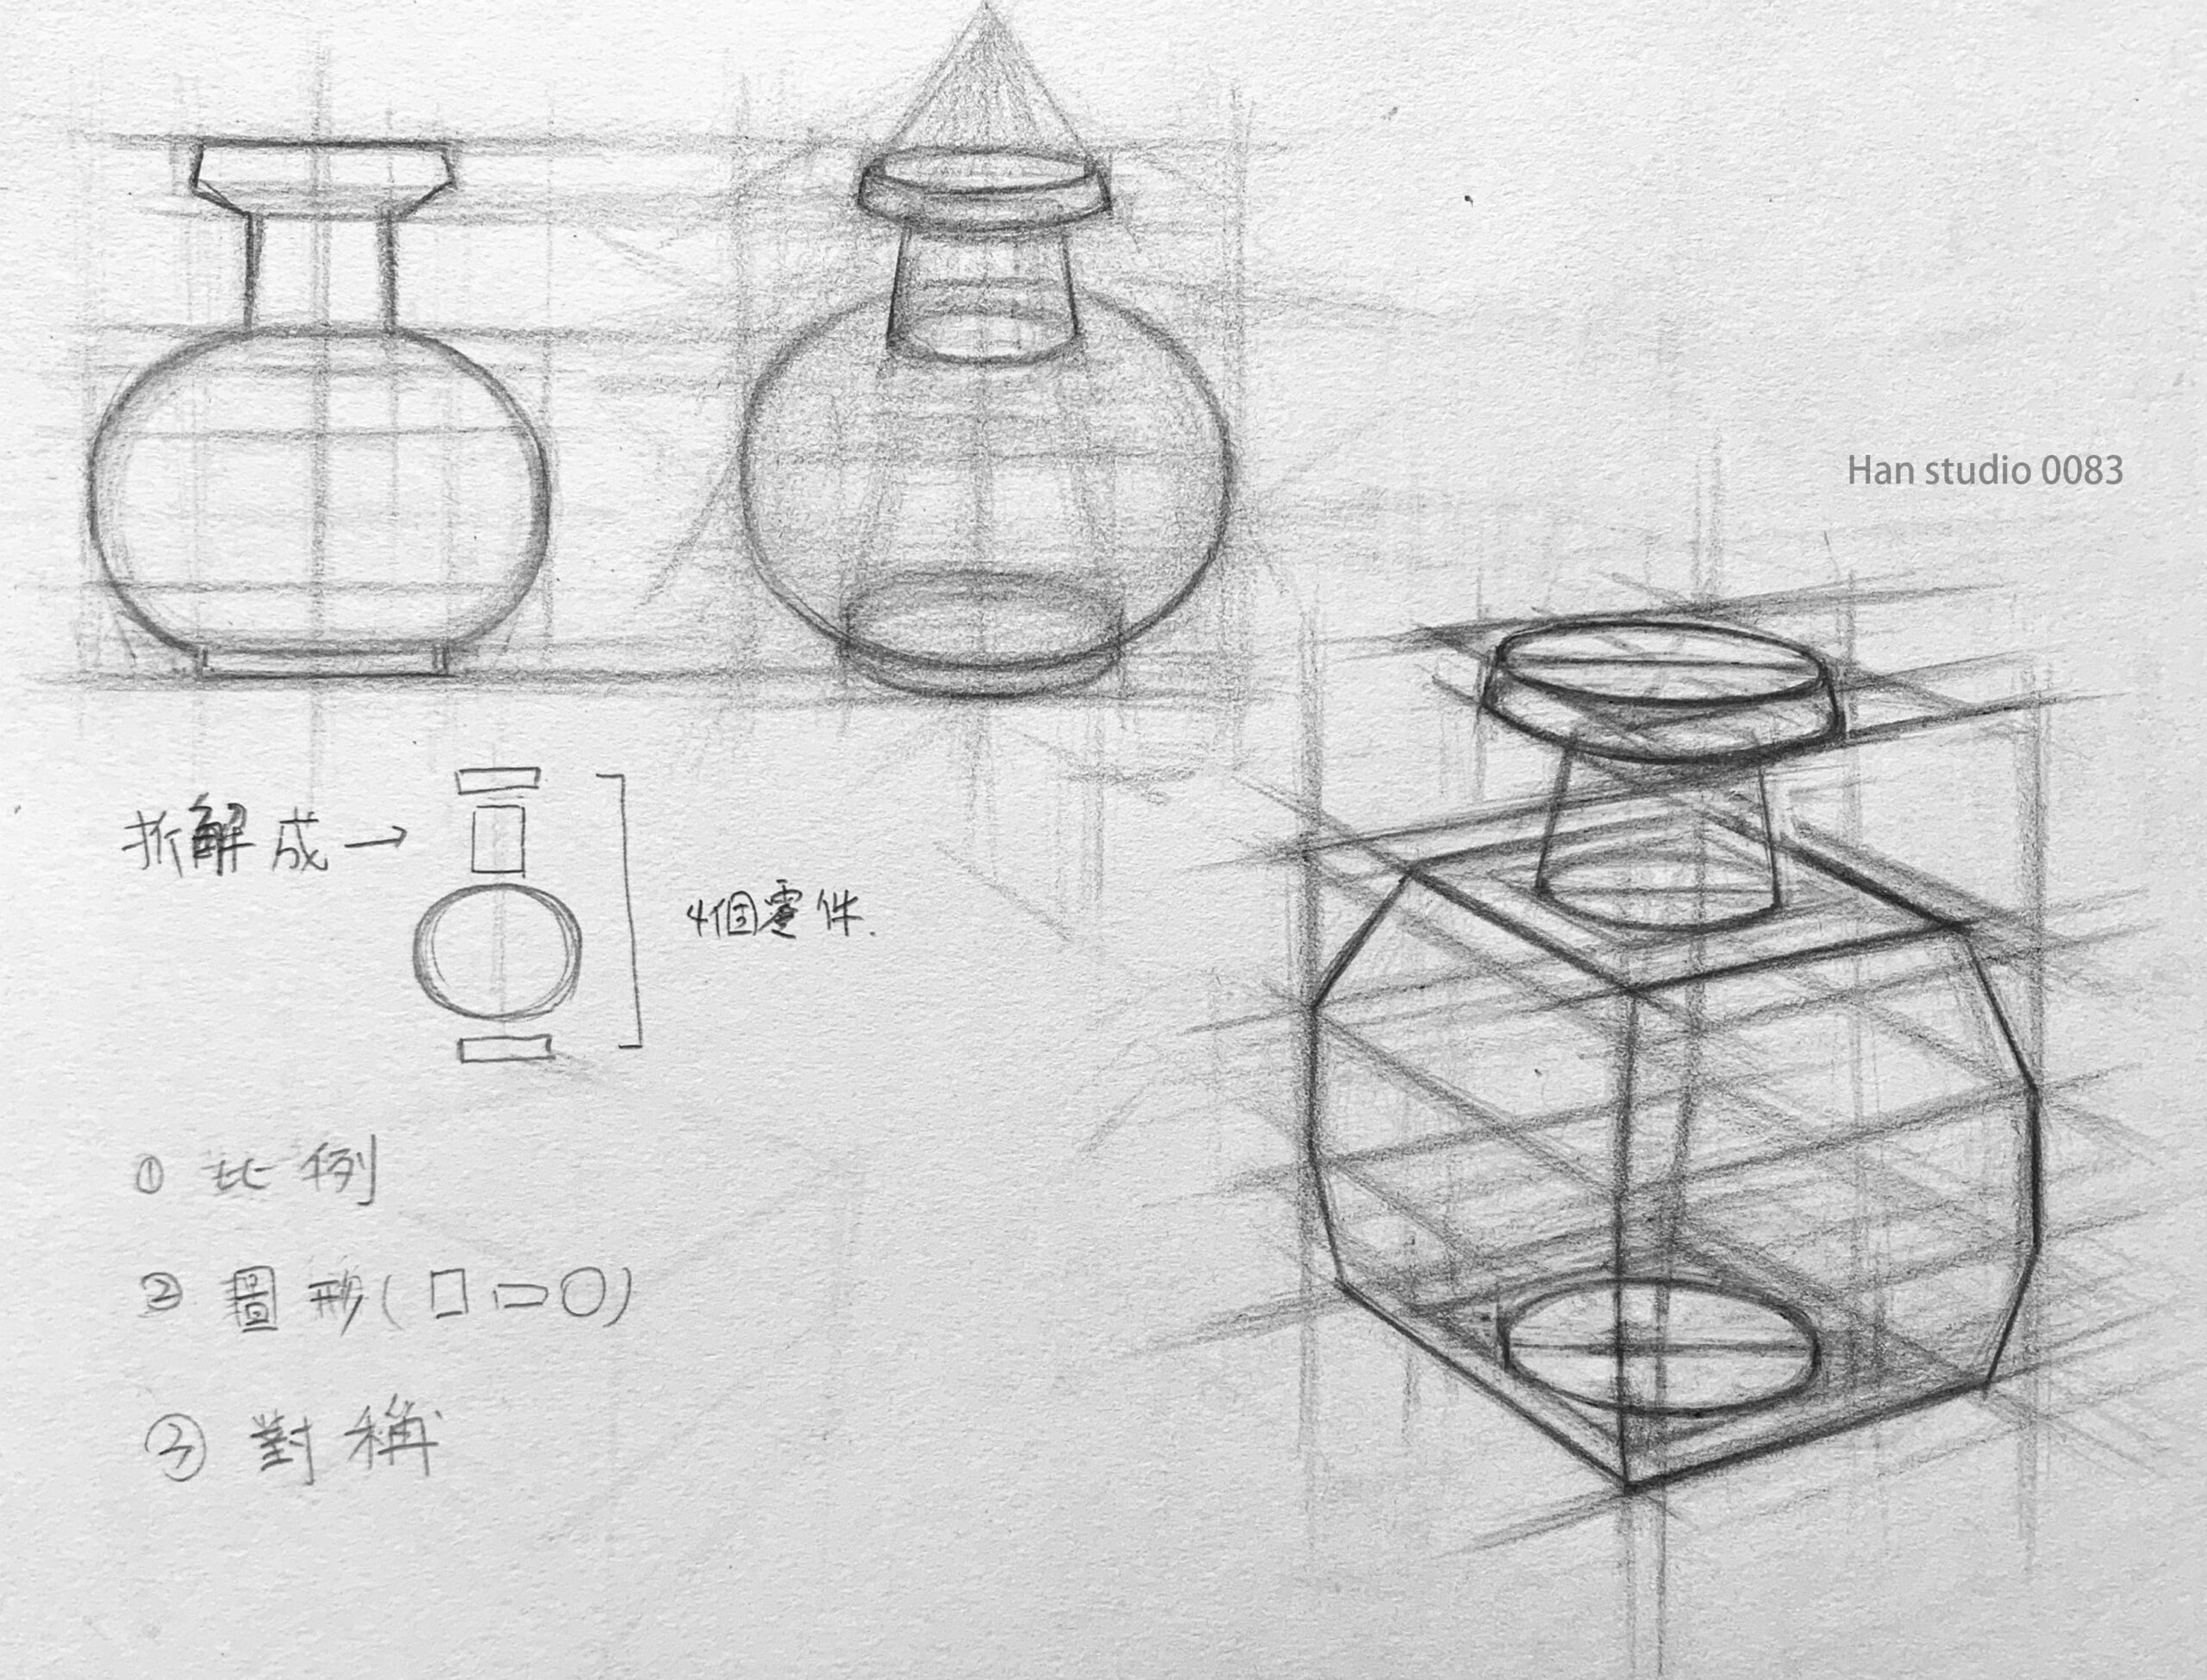
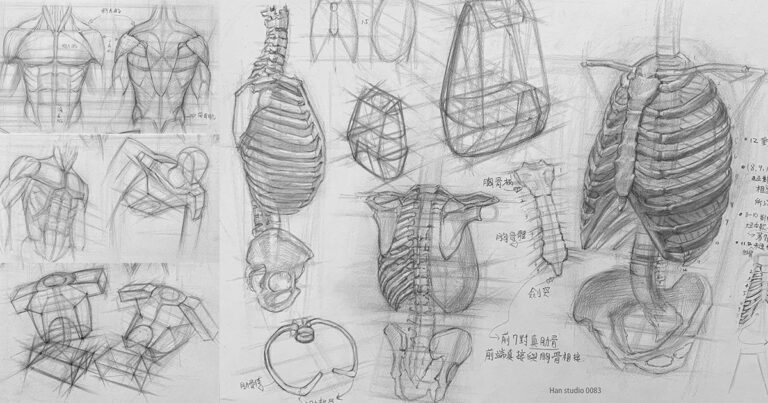
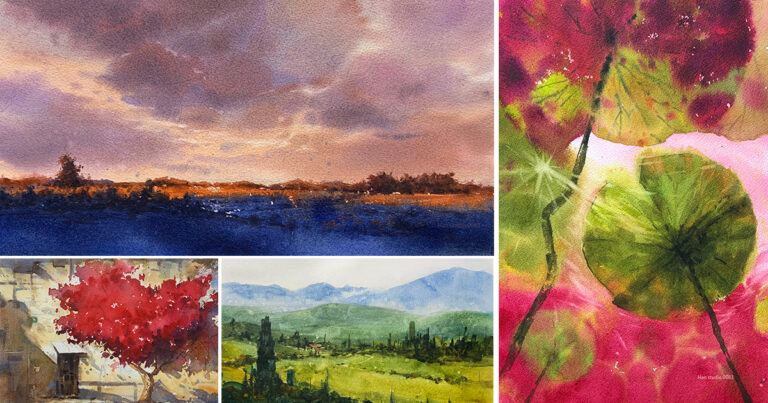
Documenting this week's charcoal sketching class exercise. I introduced the students to the differences in brightness after lighting an object. In the second half, I'll cover the key points about drawing a teapot. If you're interested, keep reading, and refer to the second image for better understanding.
On a side note, while shopping at the art store, I noticed that my favorite charcoal pencil brand has increased in price, but for the love of art, I still bought it 🙋.
Before we start drawing the teapot, let's understand the following:
● Proportions:
Observe and determine the proportionate relationships between the parts of the teapot. You can begin by looking at its overall shape.
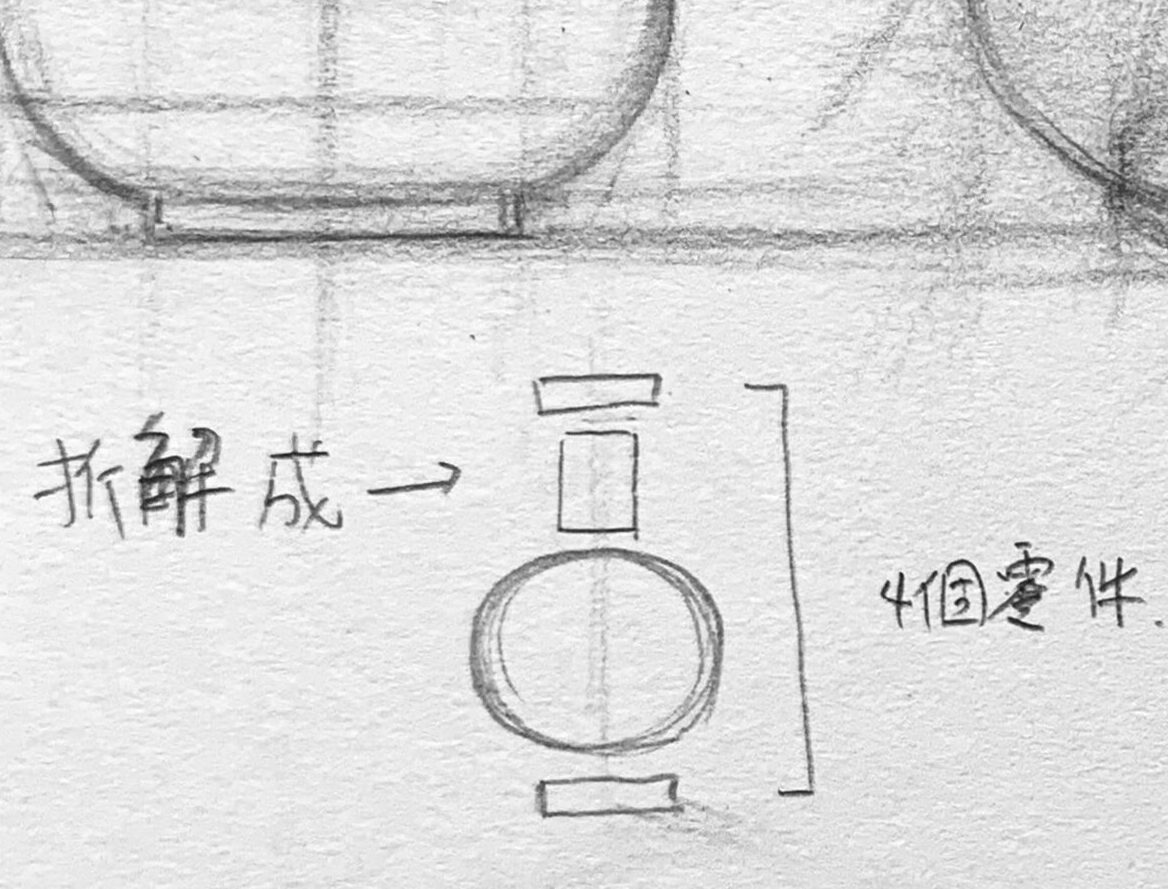
● Simplified Shapes:
Break the object down into basic geometric shapes, such as circles and rectangles. For example, the teapot can be seen as a sphere with a cylinder attached to it. Refer to the small diagram in the upper left corner.
● Symmetry:
For symmetrical objects, set a centerline to ensure that the teapot is balanced and symmetrical from left to right, minimizing any discrepancies.
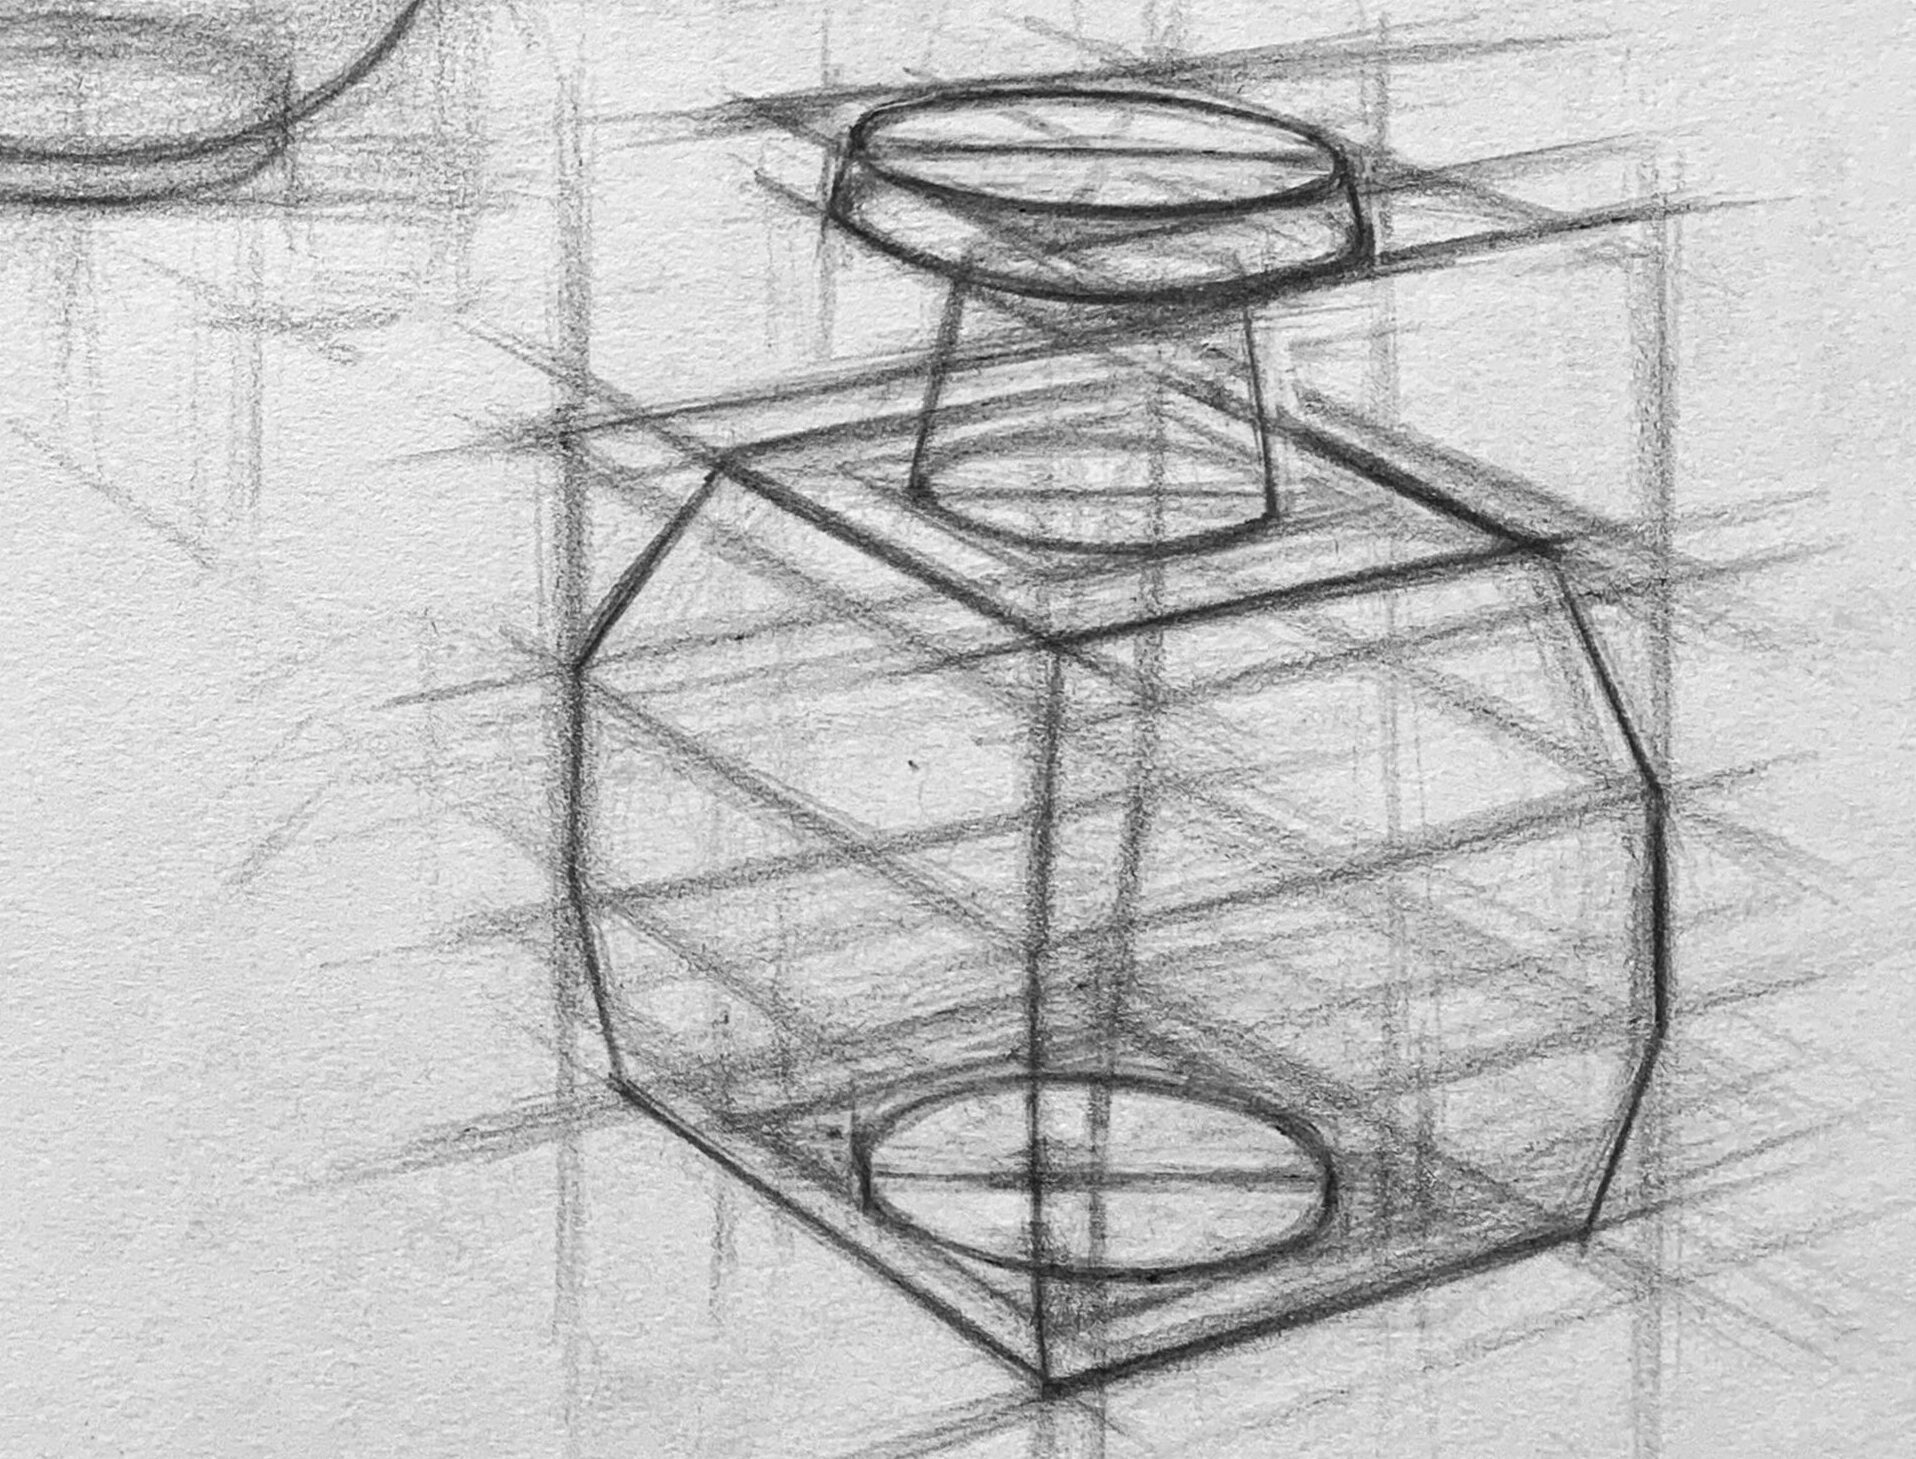
●Structure Lines:
Use structure lines to ensure the teapot maintains its perspective in a three-dimensional space. This helps us understand the depth of the object and the relationships between its different angles. See the small diagram on the right for details.
How to Draw a Teapot:
我們用左上角第一張圖當範例
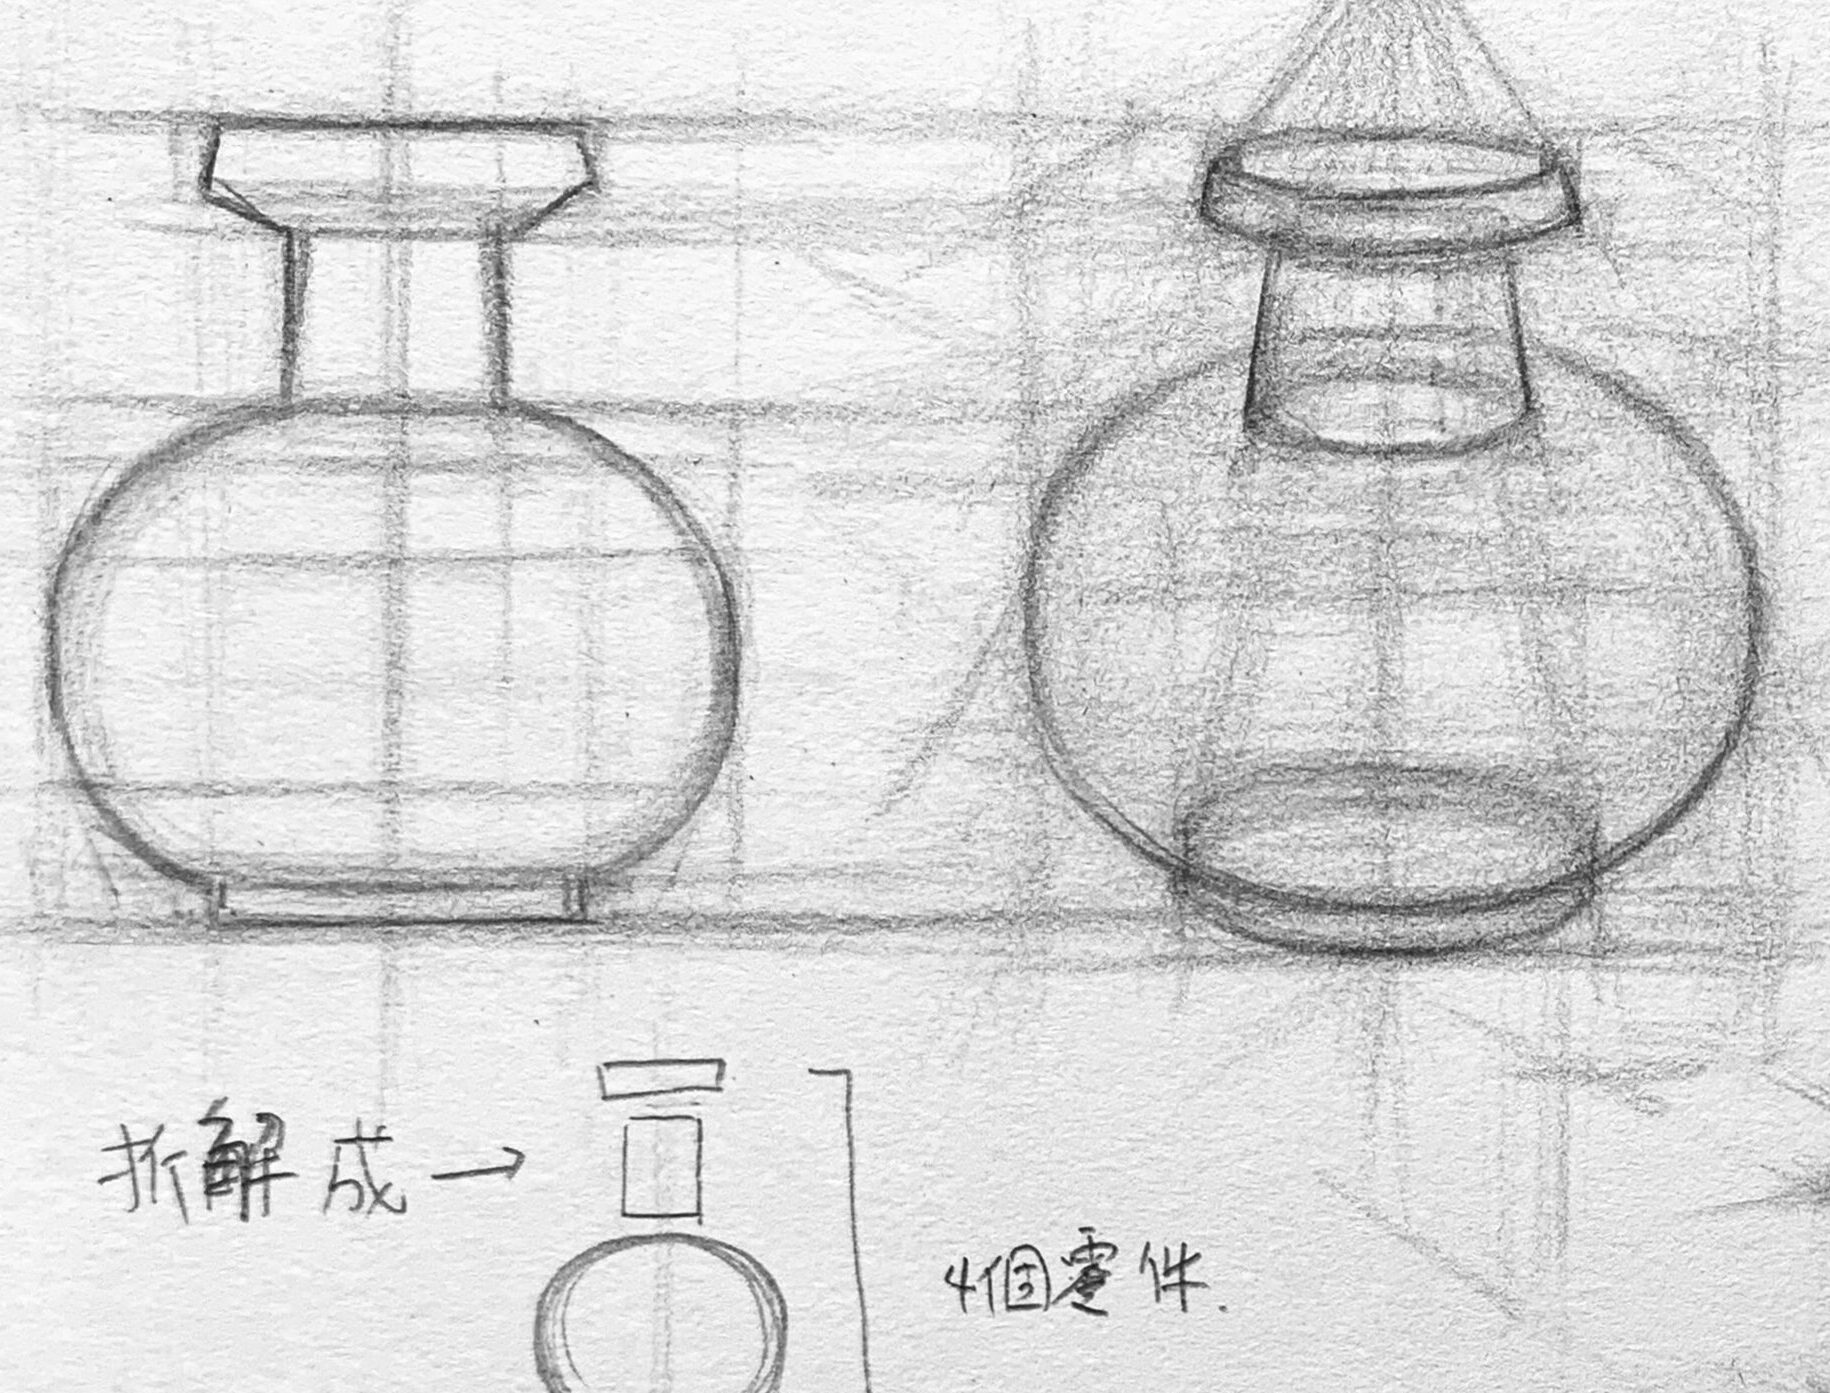
1. Using the first image in the upper left as an example: Start by sketching the overall basic geometric shape, seeing it as a tall rectangle. Break the complex teapot down into simple shapes.
2. Analyze the proportions of the teapot, with the body taking up more space and the neck and above taking up less space. Ensure that the relative positions of each part (vertically and horizontally) are correct.
3. Confirm the symmetry and draw the centerline, then extend evenly on both sides.
4. Finally, refine the details such as the spout, handle, and the curves of the edges, and gradually the shape of the teapot will take form.
I hope this structural introduction helps you understand the key points of drawing a teapot. If there are any topics or drawing techniques you'd like to see, feel free to leave a comment or message me. Happy drawing!
