- 登入
- 註冊
In the process of drawing flowers, I found that how to draw the petal twist, flowers and background color matching is the question I encountered, to share the organization of my thinking when I draw flowers, the following lilies as an example.
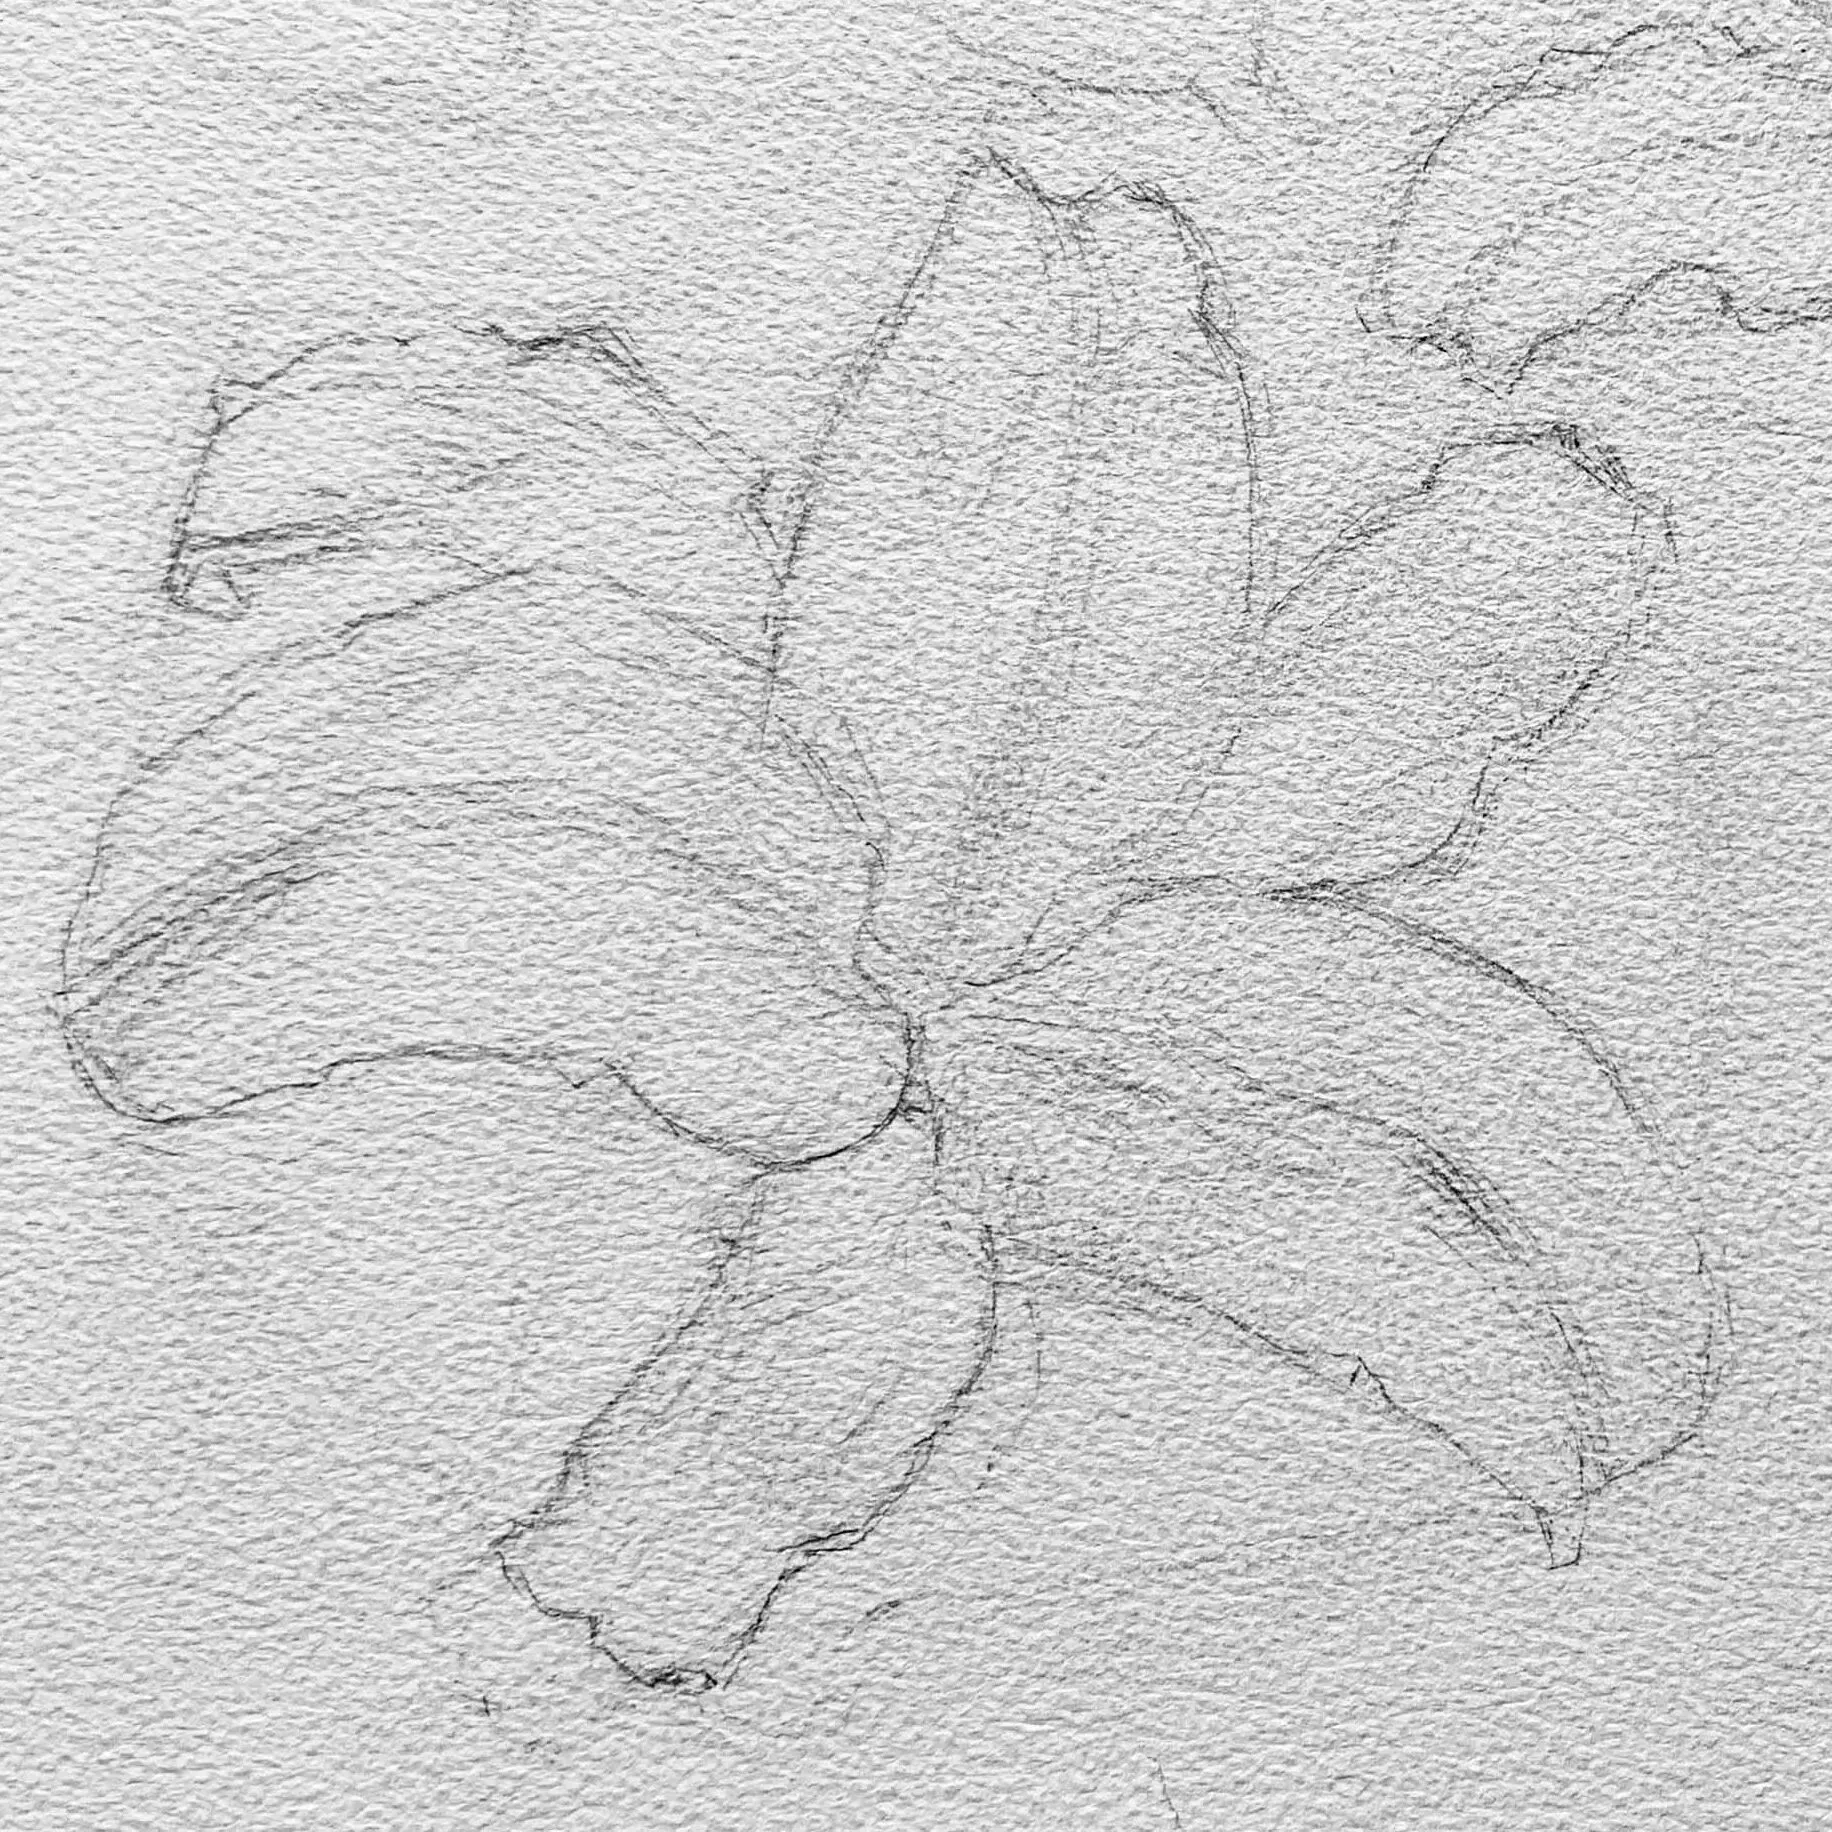
Before drawing the petals, recognize the basic structure of a lily.
The petals of the lily are usually six-petaled, arranged in a similar structure of two inverted triangles, with the following characteristics:
With these characteristics in mind, we can move on to the draft.
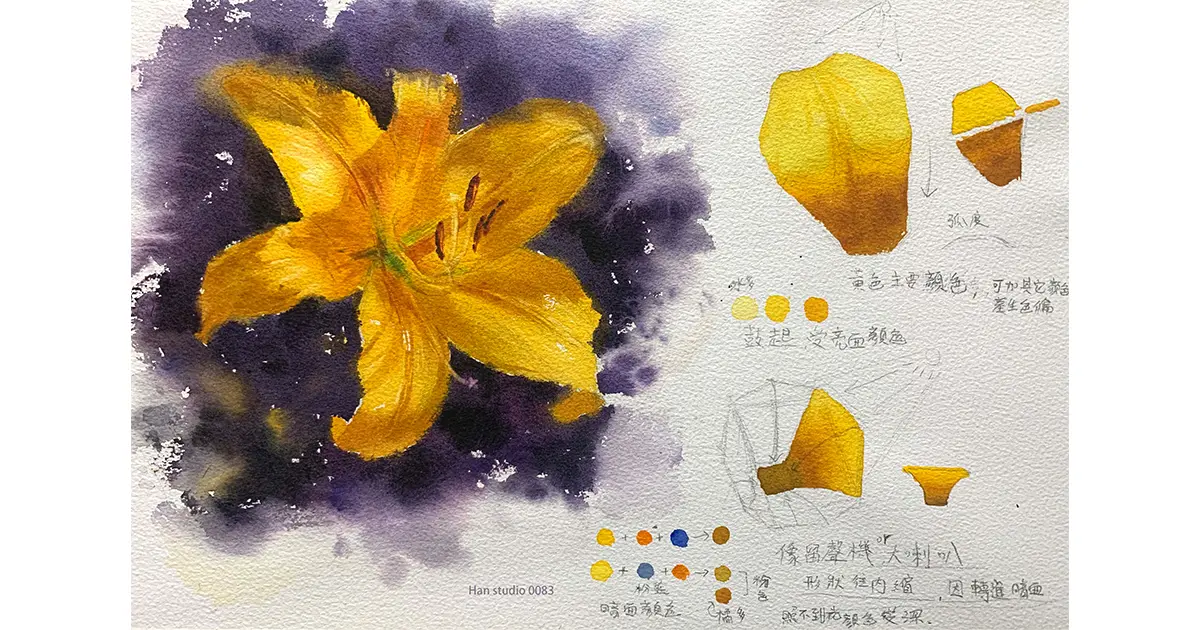
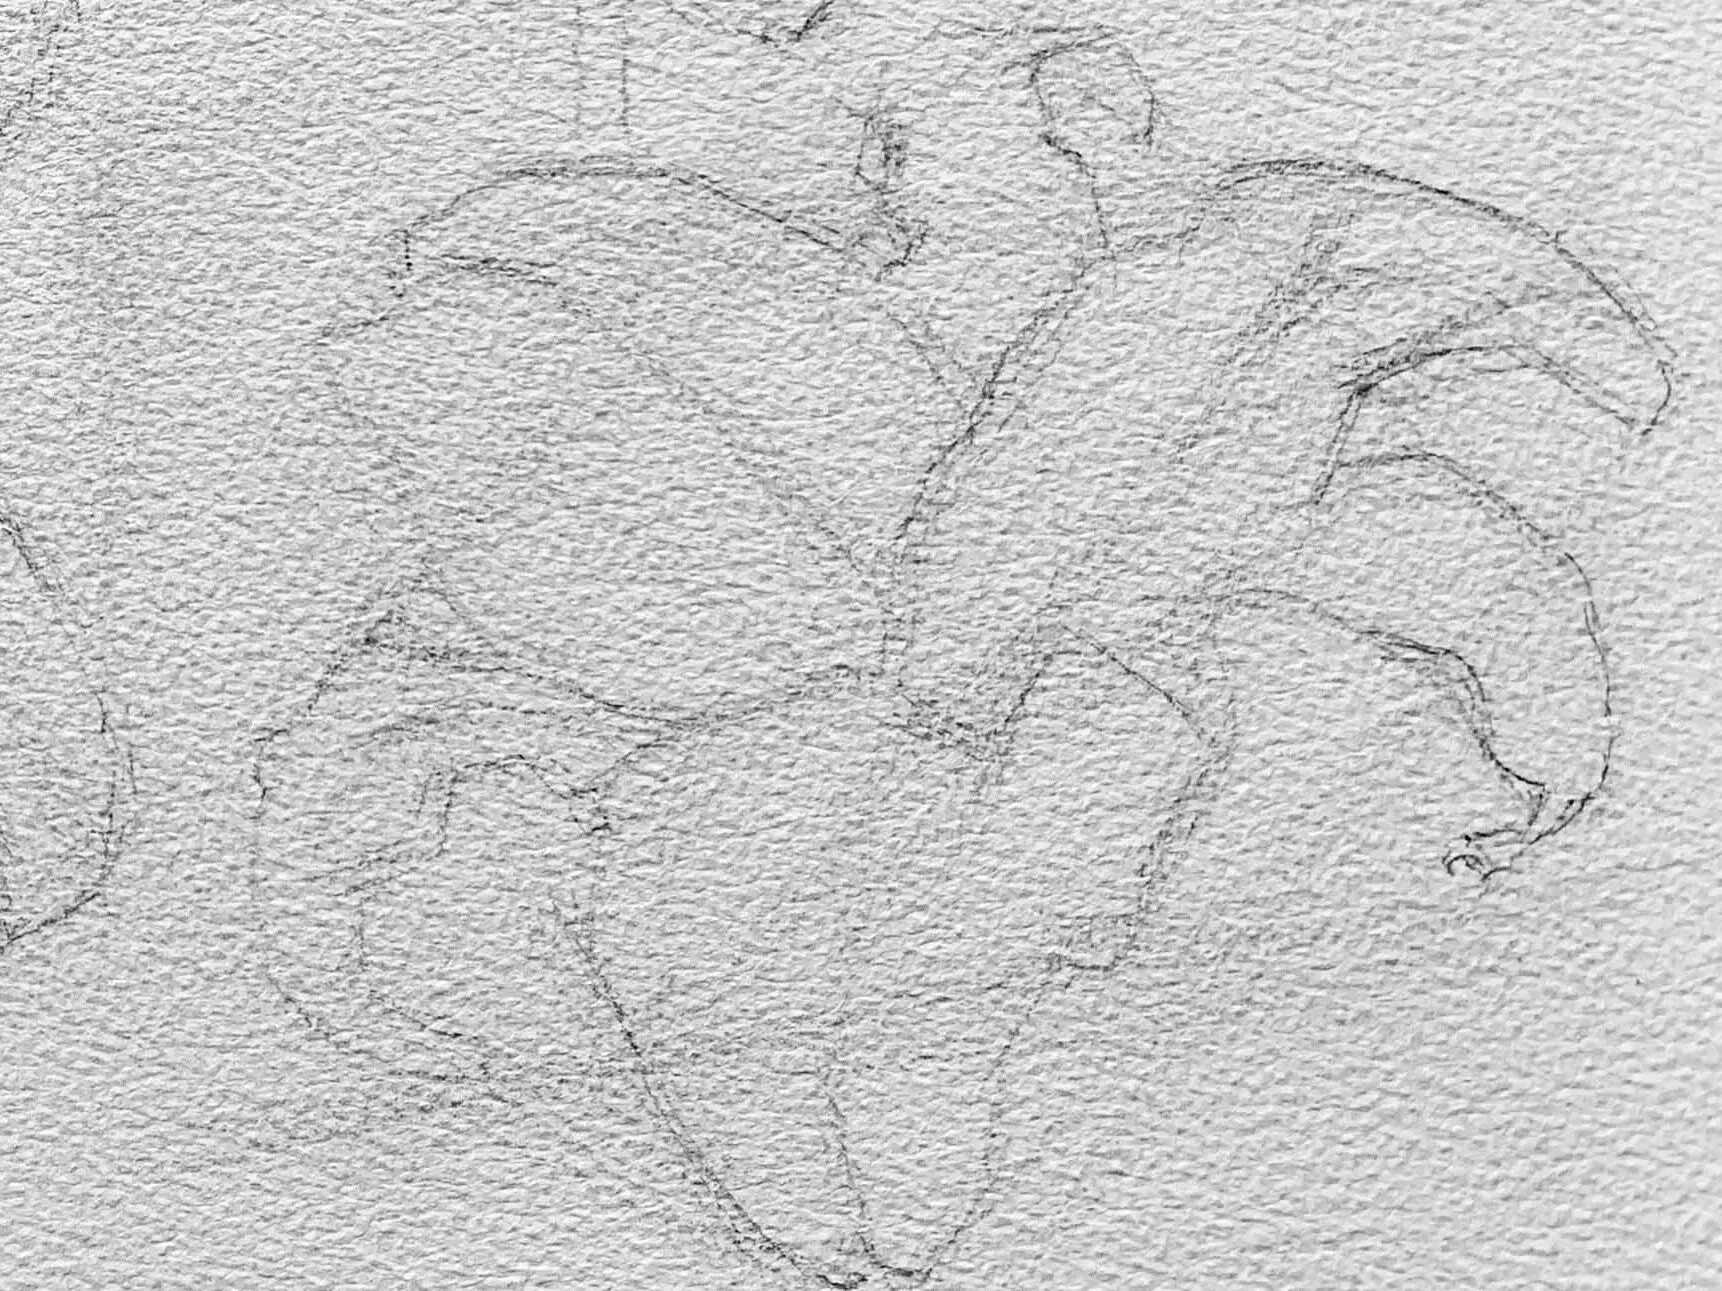
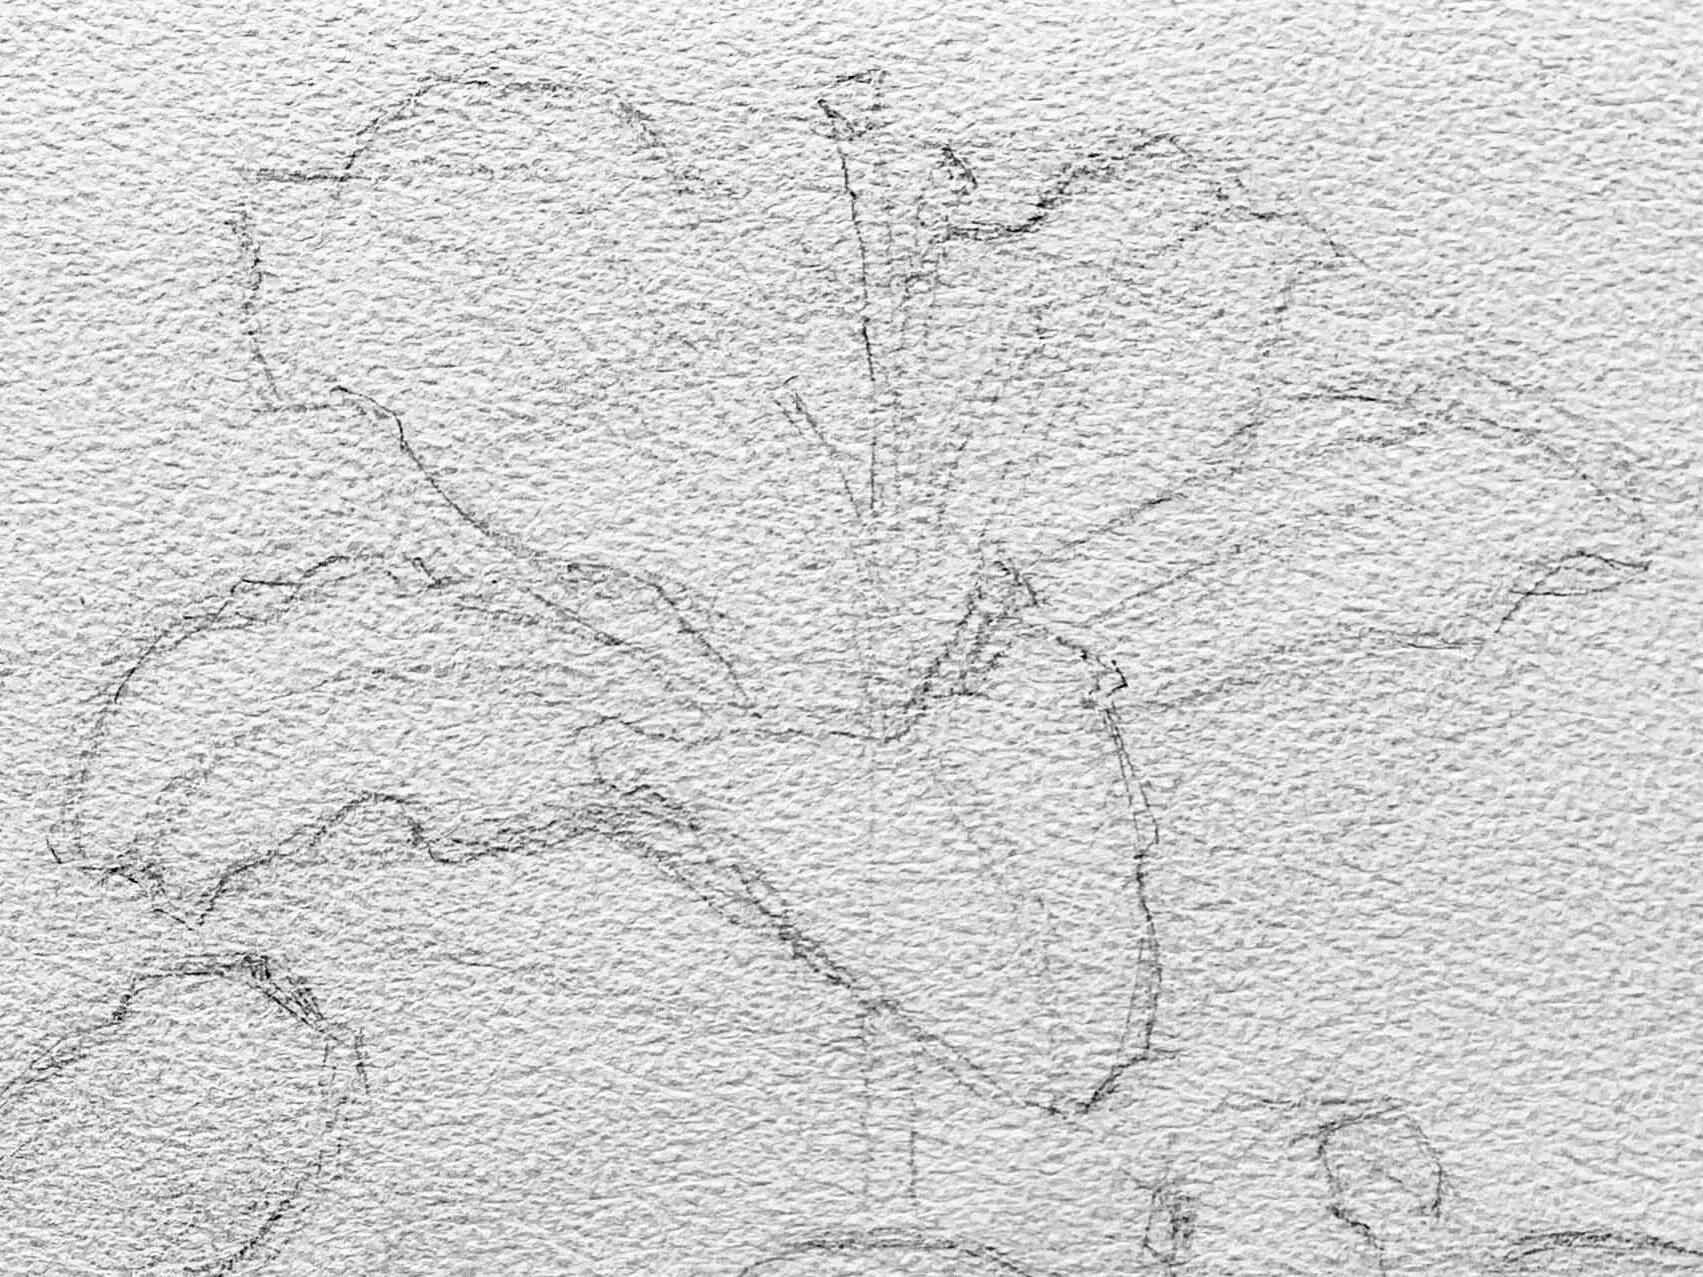
To draw a lily, simplify the overall shape and look for similar shapes that summarize the whole, such as a pentagon, hexagon, or trapezoid. Ignore the details of the petal turns and focus on finding the overall shape changes.
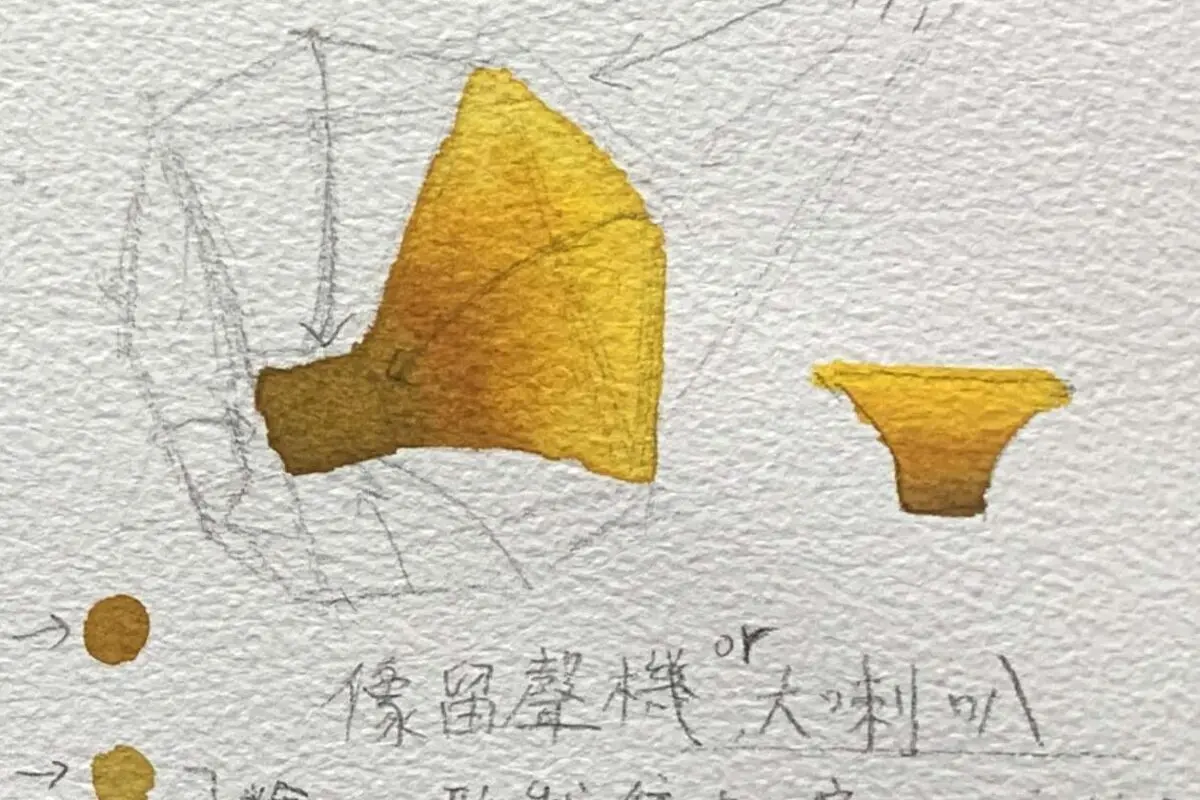
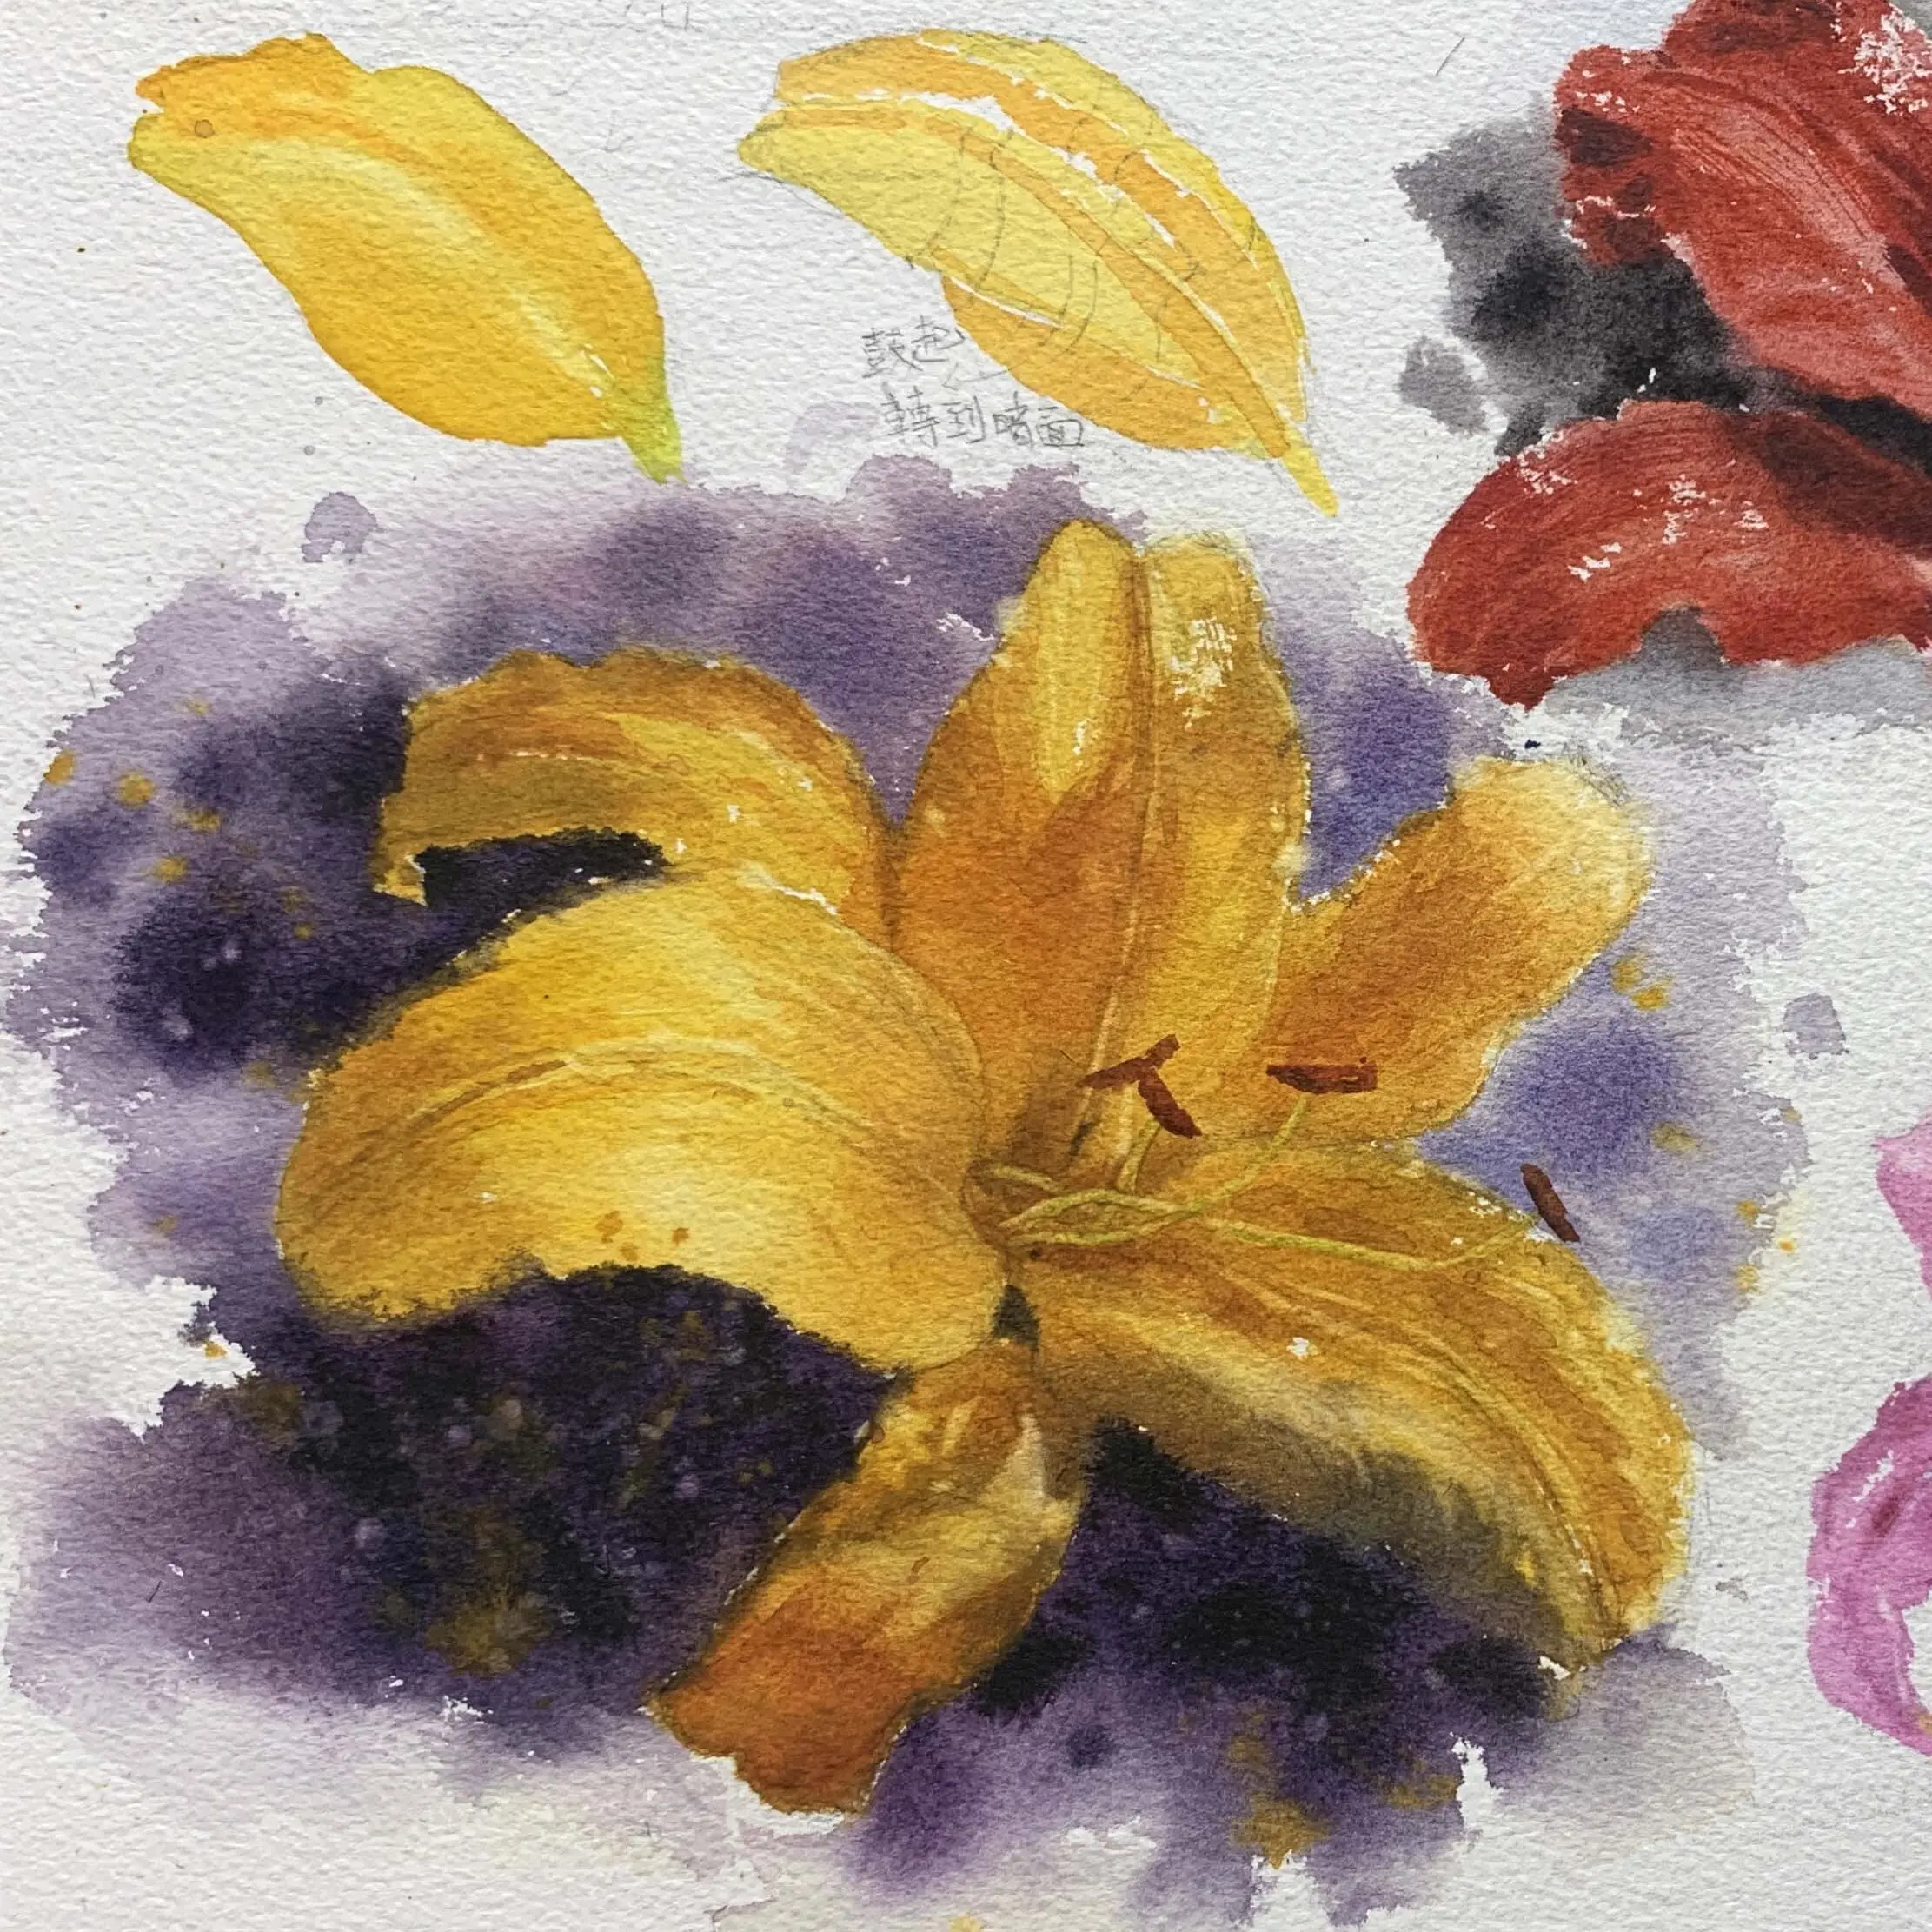
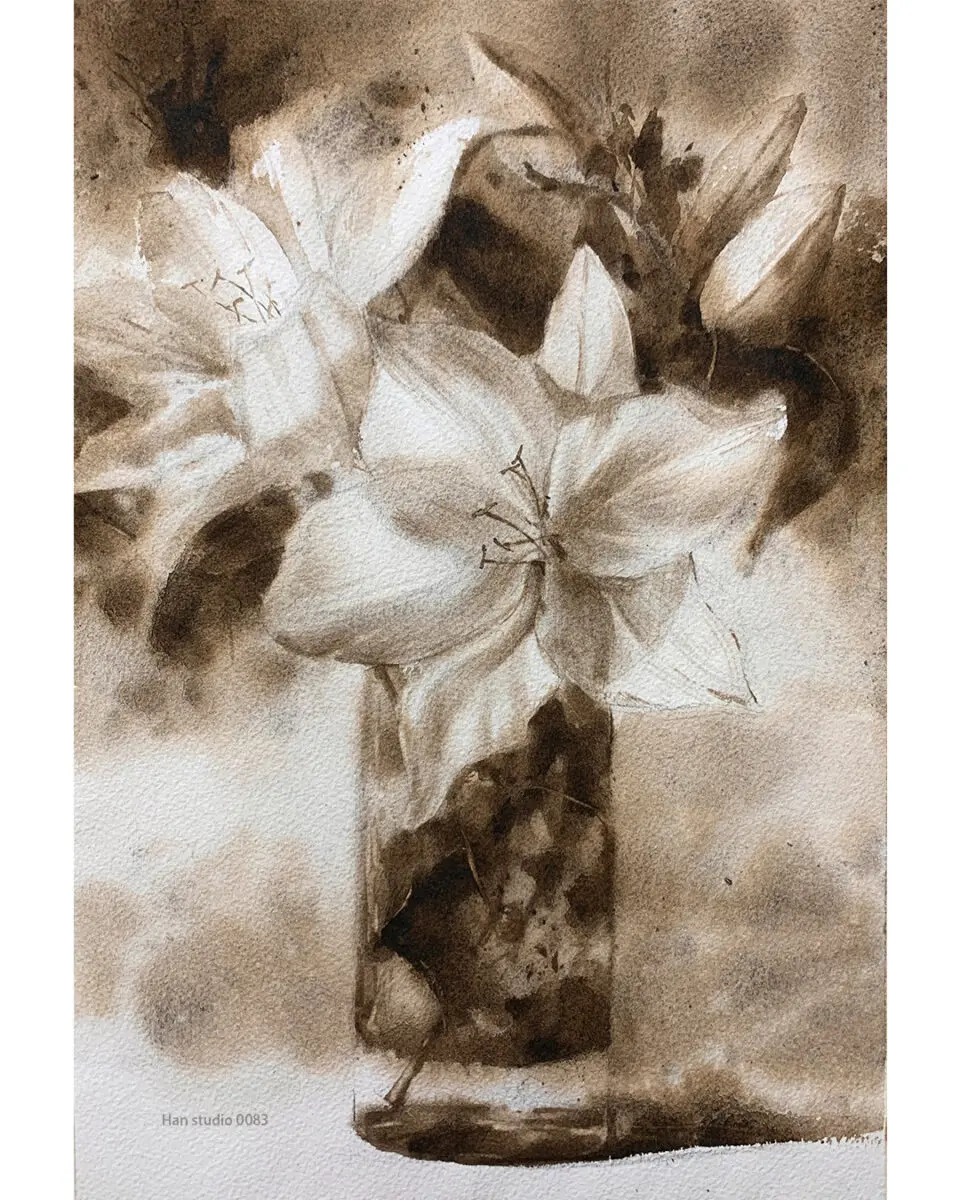
The overall shape of the lily is similar to a gramophone, or a trumpet, because the bottom of the receptacle is indented, and the inner color of the petals is darker because of the indented shape.
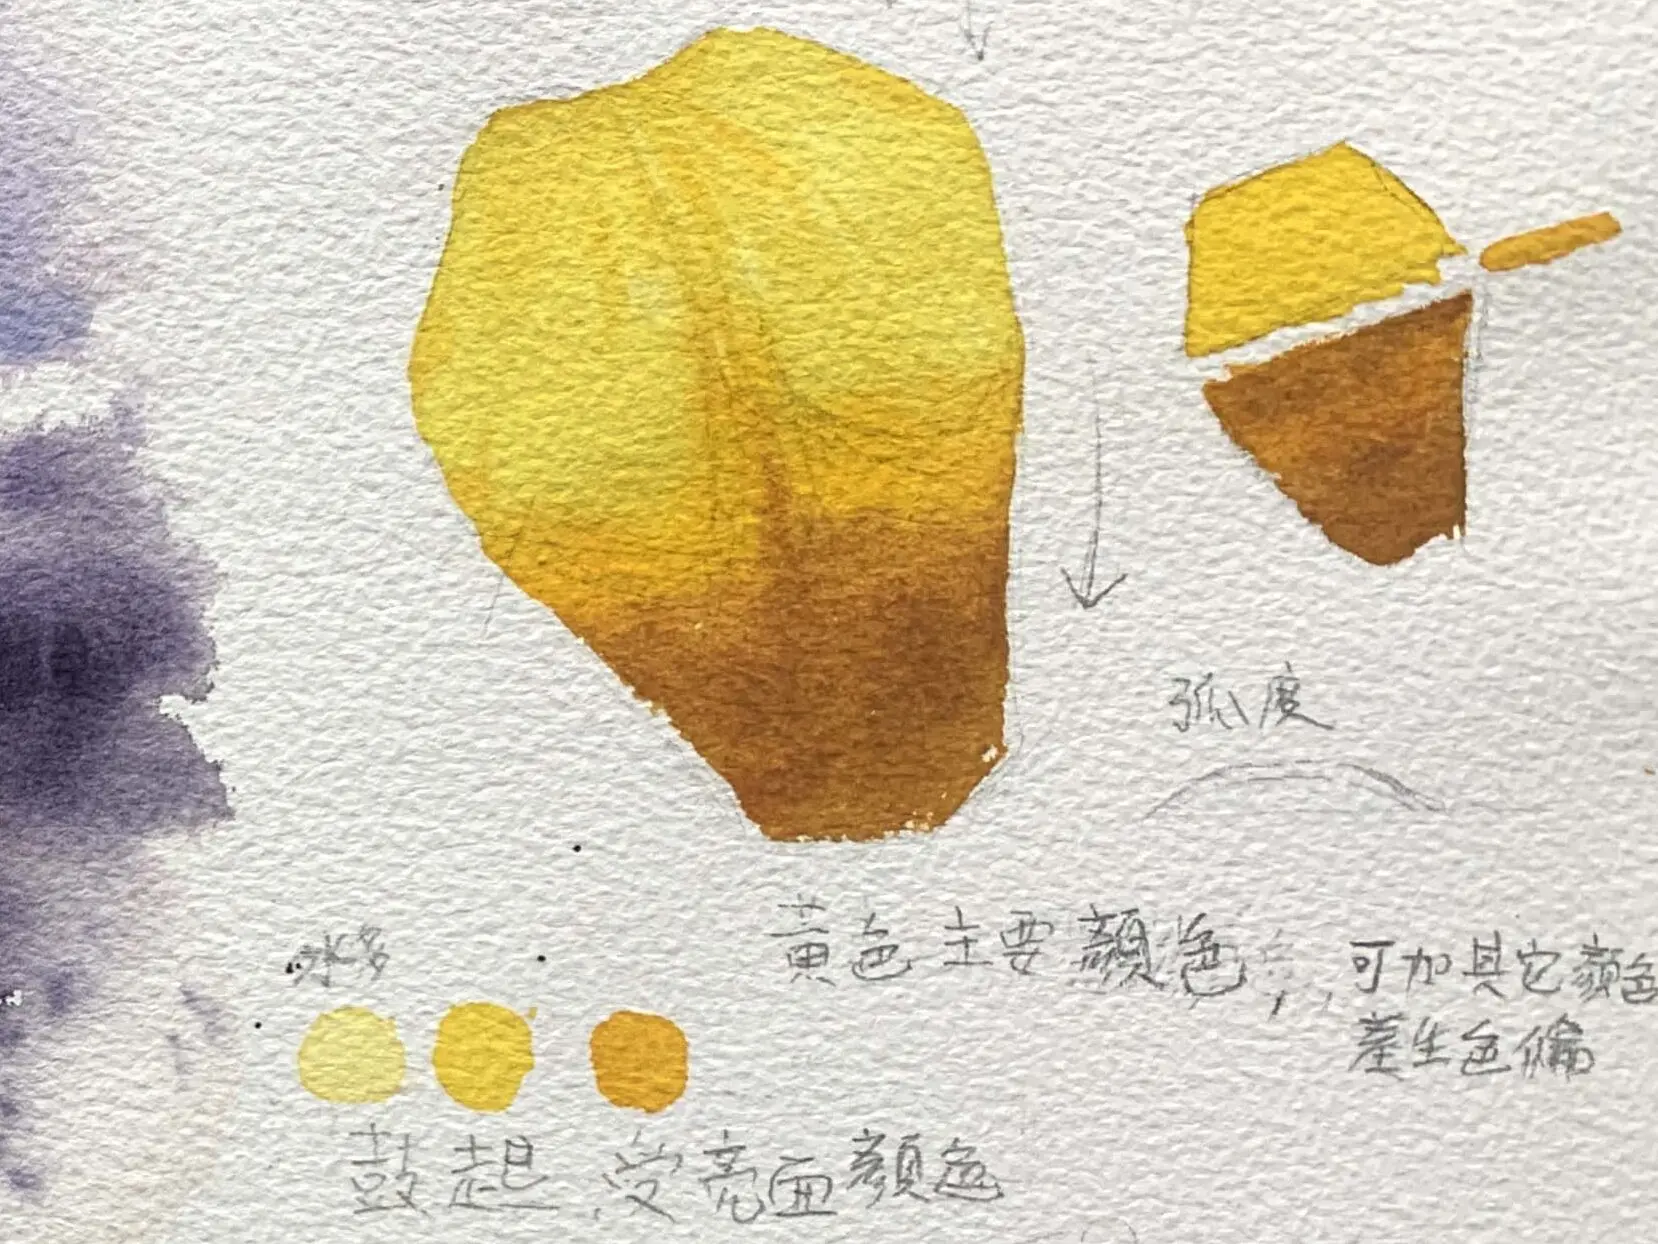
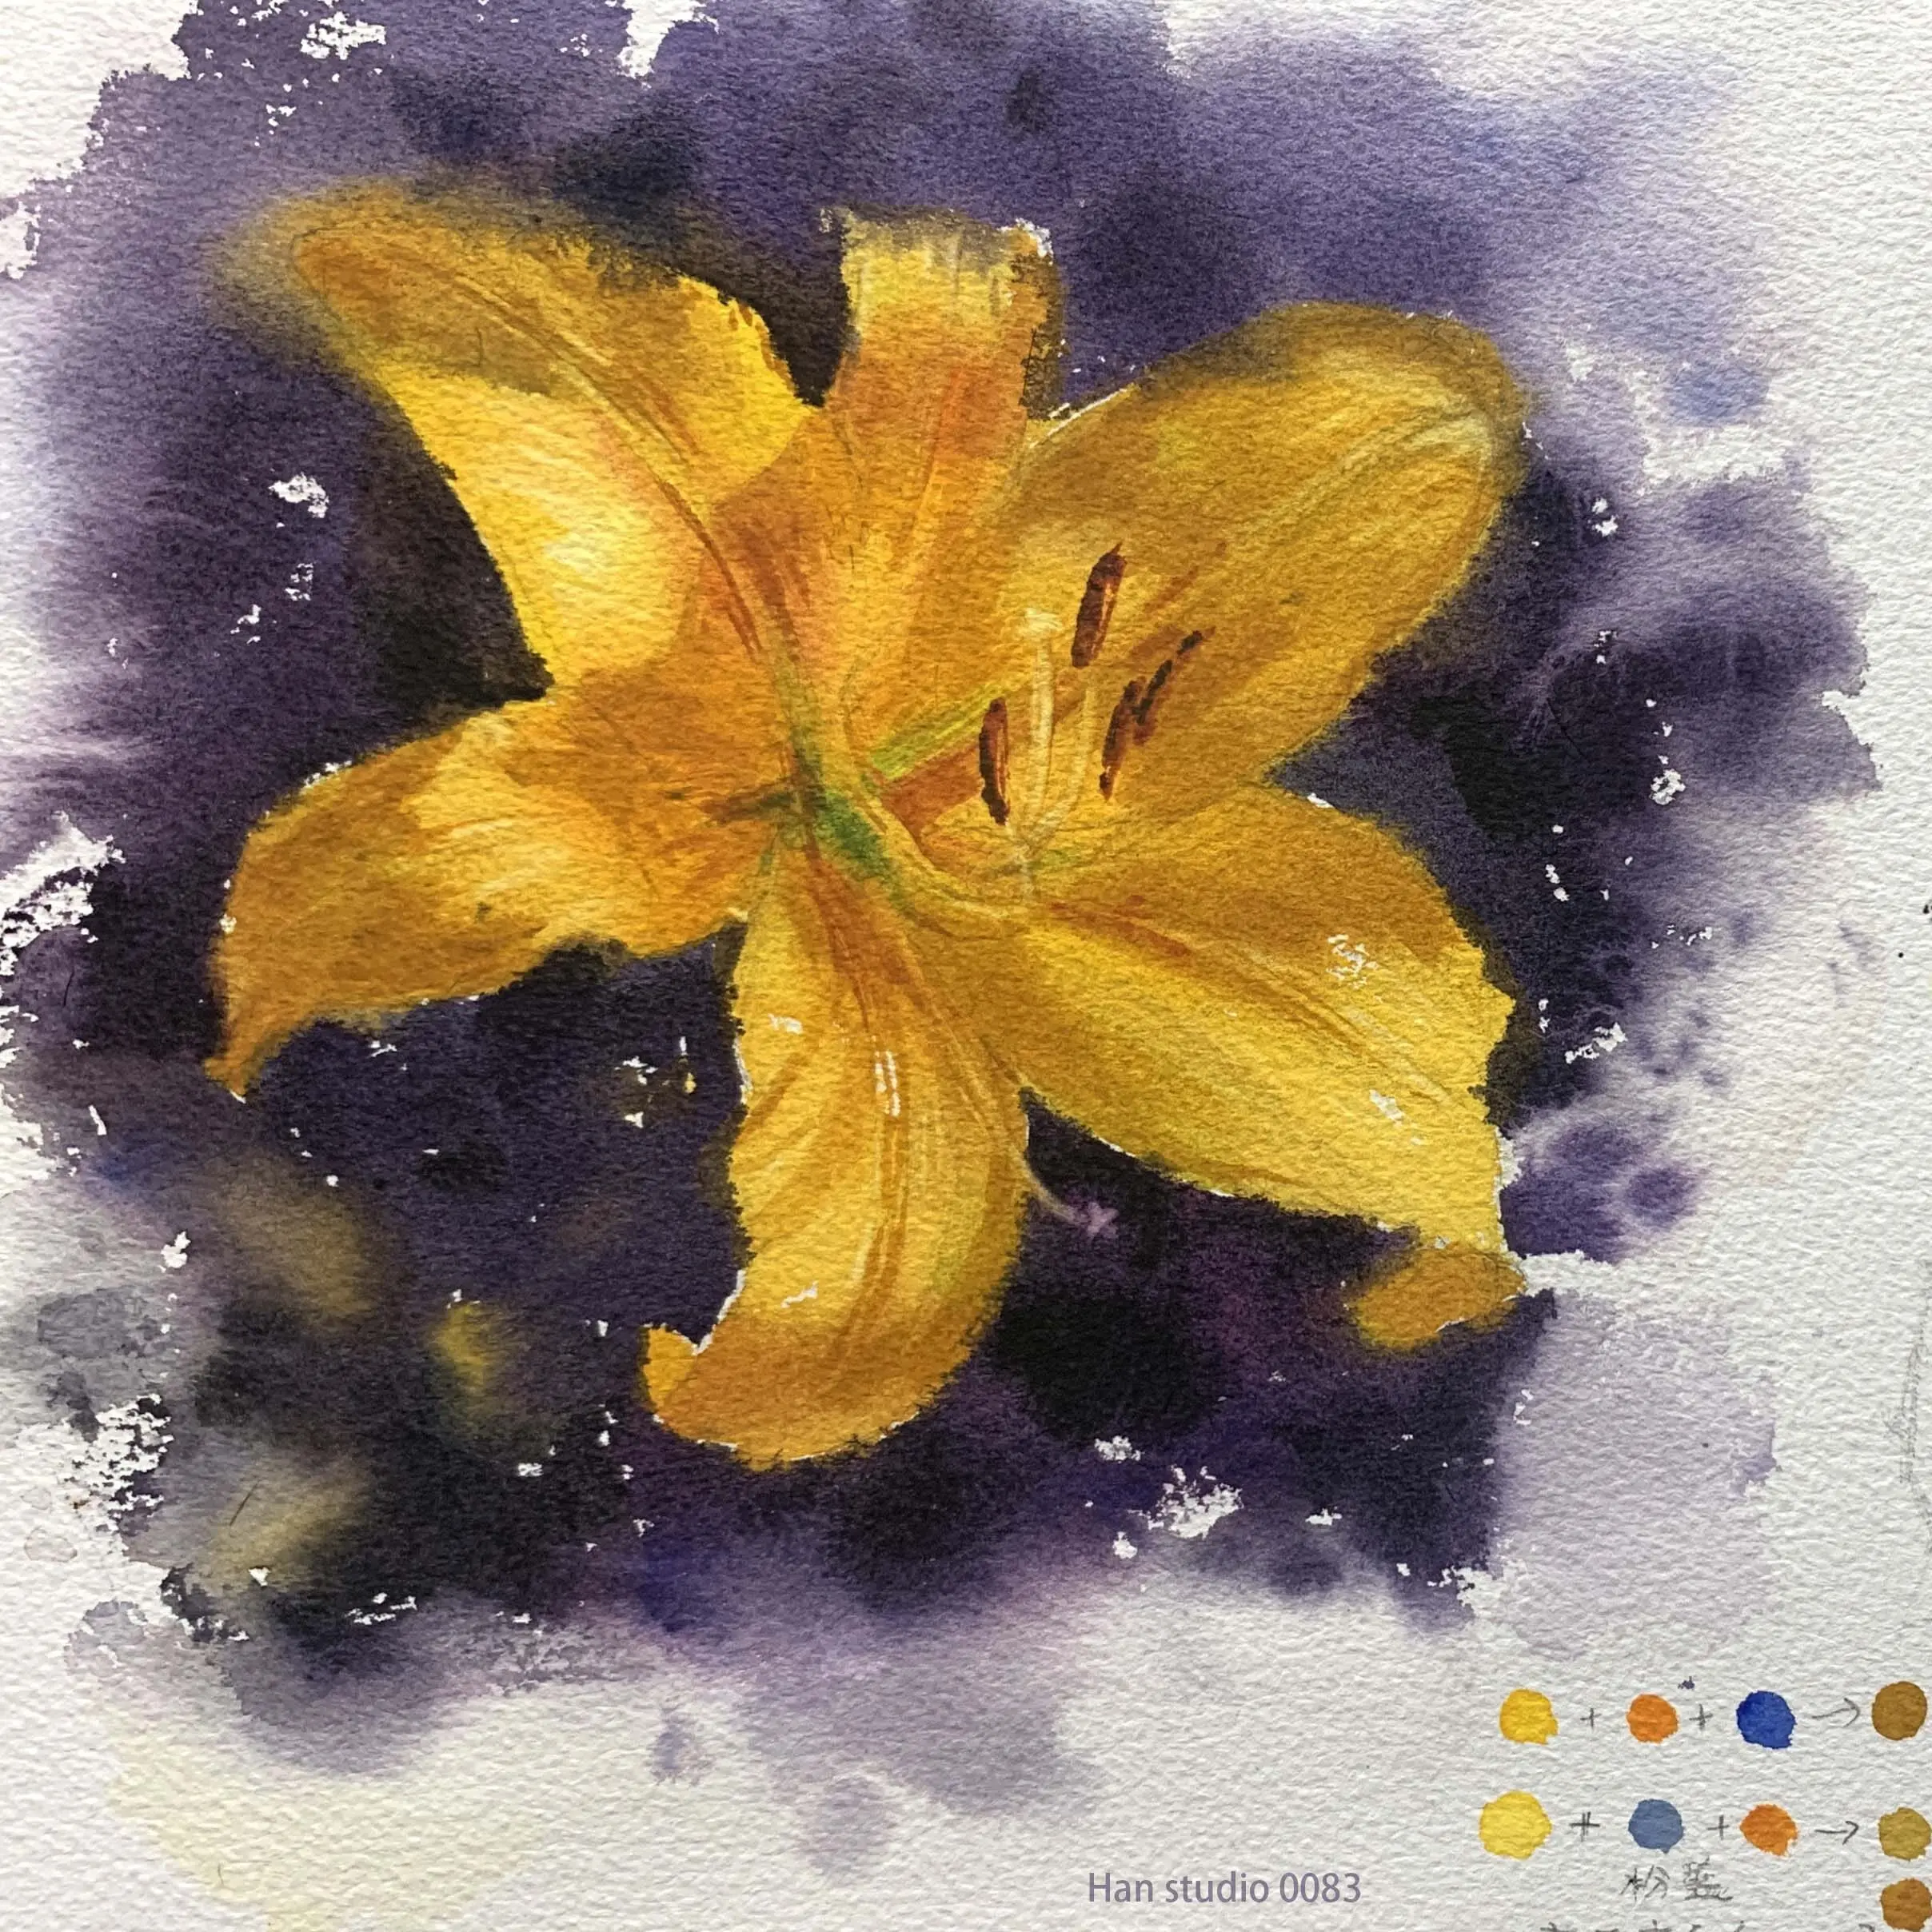
Bright colors (e.g. cadmium yellow or lemon yellow for yellow lilies, diluted cadmium red or pink for red lilies).
Color slightly reduce the color scale, so that the color transition is natural (such as using a little orange, red, yellow toned orange-yellow or orange-red).
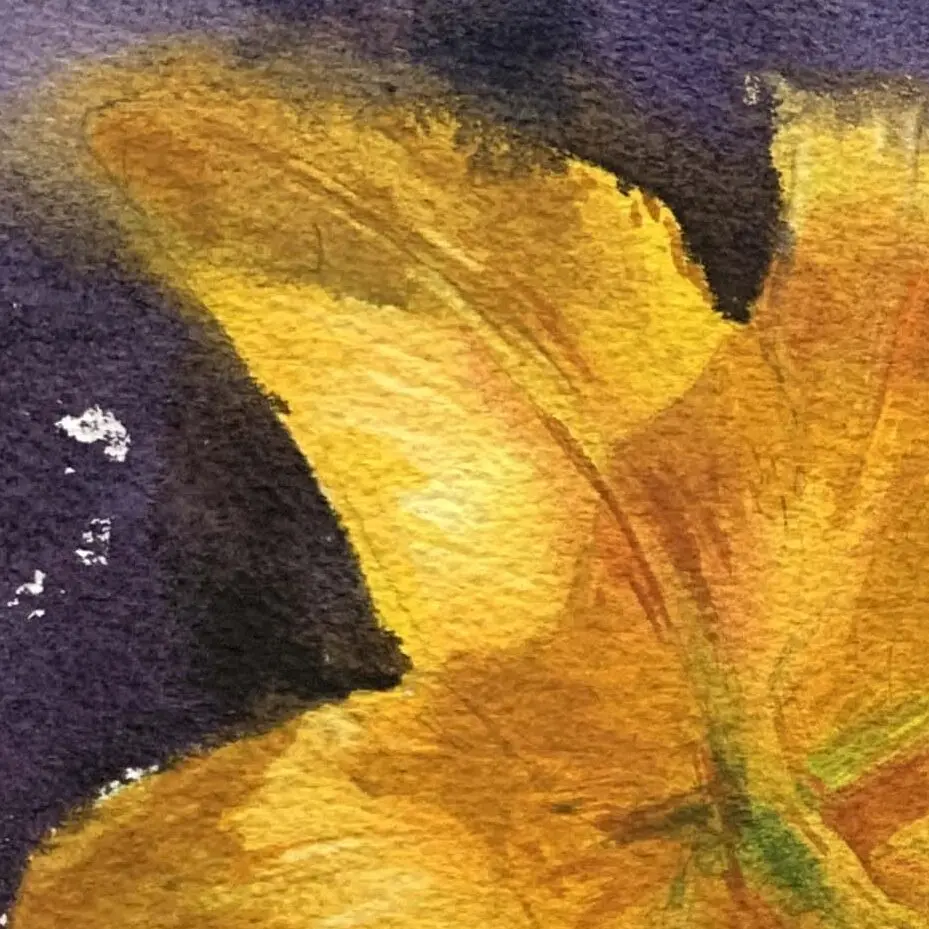
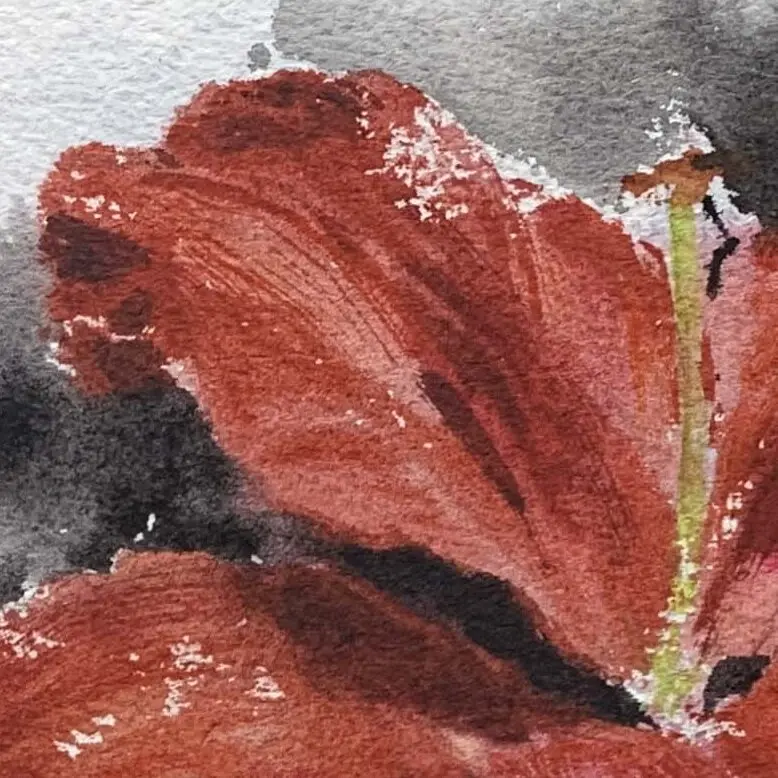
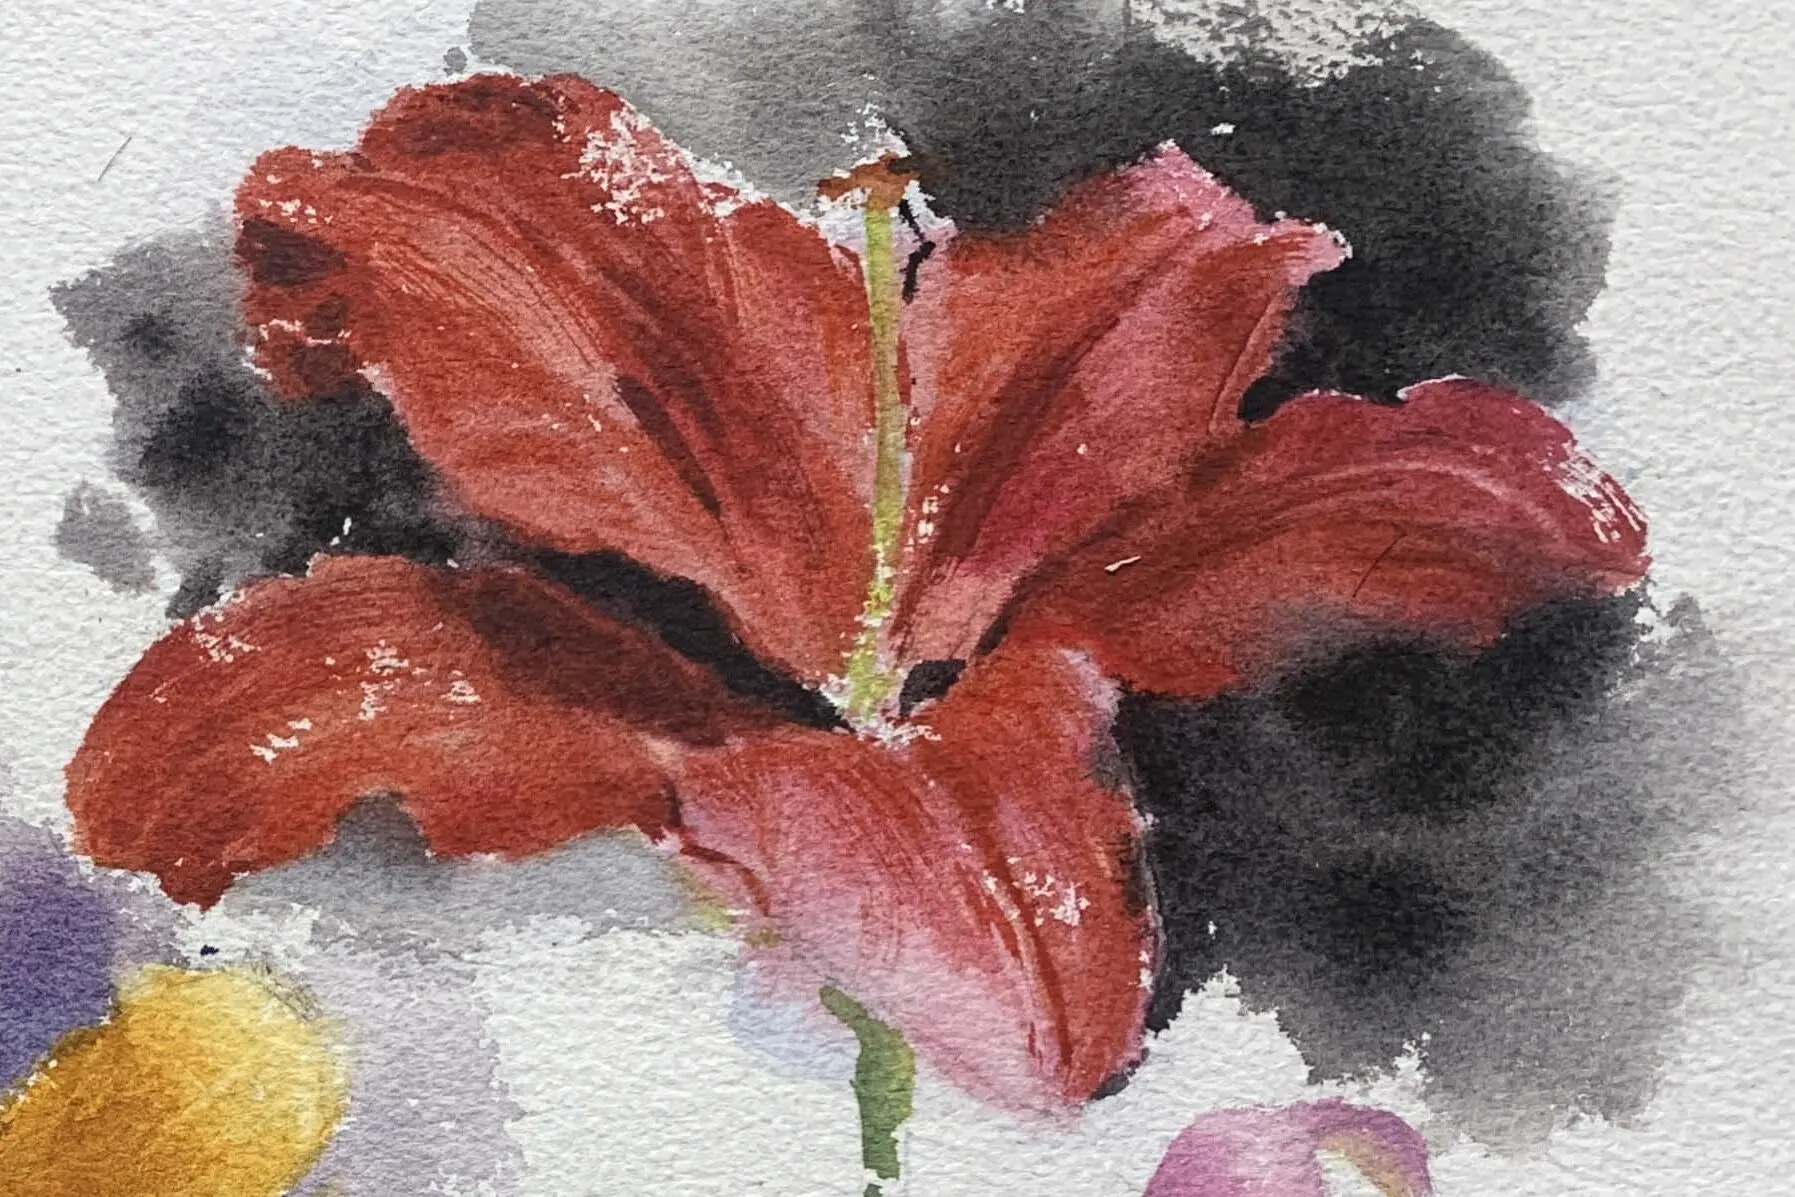
Use complementary or cool colors to express the colors after the area transition, the red lily's shadow with seawater blue and sage red, ivory black.
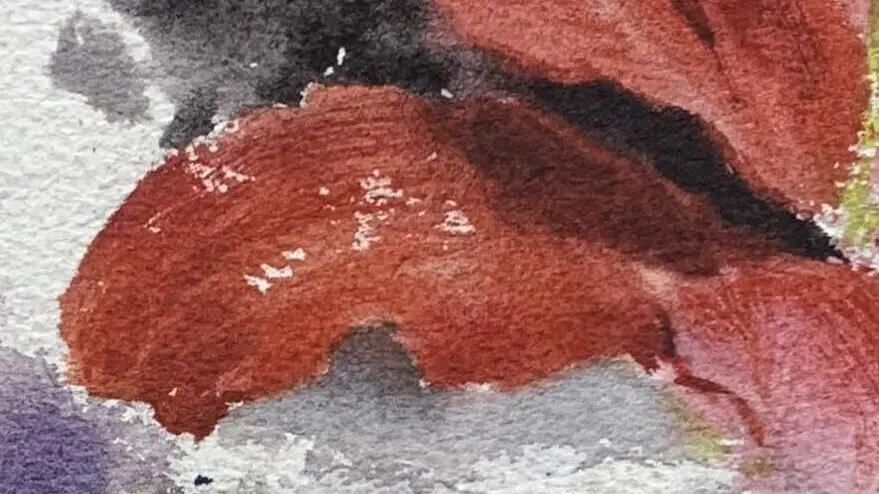
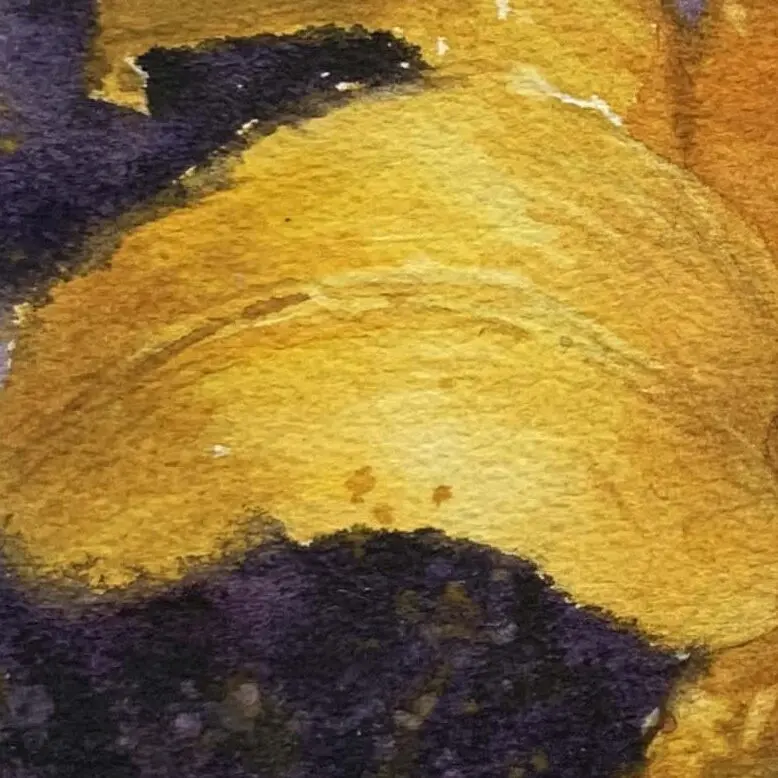
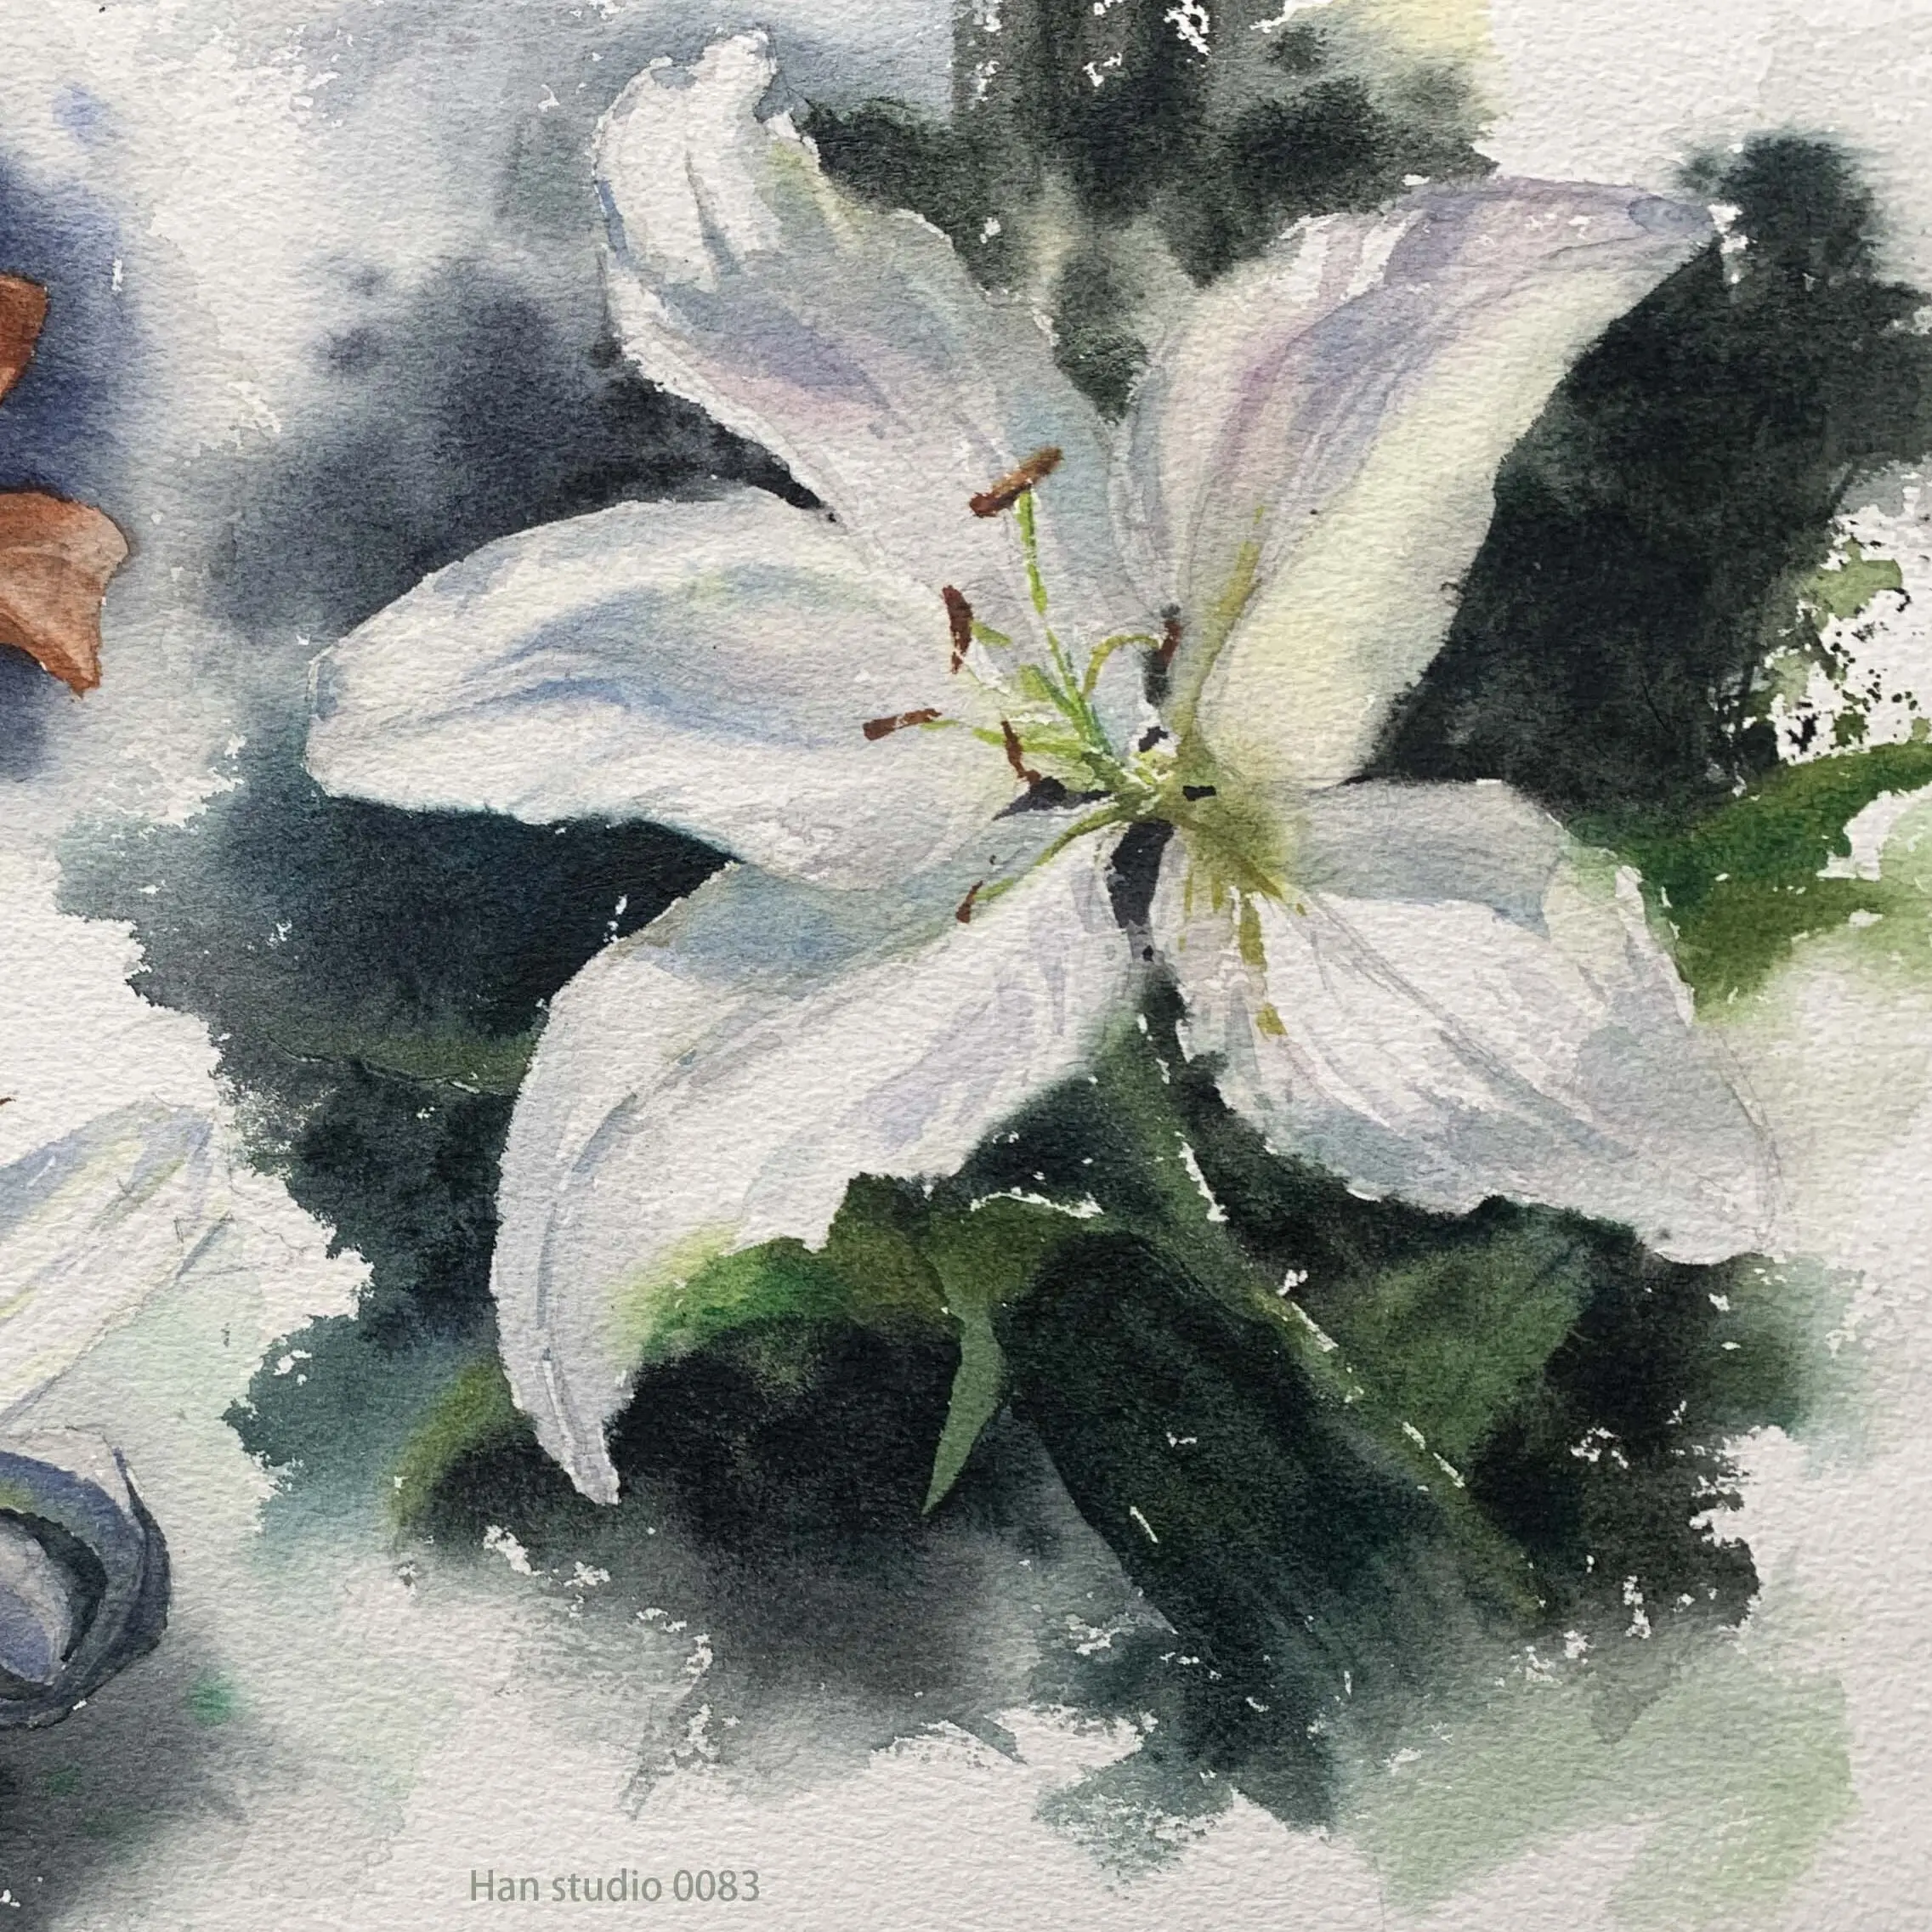
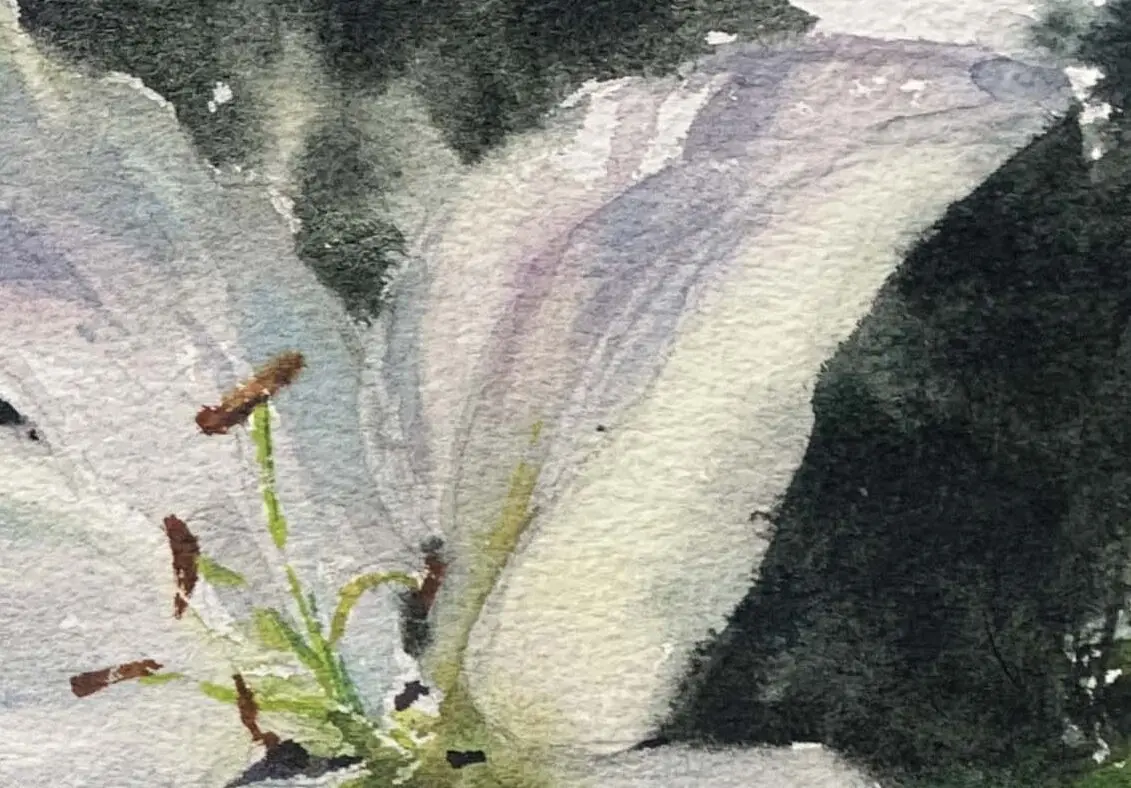
Petals are usually translucent, so to make soft changes, you need to make the color brightness (light and dark) changes close to the other, try to make layers in the wet state.
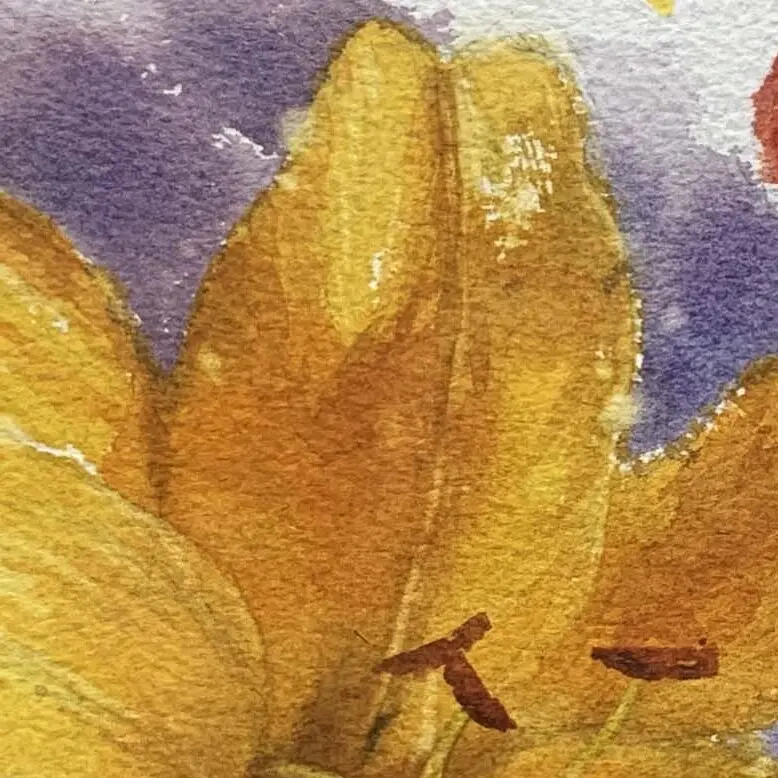
To express the richness of the petals, you need to pay attention to the length of the petal edges, short, fuzzy and sharp changes.
To learn more about the laws of color brightness, colorimetry, and how to do it, click on this article I wrote about itAbout Color Mixing Primer。
When the petals are semi-dry or almost dry, the color is dotted or waited for dryness, and the petals are thinly overlaid to show the texture of the petals.
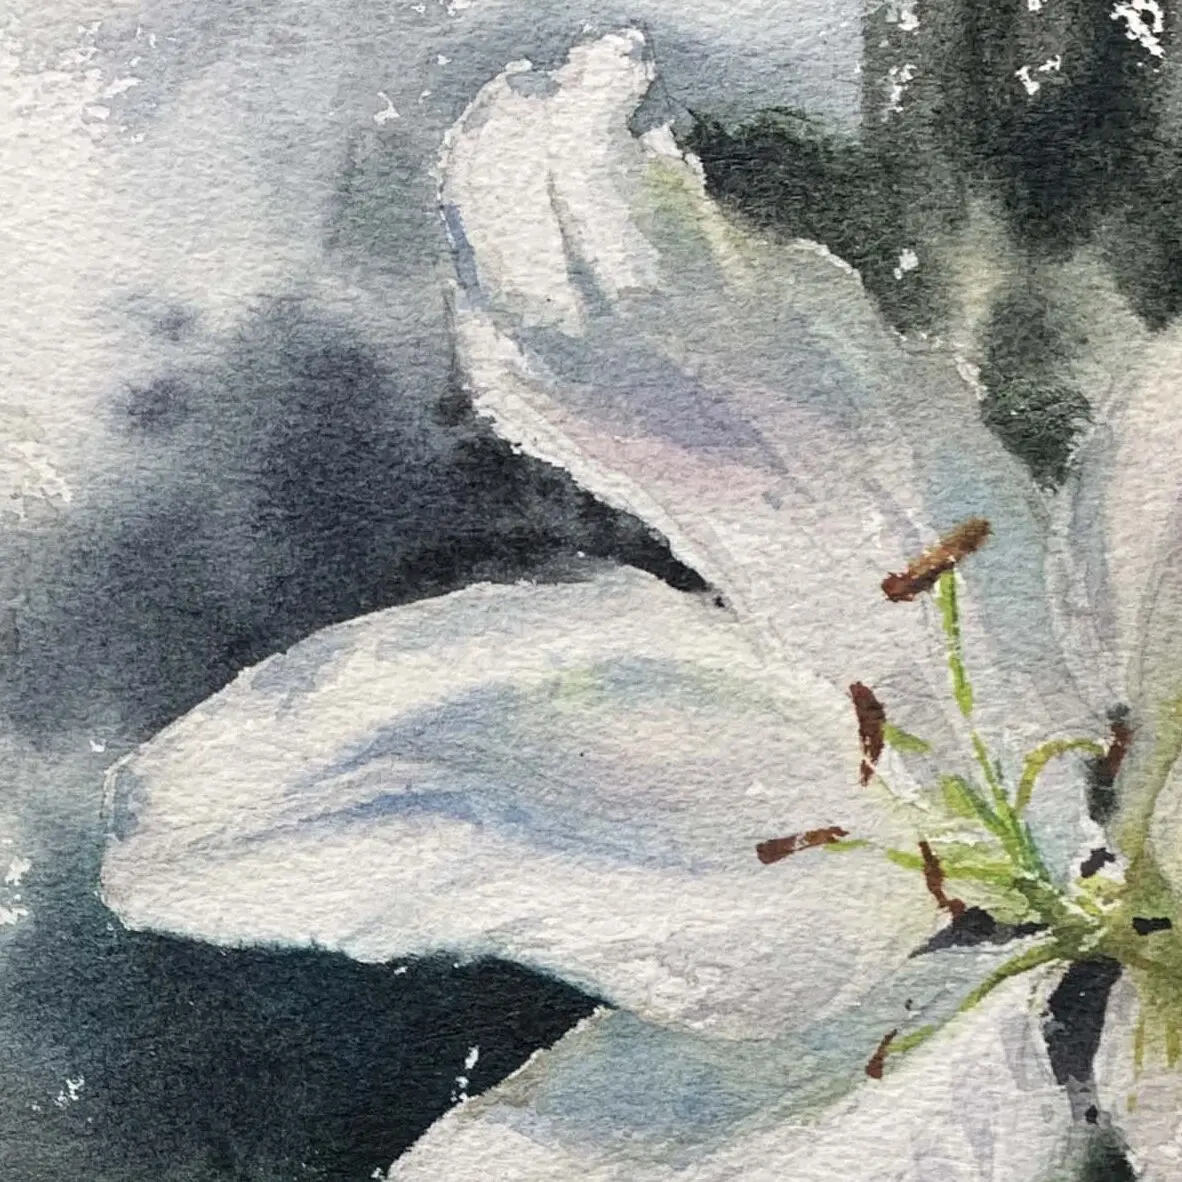
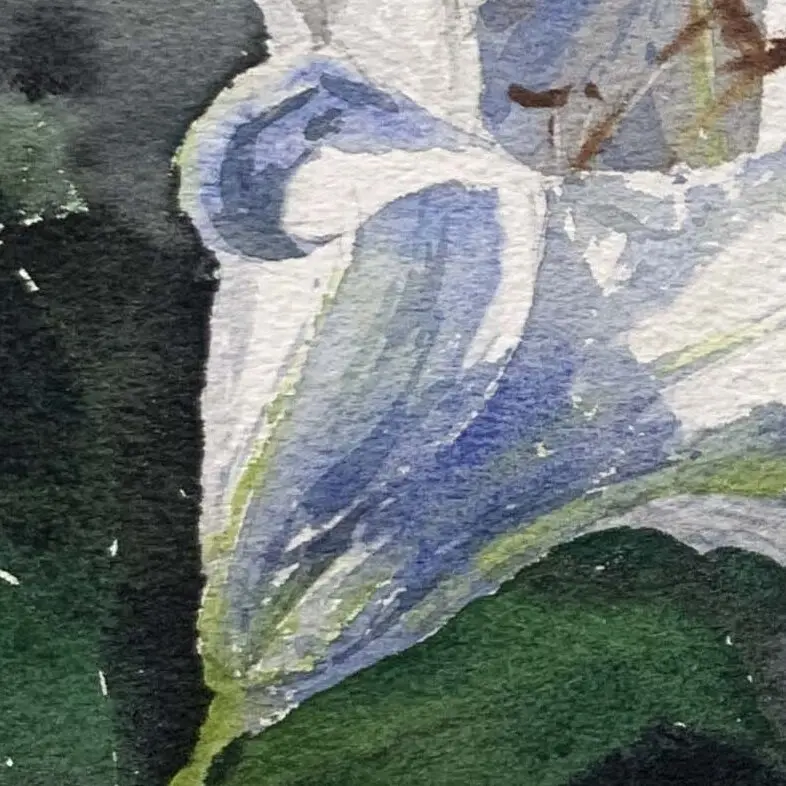
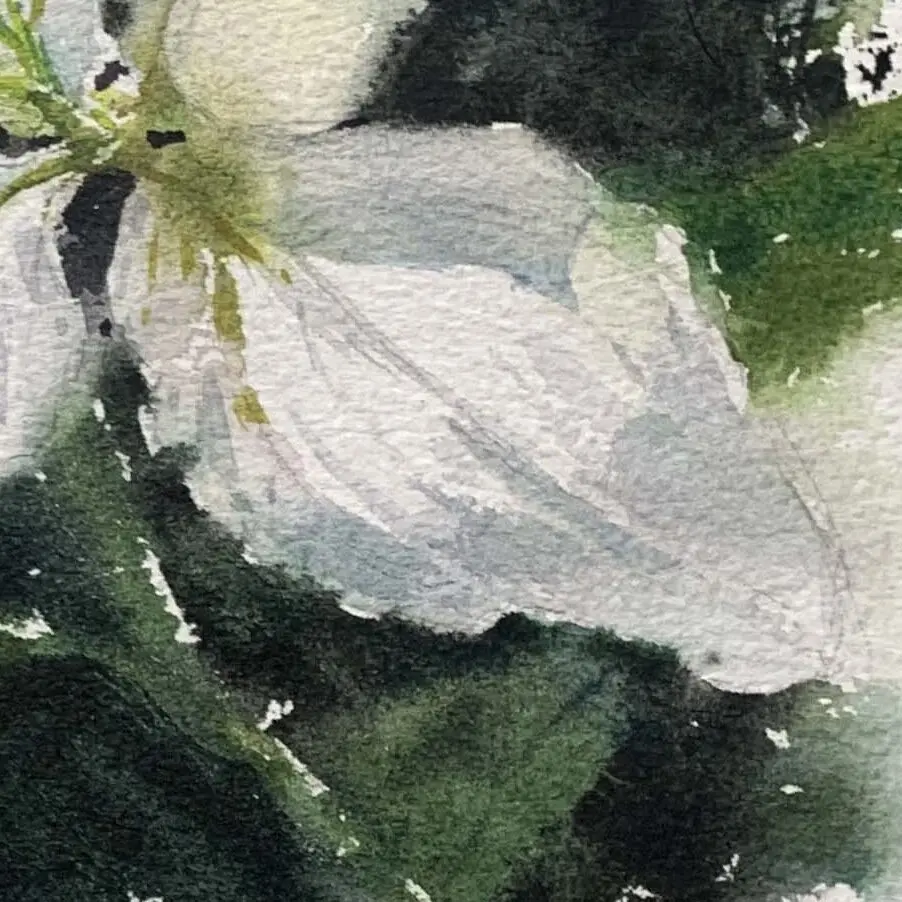
A dark background can accentuate white or light colored flowers.
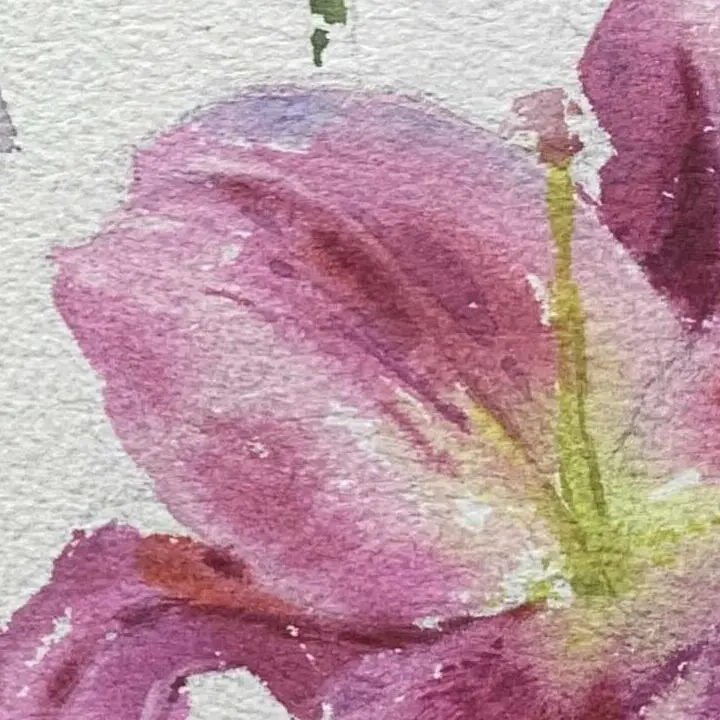
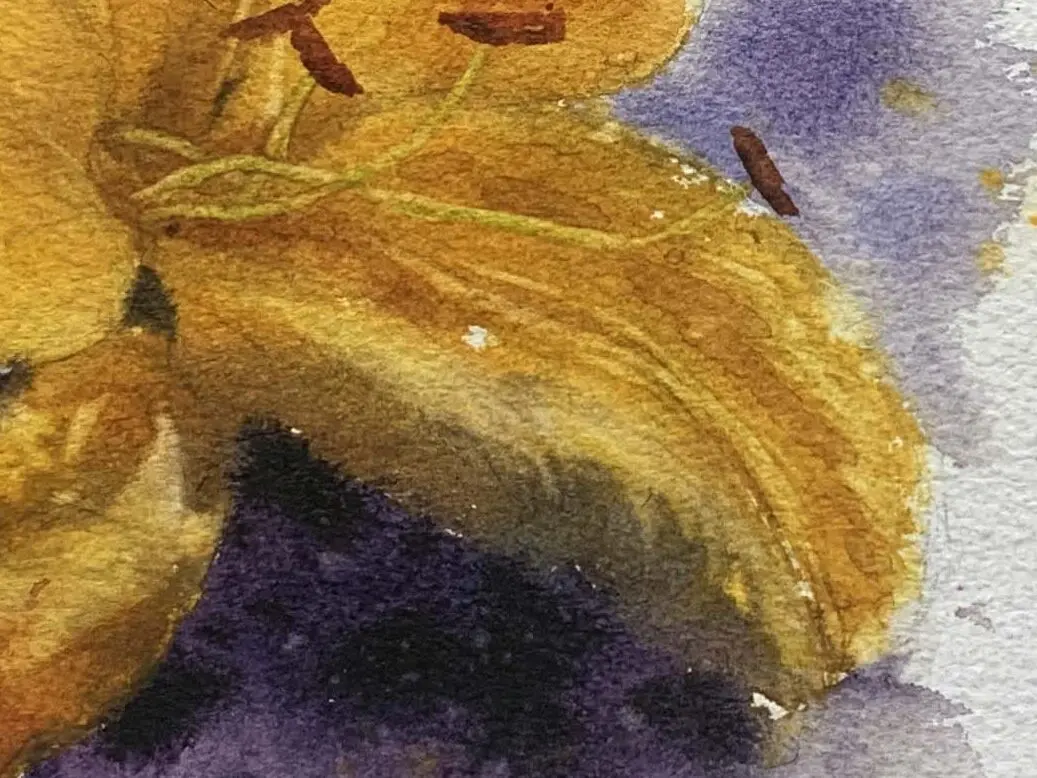
Light colors or even unpainted backgrounds are suitable for medium gray brightness (luminosity) lilies, which allows the painting mask to focus on the flower transition expression.
Lilies come in a variety of colors such as white, yellow, pink, red, orange, etc. Of course you can change the color scheme of the flowers if you want to do so subjectively.
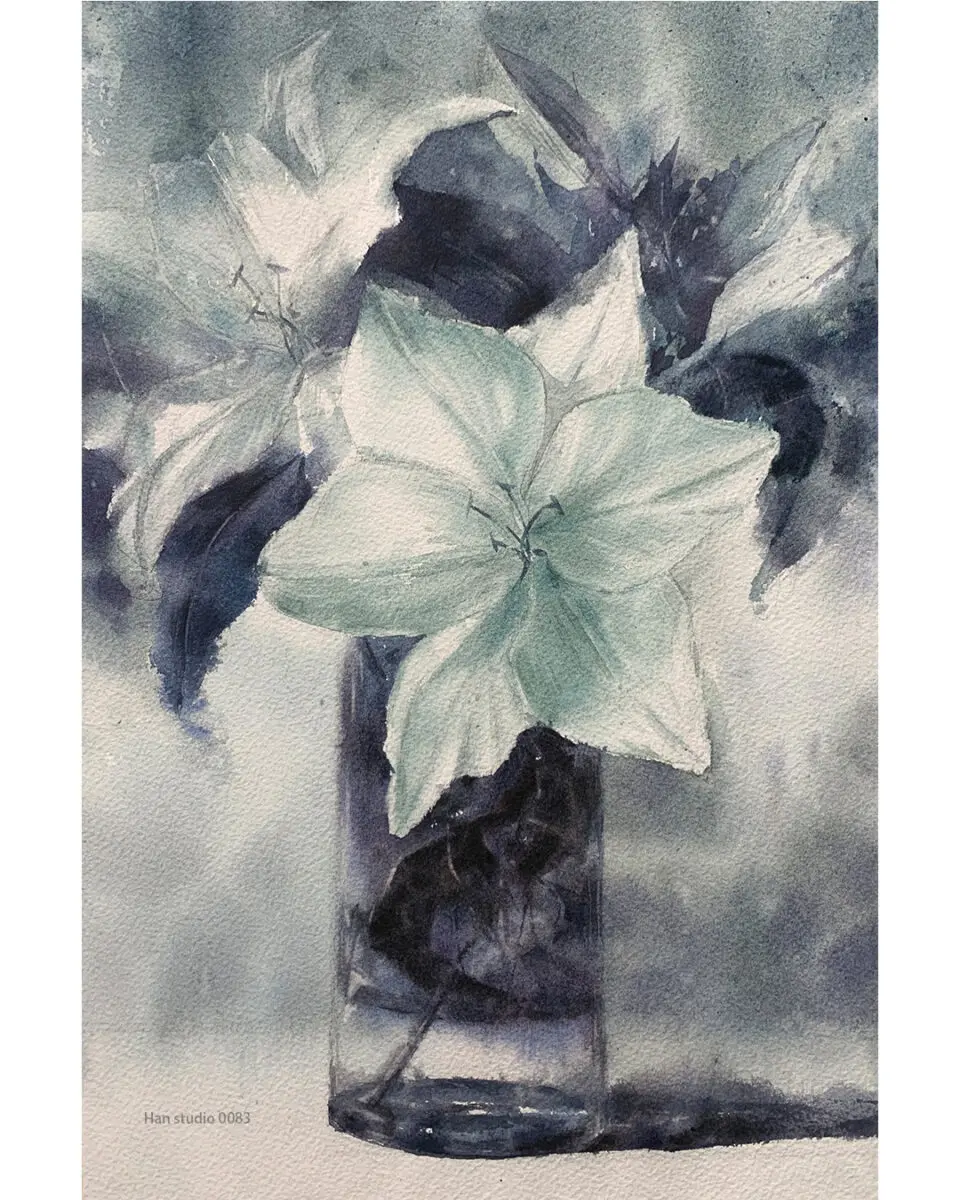
White lilies: Observe the real thing can be found in the dark areas can be added to the cool and warm color shades (such as blue purple, gray purple) to create layers.
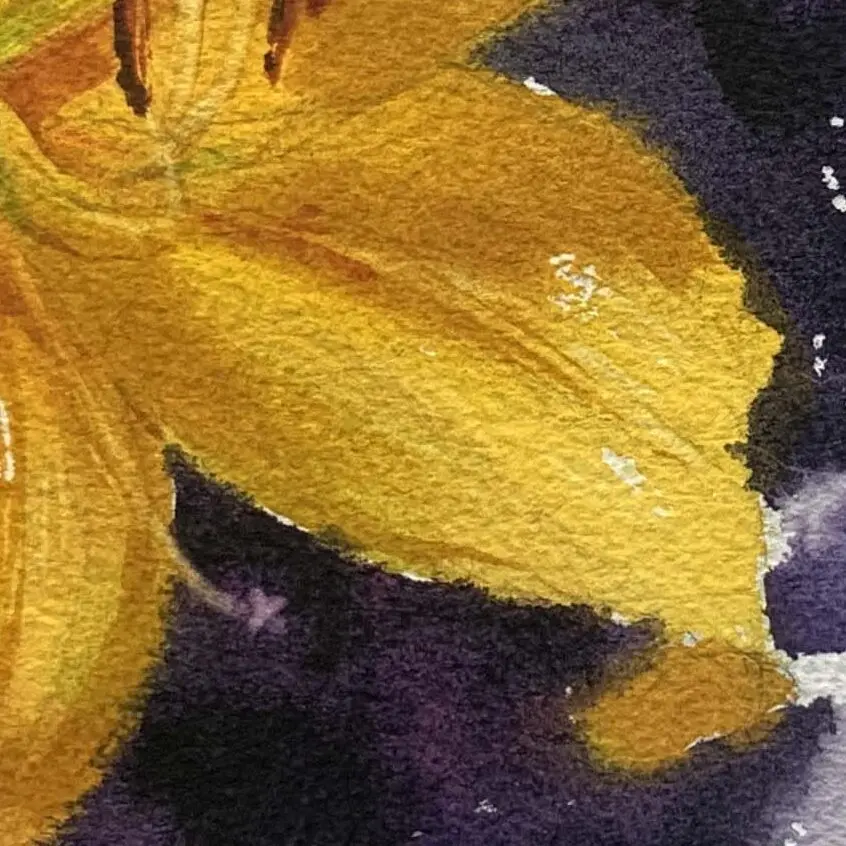
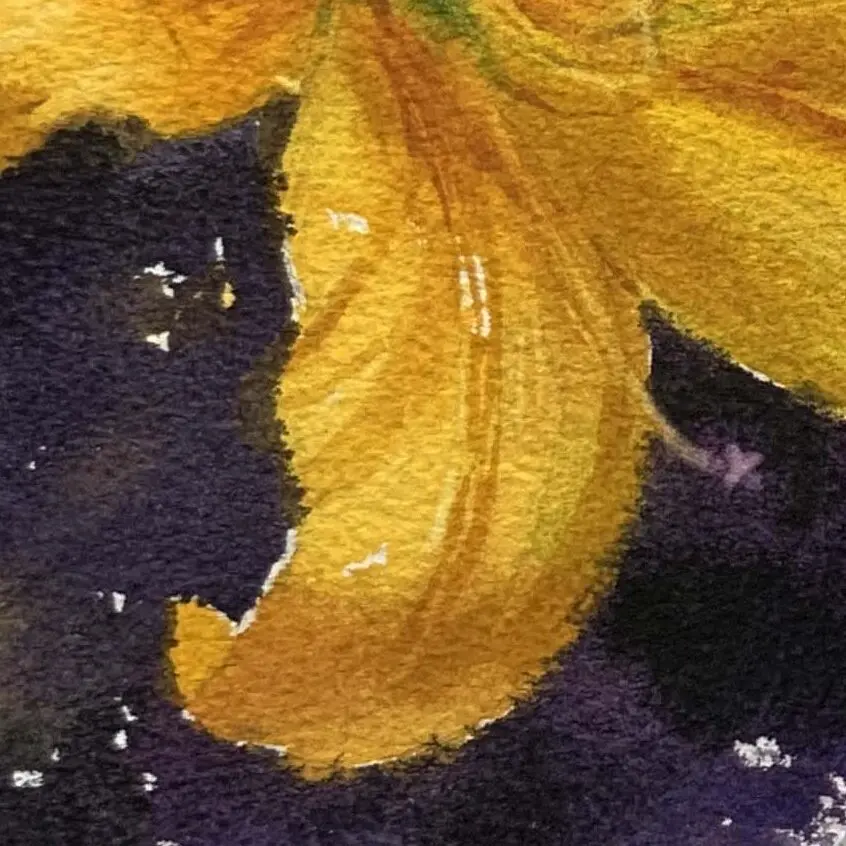
Yellow lily: mainly warm (lemon yellow (greenish yellow), cadmium yellow (slightly reddish yellow), dark yellow, orange-red) yellow as the main, the shadow part can be added to a small amount of blue tone, more gray with the yellow color.
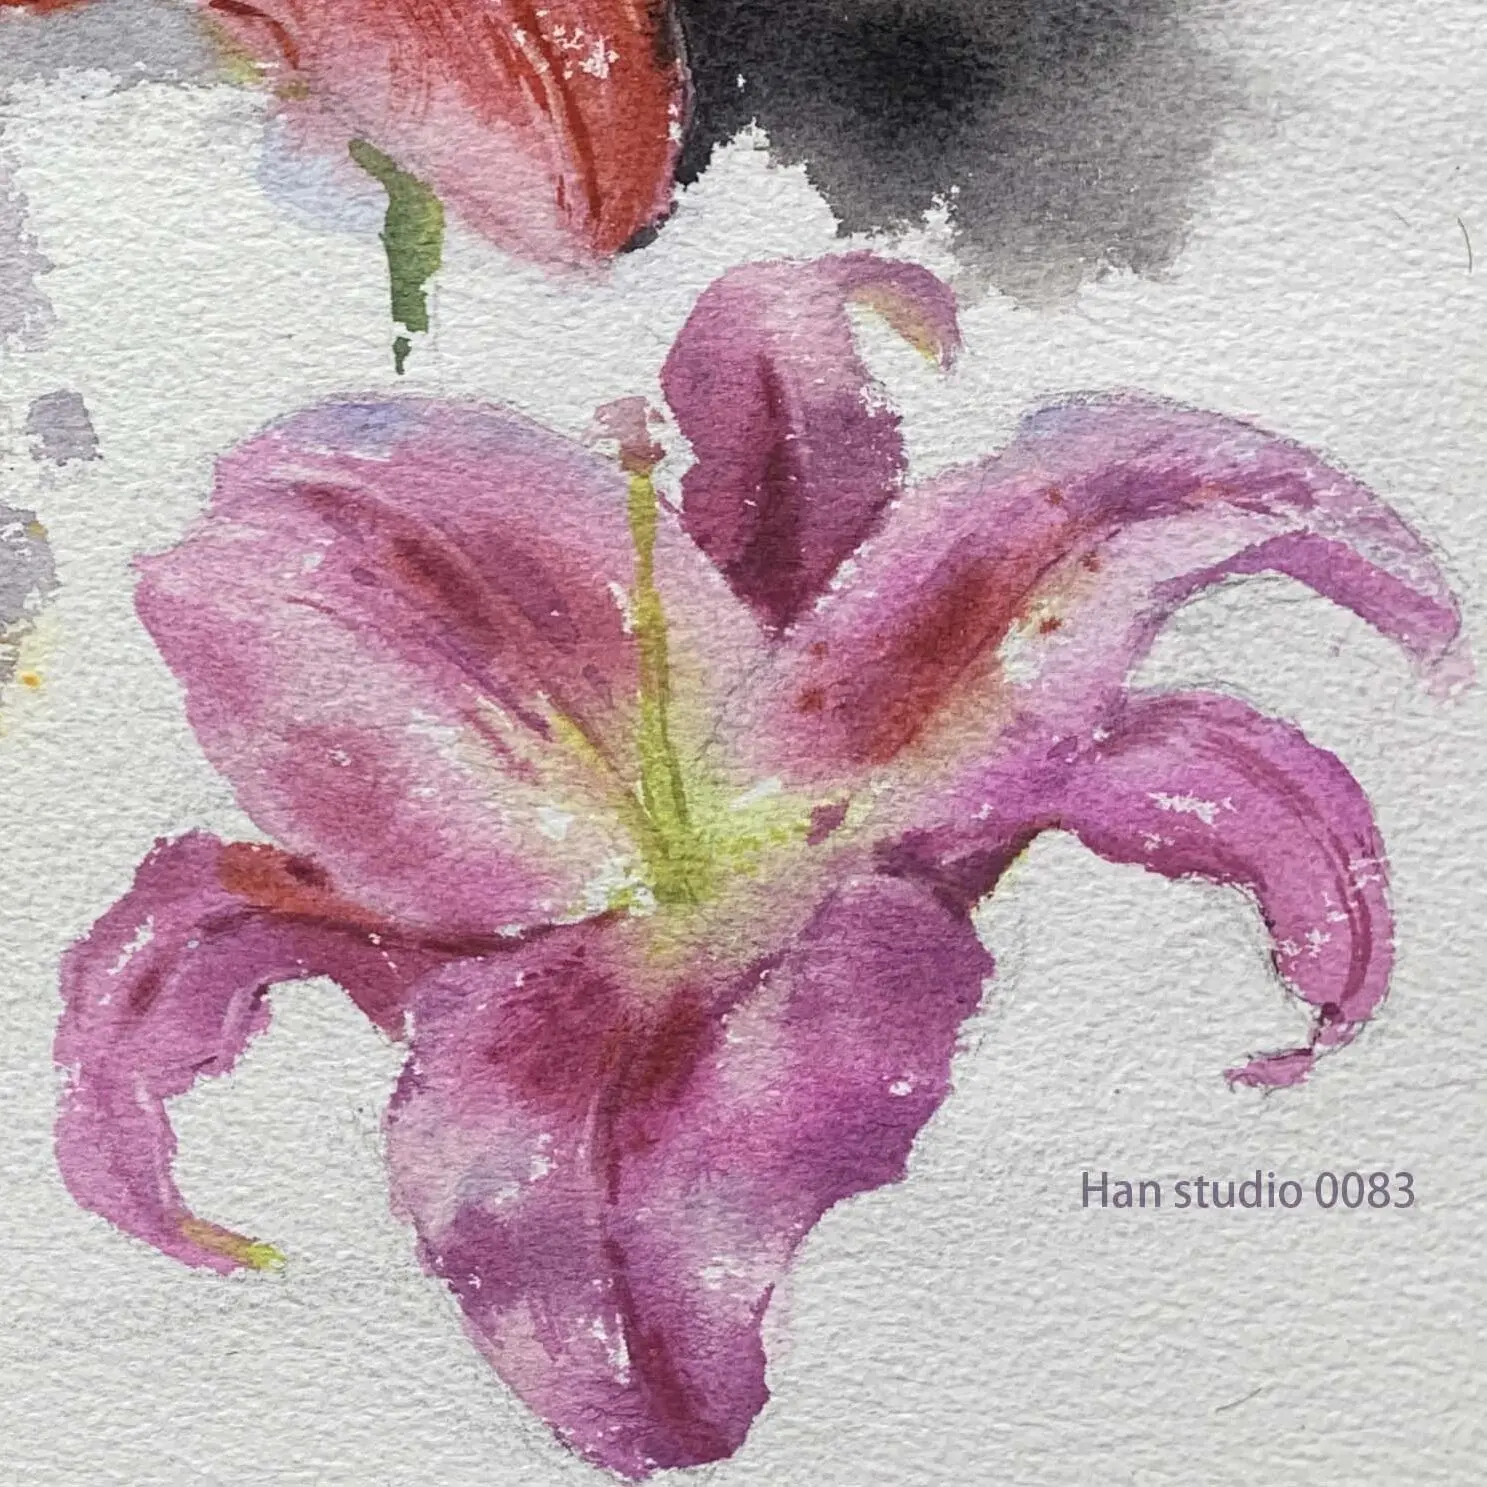
Pink with red lilies: Pink flower highlights can be lightened with cadmium red + water.
Or pink skin, powder blue and cadmium red, darker areas can be mixed with sage red, aquamarine blue or other fuchsia to match.
Light and Shadow Impact:Different areas of the petals will be affected by the light, so you can use cool and cool colors to make layers.
Reflective color:Flowers interact with their surroundings, and the edges of petals may have a reflected color of the background, e.g., green leaves may affect the color of the flower.
Above is the introduction of how to paint flowers with watercolor, have you encountered any difficulties in color mixing or other difficulties when painting flowers?
If you want to learn to draw, but don't know how to start, or are interested in understanding what drawing is all about.
Welcome to join line Contact meIn my classroom, I organize the way I learn to draw in a clear and organized way.
Click here to learn more about the Painting Program
Watercolor Mixing Tips: Achieve Natural Transitions Easily
How to Watercolor Grapes: Master Light, Shadow & Gradients
How to Paint the Light and Dark Layers of a Monstera Leaf
How to Paint a Vibrant Yellow Bell Pepper Still Life
How to Paint Translucent Bananas in Watercolor: Color Variations and Chromatic Control Techniques
How to Draw a Car for Beginners: Using Simple Shapes
How to Learn Perspective Painting: From Geometry to Spatiality
Boots Sketch Tutorial: Learn Proportions and Structural Lines
How to Master the Proportions,Shape, and Symmetry of a Teapot
Three Easy Steps to Drawing a Stuffed Duck with a Pencil
Mastering the Shape and Curvature of a Fishing Boat: Sketching Classroom Fishing Boat Drawing Tips
Introduction to Arm Painting: Detailed Analysis of Skeletal Simplification and Movement Mechanisms
Human Skull Sketch: Learn Anatomy for Accurate Portraits
How to accurately grasp the proportions of the hand and sketch the structure of the joints.
How to Draw Ears:Simplified Ear Structure and Shading Tips
How to Use Two-Tone Shading: Simple Shadow Techniques
Facial Muscle Structure Analysis: Enhancing the Stereoscopic Sense of Figure Sketching
How to Draw Japanese Masks: Practical Techniques for Simplifying Shape and Proportional Perspective
From Simple Contours to Detail: Mastering the Sketching of Eyes
Capturing Realism in Lip Drawing: Key Structures and Shading
Portrait Sketching Tips: Three Keys to Understanding Head Structure
Mastering the basic proportions and structure of portrait drawing